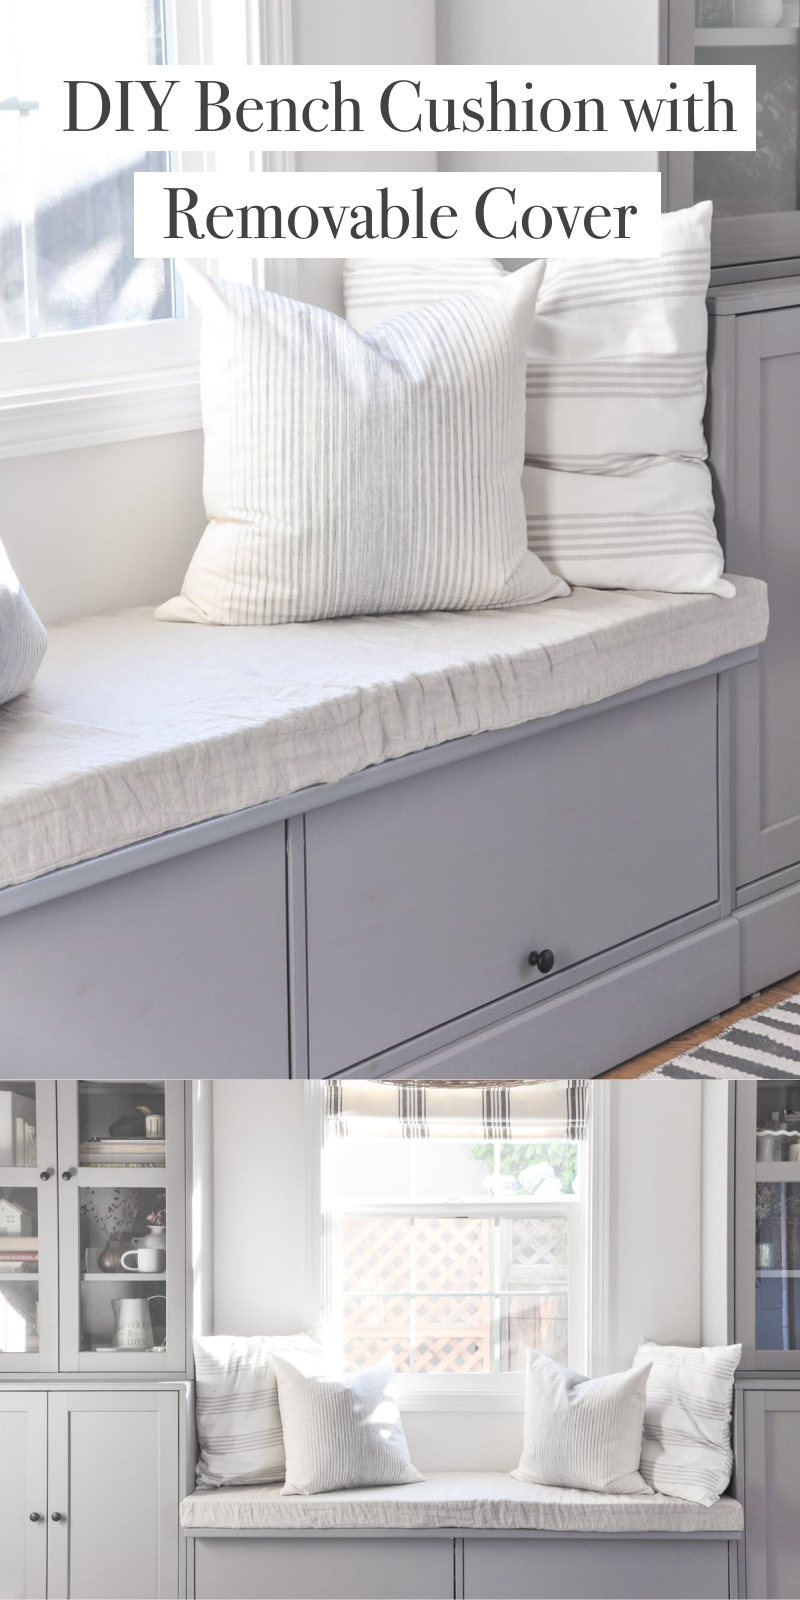
This is an easy and quick tutorial on how to DIY bench cushion with removable cover. It uses the easy envelope closure with ties to add a fun personality.
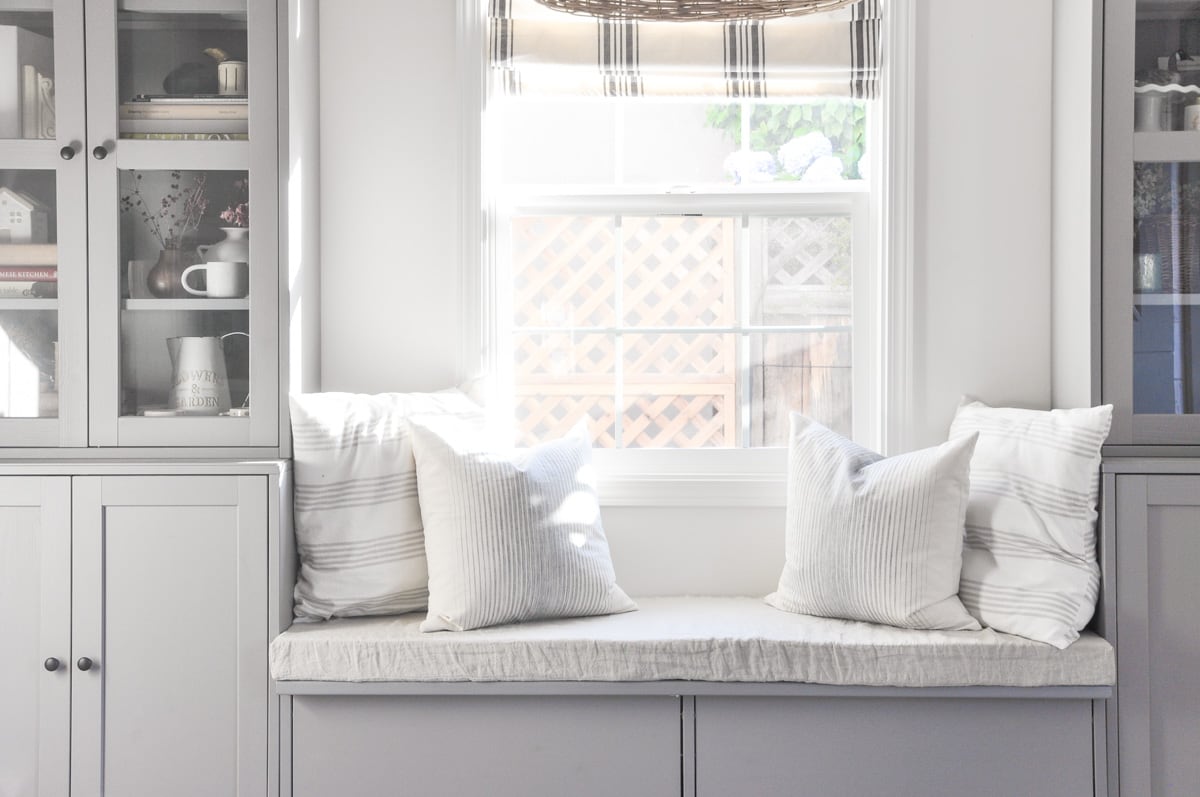
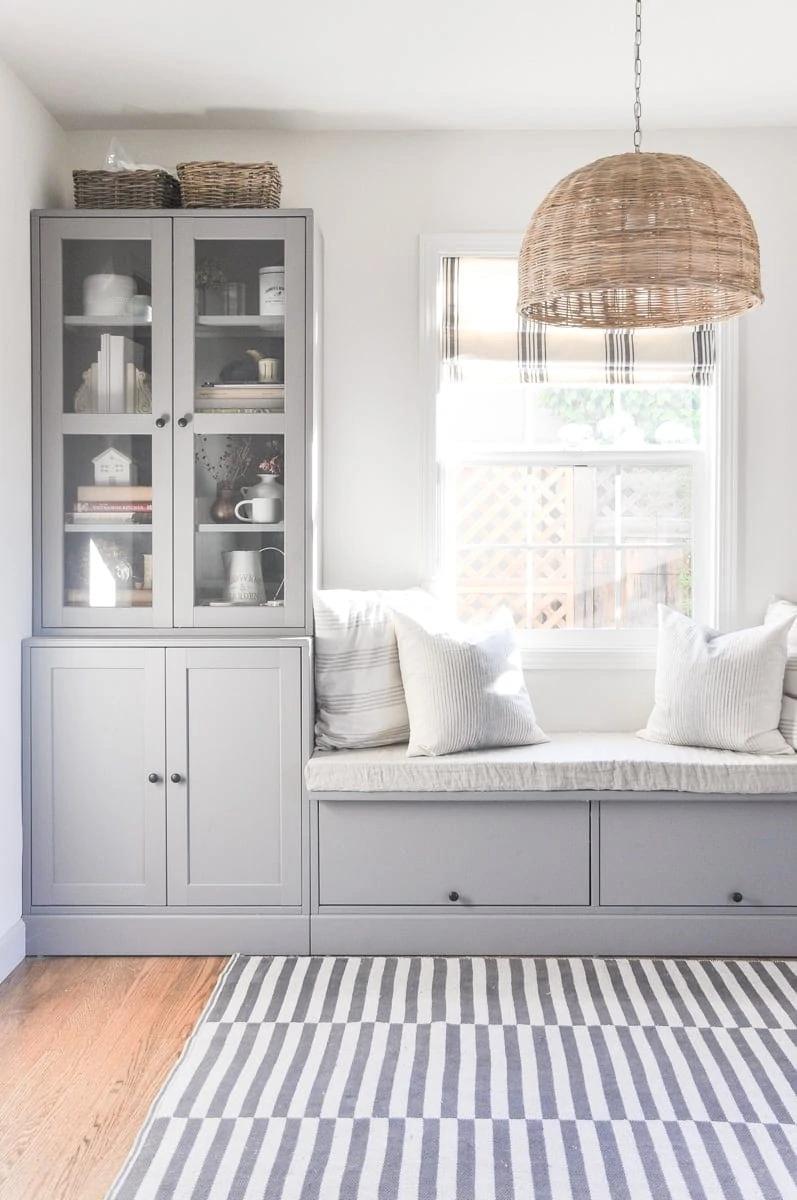
I made this window seat cushion for my dining room banquette seat. It was completely sewn together, no plywood required.
Another advantage is that the cover is removable, so you can throw it to the laundry machine to clean it up.
Why make your own bench cushion with removable cover?
I DIY’ed my dining room banquette seating for my dining room a while ago and we have been wanting to add cushion since the beginning.
I knew that buying a custom cushion can be very expensive so I decided to make my own with removable covers that way I can clean it easily.
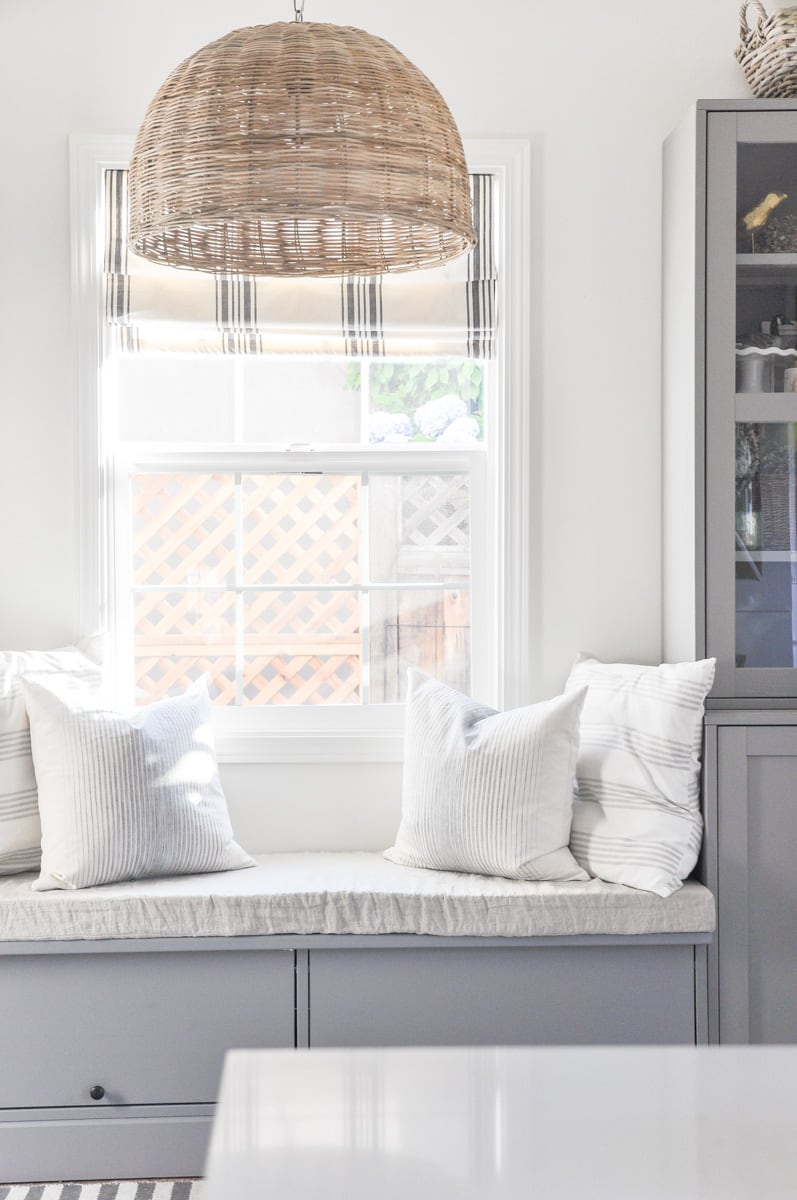

Ever Since I added this window seat cushion to our dining room, our life has improved so much. It is so comfortable to sit on that I start to spend a lot more time on my window seat to read or to work.
One big advantage of this DIY bench cushion is that the cover is removable, so you can throw it to the laundry machine to clean it up.
Follow this tutorial to make your own banquette seating cushions with a fraction of what you’ll pay for a custom made cushion.

Materials for bench cushion with removable cover
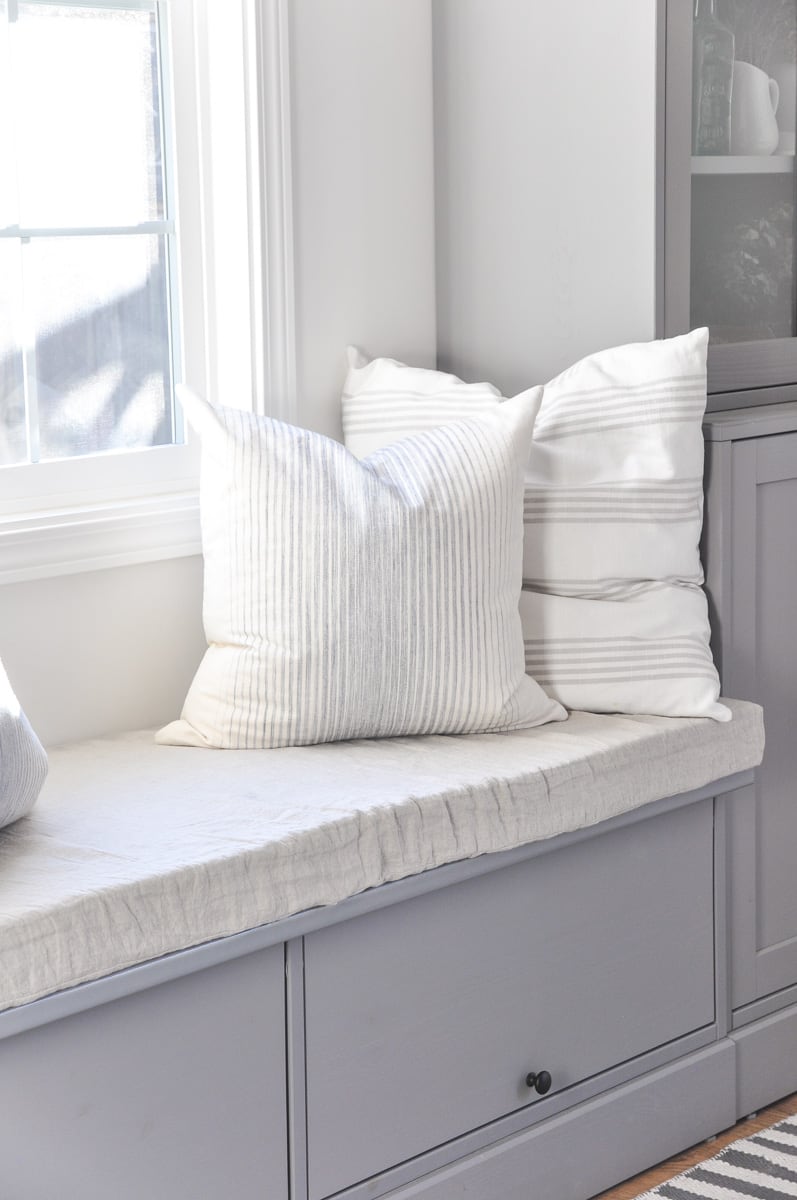
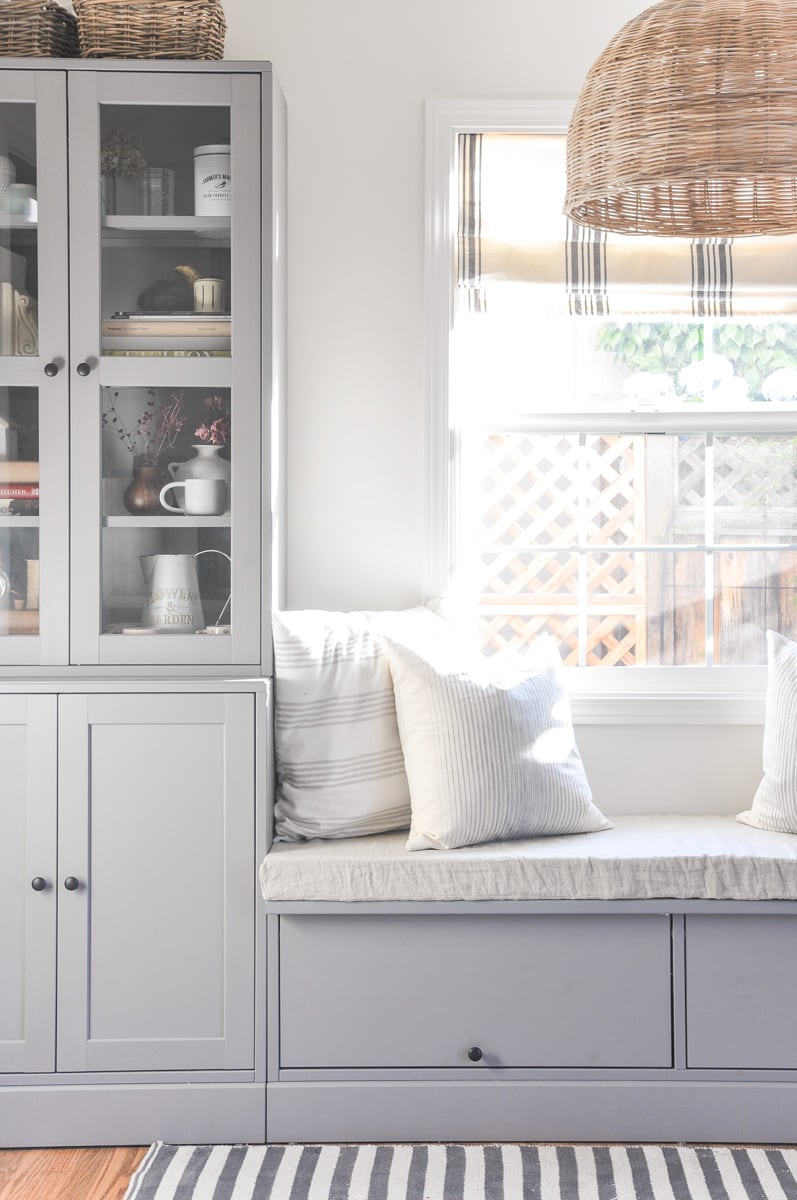
Fabrics. I used pure linen tablecloth from Target. It has a beautiful natural linen texture and color, and is so affordable.
Foam insert. I got the 3 inch high density foam from Joann. I’d recommend you to choose at least 2 inch thickness for your cushion insert.
Sewing tools I used during this project:
Sewing machine. I’ve been using this Singer Stylist sewing machine for years as it has a lot of awesome functions.
Fabric shears. It is shaper than normal scissors.
Pinking shears. It is handy if you want to finish edges quickly to prevent it from fraying
DIY bench cushion video
To make the DIY process easier to understand, I also made a video you can watch here:
Check out my Youtube channel if you want to watch more DIY tutorials.
DIY bench cushion with removable cover process
Cut fabric to size
I cut the linen fabric in three pieces to assemble the cover. I cut out one large rectangle which will cover the top and sides of the cushion. Then I cut out 2 smaller pieces which will form an envelope opening and cover the bottom of the cushion.
when I cut the 2 smaller pieces I intentionally kept the original hemmed edge of the table cloth for one edge, so I can use it as an envelope opening. Just to save a little bit of time!
for the entire project, I used a half inch seam allowance. Here’s my formula
1 top piece: (bench width + cushion thickness x 2 + 1 inch) x (bench length + cushion thickness x 2 + 1 inch).
2 bottom pieces: (bench width + 1 inch) x (bench length/2 + 1 inch). Note that you do need to add the 1 inch seam allowance because we want to overlap the 2 bottom pieces a little bit to create envelope closure
Construct the box cushion cover
Now It is time to translate the 2D fabric into a 3D Construction.
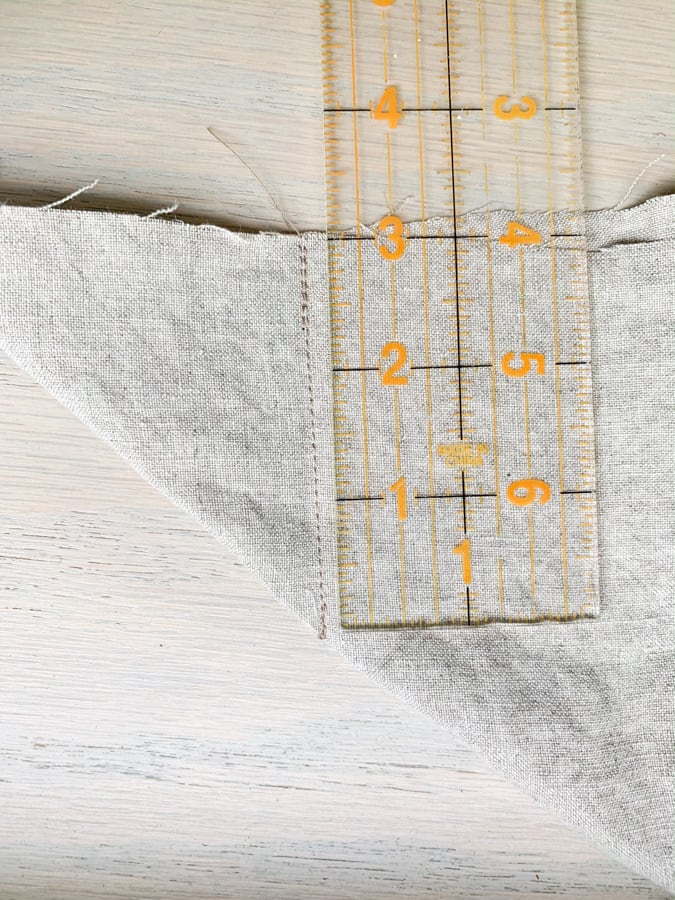
To create the side of the cover, I measured 3 inches from each edge, then pinched and sewed a straight line to form the side seam with my sewing machine.
Note: I sewed 3 inches because of the foam I chose is 3 inches. You will need to adjust this if choosing a different cushion height.
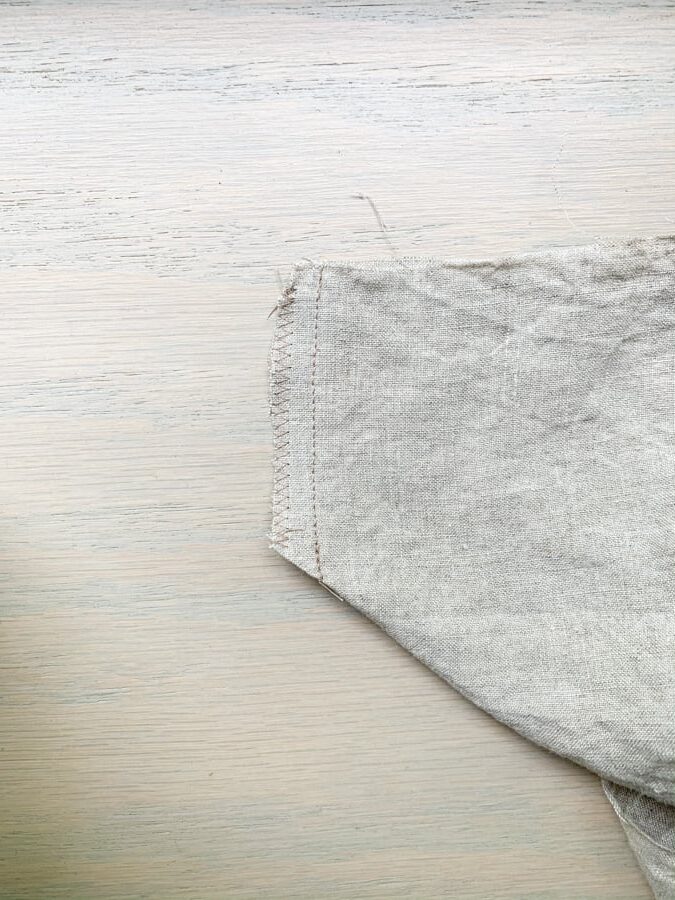
Then I flipped the right side out to make sure the corner looks good, and trimmed the extra fabric, leaving a half inch along the sewing line.
And I finished the edge with a zig zag stitch. If you have a serger, you can also just serge the edge.
You’ll need to do this for all four corners.
Now it is time to attach what you just finished to the bottom pieces.
I placed the two bottom pieces on top of the large piece, with the right sides facing each other. Also I overlapped the 2 bottom pieces by ½ inch to form the envelope opening. I pinned everything in place.
The four corners will take a little patience during pining, but it’s always nice to get a sharp and clean corner.
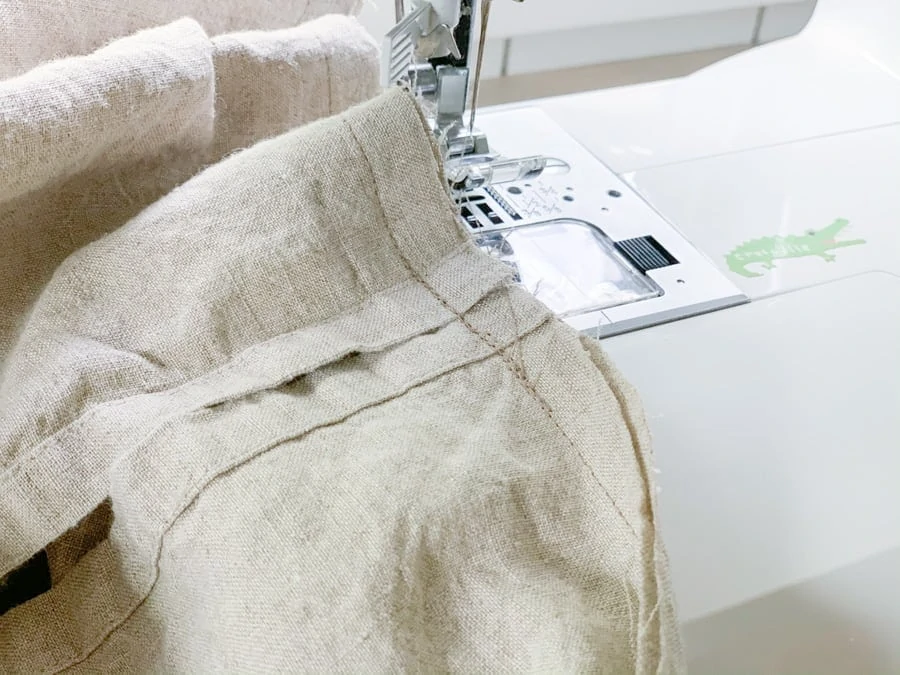
After I pining the fabrics together, I sewed along the entire parameter. I then finished the raw edges with zigzag stitches.
In terms of finishing sewn edges, there are multiple ways. I like to do a basic zig zag stitch because it is so easy. I do own a serger but I used it more for apparel sewing.
Another way is to use pinking shears to trim the edge. It is less durable than a zigzag finish or serged edge, but if you don’t wash it a lot, it is probably fine.
Making fabric ties
Making fabric ties are pretty easy. For each tie, I cut the fabric to 1 1/2″ by 8″ rectangles with the what I have left with the project. I folded and sewed them with 1/2 seam allowance and closed one end of the tie.
Then I trimmed the seam allowance by half using pinking shears. The reason to trim the seam allowance to ¼ inch to make it easier to flip the right side out.
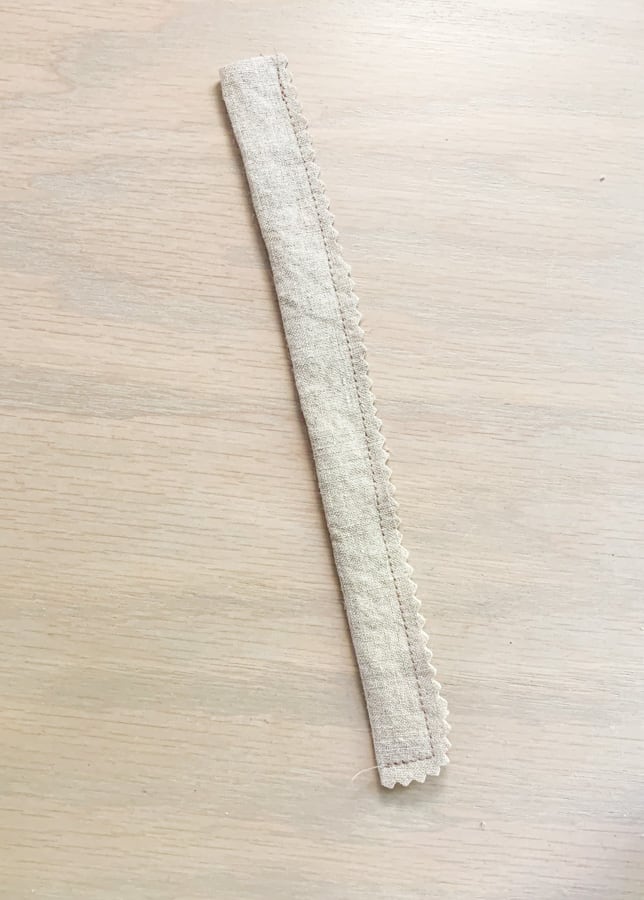
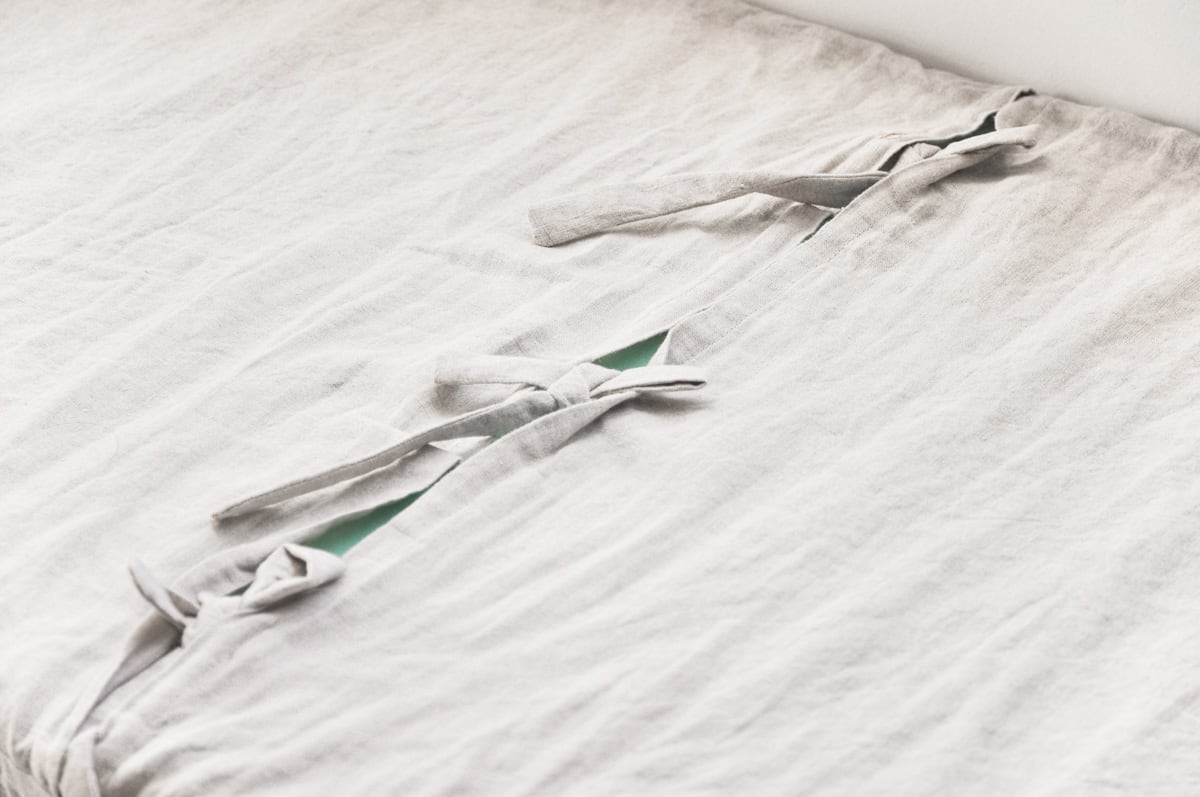
Once you flip the ties right side out, you have one opening with raw edge. I just folded them inside and later I attached that edge to the Cushion envelope opening.
When you attach the ties to the envelope opening, make sure to back stitch a couple times to secure it.
Viola! The cushion cover is done!
Cut foam and stuff in cushion cover
Now it’s time to cut the cushion foam insert to size so you can stop them in your newly made removable pillow cover.
I started by drawing a line using a Sharpie and then use the bread knife to cut it.
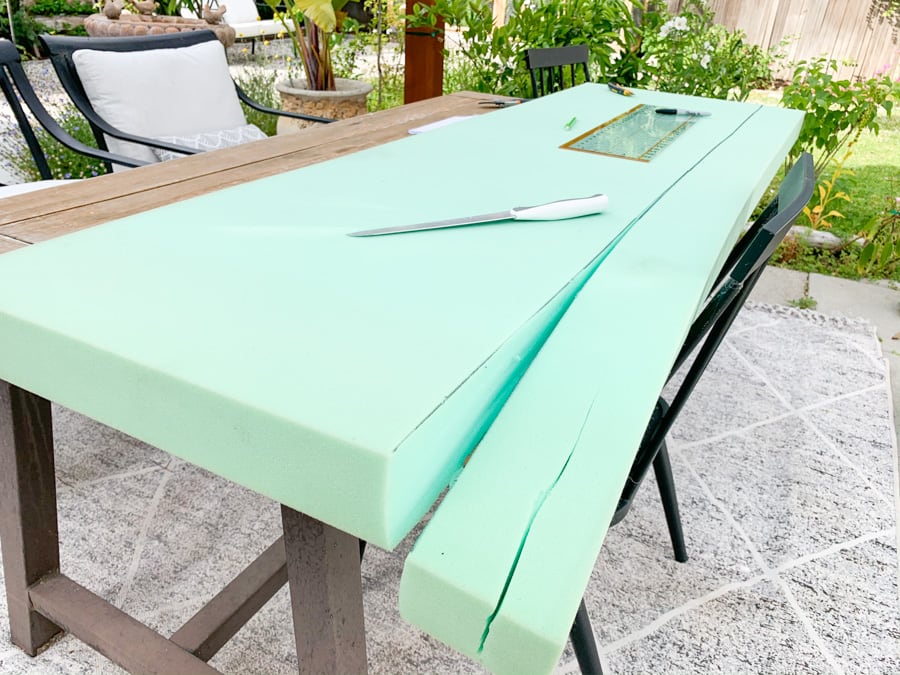
Once I have the phone at the correct size, I stuffed it to the cushion cover!
I started with one side and stuffed the corners in, and folded the other side over and stuffed it. Because my envelope opening is in the center, it took some time and patience to fiddle with the foam.
To make it easier, you could try diving the bottom fabric to 80/20, instead of 50/50 which is what I did. and that would make the stuffing part a bit easier.
I then adjusted the the cover to make sure seams are aligned with the insert edges for a polished look, and tied those fabric ties!
So that is all for this project and I hope you find it helpful!
To check out my dining room furniture and decor sources, you can visit shop my home.
More DIY tutorias
DIY IKEA Havsta Banquette Seating Built-in
How to get affordable custom roman shades – tips and hacks
DIY Window Seat with Storage Ikea Nordli Hack
Pin it for later
What is the cabinet paint color please
It comes with Ikea furniture. But similar to BM hearthstone
Where did you get the pillows you used on the bench?
Ikea and DIY 🙂
Who makes your striped Roman shades?
Hi there, another note for the next person.. These instructions have been SUPER easy to follow and I am surprised at how easy this project is! However, there is one minor tweak that would have saved me a couple hours.
I am using foam that is only 2 inches in thickness rather than 3 inches as used above. When I created the corners I followed the instructions by using the 3 inches as described not realizing that was referencing the thickness of her foam. Now my pieces now do not fit together. It would be super helpful to make note that the corners should match the thickness of the foam you are using.
Thanks,
Courtney
Thanks for your tip courtney! I’ll update that part of the post to add more clarity 🙂
Hi! Do you know the name of the paint on the wall? Very pretty space!
I used benjamin moore simply white for the wall 🙂
When making the corners, wouldn’t you make them 3.5in to accommodate seam allowance?
Hi…
Thought I share for the next person. I tried to follow these instructions, but I believe there’s an error. To make up for the loss of 3 in for the corners, this needs to be added to the formula. Each side needs +3 inches.
Now, my pieces does not fit the cushions due to the loss of 6 inches. It was only added to one side. It’s short 3 inches.
Thank you so much for flagging this! The cushion thickness need to be x 2, sorry about that. I just updated the formula.