Thinking about converting lawn to flower bed? We recently turned part of our backyard grass lawn to a flower bed, to accommodate our growing needs of having more gardening space! So I thought I’d share the entire DIY process from removing the grass to conditioning the soil, setting up drip irrigation and adding the finish touches.
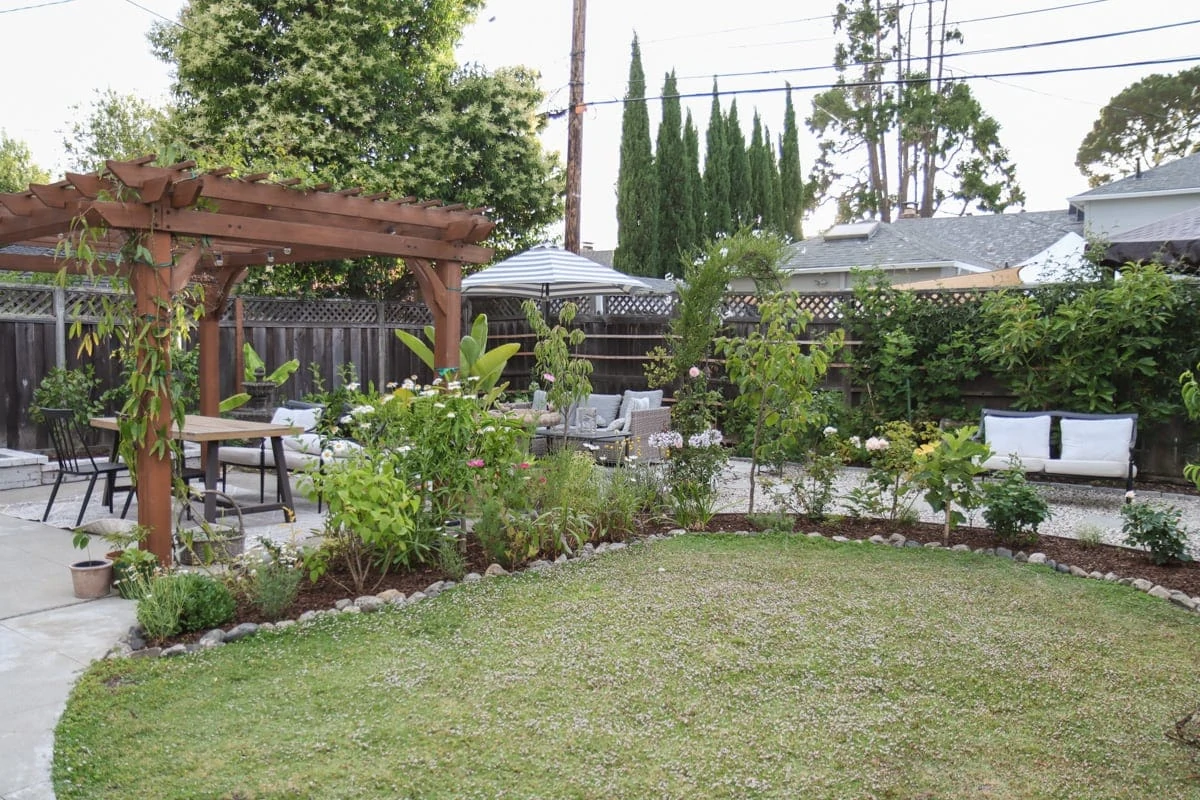
This project definitely solved one of my biggest headache which is grass and landscape plants were blending with each other. I was able to save water too because I can mulch my garden plants to keep the moister within.
Now let’s get started!
Expand your garden area for free
Not all gardens are created equal.
Some garden spaces have a lot of space for actual gardening, such as growing edibles or cut flowers, whereas other gardens are covered with grass.
When I first designed our backyard garden, I was happy with the proportion of gardening vs lawn, but overtime we are reaching the limit of how much we can grow in our existing gardening bed.
Our plant selections of plants keep growing and we discovered my growing needs more space for flowers and fruits. That’s when I turned my eyes to our backyard lawn.
We have a large circular lawn in the center of our backyard garden where we planted a type of water wise ground cover, called Kurapia. It is a very efficient ground cover that is easy to maintain and doesn’t require a lot of water.
You can read more about it from my garden tour post.
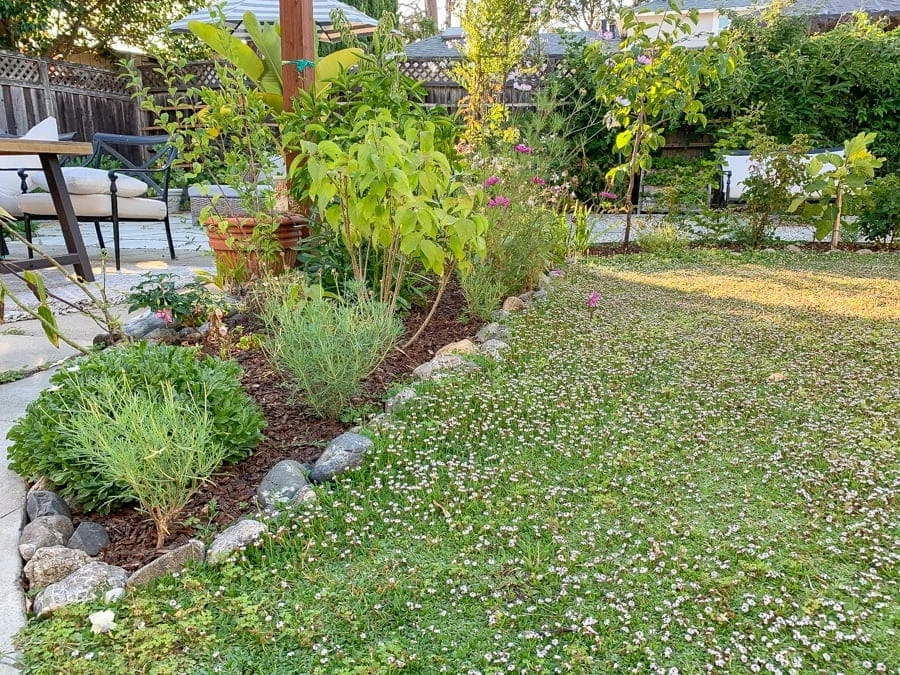
So naturally I decided for part of the space there, we will turn lawn to garden.
This is what we started with. As you can see we got a couple of trees and some roses at the outer edge of this circular lawn.
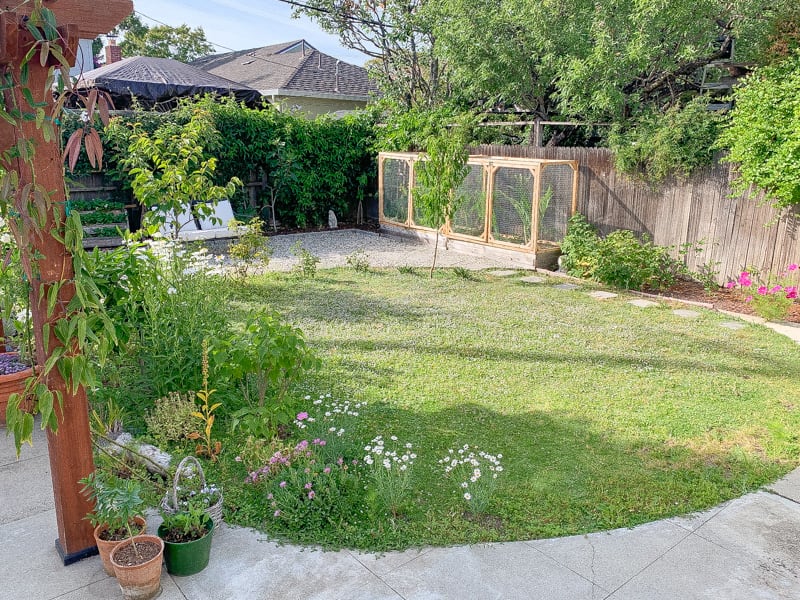
A closeup look of our ground cover – Kurapia

Another big reason is we already planted a couple of trees and some roses along the border of the lawn and it will drastically improve their growing condition by converting that area to a real flower bed.
Why are flower beds better for your plants than lawn?
Why is it better idea to convert grass to flower bed? There are so many reasons .
First of all, plants growing on grass generally don’t get enough water because the water needs are very different between grass and big plants.
In my case, I use a water sprinkler in the center of the lawn to water the entire area. My trees and flowers were planted on the edge of the lawn so they don’t get as much water from the sprinkler.
Additionally, those plants just need deeper water than grass which has a very shallow root. It would be so much better for them to water them through a drip irrigation system so that the soil can slowly absorb water and the water also penetrate deeper into the soil to feed those roots.
The second reason is maintenance. Because the grass is going around with those plants it’s a lot harder to feed them fertilizers or compost. And it is hard to replace or grow new plants.
With grass around those plants, the grass is competing with the plants, especially for those young plants.
So with those reasons in mind it is really the time for us to convert that part of the lawn to a flower bed.

Video of converting lawn to flower bed
I have recorded the entire conversion process and made it into a video. I would suggest you to watch this 3-minute video first and read the detailed instructions below.
How to convert lawn to flower bed
There are 5 steps we took to convert grass lawn to flower bed. It is really a beginner friendly project and it improves your garden landscaping quite a lot.
Here’s a glimpse of all the steps. I will dive in details on each step. You can also click on those steps to jump to each section.
Step 1. Remove grass or any ground cover
Step 3. Set up drip irrigation
Remove grass or any ground cover
First step is of course to remove the grass. We started by defining the size of the bed we wanted, and then removed the grass in the area we’d like to turn into a flower bed.
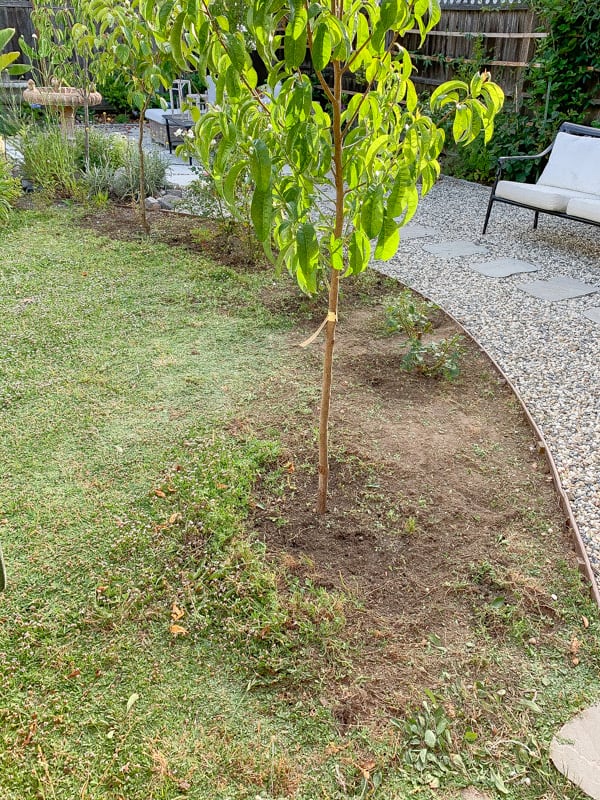
Because it is summer time, we took a 1-2 hours every night after work to work on this so that the sun is less strong and the temperature is cooler.
Although the work seems a bit tedious but it’s actually moving pretty quickly, we ended up removing all the grass needed in less than 3 days.
If you have a larger area you’d like to turn into a garden bed, consider renting an aerator from a local hardware store. We did this when we first removed the old ground cover and replaced it with water-wise one. An aerator will save a lot of labor for large areas.
However, for this case the area we want to carve out was quite narrow and our groundcover was mainly growing horizontally so the roots are not super deep. Also we already got plants growing in the space, hand pulling was a better option.
Condition soil for flower bed
This step is really optional but I see great benefit of doing this now than later. It is so much easier to condition the soil when you got bare soil before adding irrigation or mulch.
So to improve the soil quality, we bought some compost from a local gardening supply store and mixed it with our soil. Generally compost is very affordable and we try to add them to our soil whenever we can.
We placed compost on top and use a garden shovel to flip the soil and and mix it with compost. We also sprinkled some gypsum to help break down the clay soil.

Set up drip irrigation system for flower beds
Setting up drip irrigation for flower bed
Now it is time to set up drip irrigation system for the flower bed, to make sure the plants can get properly watered without any manual work.
It’s also part of the reason why we decided to convert this part of the lawn to a real flower bed.
The plants we planted there really couldn’t get enough water from the water sprinkler so we had to supplement with the water by hosing them from time to time, not to mention we’re thinking about adding even more plants in the future!
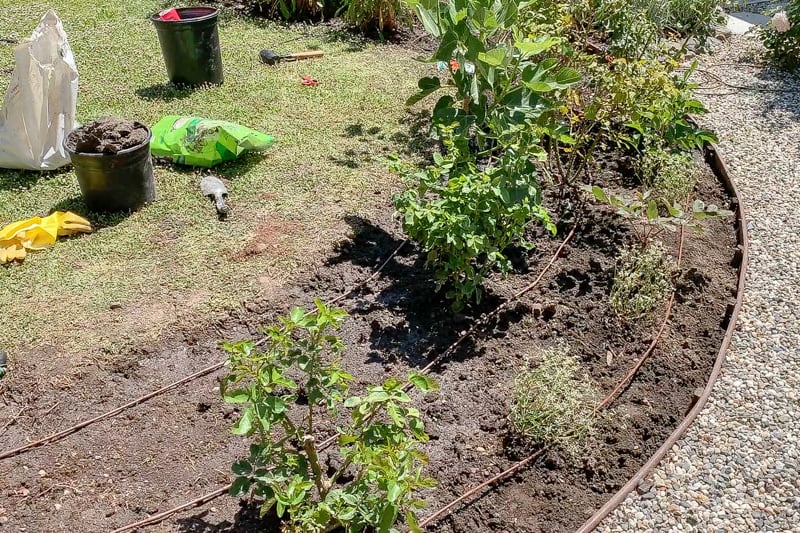
For the main drip line, we used 1/4 in tubing with 6 in emitter spacing. It is one of the most common irrigation tools you’ll use for a garden drip irrigation system.
So basically, we just lay them around the entire flower bed with the landscape staples to secure them in place. That way when we add mulch later, the irrigation tubings will stay low and can get completely covered.
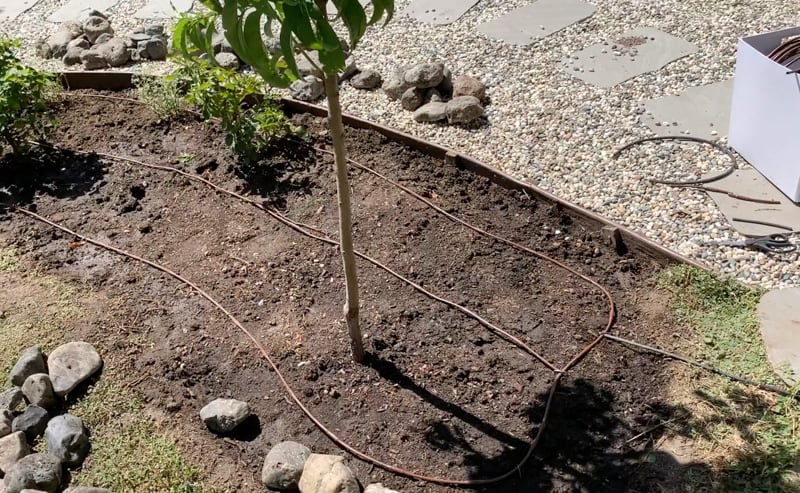
This flower bed is about 3 feet wide and we did three rows for this width. This should be sufficient to water all of our plants because most of them have low to medium water requirements, and we’ll also add mulch to prevent the water from evaporation.
To connect the center tubing to the outer tubing, We used barbed tee. And that’s really all you need for flower bed drip irrigation.
All its left is to connect them to the source of the water supply, which in our case is a ¾ in tubing. We run this tubing around our backyard parameter and that is supplying 80% of our plants in the backyard.
Connect flower bed irrigation to water supply
We needed to add a new line from the main water supply, and connect it to the flower bed irrigation.
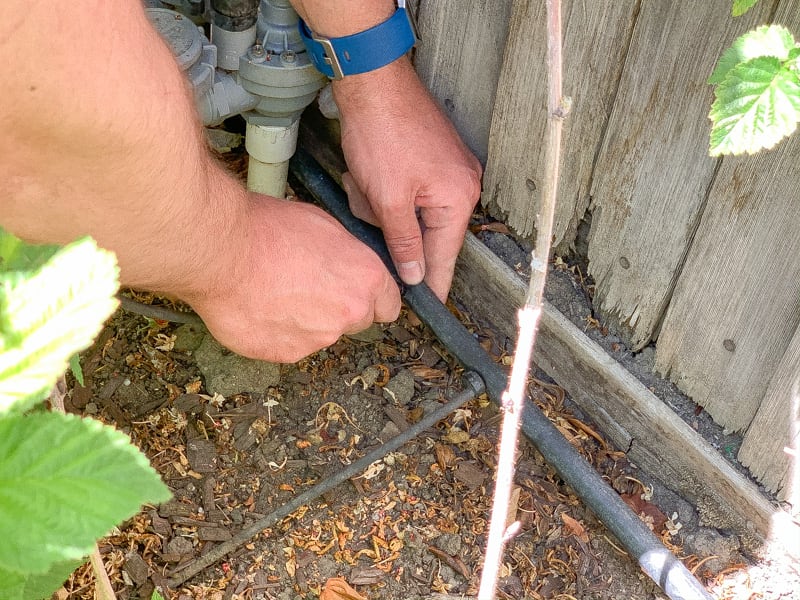
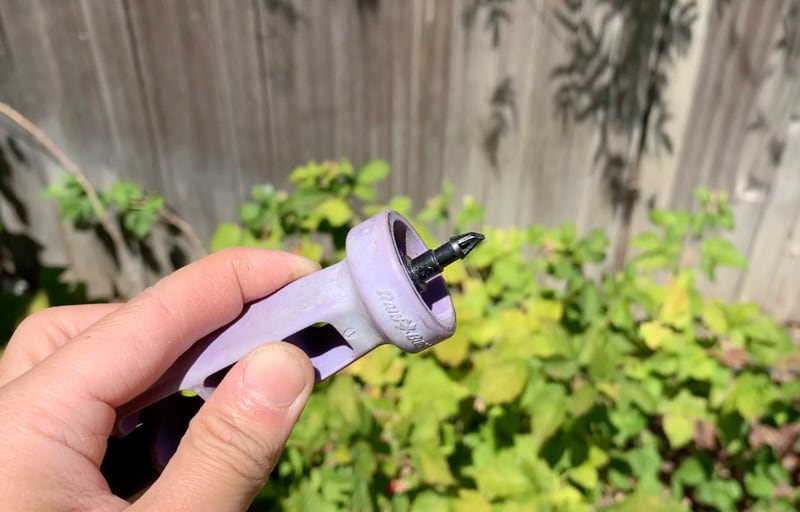
We use the emitter installation tool to poke the barbed coupling to the main pipe, then use 1/4 in distribution tubing to connect the water supply to the flower bed irrigation system.
If you are new to drip irrigation, I would recommend checking out a starter kit or repair kit as they includes a lot of different part so you don’t have to get them one by one.
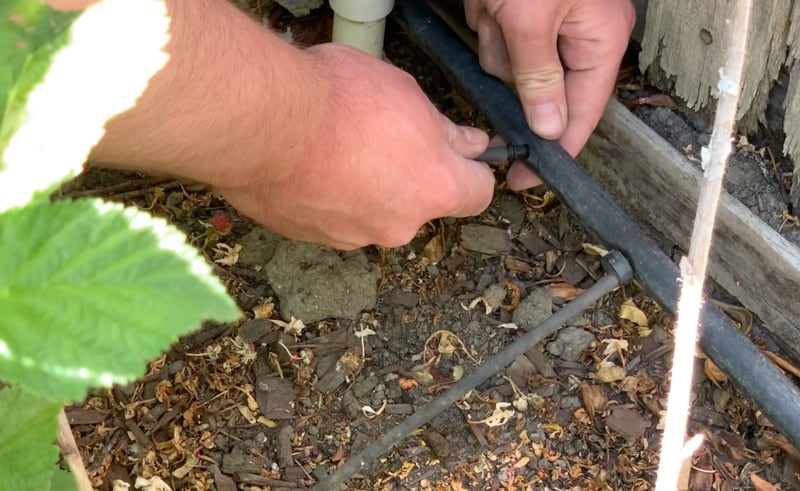
To make the irrigation more invisible, I drilled a hole through one of the edgers and thread the piping through the hole. This way I can keep those pipings low to the ground. Once grass grows a bit more, they will cover it even better.
I really enjoy hiding the irrigation system so it looks like our plants just get magically watered.
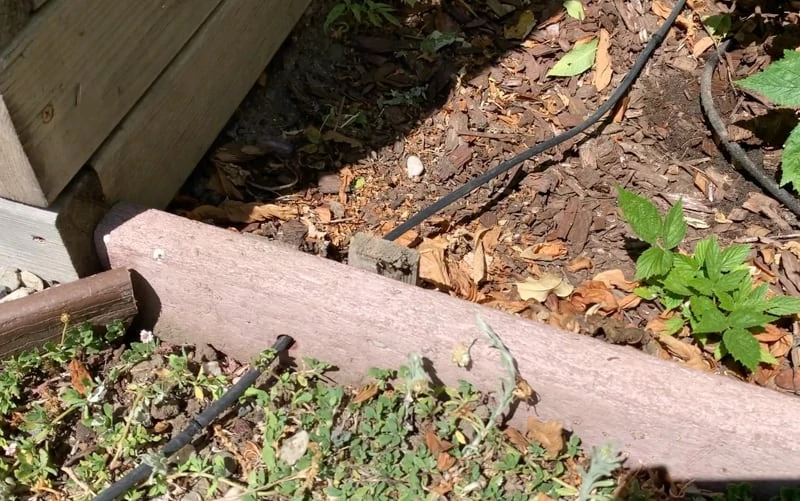
This is what our finished flower bed irrigation setup looks like:
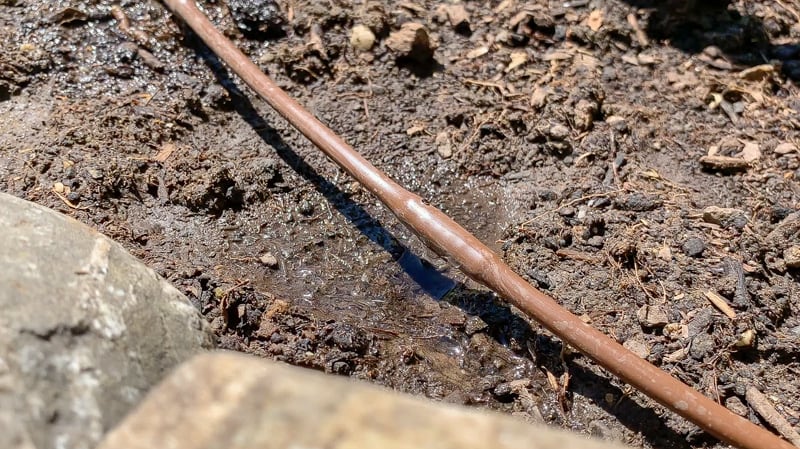
Once the irrigation is all set up, it’s a good idea to turn on the water to make sure those emitters are working properly.
This drip irrigation setup did not take much time to do and is pretty straight forward. If you have some basic knowledge of drip irrigation, you can probably do it in no time.
If you are new to drip irrigation, let me know in the comments if you’d like me to write about drip irrigation 101 🙂 I’m very passionate about converting old watering systems to drip irrigation to save water.
How to edge flower bed with stone
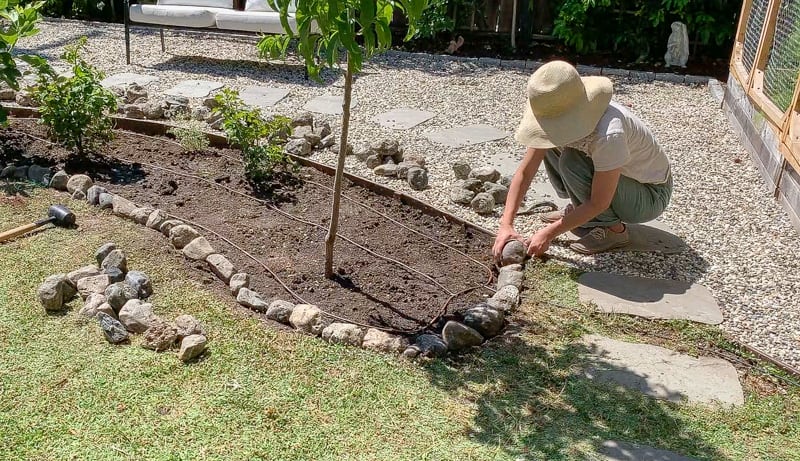
To separate grass from the flower bed, we edged the flower bed with stone. This can add more definition between the lawn and the flower bed, and make your landscaping look a lot more finished.
There are many choices to edge a flower bed, but I always prefer natural material as flower bed borders, simply because they blend in with the landscaping so well. For this flower bed borders, I decided to use light gray cobble stones.
I really want to keep the cost low for this DIY project, so I went on Facebook Marketplace and found some garden cobblestones at a very low price.
I think I spend around $40 for those stones and I only used half of the amount. Sometimes it takes some time and patience to find a good deal for your flower bed borders.
To edge flower bed with stone, I was placing those cobble stones at the edge of the flower bed area. Note that because we remove the grass, the flower bed area is naturally lower than the surrounding lawn, so it is a natural place to place the stone edgers.
When you are placing stone borders, make sure to avoid them sitting on top of the drip irrigation lines.
To make those borders sit a bit more in the ground, I use a mallet to set them in. Using stone for flower bed edging is really an easy way to create a nice border without much skills required.
Choosing mulch for flower bed
Now it is the final step – adding mulch to protect the flower bed! Be sure to add an edging between the grass and flower bed before pouring in the mulch, so that the mulch won’t roll over to your lawn.
For this project, I use some small tree bark mulch that I got from a local gardening supply store.
I have used wood chips from hardware store before, but I have heard that those are not super good for your plants so I decided to invest a little bit more money to the health of my garden.
I basically just poured mulch over the empty part here and there and even them out.
I wore a pair of gloves so those tiny wood splinter won’t get in my fingers. Believe me, this is important as I have spent a lot of time plugging sprinters out from my fingers when I don’t wear gloves.
A general rule of thumb is to have 2-3 inch thick layers of mulch. This is what it looks like with borders and mulch. Feels much more finished right?
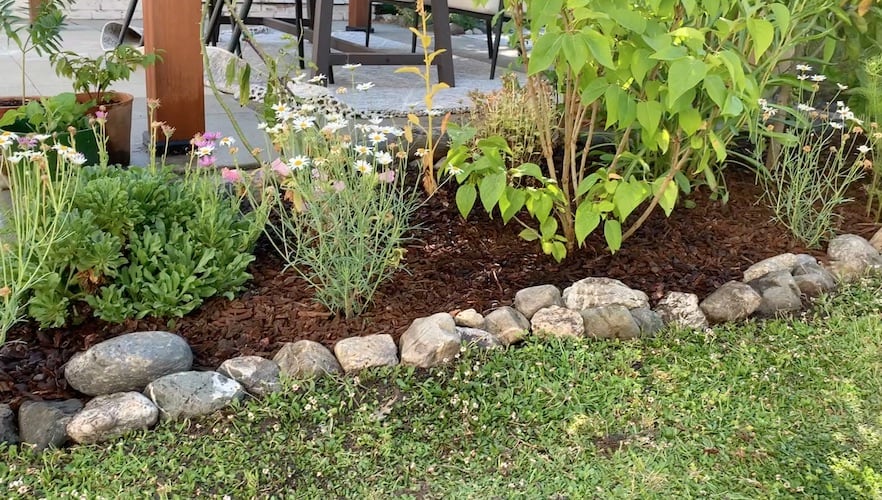
The successfully converted flower bed
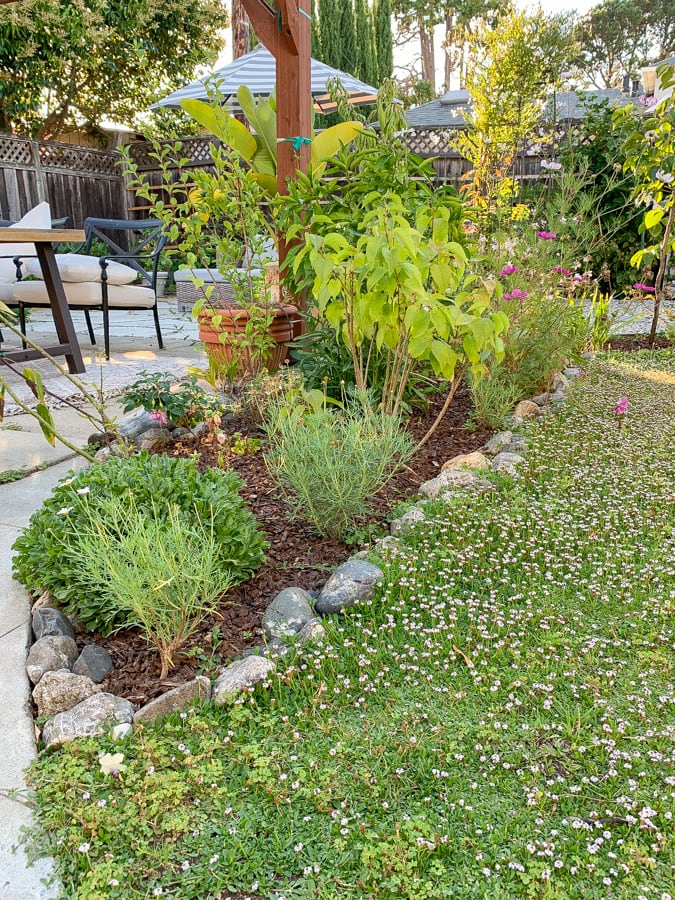
Here’s what it looks like after converting the lawn to a real flower bed.
Although this project requires some labor and time, we just love how it turned out ! We think the result is so much nicer than before.
The flower bed is much more defined now and it’s also a lot easier to maintain the plants, such as fertilizing or replacing them. I hope you enjoy this project and let me know if you have any questions.

Related garden DIY projects
DIY raised bed protective cover
DIY tiered strawberry box planter
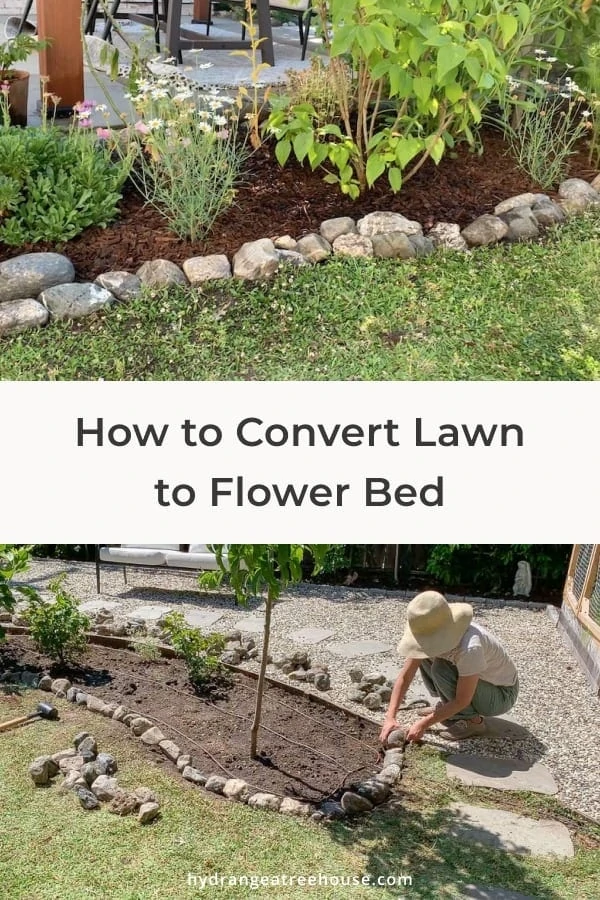
Pin it for later
I find this article very interesting! Thank you! I think it would be easy to add even more flower bed room as those needs grow. Then you would just pop up your cobblestones and add another part! I love this idea!
Absolutely! I’m always looking to grow more plants overtime so keeping it flexible would be nice 🙂
How do you get on with the bees and walking on one when going on the lawn?
A very interesting article – enjoy and thank You. Anne
Some people mow it, but I just let it be.