Do you have an old looking fireplace that desperately needs a makeover? In this DIY project I’m sharing my entire process of painting both the interior and the exterior of my brick fireplace using high heat paint and limewash.

Limewash Fireplace DIY Video
Let’s start with the video tutorial so you get an overview on what I did. Then, I’ll dive in with more details below:
If the video doesn’t work here, you can watch it on YouTube here or scroll down to find it in the middle of this post. I’m posting DIY videos on my channel on a regular basis, so subscribe if you like to see more videos like this!
An old brick fireplace needs a whitewash
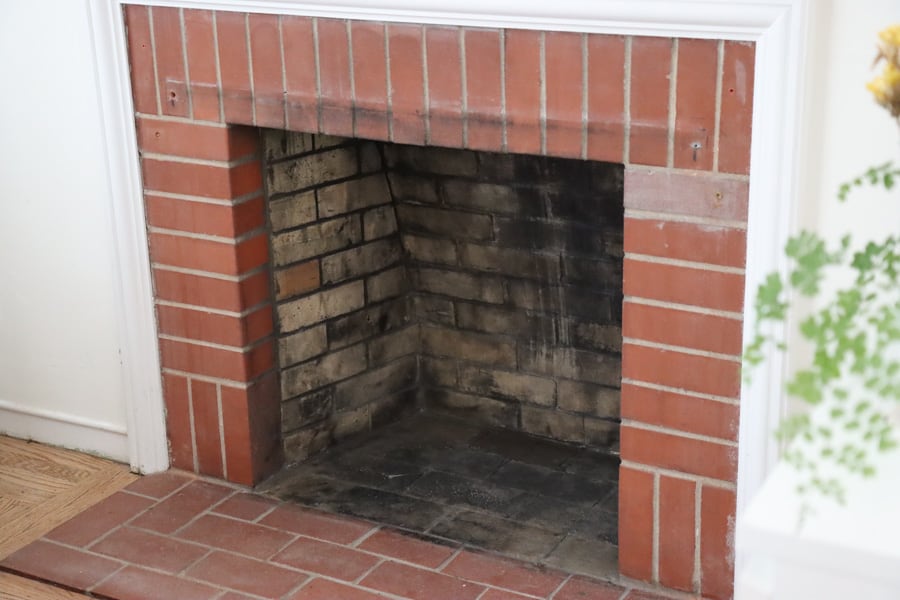
You know sometimes when you see something over and over again, you start to develop visual blindness to it. It definitely happens to me. I remember when I first moved into our house I felt the fireplace didn’t look very nice: the brick color is not even and unlike some beautiful old brick that has an aged color and patina, this brick looked very orange. I attempted to improve on it a little bit by removing the fireplace curtain, and it has left some big hole on the surface.
We had other bigger projects to tackle first, such as the kitchen and the bathroom remodel, so I never got a chance to makeover our fireplace in the first 2 years. Time flies and I realize a lot of times my eyes just ignore it when I’m in the living room – and that freaks me out a little bit: I know I was developing a visual blindness to it. Soon maybe I won’t even think they are ugly anymore.
So before I completely developed a visual blindness to this ugly old brick fireplace, I decided to give it a makeover. My goal was to give this old fireplace a facelift by white washing bricks and painting the interior of this fireplace black. This project is really affordable but made a huge impact! If you are looking to brighten up your space starting with a fireplace, I highly suggest you keep this project a try!
Will whitewash work for you?
Will whitewashing work for your brick fireplace? This comes down to what style you want to achieve and also how much time you have. In short, if you are looking for a quick project to freshen up your fireplace, this is for you. Whitewashing is so versatile that no wonder so many homeowners chose to do so.

Of course there are other techniques you can try to makeover an old looking brick fireplace. In fact, I have considered German Smear technique, but that requires a lot more time and also the style is more rustic. I have also seen people painting it with a different color, but at the end I think a white fireplace is so classic that will work for almost any interior style.
Video
This is a video tutorial of this fireplace makeover with limepaint. I recorded how I paint it over the beginning to end.
Interested in doing something similar to your brick fireplace? Let’s dive into the details!
limewashing brick fireplace materials and tools
Here are the materials and tools that use for this fireplace facelift. And I will share in details why I chose some of the paint.
Romabio Limewash in Avorio White
Paint Fireplace interior fire box with Rust-Oleum high heat paint
For the interior of the fireplace, AKA fire box, I use a Rust-Oleum heat resistant paint. it was supposed to be signed for high-heat situation and can withstand high temperature of 1200 Fahrenheit. I busy this product line was for outdoor grills. If it works for the outdoor grills,I believe it would work for my fireplace. You paragraph
I want to clarify here that we are not planning to use this fireplace for burning real fire bad for the resale value of this house I would like to keep this functionality in case the future homeowner about to have a real fire that at least they have the option to do so.

Whitewash brick fireplace with Romabio limewash
For the brick mantle part, I chose Romabio limewash interior/exterior paint in Avorio White. It has a flat texture, looks beautifully aged – exactly what I was looking for. It is for both interior and exterior, so I believe will hold pretty well with wear and tear. Also it is designed for masonry and bricks, perfect for my fireplace.
Actually this is not the first time I use Romabio limewash. A few months ago, I used limewash for my outdoor brick flower bed and I enjoyed the whitewashed brick so much. I still have more than half of a bucket left, so it is a no brainer for me to use it again for whitewashing my brick fireplace. Whitewash will give this old brick fireplace an aged and textured look while keeping the color bright.
To whitewash a brick fireplace, there are a few options for the paint. One of the popular options that I saw people doing is using latex paint or chalk paint. Although I have no objections on those paints but they don’t work for bricks that well. Basically for latex paint, they form a thin film on top of the brick so the brick won’t be able to breath and also the finish will be very smooth with will lose the beautiful brick texture.
How to paint brick fireplace step by step:

Step 1. Protect your floor and fireplace mantle
The first step is to protect your floor with drop cloth or newspapers because the limewash mixture can be pretty liquid and it would probably drip during the process. A lot of fireplaces come with hearth extensions so you may not need to protect your floor if you want to paint that part too. I also kept a paper towel on hand so if there is any drip on the floor I can wipe it immediately.
It would also be a good idea to protect the fireplace mantle or any panels where you don’t want the limewash to get on. So I basically used painter’s tape to protect the fireplace mantle, as well as creating a crisp line between the brick surround and fire box given I’m using two different paints for this.
Step 2. Paint the interior of the brick fireplace (fire box)
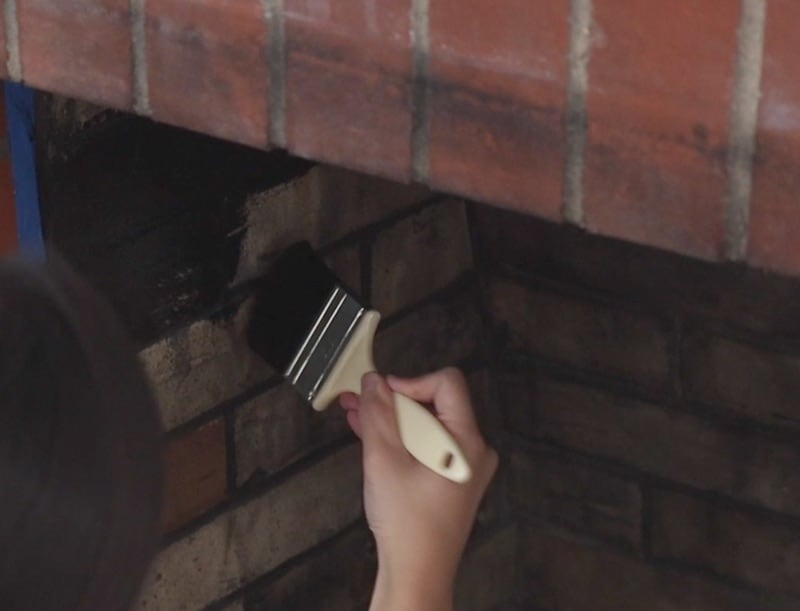
I started with painting the interior of the fireplace and move outwards.
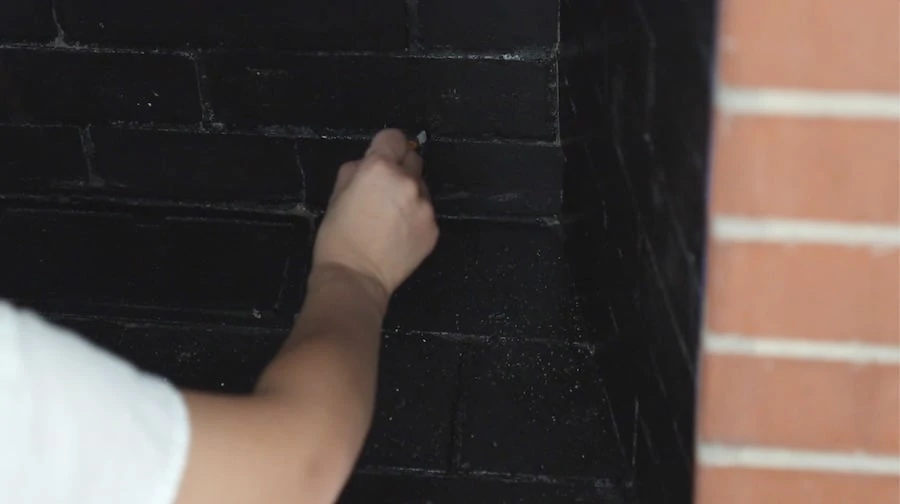
For the fire box of the fireplace I chose Rust Oleum High Heat paint in black. I used a 3in brush to cover the entire fire box then switch to a smaller paintbrush so that I can dab some paint onto all the crevices to have full coverage. Keep in mind that this paint is not water soluble, and I didn’t have any acetone on hand, so I used very cheap brushes and tossed them afterwards.
Another thing to keep in mind is that this heat resistant paint is in satin sheen. However, because it is so dard and receding I don’t find it glossy at all.
Step 3. Patch up your fireplace brick surround
This step could be optional depending on your fireplace situation. For me because I removed the fireplace curtains and some hooks, there were quite a few big holes left on the surround. so I use this 3M hole repair kit to cover up all the holes and smooth it out. It is a speckle, putty knife and sander in one which I really love!
It takes around 20 minutes to dry. Once it dries, you’ll be ready to whitewash the brick!
Step 4. Prep limewash mixture and paint the brick
First of all, limewash is not intended to be applied directly as it is quite dense. So I started by mixing the limewash paint and water at 1:1 ratio. You can also read more about limewash paint on Romabio website.
Then I painted over the entire fireplace surrounded with this mixture. This mixture will look more liquid that a normal latex paint but this limewash mixture will become opaque after it dries.
Here is an example of the wet vs dry. You can see that the wet part is a lot more translucent:
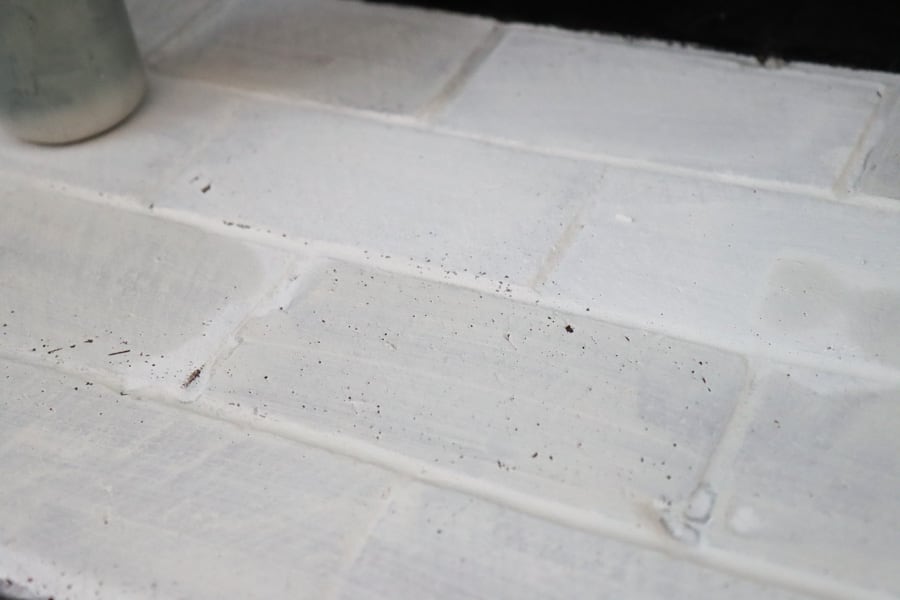
As I mentioned in step 1, this mixture would likely to drip. So whenever there’s some drips on the hearth, I just use the same brush to even out those drips on the heart because I will paint them anyway. If you leave the drips as is, they may stand out if you end up not covering them completely.
After one coat of paint, you can consider applying another coat of paint if that’s the look you are looking for. In my experience, limewash takes about 30 to 45 minutes to dry, and of course that also depends on how thick your mixture is. Because it doesn’t take much time to dry, you can easily apply a second or third coat to your brick surface.
For my case, I applied two coats of limewash paint to my brick fireplace to have a pretty opaque coverage while keeping some spot a little more translucent to give it a very interesting texture. This is completely personal preference. You can apply only one coat to give it a whitewash look with a little brick color peeking though, or you can apply multiple coats to have a pure white brick look.
Stop 5. Remove painters tape and touch up if needed
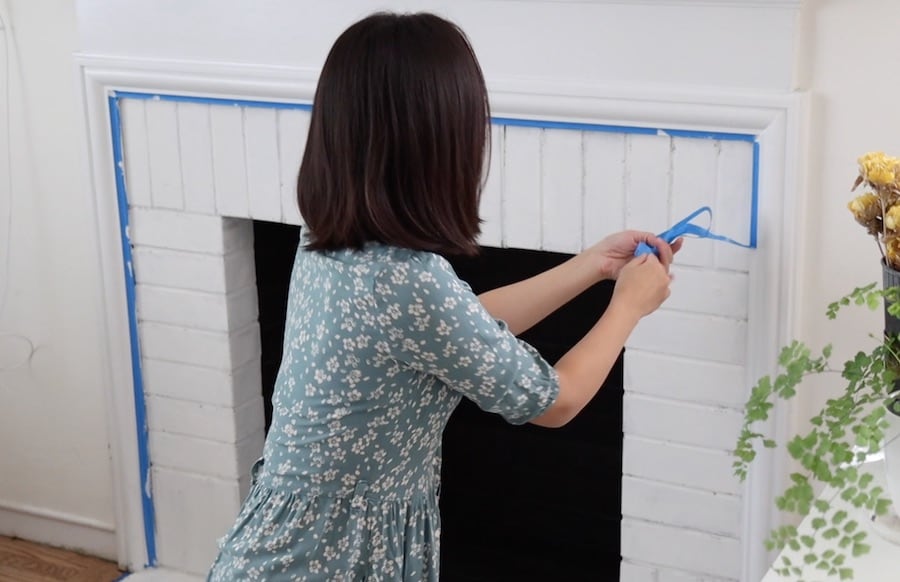
Based on the label, the high heat paint takes about 24 hours to fully dry, but let your fireplace paint sit overnight would be sufficient to do any touch up works. So the next day I removed painter’s tape and checked if there was any spot missing. If I would use a small brush to do touch-ups. And that is all the steps to it! I did wait for a full 24 hours before I place any fireplace decor inside the fire box.
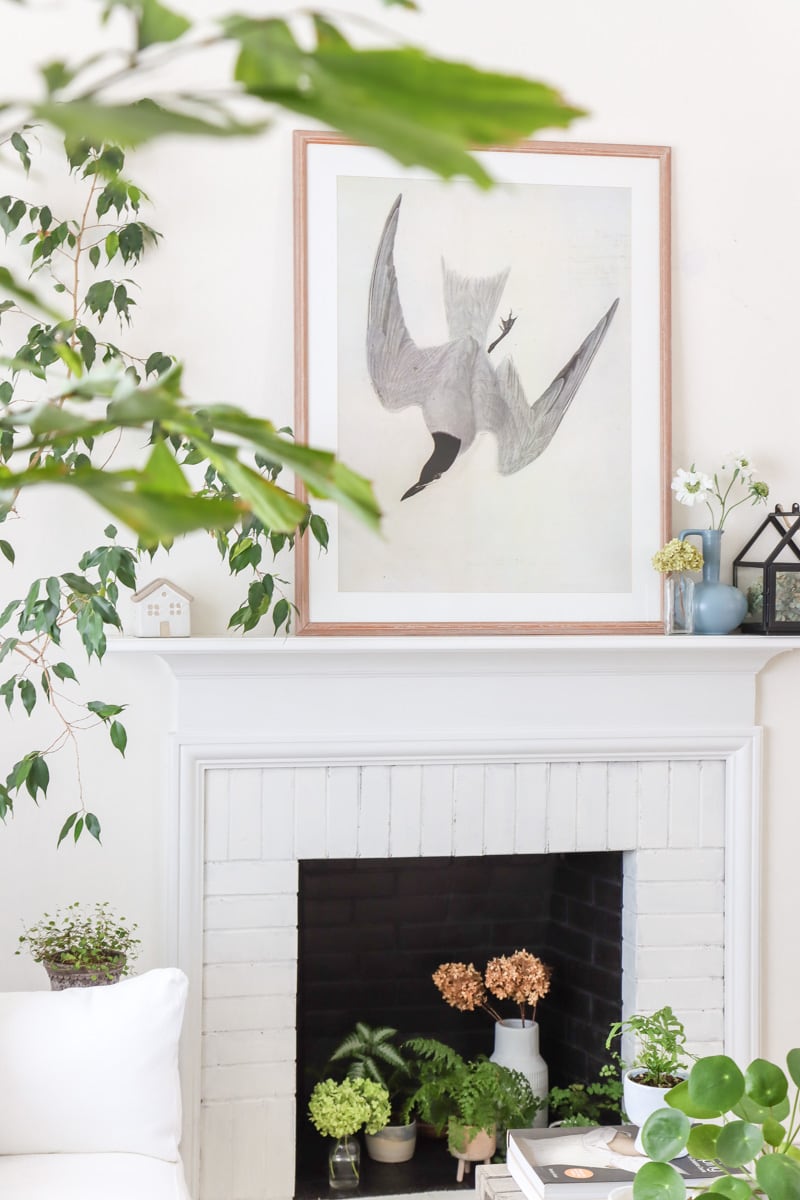
Limewash fireplace makeover before and after photos
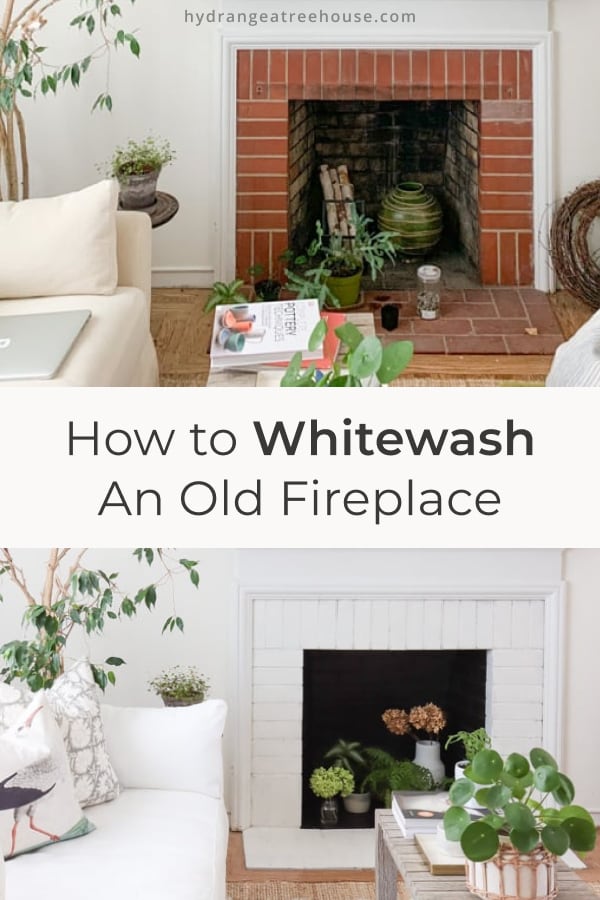
This project only takes a couple hours active working time and the end result is so worth it! Here’s the fireplace makeover before and after with limewash and heat resistant paint.
Limewash brick fireplace before:
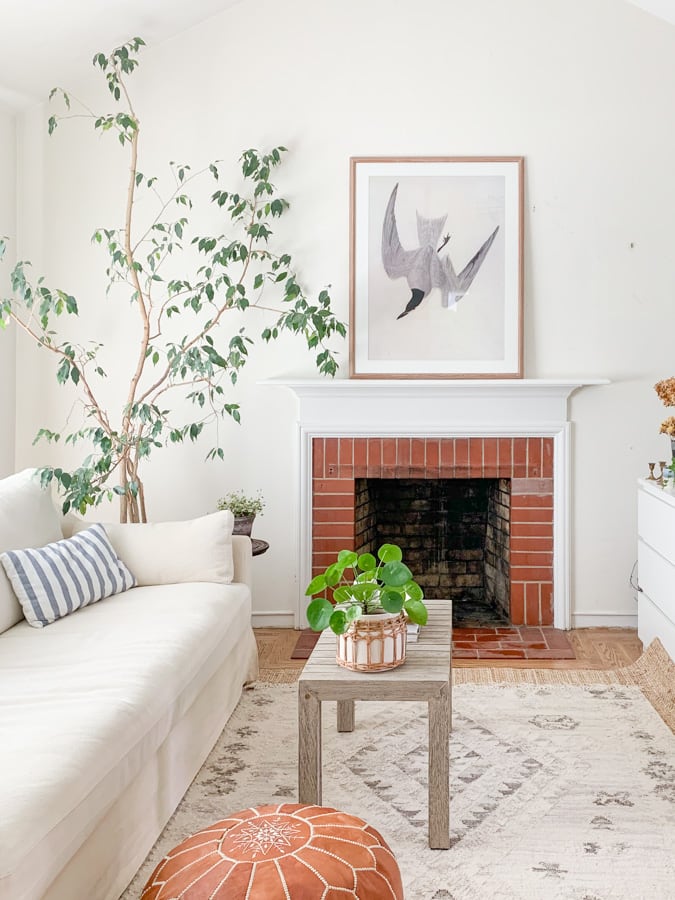
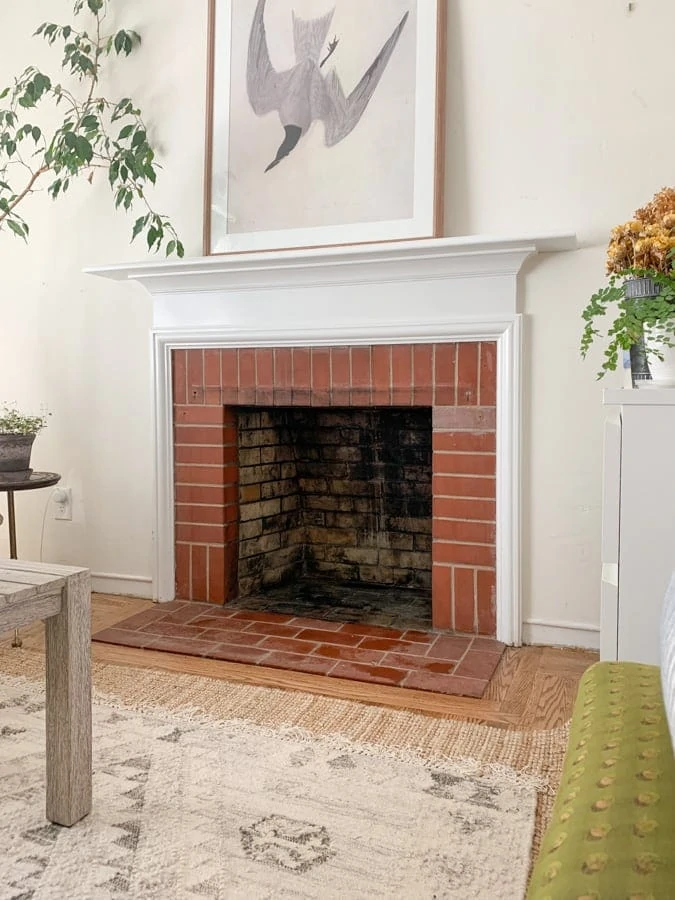
Limewash brick fireplace after:
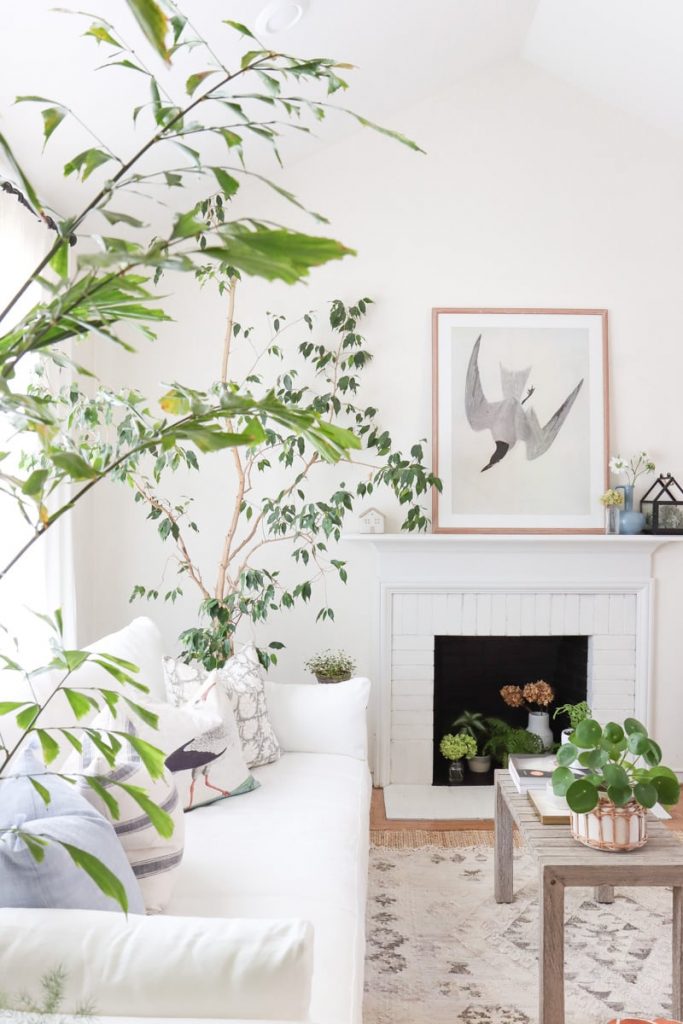
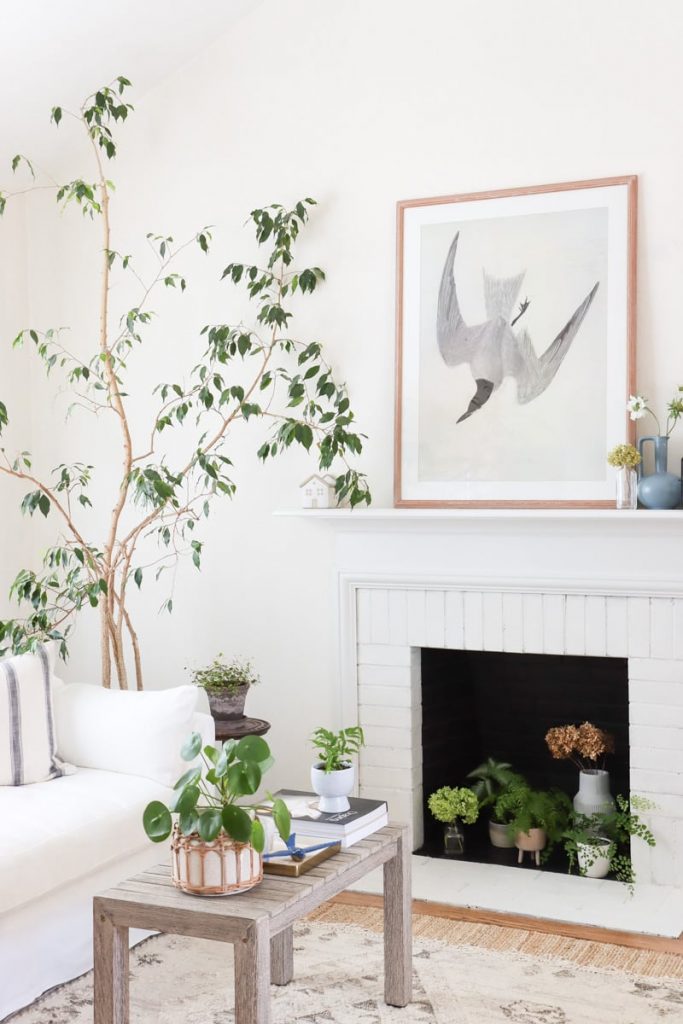
The whitewashed fireplace works so much better with my living room style and color palette. I couldn’t be happier with this limewashing fireplace outcome.

Related budget-friendly makeover projects
5 Tips to Make Your IKEA Sofa look Nicer
Pin it for later
Love your tutorial-looks simple! Now I just need to figure out how to convince my husband! 😉
Also I love your wall paint color…do you mind sharing this?
actually we haven’t painted our living room yet 🙂
What paint color is your wall in these pictures?