DIY Easy No-Sew Fabric Planter
Are you looking for a creative and budget-friendly way to display your plants? If so, this post is for you.
I’ll share my simple DIY method to transform what you have at your home into adorable fabric planters. What sets these fabric planters apart is their adjustable design, which enables you to reuse them as your plants grow and require larger pots.
And the best part? You don’t need to know how to sew. In the tutorial below, I’ll provide instructions for both a no-sew option and a sewing machine method, so you can choose the approach that works best for you.
Fabric planter: affordable and cute planter for your plants
As plant lovers, we enjoy acquiring beautiful planters to house our beloved plant babies. Most of the time, I keep my plants in nursery pots and place them inside attractive planters so they match my interior decor. Moreover, using a nursery pot inside a pretty planter makes repotting a breeze when your plant babies outgrow their pots!
However, pretty planters can be quite expensive, especially for larger pots. For a 10″ diameter pot, you may find yourself spending anywhere from $30 to $50 for just one planter. Considering the multitude of plants scattered throughout my house, price certainly becomes a concern.
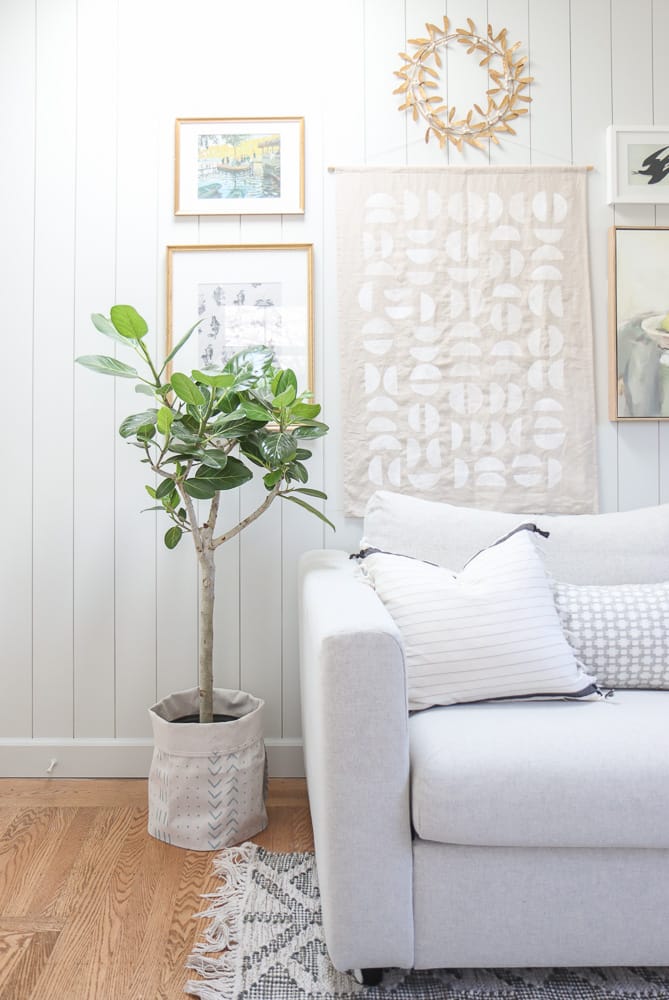
Which is why I came up with making my own fabric planters! Not only are they easy to make, thanks to my simplified design, but they also lend a unique touch to my home decor.
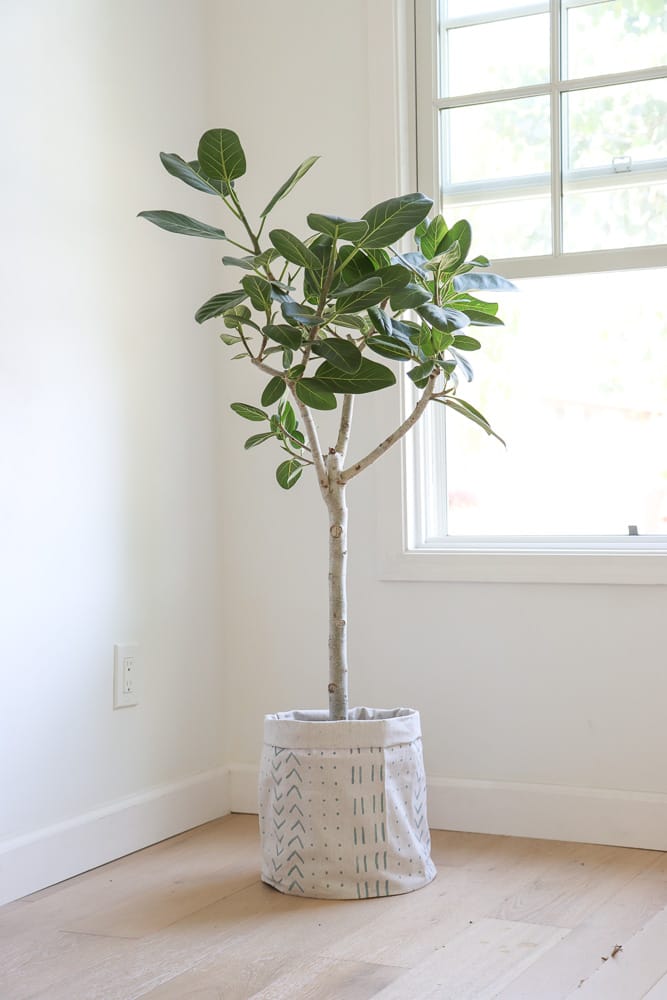
I’m currently using this planter for Ficus Audrey, a new member to my indoor trees selection.
Tools and materials for DIY fabric planter
Making a no-sew fabric planter is a fun and easy DIY project that requires only a few basic tools and materials. Here is a list of what you’ll need to get started:
Fabric:
Choose a fabric that is durable and will hold its shape well, such as cotton canvas. This is a great place to use off your fabric scraps.
In this tutorial, I’m using drop cloth – the ones you get from a hardware store to line your floor before painting.They are a lot more affordable than cotton canvas, and are quite durable.
Scissors:
A good pair of fabric scissors is essential for cutting fabric to the right size and shape. Make sure they are sharp and comfortable to use, especially important to cut through thick fabrics.
Ruler or measuring tape:
Measuring your fabric and planter to ensure that your fabric planter fits your plant pots perfectly.
No-sew route:
You’ll need hemming tape and iron. This enables you to create a professional finish without having to sew.
Sewing route:
If you choose the sewing route, you’ll use your sewing machine for super durable constructions
Now that you have all the tools and materials you need, it’s time to get started on your no-sew fabric planter!
DIY fabric planter step-by-step instructions
Creating your own no-sew fabric planter is an easy and fun DIY project, and it only takes a couple hours max!
By following these 4 simple steps, you can make a custom fabric planter that not only decorate your baby plants, but become a beautiful decor piece for your home.
Step 1: Measure and cut fabric
Before you start, you will need to measure the fabric for your planter. Use a measuring tape to wrap around the widest point of the pot (sometimes it is the saucer). If you don’t have any soft tape, you can measure the diameter of your pot and multiply it by 3.14(π).
Then add 2 inches to the measurement for ease and hem.
For the height, measure the height of your pot and add an additional 4 inch to the measurement.

Cut a piece of fabric to match these measurements.
If you’d like to make the planter adjustable, you can include extra length and height. The extra length will come in handy when you size up your pots in the future or wish to use this fabric planter for a larger pot.
Step 2: Personalize to create your custom fabric
To make your fabric planter unique, you can personalize it with your own custom design!
I drew inspiration from African mud cloth patterns and wanted to incorporate some fun designs onto my fabric. To ensure precision, I used washi tape as a masking tape on the fabric, allowing me to align the patterns perfectly! It was a truly mesmerizing experience.
I happened to have some small paint samples lying around that I used for painting walls. So, I mixed them with a little water and used a paintbrush to create those patterns on the drop cloth.

Alternatively, you can also use acrylic paint that becomes non-water soluble when dried, or even explore fabric transfers! There are so many possibilities, so be creative and have fun with it!
Step 3: Finish the raw edge
Once you are done painting and customizing your fabric base, it is time to finish off the raw edge of your fabric.
Since I’m making an “adjustable” fabric planter, I intentionally left the height longer so that I can fold it down for a desired look.
There are two reasons for this: 1. I find the rolled edge to be a cute look. 2. It allows me to reuse this fabric planter for taller plant pots in the future.
If you prefer the no-sew option, you can use hemming tape. Apply the hemming tape, then fold the fabric edge over by approximately 1/4 inch. Press the folded edge firmly with an iron to secure it in place. It’s super easy!
If you enjoy sewing, fold the fabric in by 1/4 inch to the wrong side, and fold it again with the same distance, and sew along all four edges. I like a double fold hem but you can certainly do a single fold.
For a clean finish, you can even create a mitered corner—bonus points for that!

Step 4: Wrap the fabric to plants
Once your fabric is ready, it is time to wrap it around your plant!
This fabric planter differs from traditional ones as it doesn’t have a bottom, which makes the DIY process beginner-friendly and straightforward.
Additionally, it’s much easier to move the fabric planter whenever needed. For example, I like to lift up the fabric planter while watering the plants to ensure the water drains from the pot into the saucer.
To put your plants in, simply wrap the fabric around the pot and secure the loose side with safety pins. I used a total of 3 safety pins. Then I turn the safety pin side towards the back.
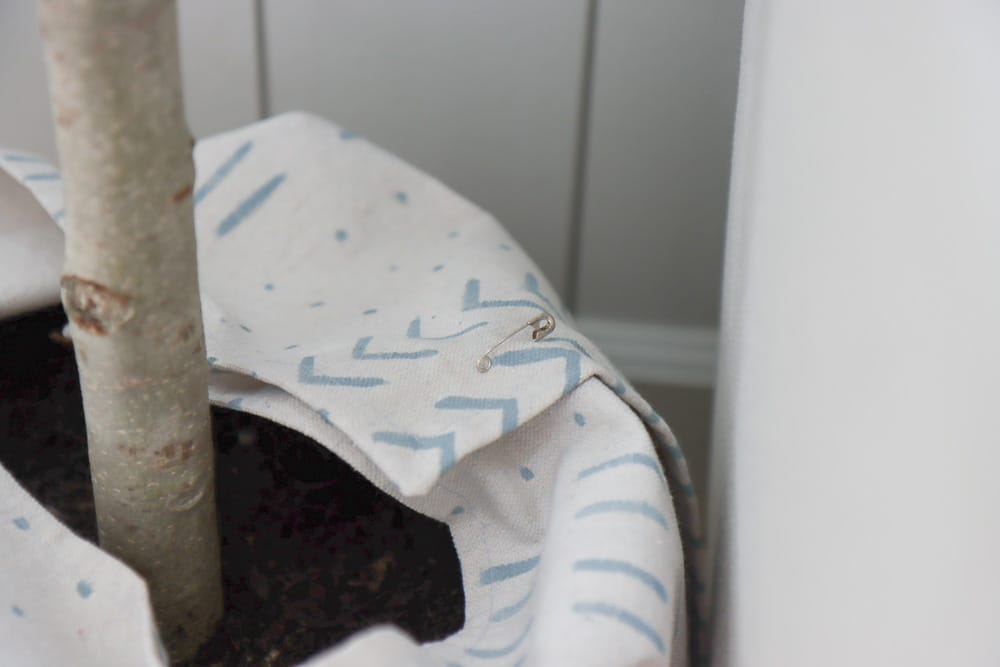
Using safety pins is an excellent way to make your fabric planter adjustable.
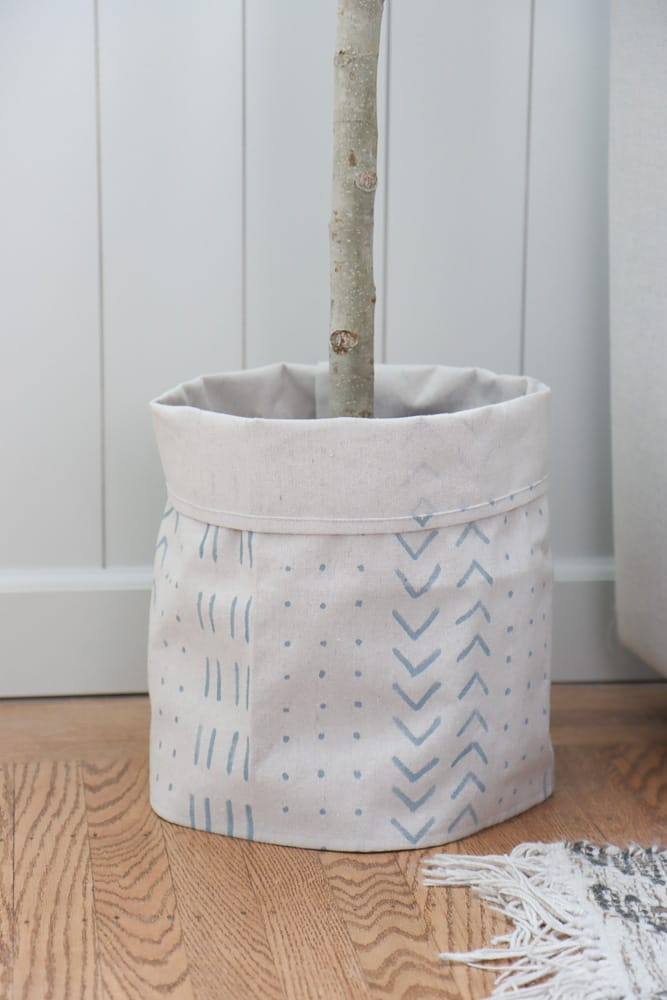
Next, I folded the top edge towards the right side to create a folded look. This fold reinforces the shape and prevents the fabric from appearing floppy.
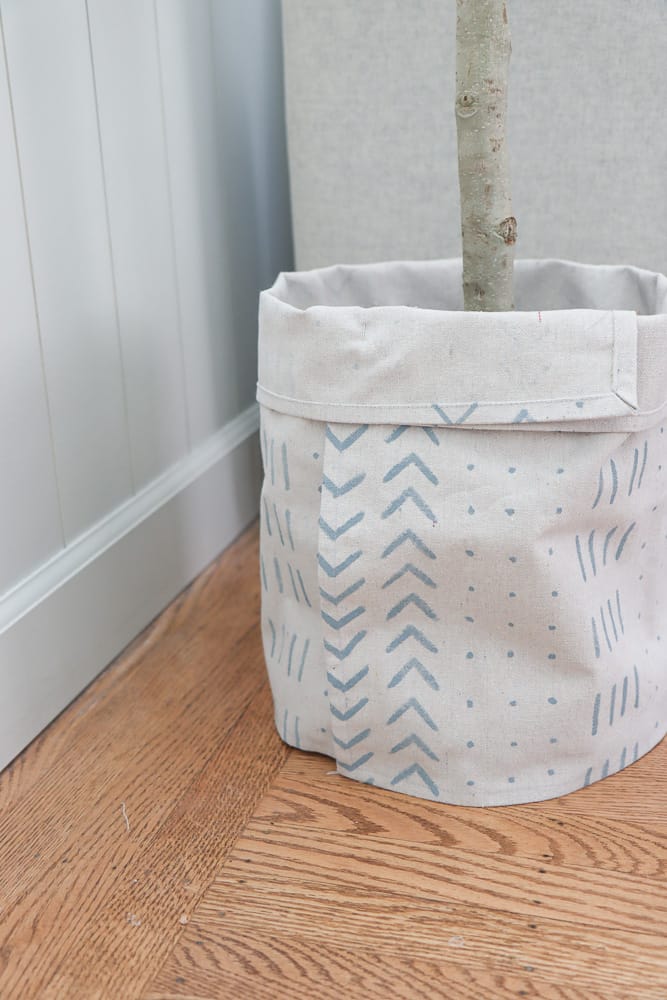
You can do a single fold like the photo above or a double folded top like this:

DIY easy no-sew fabric planter summary
That’s it! Your no-sew fabric planter is now complete and ready to display your favorite plant.
No-sew fabric planters are a great DIY project for anyone who loves plants and wants to add a personal touch to their home. With just a few steps, you can create a beautiful planter that perfectly complements your style.
Plus, making your own planters allows you to customize the size and shape to fit any plant you have in mind while saving tons of money!
