Do you have any animal garden statues that are just not that good looking? In this post, I’m sharing how I paint garden statues to bring life to my garden. This DIY garden decor transformation is so easy but makes so much impact!
Animal garden statues: the easiest way to add whimsy
A whimsical garden naturally make me happy. I have string lights set up, I got fountain and bird bath in my backyard, now all it’s needed is some cute animal garden statues.
Over the past few months, slowly but surely, I scored some cute animal garden statues. They cost from zero dollar to 8 bucks. For outdoor furnitures or decors, I really like to source them second hand, as I knew they’ll experience some tough weather conditions and receive quite some wear and tear.
When buying garden statues second hand, I get to choose the affordable price, but not the color or finish, so repaint them has been on my to-do list for a while. As the spring is coming and I’m at full swing with my backyard work, it is the time to bring some life to my garden “animals”!
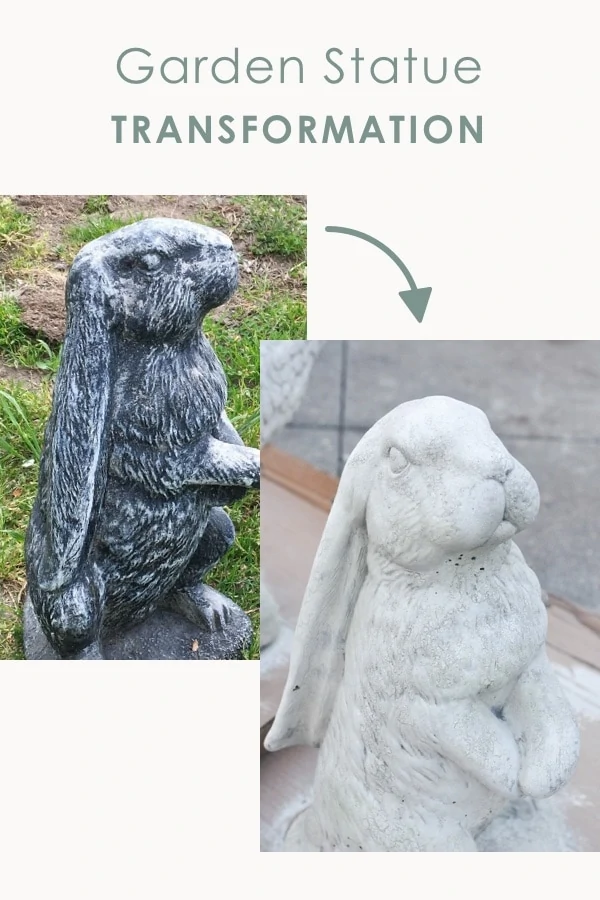
Garden statues “before” and “after”
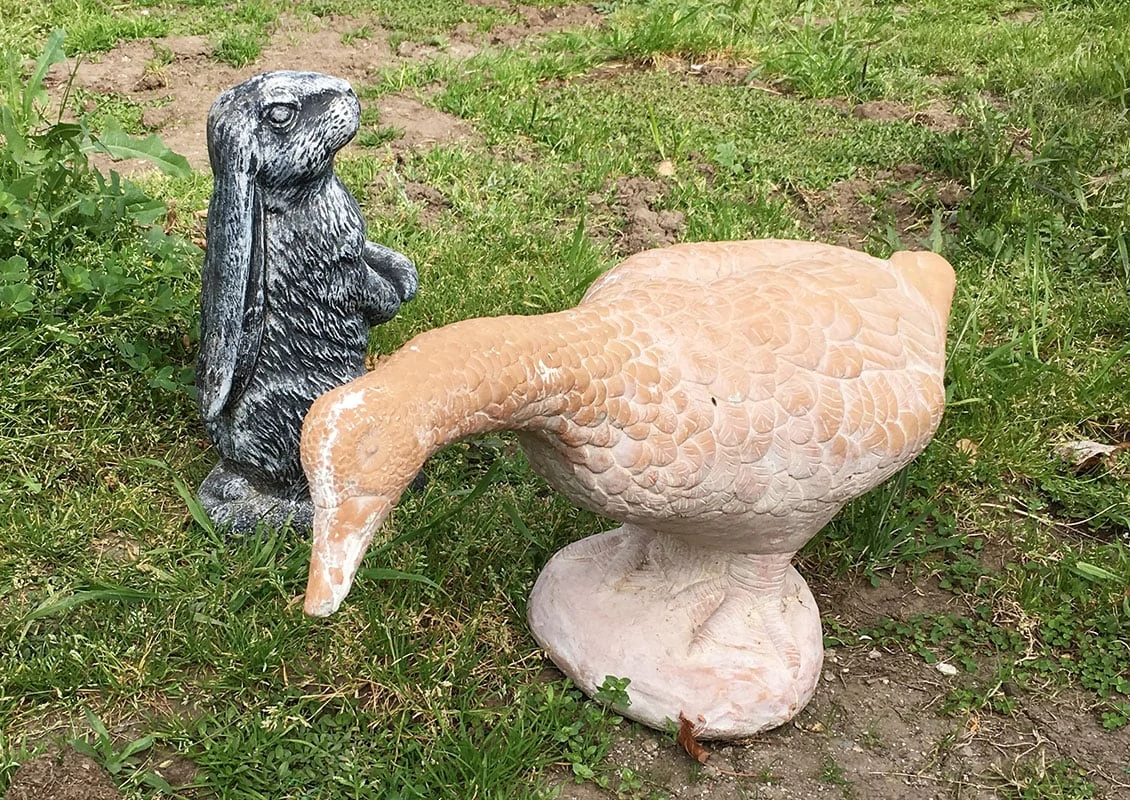
This time I’m painting two of my garden statues: a black rabbit and a terra cotta goose.
The rabbit is simply in the wrong color, making the looks make of copper or metal but kinda fake. Also I don’t like the big contrast of white and black, as it makes the rabbit statue looks very busy, so all the details of the rabbit itself is a little lost. I think painting it a lighter color would it make cuter and show the details that is important.
For the goose, I got it for free when I purchased a second hand bird bath. But the problem is it has several cracks, plus part of the beak had some big damage. I had patched up the cracks and missing part with speckle, but I knew I need to paint it over entirely as the color difference is quite strong.
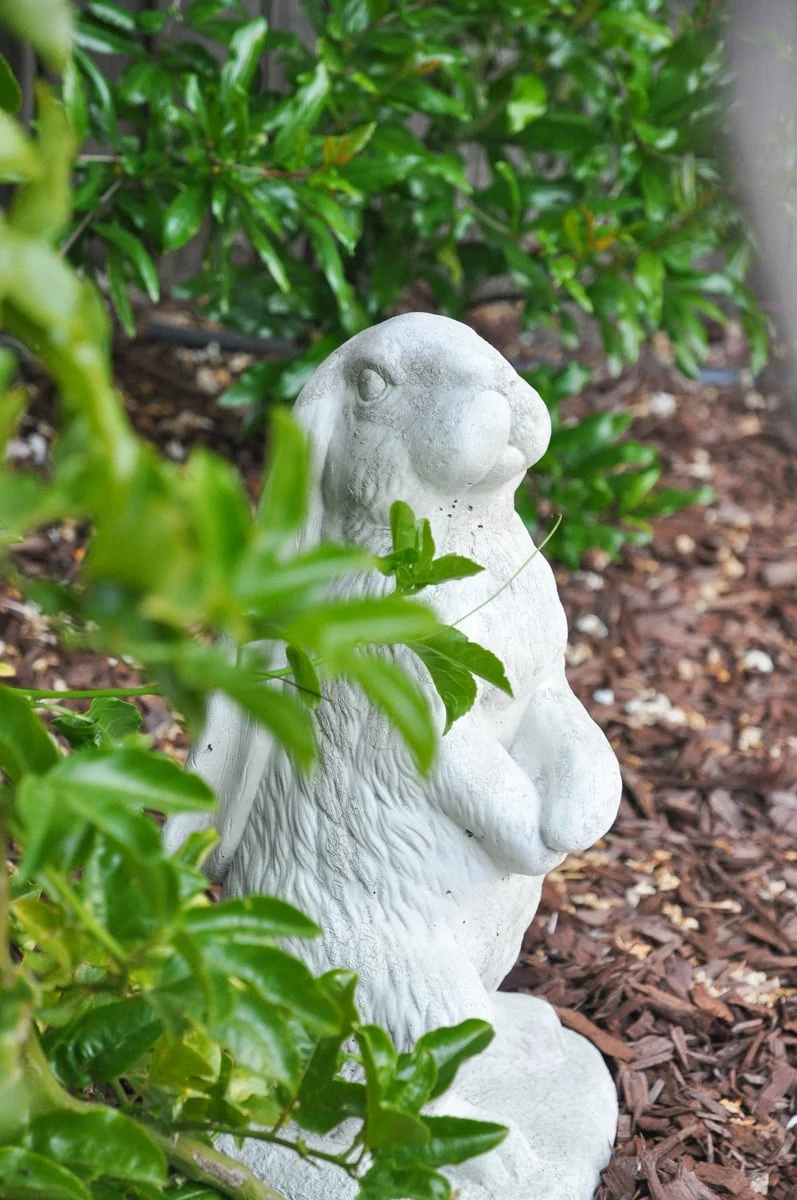
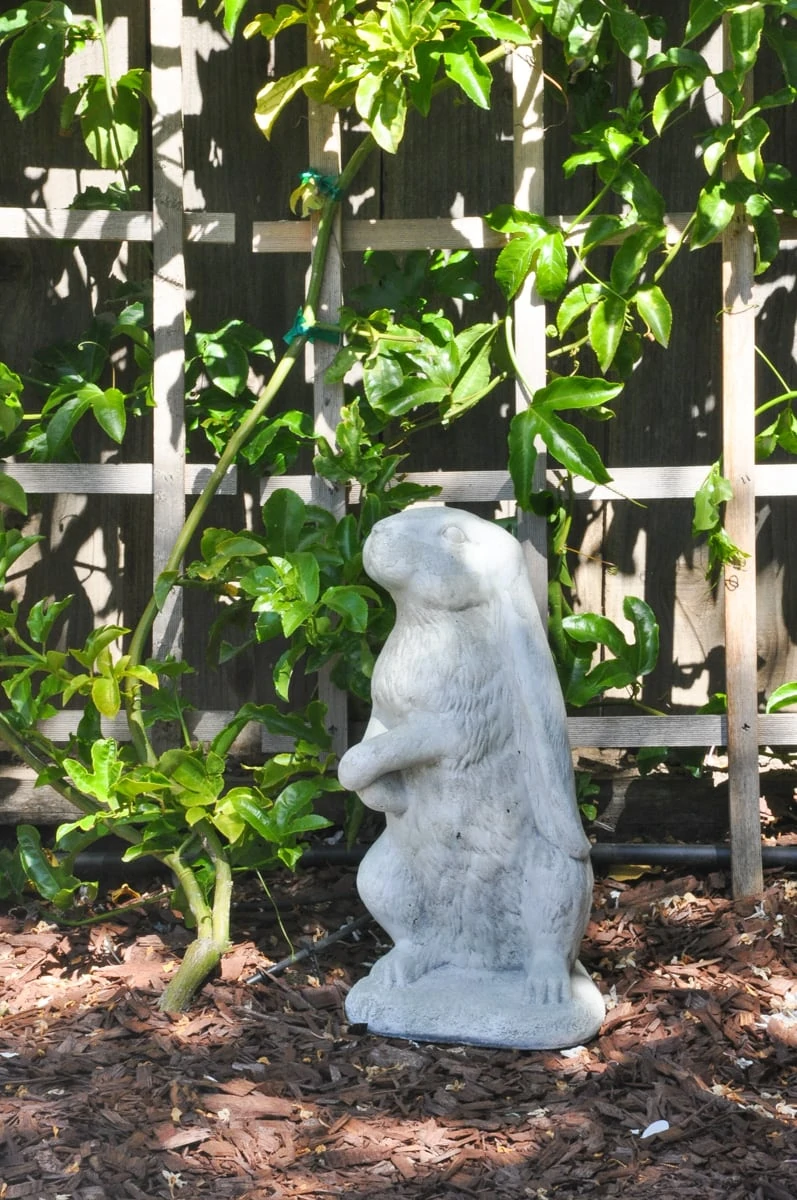
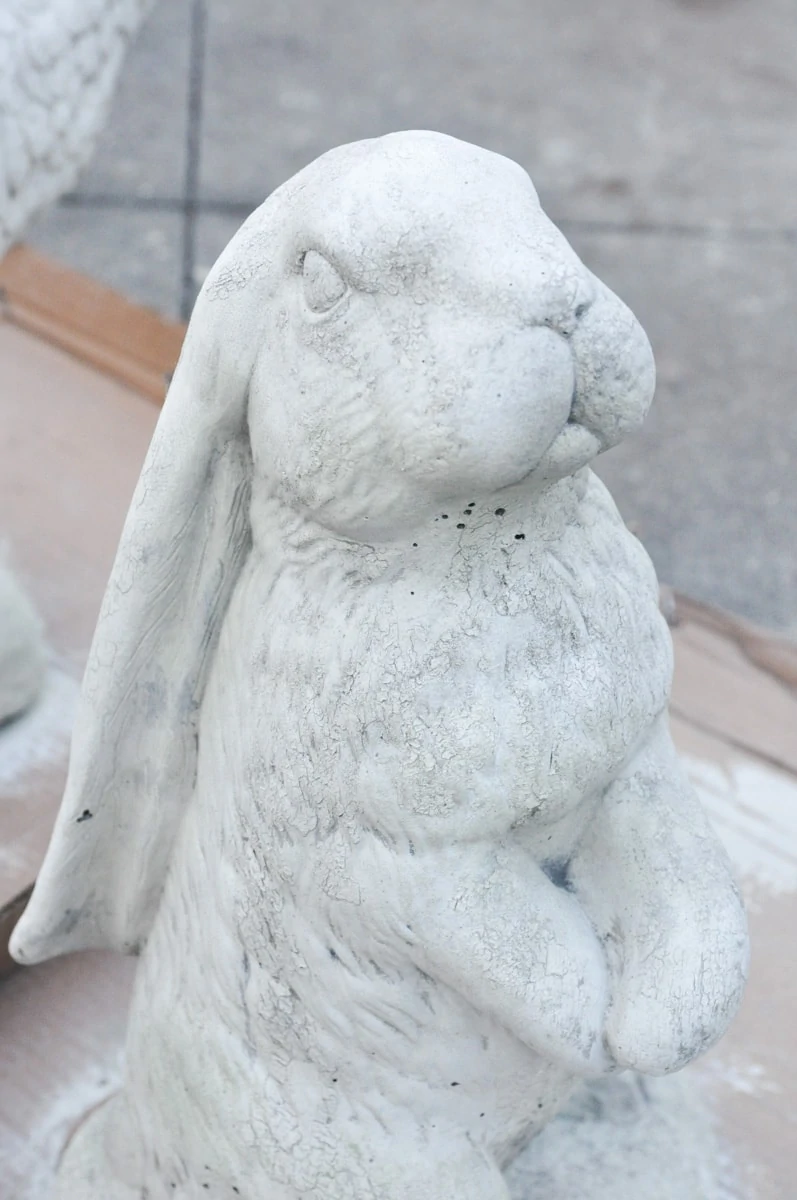
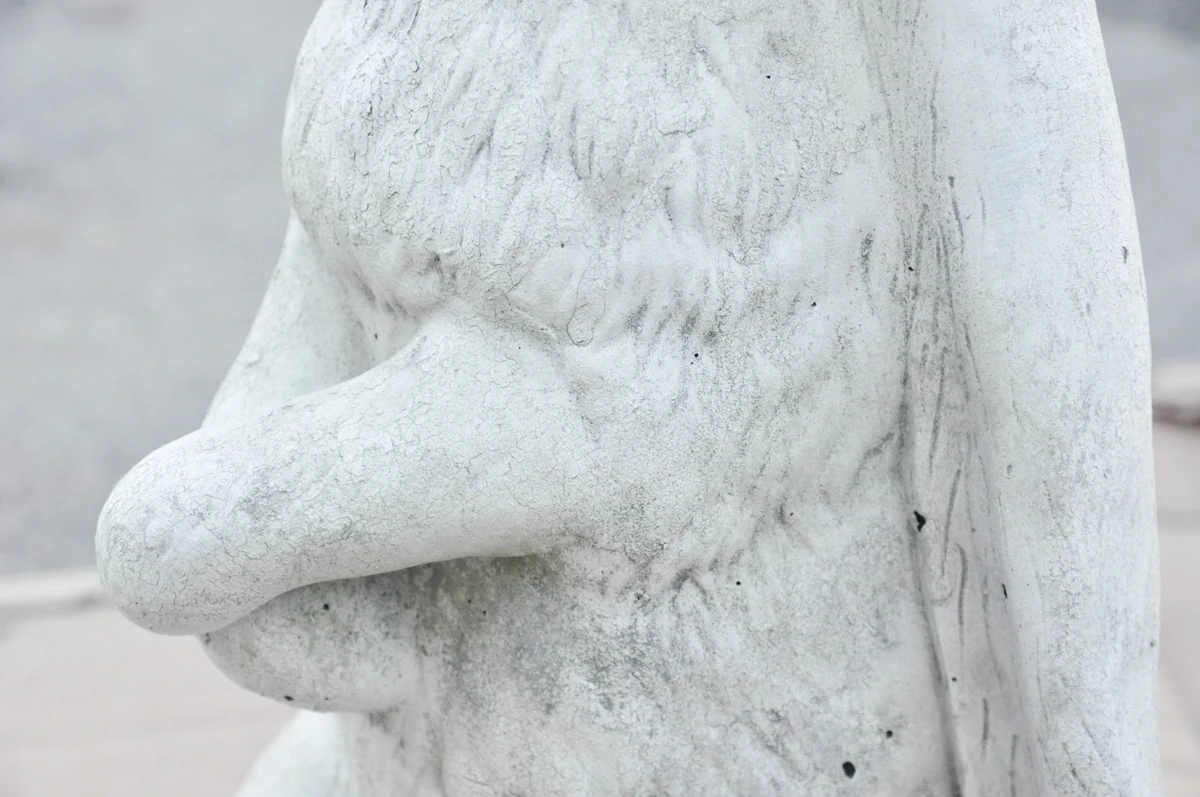
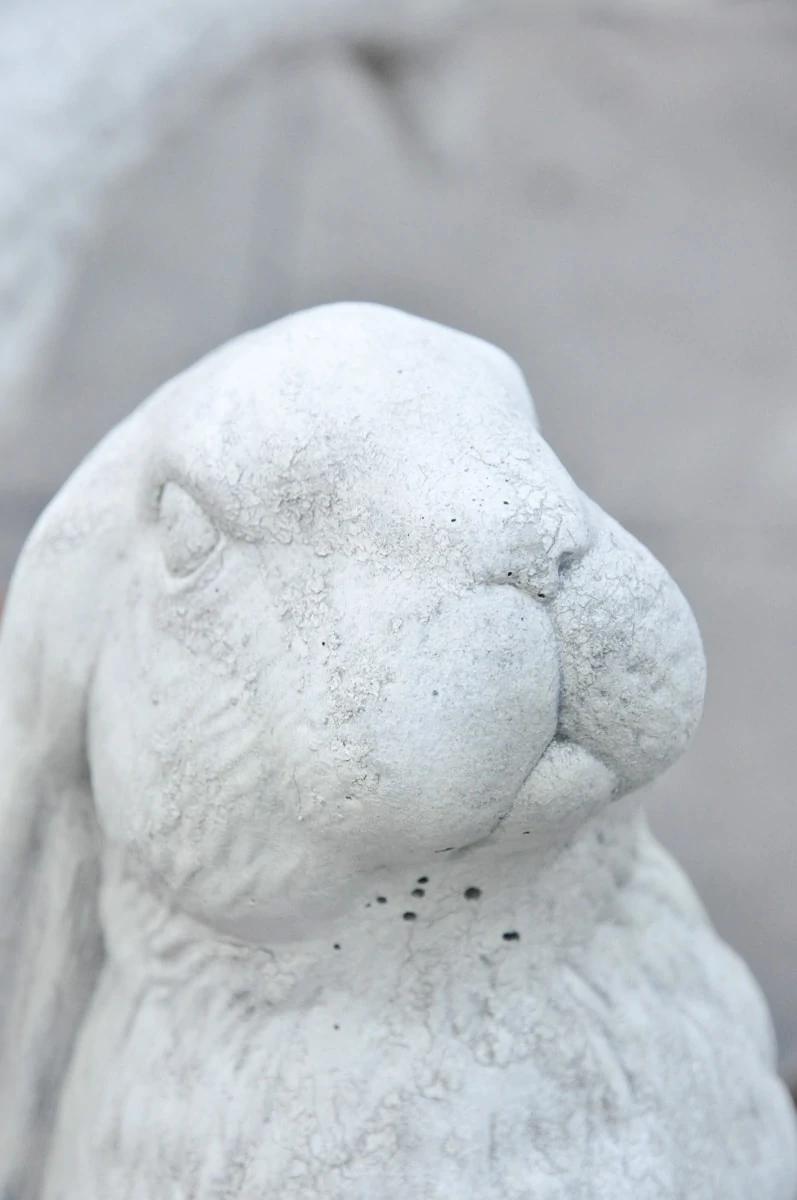
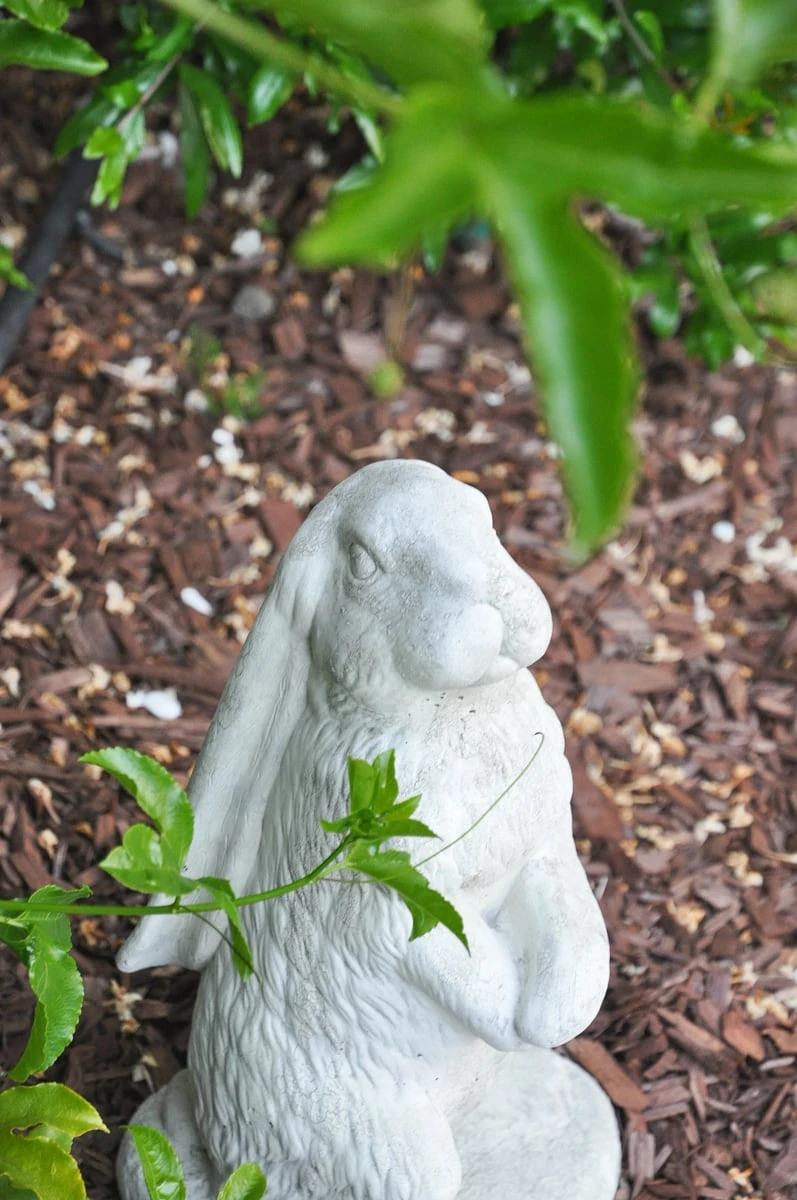
Despite some minor imperfections, I’m very happy with how they turned out! I painted these garden statues couple layers of light colored paint with a little bit color variations, also created some worn texture to make it look more aged!
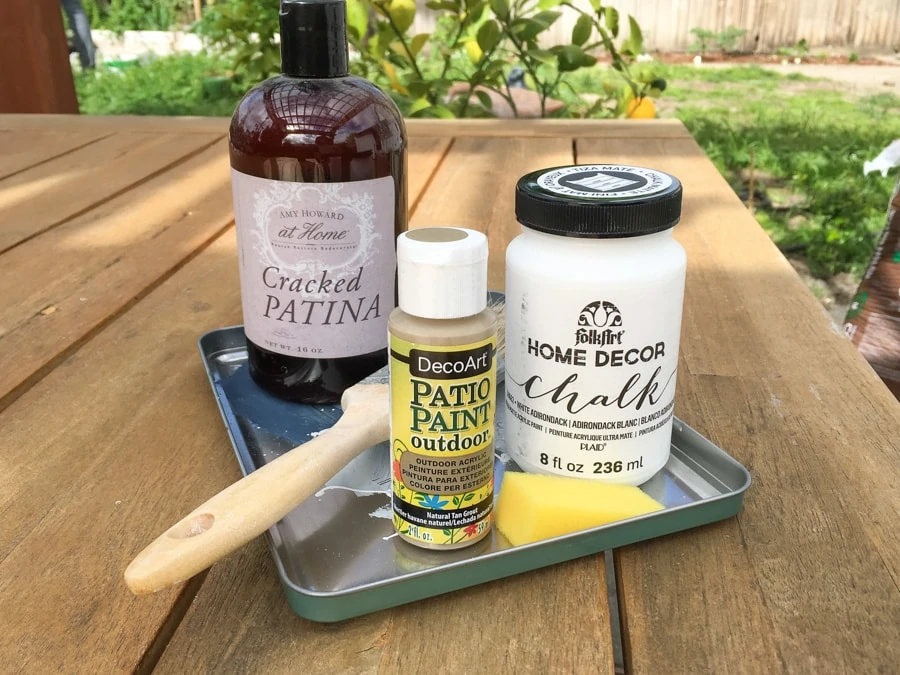
Paint garden statues materials
paint brush
(optional) Cracked Patina from Amy Howard At Home
(optional) sponge
(optional) Dust of Ages from Amy Howard At Home
Paint garden statues steps
1. Clean up. I started by wiping off the dirt from the garden statues, as they have been sitting outside for a well. Having a clean slate will make paint adhere a lot better and cover more evenly. Since they are for outdoor use and I’m going for a chippy, rustic look, I did not go too crazy with the cleaning.
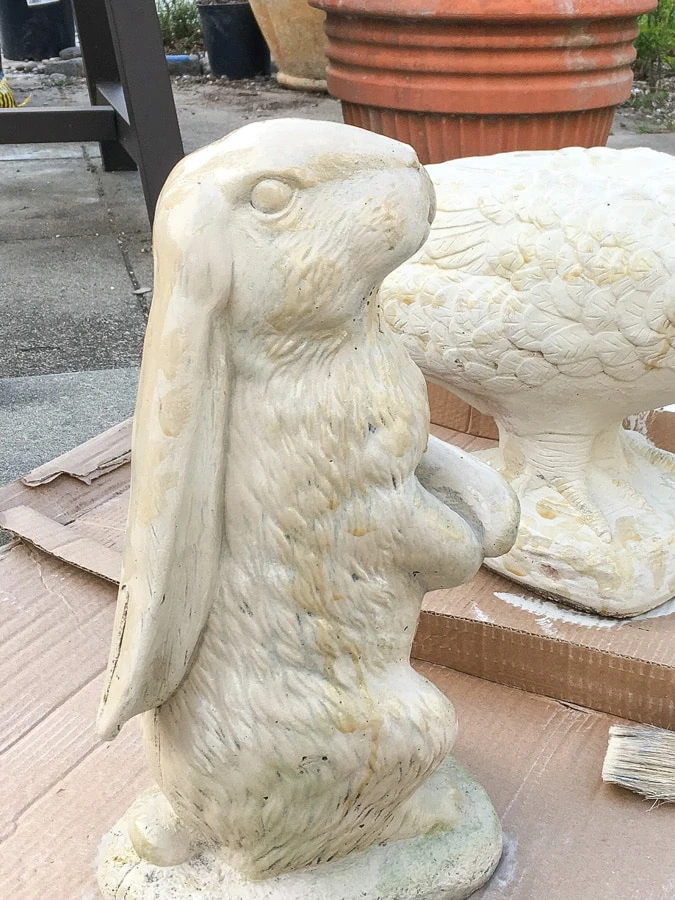
2. Base coat. I applied a base coat of paint. For the paint I have a patio/outdoor paint that is a tan color, and a chalk paint of pure white. I got both from my local Michael’s because it is inexpensive and easy to get. I mixed them up 1:1 to create a base color and paint the entire rabbit garden statue.
3. Cracked Patina(optional). After the first coat is dried, I applied some cracked patina with a sponge, dabbing on some surfaces that is likely to get the most wear. It takes 1 hour to dry.
This step is completely optional as you can also just create the wear through different ways, such as sanding or removing paint while it is wet. The reason I used it is because I have it on hand. It doesn’t affect the success of this project unless you are really into the cracked texture.
4. 2nd coat. I then applied a second coat of paint – I used the same combination as the first coat, but different proportion. This time I used more white and just a little bit of that tan color patio paint. Because I applied cracked patina, the second coat of paint immediately started to crack as I was applying. Some paint may fall off during this process and that is completely ok as it will create the layered paint look – that was the goal. The right way is to use a chippy brush to lift up some paint. Since they paint were cracked, what you have lifted up will create a natural wear and tear space to show the paint beneath it.
Due to inexperience, I didn’t manually remove any cracked paint surface. So I only have a little big base coat of paint showing up here and there. If I were to do it again, I would definitely using a chippy brush to remove some top paint to have make the garden statue to have a more rustic look.
5. Green paint(optional). After the second coat is dried, I gently applied a little bit moss-y green paint (green patio paint mixed with tan patio paint) to some areas that is more likely to develop moss, such as those under surfaces. If I ever apply to much green to it, I will use a small rag to dab on the surface to remove extra green paint. This step is optional but it will create a more natural and aged look to your garden statues.
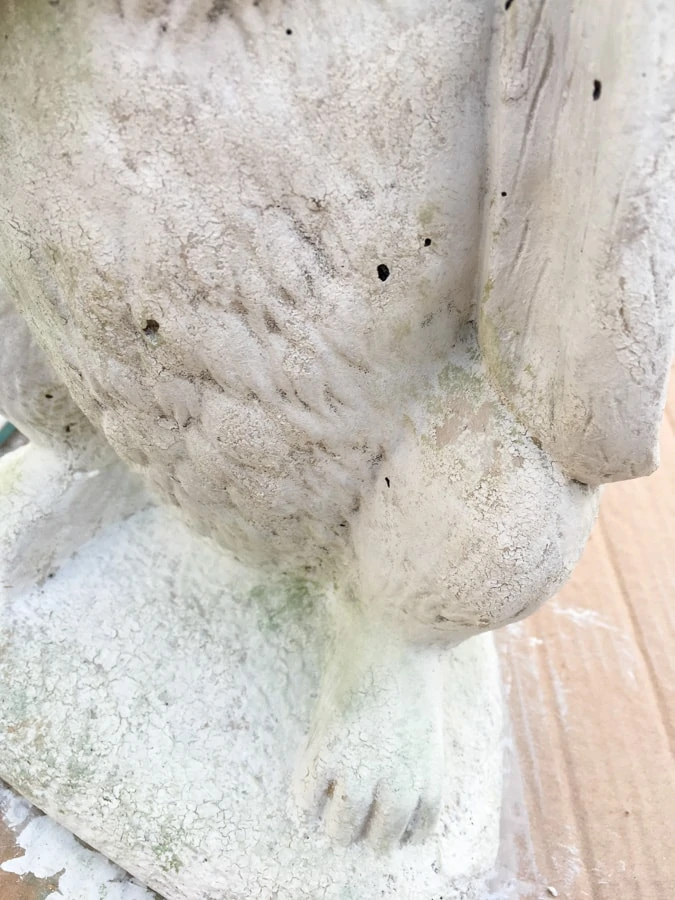
You can see in this photo that I added some green paint at the corners:
5. Dust of ages(optional). Again, this step is optional. If I didn’t have dust of ages on hand, I wouldn’t take this step. What I did is to dab some dust powder on the crevices using a chippy brush, then brush off the excess. This will add more emphasis on the cracks and crevices, hence more dimension.
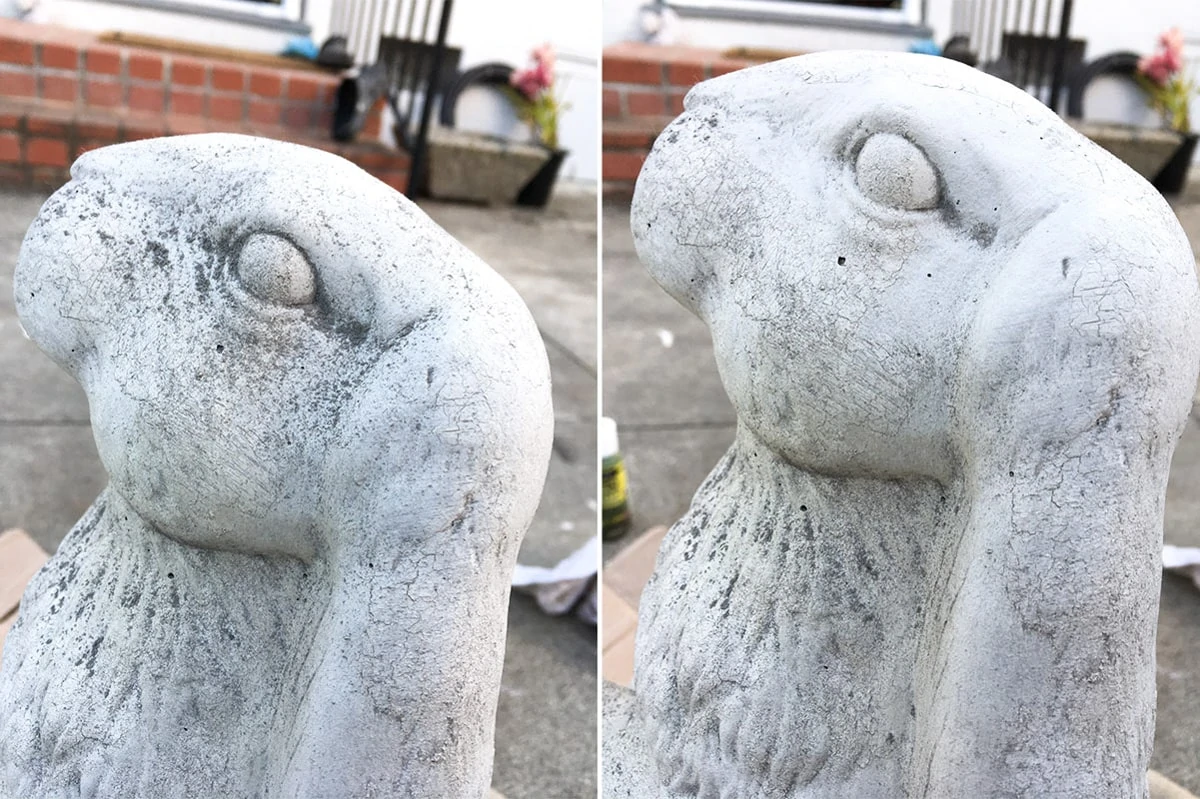
This photo is a comparison of during applying and after brush away the excess.
So that’s all the steps to transform ugly garden statues to cute animals! I realized I listed a lot of steps, but honestly you can just clean it up and paint one coat of paint – that’s only 2 steps! All the other steps are optional if you want to create a more worn look and for sure you can pick and choose which optional step you’d like to take.
Check out my other garden DIY tutorials
Easy DIY Trellis Tutorial for Your Garden for Less Than $5
DIY Tiered Strawberry Planter | Vertical Garden Ideas
Set up micro spray irrigation for raised garden beds with video | drip irrigation

This is beautiful and incredibly realistic looking! Well done and thanks for sharing!