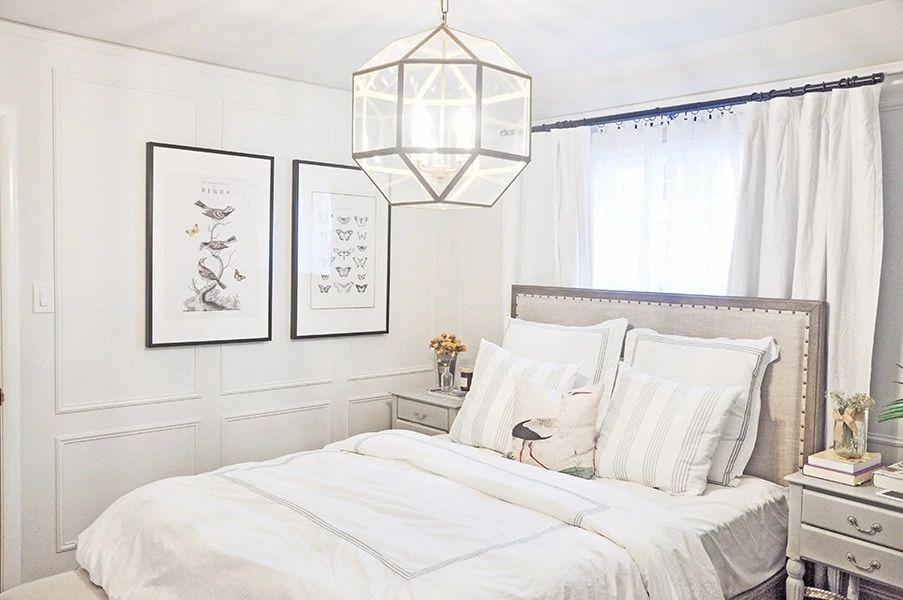
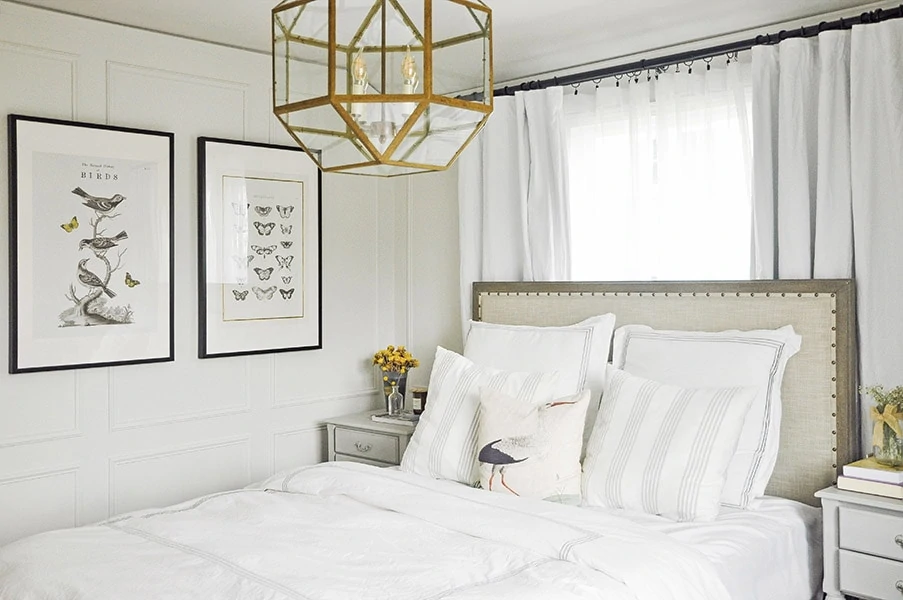
Our bedroom renovation is not completely done but has reached a point that we are pretty happy with. The color palette is neutral, a lot of light gray and white. We added in brass as accent color to bring a tiny bit of old world glam into it.
I have shared our master bedroom renovation mood board on this blog, and you have probably seen some hints over nightstand makeover post. Although our master bedroom renovation is not 100% done yet, I am eager to share a “half” tour of what it looks like now and my plan for the other “half”.
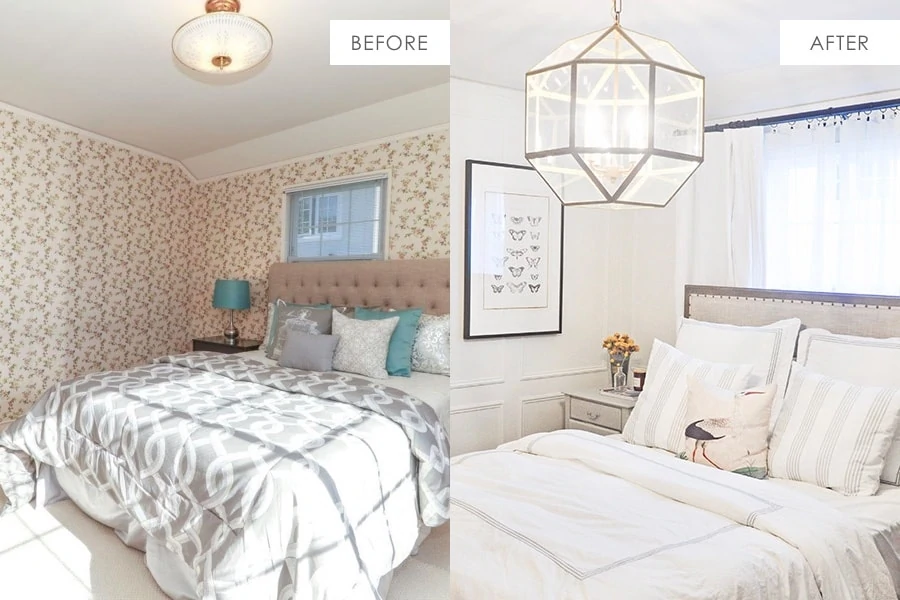
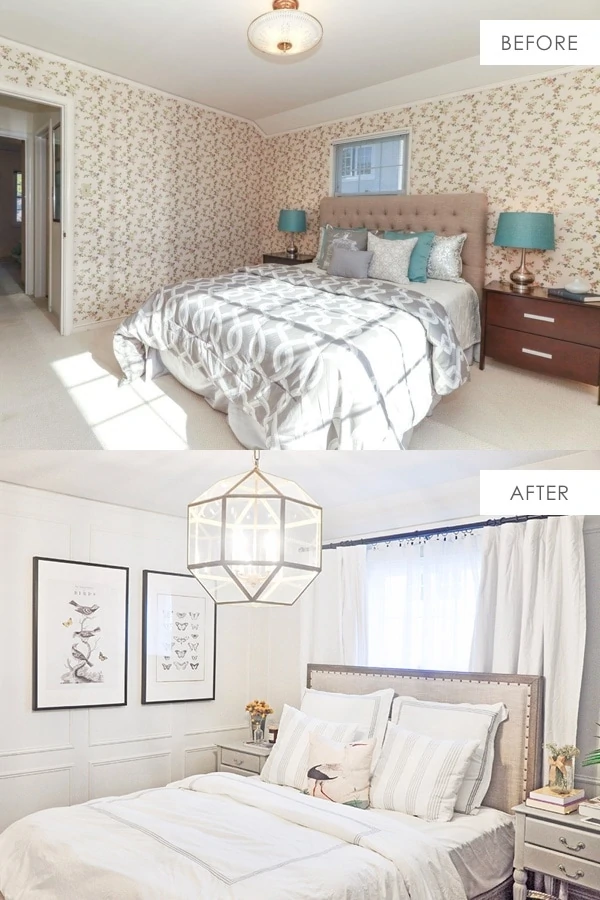
Bedroom renovation before and after
BEFORE
AFTER
The before of this bedroom is nothing close to modern – we highly suspect it was last renovated 80 years ago when the house was built! It had very colorful wallpapers and a small entrance to a quite wide and shallow closet. Right off the bat I knew that I had to update it.
Bedroom renovation step 1: remove wallpaper
Of course the first thing we had to do is to remove the old wallpaper. It was a relatively easy process compared to the home office which has vinyl wallpaper. We scored the wall with wallpaper scorer and sprayed a lot of water. Then after the water got a chance to soak in, we removed them from the wall using a combination of our hand and scraper.
Bedroom renovation step 2: install picture frame molding
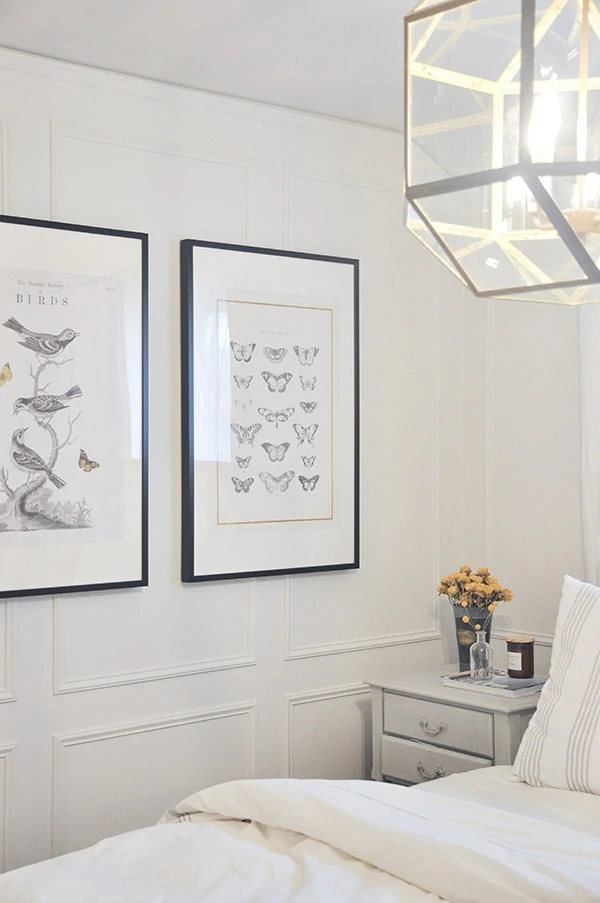
After the wall got into a clean state, we started on the molding project! I have been a big fan of architectural details, as it doesn’t really take up any space but makes such a huge impact on the look of the room. Another bonus is that the wall won’t look empty even if I leave it blank.
After looking at inspiration on Pinterest and comparing with a few molding options such as horizontal shiplap, vertical shiplap, board and batten grid, and picture frame molding, I landed on the picture frame molding. It is probably the easier among those options. I wasn’t a very experienced DIYer back then and my husband is not handy. So something simple is the way to go for our first wall molding project!
I designed those molding dimension and spacing using computer, then just followed it strictly. We used this molding from my local Lowe’s store (here’s a similar one on Amazon), and the main tool we are using are miter saw and brad nailer.
Once we finished attaching moldings to the wall, we speckled the nail holes and sealed any obvious seams with caulk. Then we spray painted the whole wall with two coats using Benjamin Moore OC-22 Calm. We thought about just using paint roller but eventually decided to use spray paint for the following reasons:
1. we already have a paint sprayer when we painted our kitchen cabinet
2. it is harder to get into the corners of decorate molding by brush and roller
3. the room is totally empty as we were temporarily living in the “home office”, which makes spraying a lot easier
For the ceiling, we literally used the same paint. I was planning to use a 50% lighter shade of the same color and already bought it, but then got lazy about masking the edge and paint it. So we did all the walls and ceiling in one go.
Bedroom renovation step 3: bedroom furnishing
Although placing a bed in front of a window is not ideal, there’s really no better place for this queen size bed. Besides by placing the bed this way, we gained a little space for some seating nook.
We bought this bed on a whim before the moodboard was even created. One day my husband and I were walking around at our local Pottery Barn store. We saw this bed is on sale as floor sample. Since I have seem people used this bed to style, I surprisingly didn’t feel uncomfortable to make a purchase before extensive research (like I usually do). With the floor sample price and an additional 20% off on sales, we ended up paying $720 before tax, while its retail is $1599.
After we scored the bed, I was more clear on what style the nightstand should be. I ended up refinishing a pair of second-hand nightstands scored from Facebook Marketplace. And you can read here on how I refinished them.
Another big part of the bedroom is curtain. My husband really wanted to have blackout curtain – later on I found all men do! “blackout” combined with “washable”, there’s just not so many options! I ended up buying two pair of this curtain from West Elm. After using them for over 6 months and washed them, I have mixed feelings – but that would be another blog post.
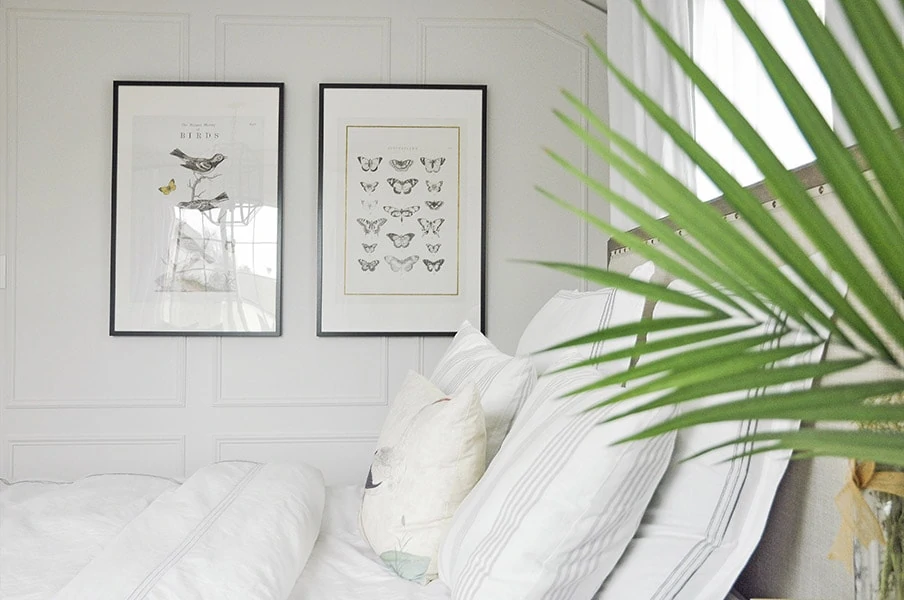
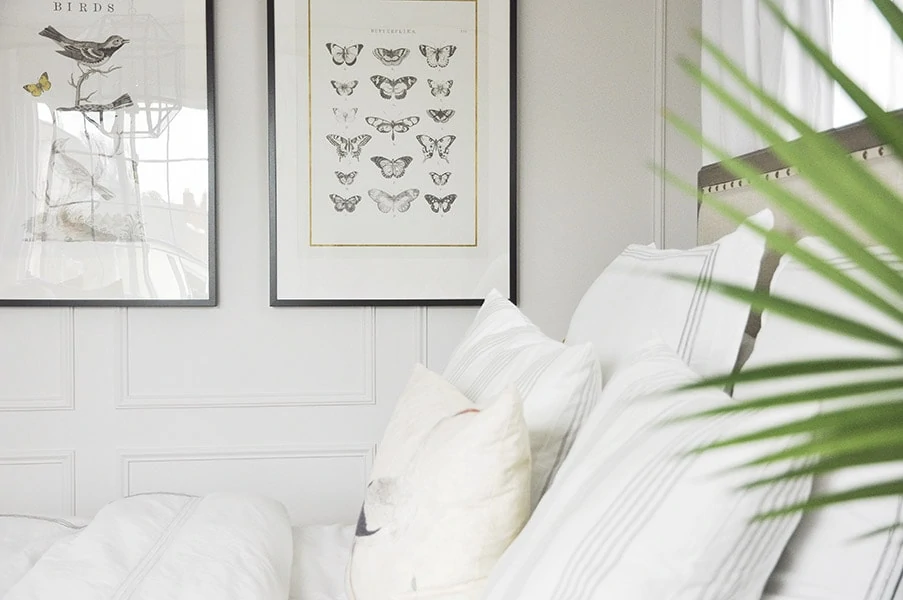
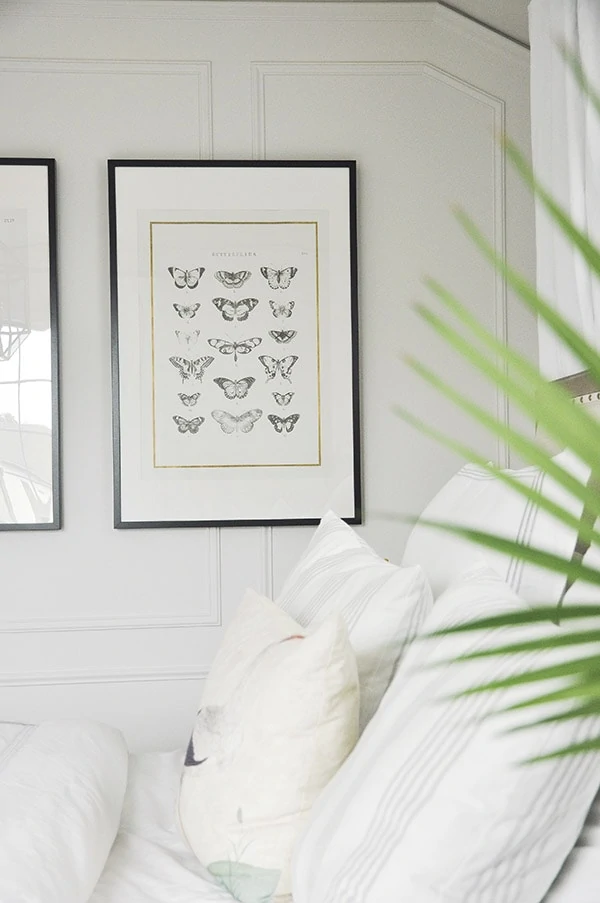
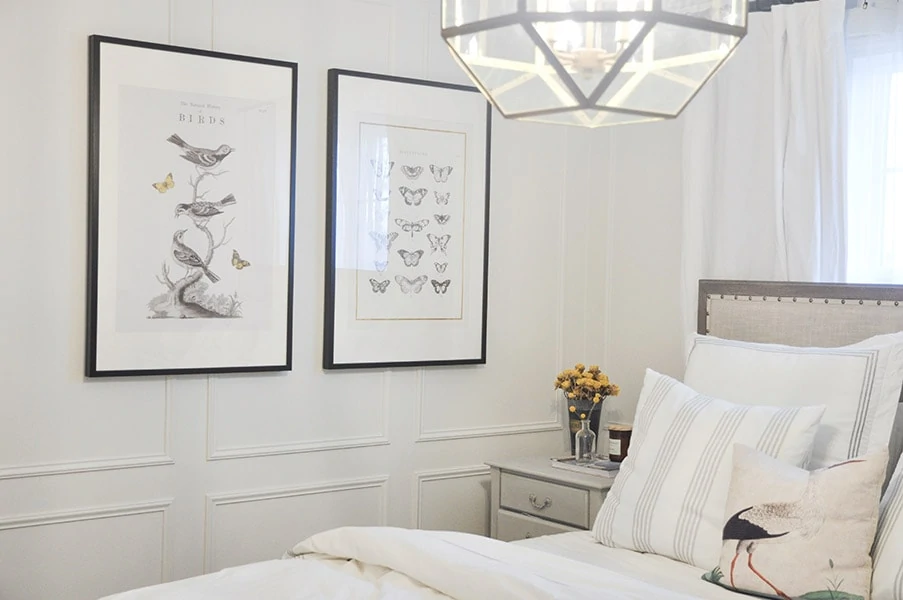
Once the main furnitures and curtains were in, I wanted to inject some personalities by adding some large scale art. It is a bedroom so I kinda wanted to avoid having a gallery wall to reduce the business, so large scale art was the way to go. I bought both the art and frame from IKEA at an affordable price. The total cost of them were around $57!
Bedroom renovation interior design plan
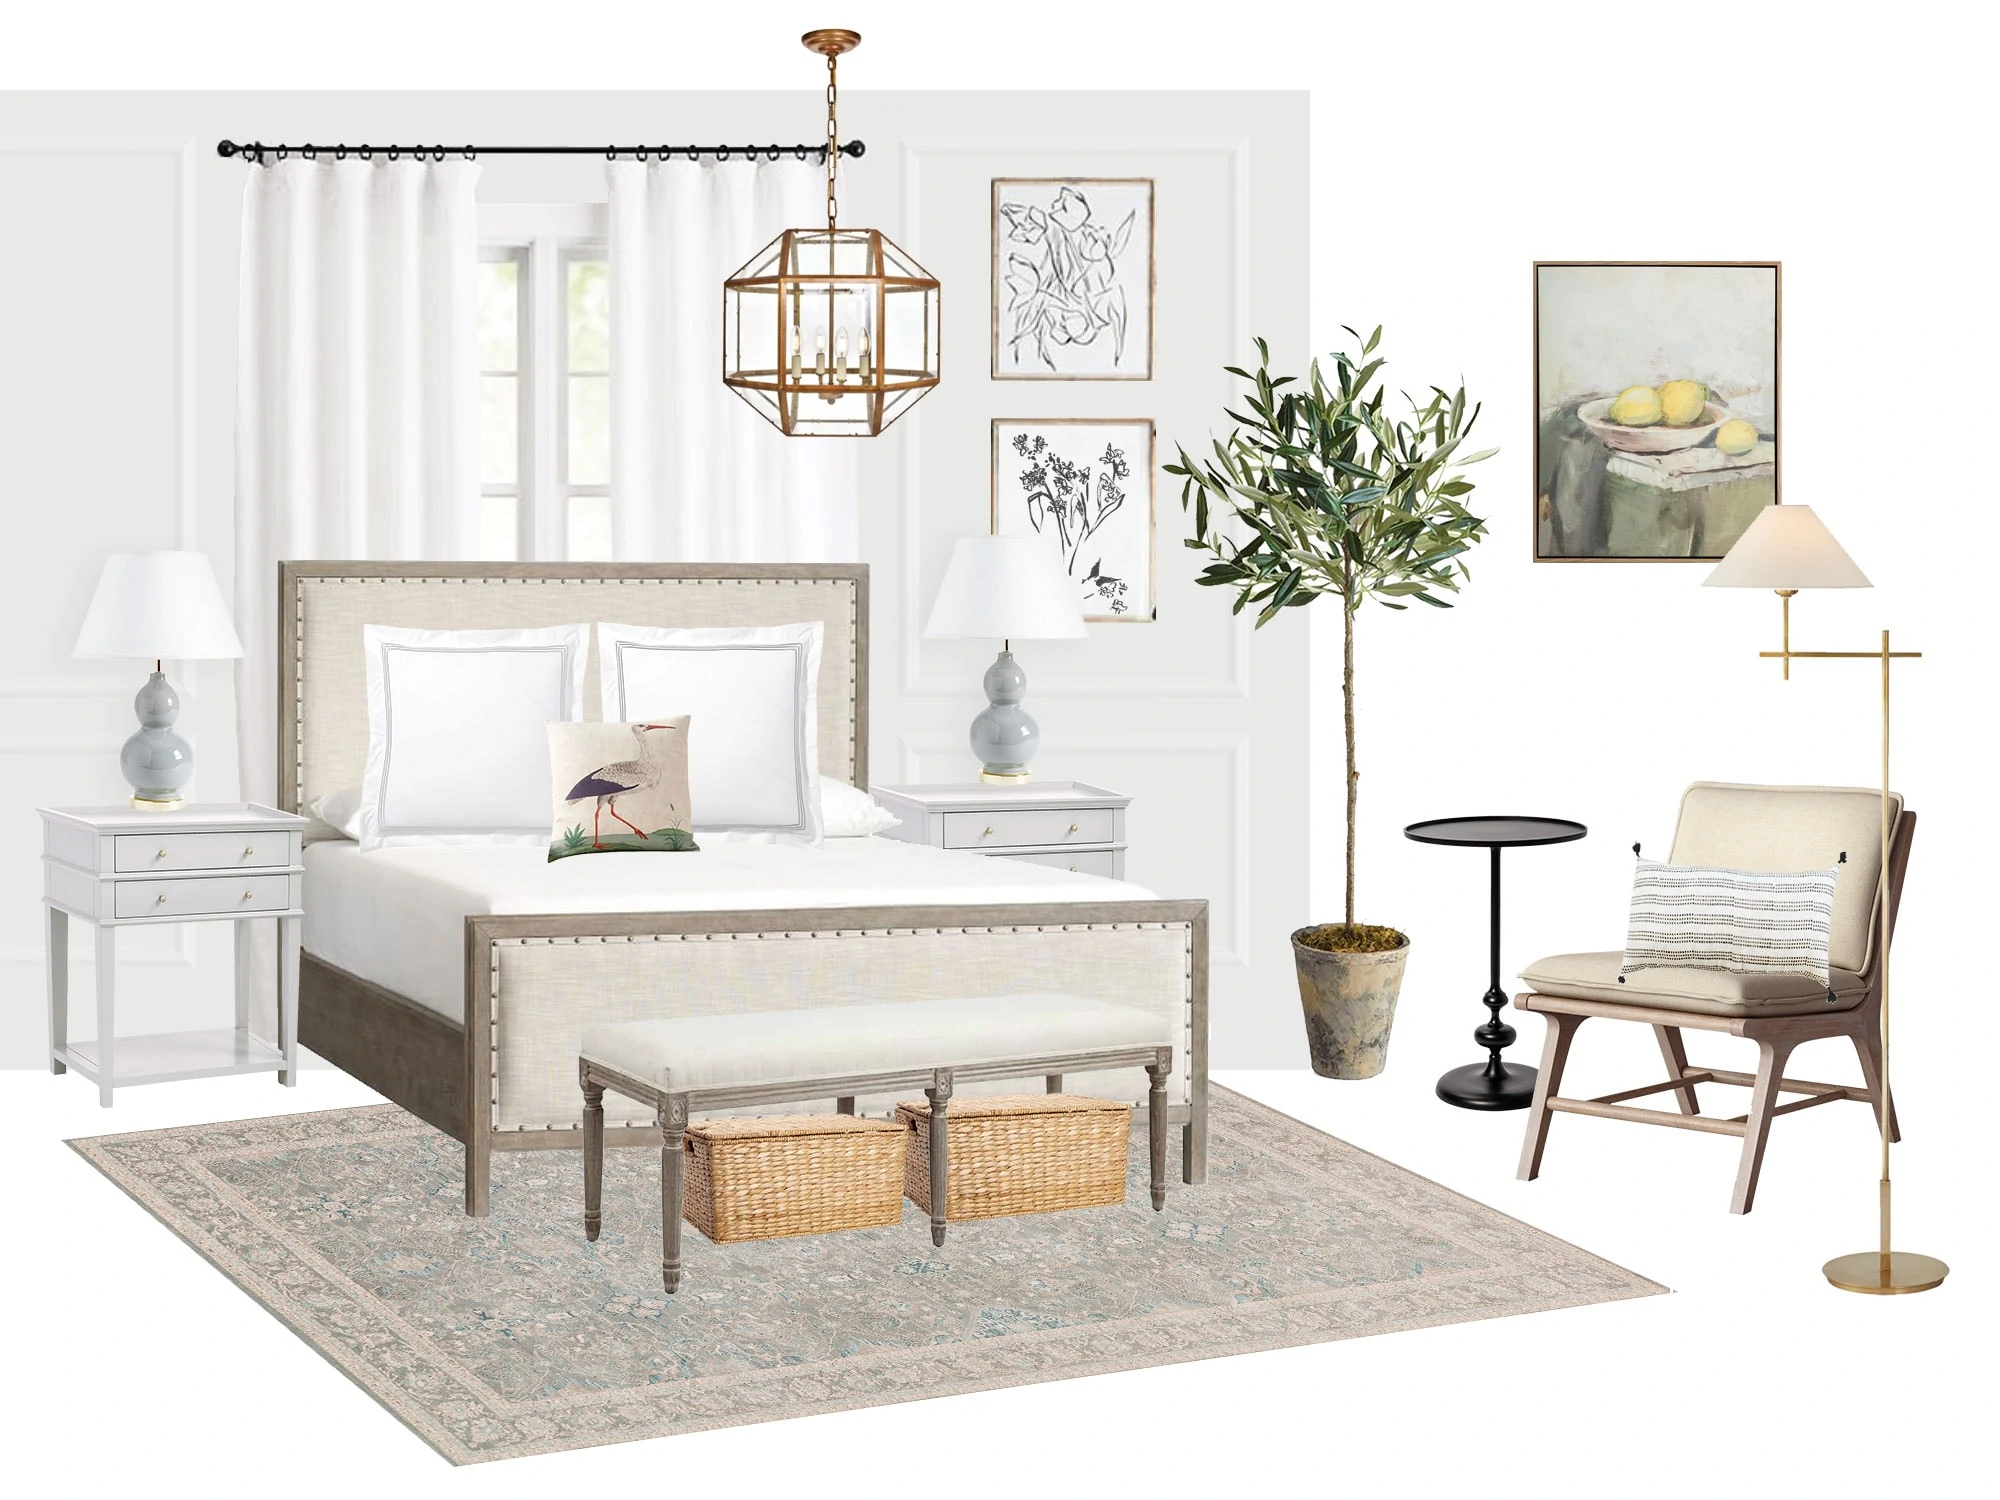
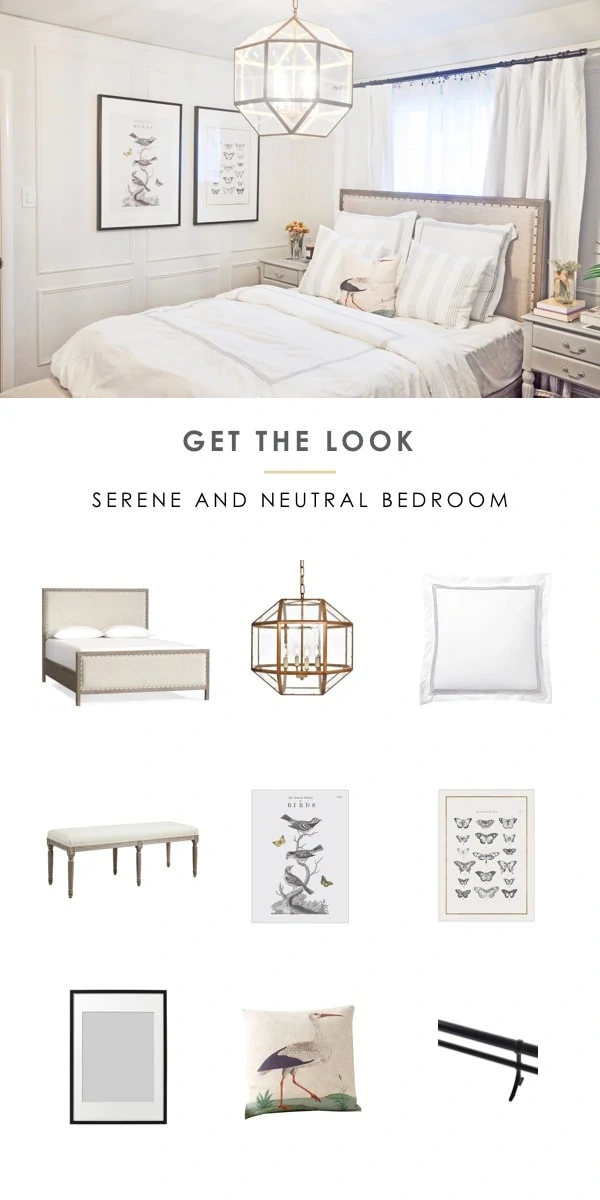
As I shared in the previous post about this mood board, my goal is to set a neutral tone, and let the decoration define this room’s personality as my style evolve and settle. The color palette is neutral, a lot of light gray and white to bring a serene and peaceful feeling. We added in black and brass details as accent color to bring a tiny bit of old world glam into it.
What’s left for this bedroom renovation
The next thing for this bedroom is to finish the other “half” – seating nook.
We are either going to have two accent chairs and a side table, or a chaise lounge. Another thing I would like to bring to this bedroom is a floor mirror. This way we can actually see what it looks like when we dress ourselves everyday. (yes our tiny closet doesn’t have a mirror).
Right now the seating nook is piled up with dining chairs as we are renovating our dining room. I’m hoping to finish the dining room soon so we can finally finish our master bedroom. So that’s the current progress of our bedroom! I hope you enjoy this update and cannot wait to share with you with a full master bedroom tour when we finish the other “half”!
Shop the look: master bedroom
Related post
Master Bedroom Space Planning and Mood Board
Nightstand Makeover | How to Update an Old-looking Furniture

“Thank you so much to writing this wonderful blog. It’s really worthwhile.
“
Thank you so much to writing this wonderful blog. It’s really worthwhile.
I am very sad you got rid of that wonderful wallpaper! Haha I happen to love that old stuff! We renovated a room in our home with retro features just like that, it of course had a modern feel to it so not completely old age. Really great job!
haha, it might appear to some people, just not my style 😛
Hi!
We have the same bed. What color paint did you use on the walls?
Thanks!
I used Calm by Benjamin Moore, the paint sheen is matte
OMG.. I love the bright white look you gave your master bedroom. It looks amazing! When I saw before and after pictures of your bedroom for a second there i was like Is it really the same room. That’s how good it looks.. You did an awesome job!
Thank you for your kind words! Your interior design work looks beautiful 🙂
Kelin, your bedroom looks amazing. You are seriously talented. I have a question about the PB bed – is this color you got the grey wash? Yours looks more oak but the site only has a grey wash and a charcoal color as the option. Thank you!
The one I got is gray wash. It does look a bit different under different lightings. Hope it helps 🙂