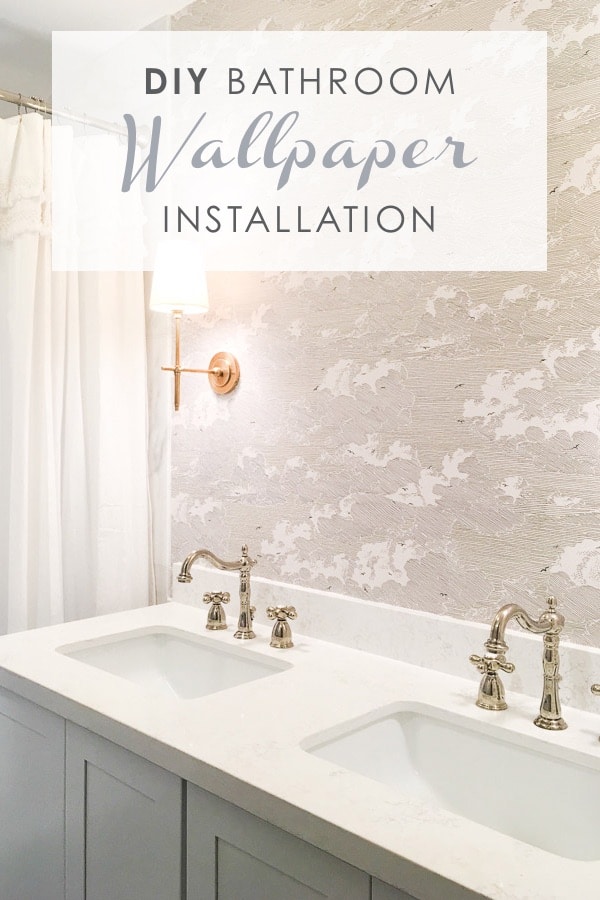
DIY Wallpaper Installation in Bathroom
In this post, I’m sharing some major progress made in this master bathroom remodel, including a DIY wallpaper full story. It includes what tools we bought that will make wallpapering a less stressful decision, what DIY wallpaper experience in an old house is really about, and how I would do it differently. I hope this will give you some ideas on small bathroom remodel and install wallpaper in a DIY approach!

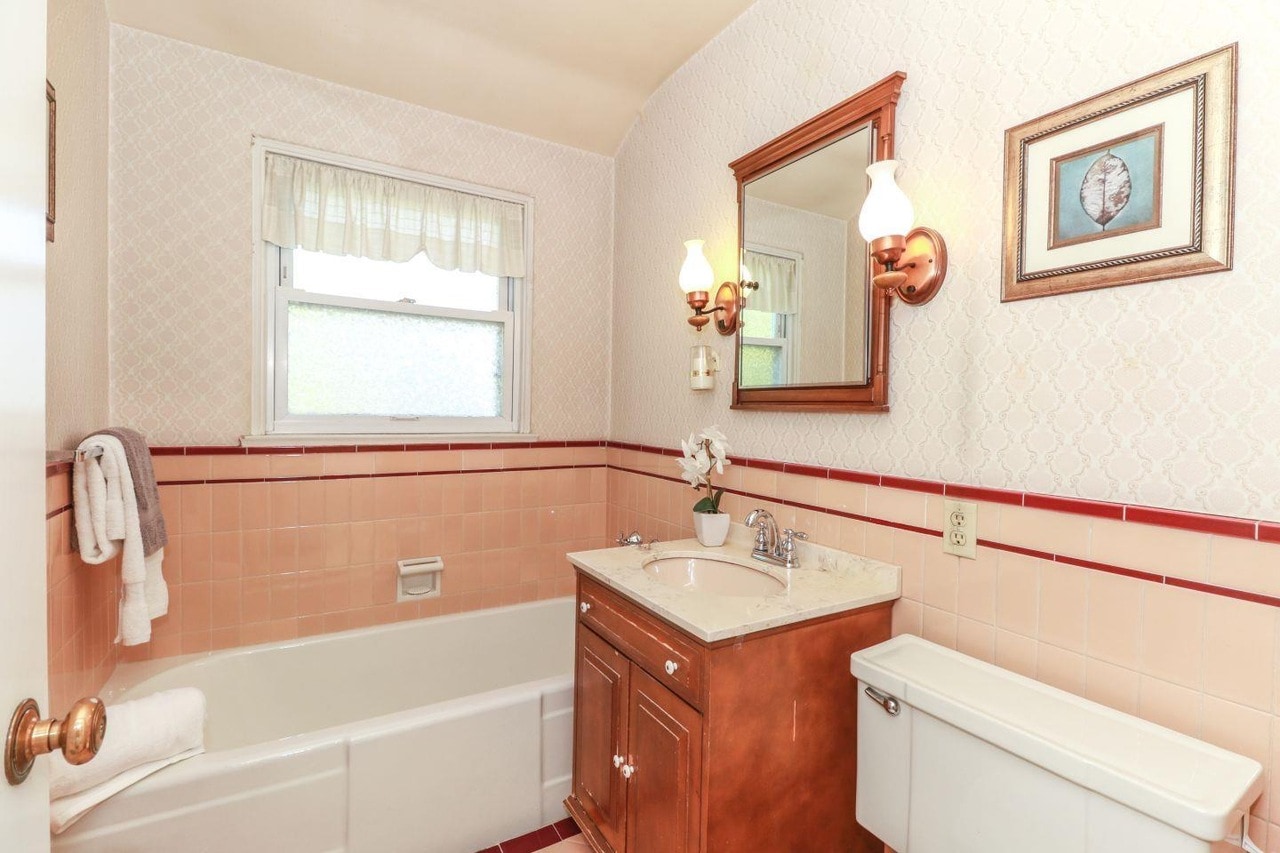
Master bathroom before
If you have missed the first post of this master bath remodel, here’s the before and moldboard to catch you up.
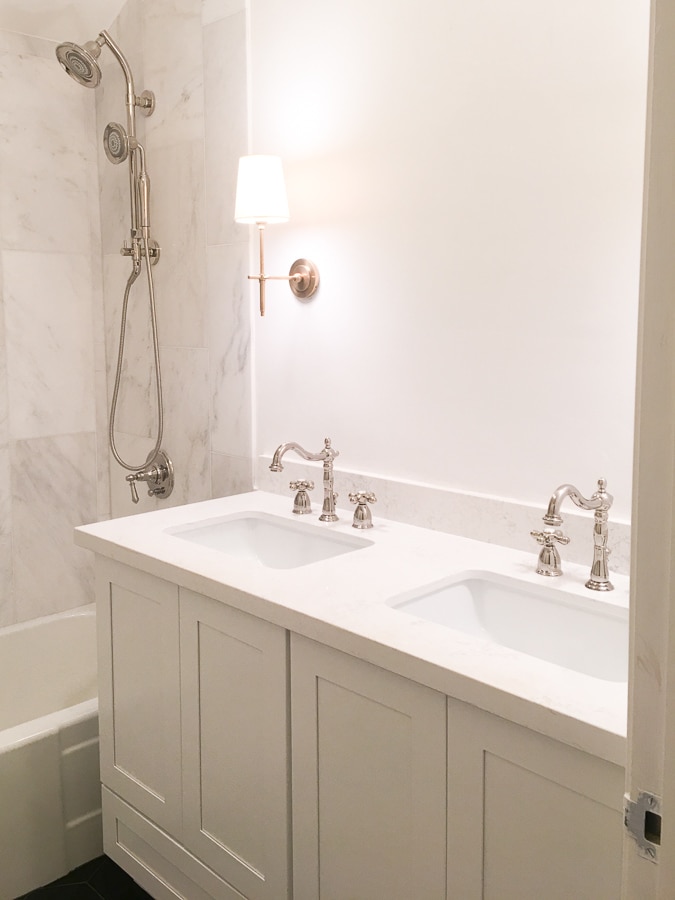
Master bathroom remodel progress
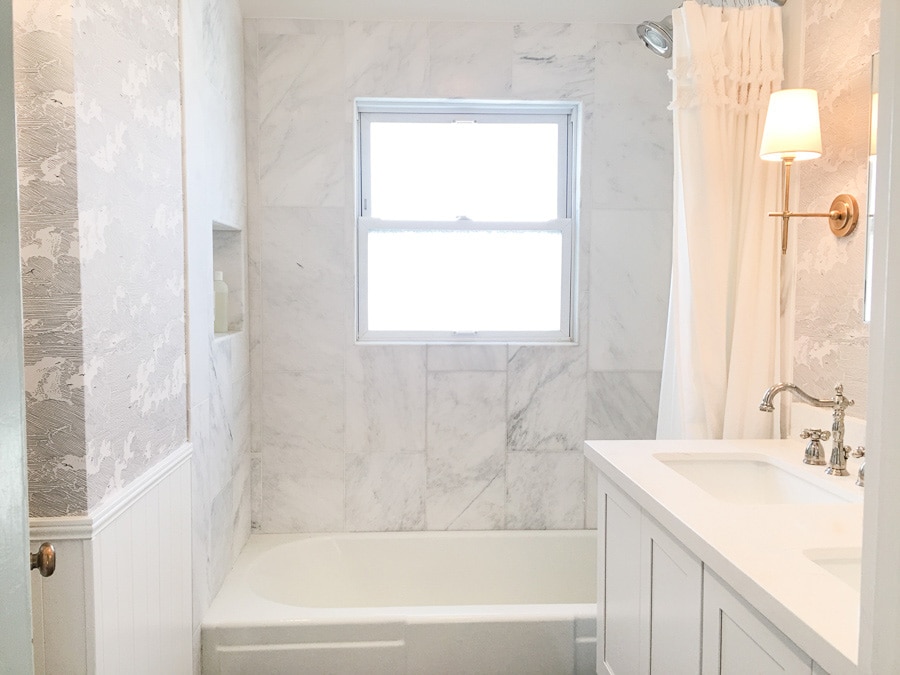
We have made some great progress on this master bathroom. Although we call it a master bathroom, it is pretty small, 5′ by 8′, plus a niche for toilet. Bathroom is something we are not able to completely DIY by ourselves. Electricals, plumbings, they all sounds scary. So we decided hired out this job right at the bat. It took the contractor and his team around 3 weeks to finish the bathroom, from demo to modify plumbing, to paint.
We are in love with how this bathroom turned out! The wainscoting is everything I’ve imagined, and the vertical subway with large marble tiles looks so good. Although we had to scrap the double medicine mirror plan because of a water pipe in the studs, nothing is perfect, we are happy with the current mirror situaiton.
While we were just so excited to finally move in (can I use that word for a bathroom?) and start using it, a curve ball hit us. Our contractor told us that he has not installed wallpaper before, that he didn’t want to install wallpaper for this job. He has always been a nice guy, so I really don’t want to give him a hard time. However, not only I alright bought the wallpaper, but I also think wallpaper is the key element of this bathroom design. Despite DIY wallpaper sounds a little bit scary, we decided to install wallpaper by ourselves.

The before & after of DIY wallpaper installation
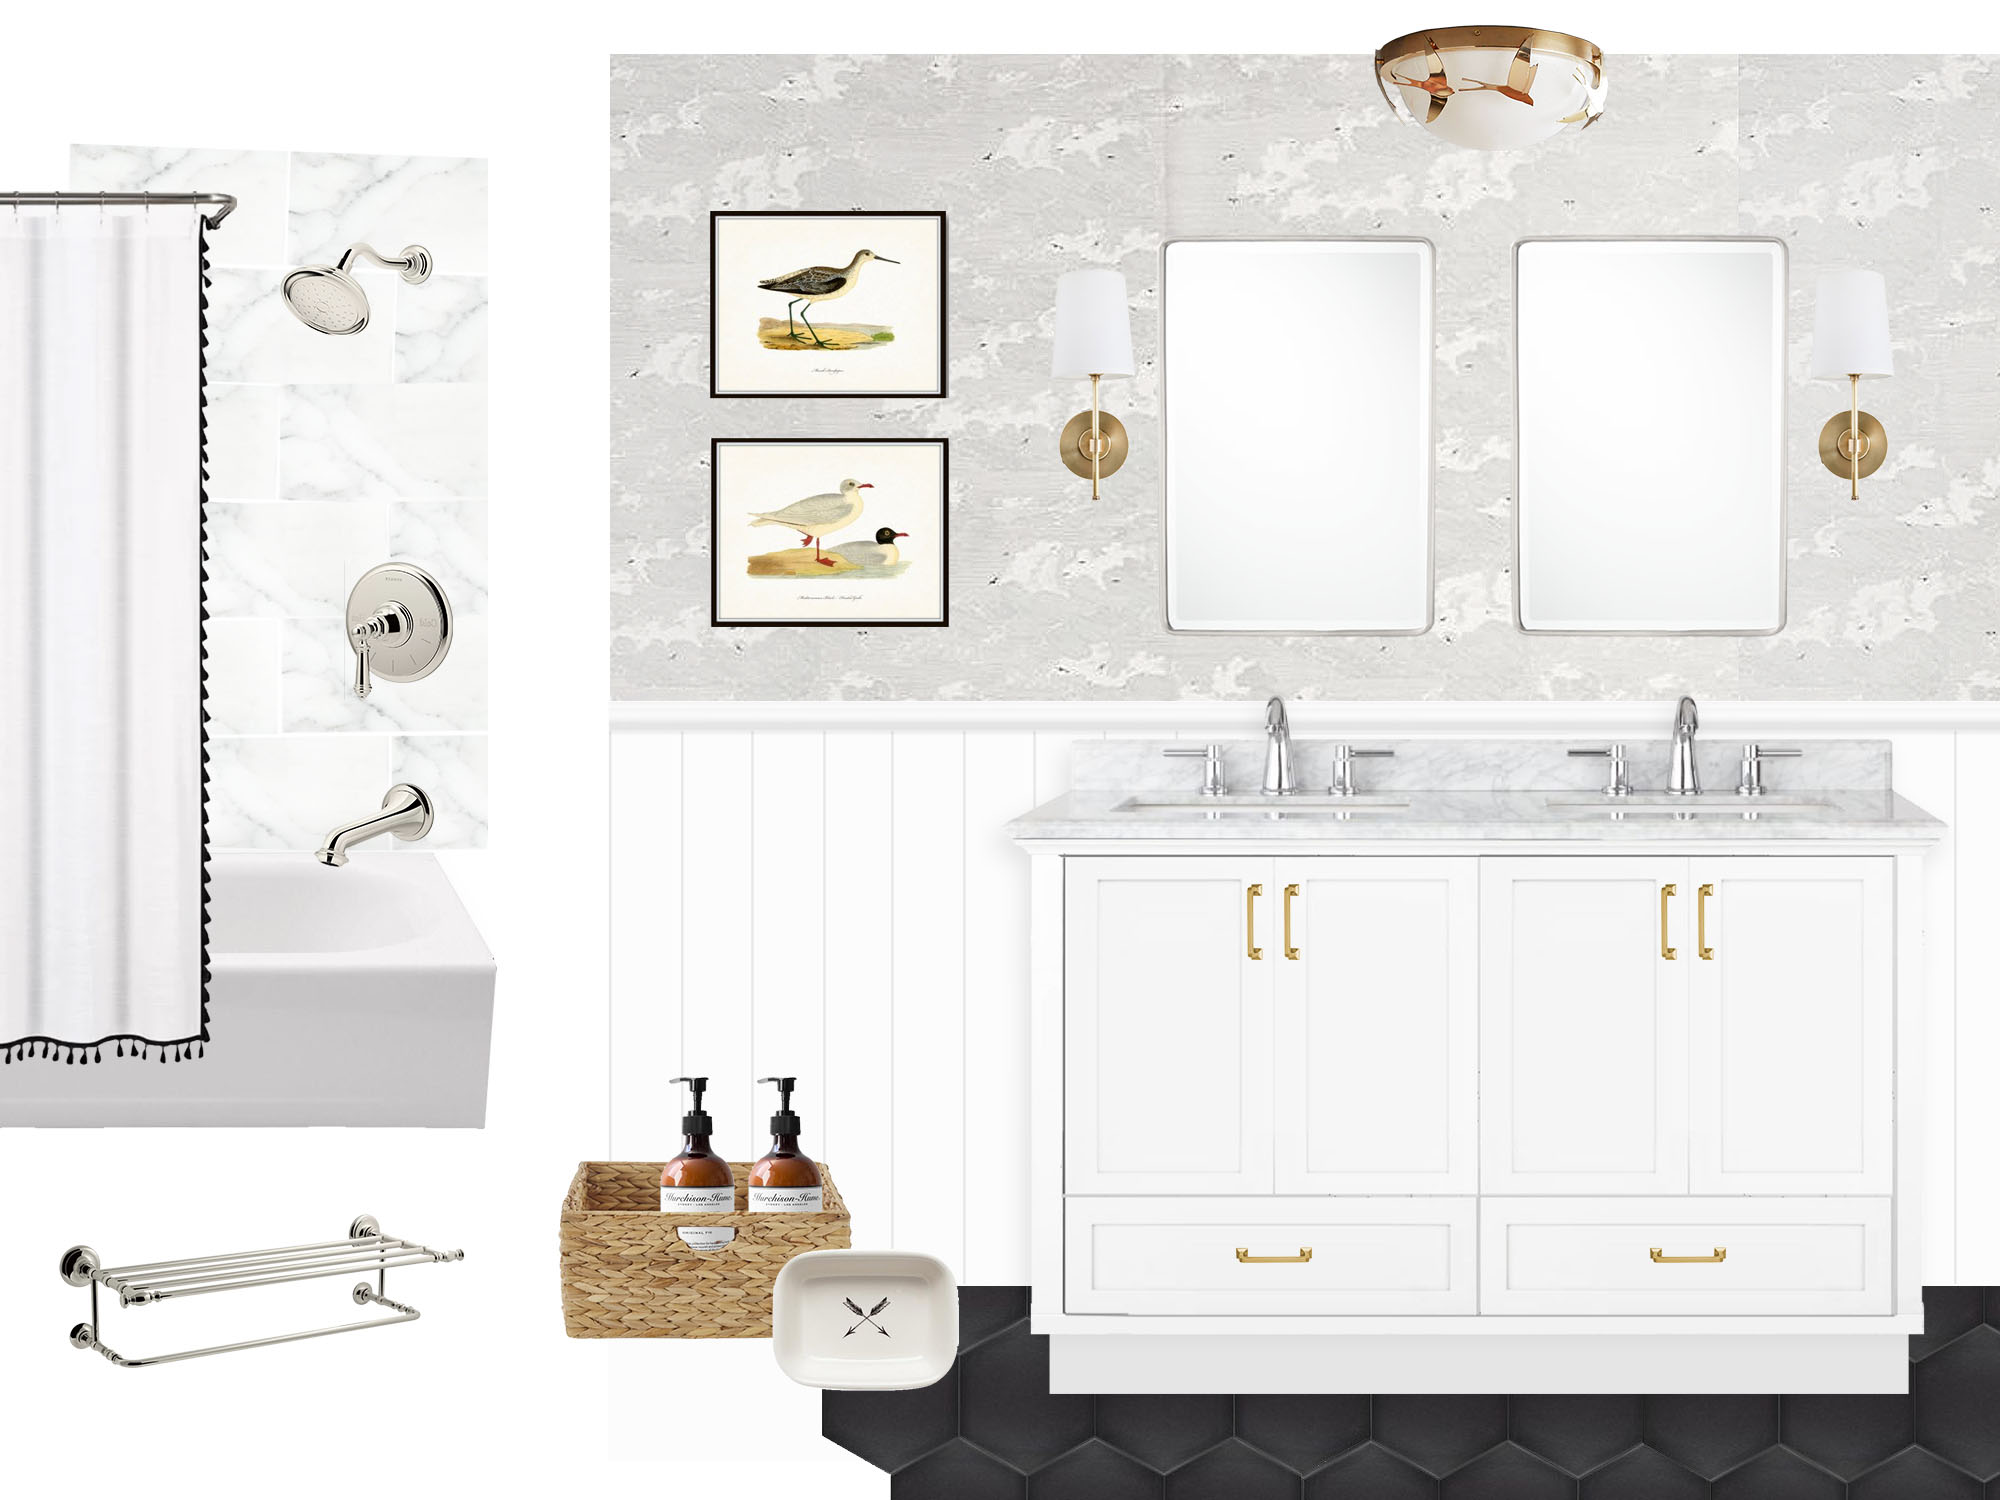
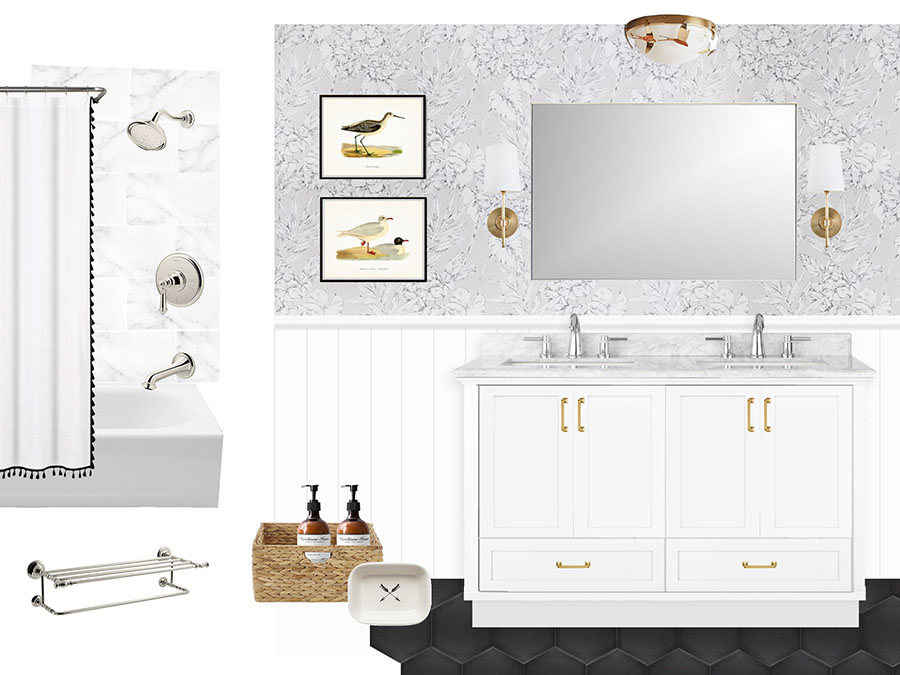
Wallpaper choices & moodboards
Speaking of wallpaper, I took quite sometime to decide which wallpaper to get for this bathroom update. So I made several moodboard. To be honest, moldboard is super helpful to see if certain elements will go well together. Although they can be a bit time combusting, but I would say it is time well spent 🙂
Here’s a few moldboard I created to test out several wallpaper choices from Anthropologie. I eventually landed on the Cloud Formation wallpaper as I love how classic the black and white pattern looks, plus there’s bird! I have a secret plan of making my bathroom bird themed 😛


The myth of different of wallpaper types
For DIY wallpaper, I heard there’s three levels of difficulty, depending on the wallpaper you get.
The Most difficult wallpaper to install is those with paste on the back that you need to wet it to activate it. The medium difficult one is wallpaper that doesn’t come with any glue. The easiest one is the peel and stick wallpaper. I, luckily or unluckily, have the middle one: a wallpaper doesn’t come with any glue, requiring applying glue to the wall then stick the wallpaper to it.

DIY wallpaper essential tools

Wallpaper Primer
I run into this primer the other day in my local Ace hardware store. Before I have never heard of wallpaper primer, but making removing wallpaper easy is like music to my ear. As much as I love chic wallpapers, I also worry I might need to remove them due to different reasons. After removing 1940s wallpapers from two of our rooms, I’m just so scared of it. So being able to apply wallcovering primer before the wallpaper installation made me feel very confident to move forward with my beloved wallpaper.
Wallpaper Glue
For the glue, I bought this one. I don’t think there’s much science to the DIY wallpaper glue choices, so any glue with a good review will do the job.
Wallpaper smoothing tool
I bought this wallpaper smoothing tool in the wallpaper section from my local Home Depot, because I want to make sure it won’t scratch my wallpaper by any chance. I have recently seen this squeegee lately too that I thought would make great wallpaper tool. If you have tried both, please let me know which one you like more.
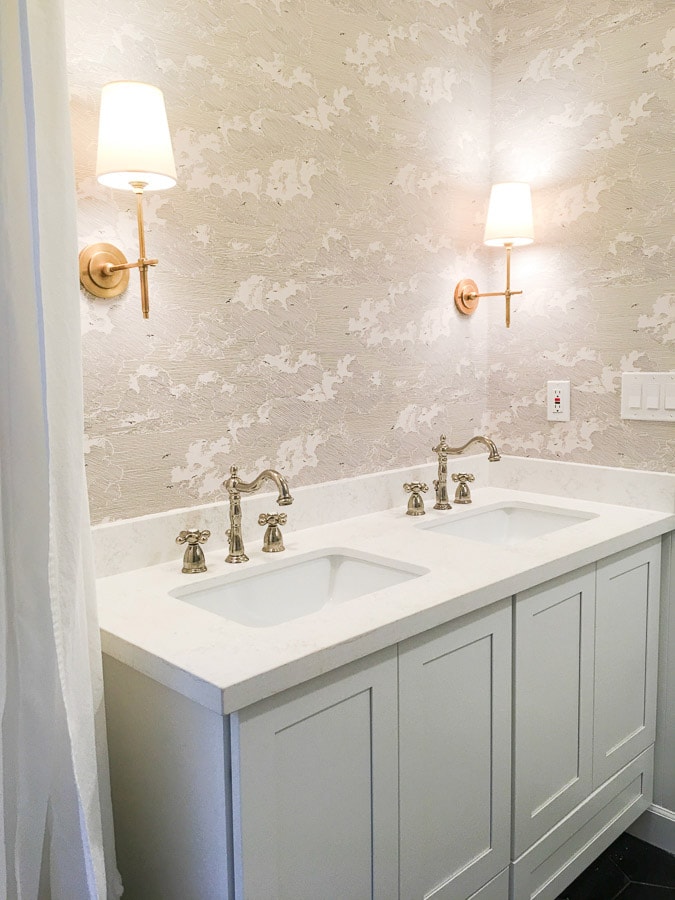
The unexpected curveball
So I have to clarify that I have never installed wallpaper before, so this is a naive user experience. Before this project I thought the hardest part is to match up the seam, but honestly it is not that difficult. Because the glue stay wet for a while, there’s definitely time to move them around a little bit to make sure the seam matches perfectly.
However the hardest part (we should have expected) is due to the strong personality of this 80 year old house – the curved wall. Imagine applying wallpaper to a sphere… it will create a lot of creases right? That’s an exaggerated version of what happened to my wallpapering experience. On one of wall above double vanity, the wall is curved, as the rest of the walls of this house. Because the wall space is quite wide, the curve accumulate. As the result, several seams has a gap in the center of the wallpaper, but overlap on the edge. It is something people may not notice when they visit the house, but because I know, I can easily see the seams while trying to ignore them. In the hind sight, if I were to do it again, I would go for overlapping more, meaning remove the gap in the center and have the two edges overlap more.
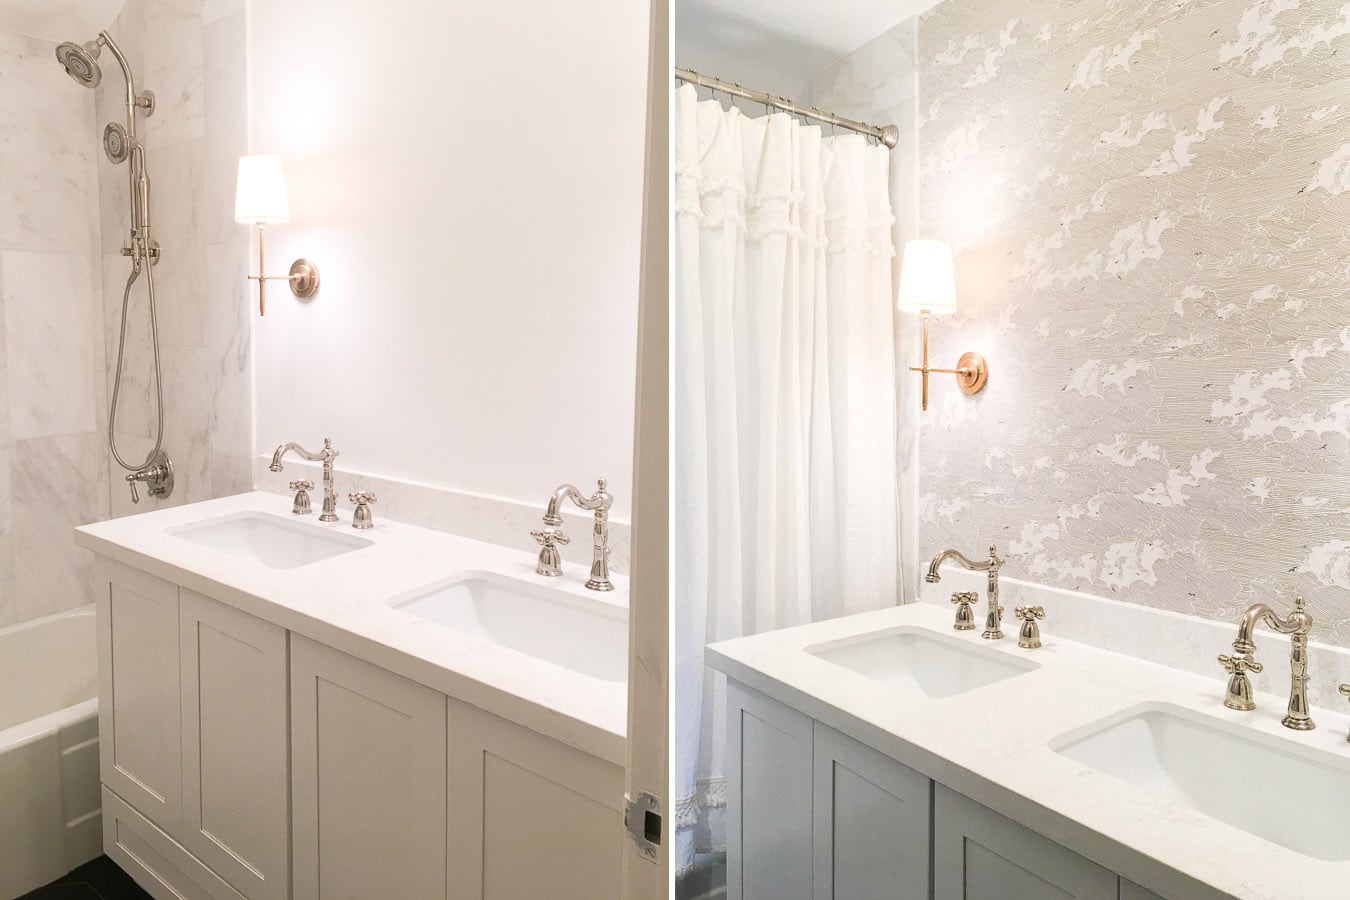
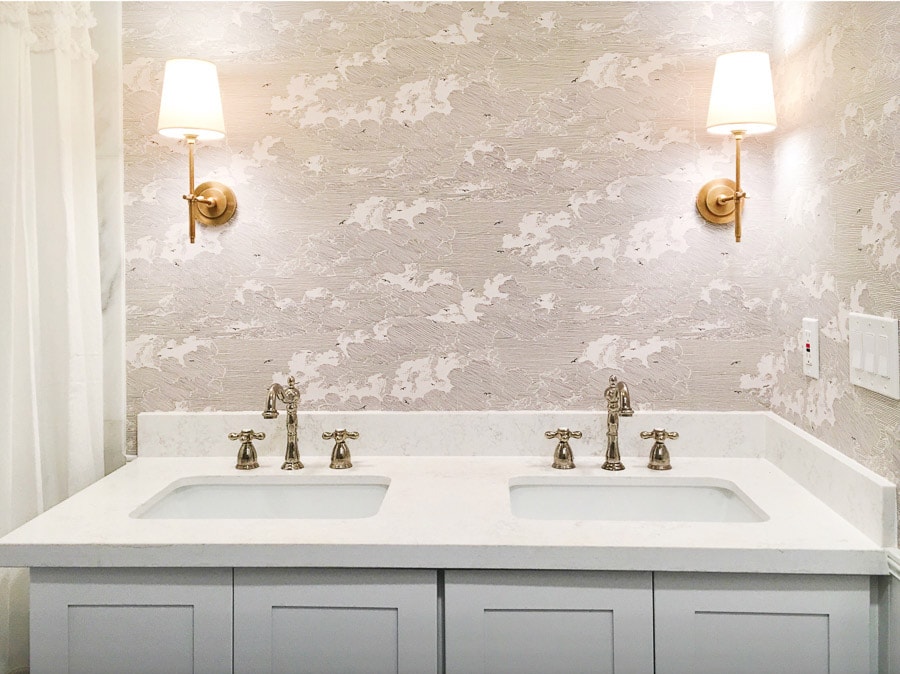
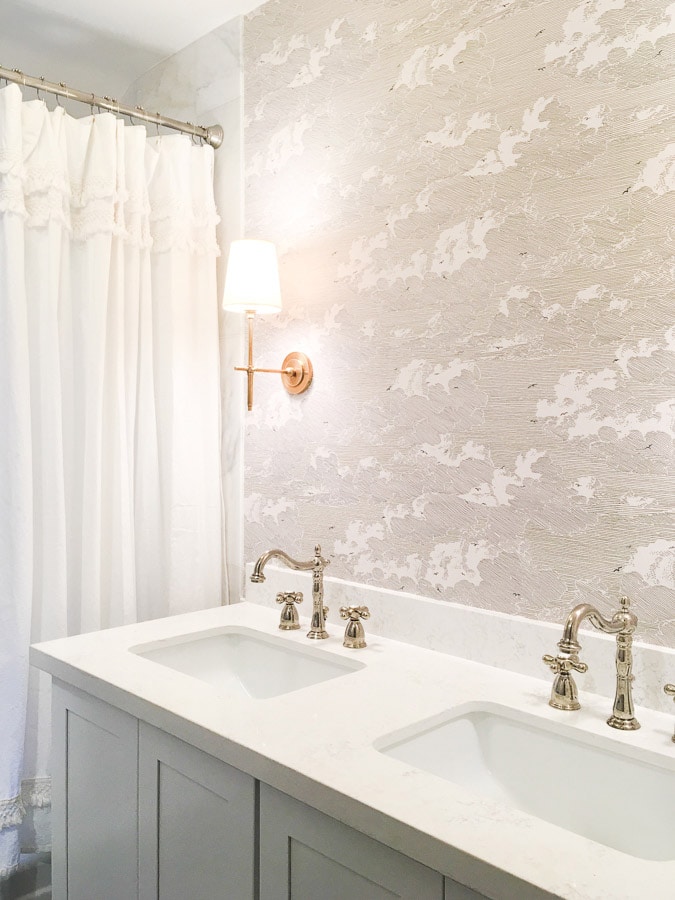
Finished bathroom DIY wallpaper photo
Although there’s some seam issues, the busy pattern help those imperfections to be less visible to my critical designer eyes. So I can proudly say I’m in love with this bathroom wallpaper, and believe it or not, I’m so excited to install more wallpapers to my house – of course those peel and stick ones.
While that’s a wrap! But this bathroom is not 100% done yet. I still need to add fixtures, rugs, and art, and all the decorations. Stay tuned for the final reveal!
Related posts
Master Bathroom Remodel Reveal and Cost Breakdown
Master Bathroom Space Plan and Moodboard
Pin it for later
hello your bathroom looks really lovely! I love the wallpaper.
Is the window frosted? Or did you put something over it?
I think the window had a frosted film installed. But don’t quote me as it came with the house 🙂
Wow this is such an incredible makeover and this wallpaper pattern is stunning. Such a serene and glam bathroom, just love it!
Thank you Martina! DIY Wallpaper just add so much to a bathroom!
Bathroom looks great! As for wallpaper, I roll the paste/glue onto the back of the pre-cut wallpaper, and allow it to set for a bit before applying to the wall. Adheres better yet still movable for a few minutes. There are now several brands of wallpaper on the market that are ‘peelable’. You wet the back with water, it adheres wonderfully, and when you want to remove it, it just peels off! (I had to peel off one strip later due to damage, and it really did peel right off with no residue.) I have used this in my kitchen and family room with no problems at all. It’s been on the walls for ten years. Nextwall is the brand I used. And yes, curved walls are the worst. You just have to fudge things until it looks good ?
Hi Hope,
Thanks so much for sharing wallpaper installation tips! It sounds like you have a lot of experience installing them 🙂 Yeah, I didn’t let it set so I guess that’s why I felt the glue wasn’t very sticky.
And I’ll definitely check out Nextwall’s selections 😀