We built DIY vertical shiplap walls for our home office. I’m sharing our entire DIY vertical shiplap process and cost breakdown, as well as how we painted shiplap walls. Want to know how much this DIY vertical wall panelling cost us? Keep reading 🙂
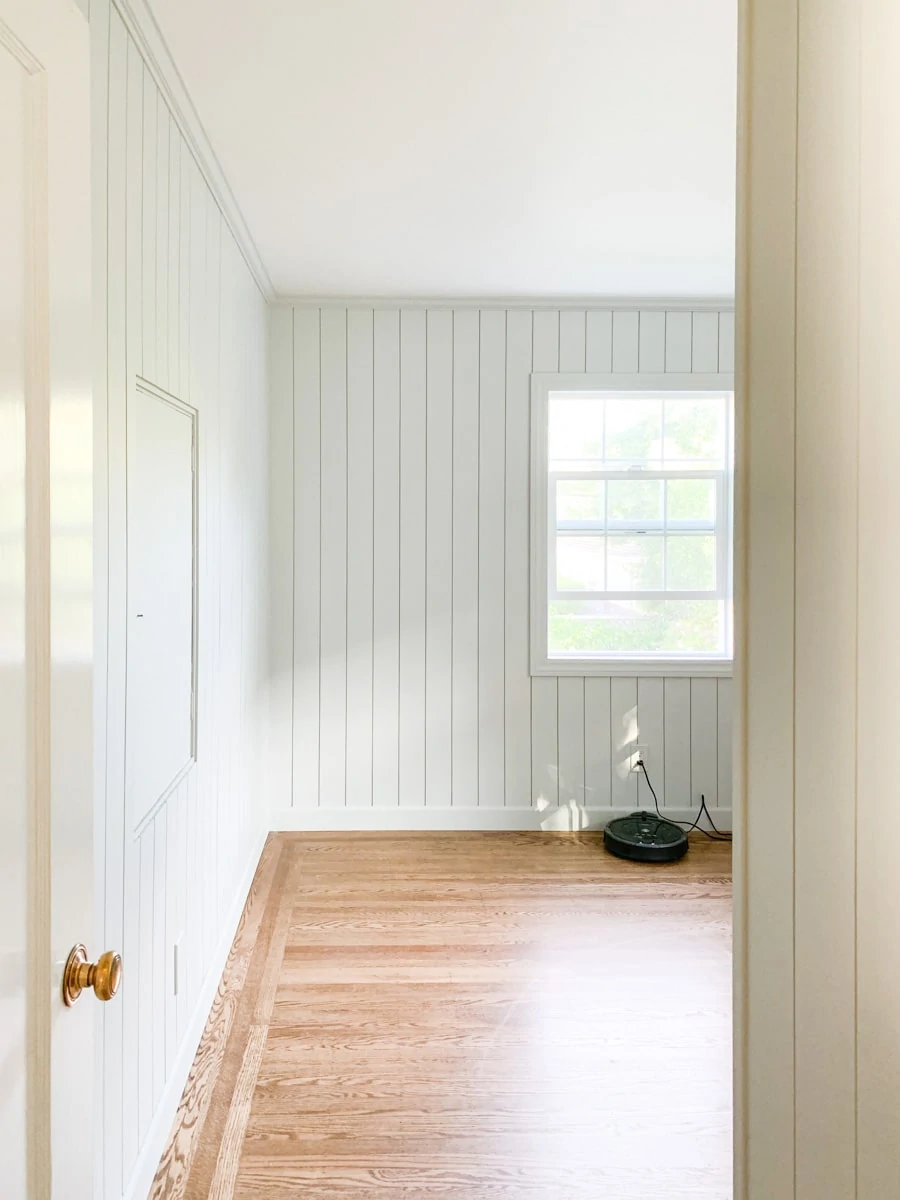
Quick info on the space
I’ve been intrigued by vertical paneling for a very long time, and finally we added vertical shiplap panels to our home office. Most of the time this space serves as a home office, but it will also be used as guest bedroom, and a craft room. In fact, I do a lot of DIY project in this space.
In terms of size, it is around 10′ by 10′, a fairly small room. We planned to install vertical shiplap paneling to all walls. It has a 53″ by 25″ small closet and we are not installing shiplaps there.
The DIY vertical shiplap cost is based on the sizes above.
This is the mood board that you can see we wanted vertical shiplap walls with a light gray paint:

If you want to read more about this space, you can check out all my home office renovation posts here:
Home Office Floor Plan and Mood Board
Home Office Desk Builtin with Ikea Alex
Home Office Closet Makeover and IKEA Trofast Hack
Why vertical shiplap wall can be a great option for your space?
Why type of wall would benefit from vertical shiplap paneling?
Well you can certainly install vertical ship lap for your beautiful walls and it will look stunning, but vertical ship lap does wonders for some walls with desperate situation.
For example, if you are not a big fun of orange peel texture of your walls, vertical shiplap can be a great option for you because it will hide all the unwanted textures behind!
In fact, our walls were in a very desperate state and these vertical shiplap panels saved our walls! Ok, here’s what happened…
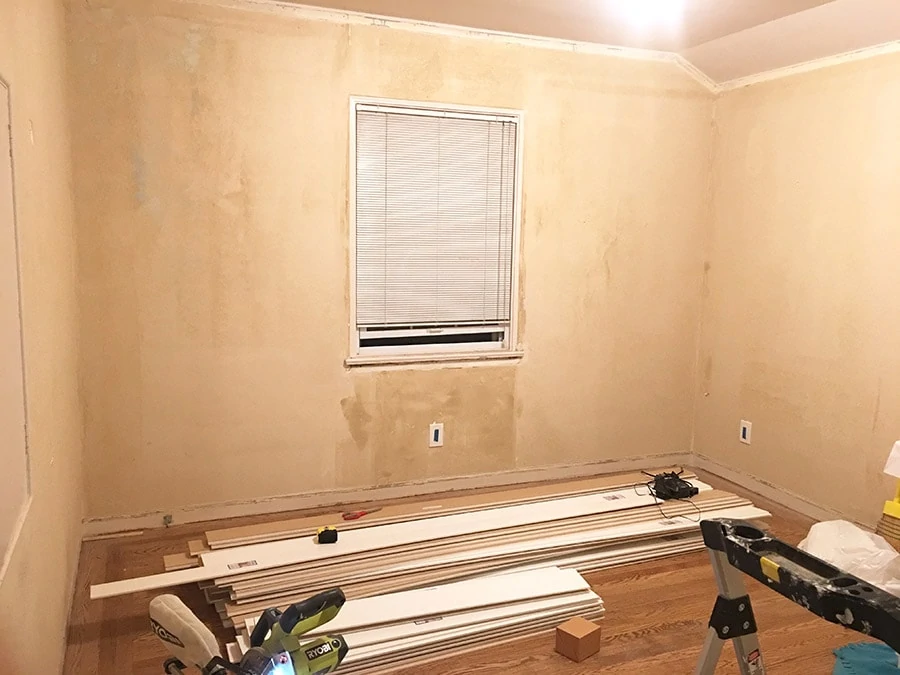
When we first moved in to our house, this room was originally covered by vinyl wallpaper. The wallpaper felt and looked very dated, so we decided to remove it. You can check out more before photos in the space plan and mood board post to see the vinyl wallpaper.
I was an inexperienced home DIYer back then. So when I first moved into our house, I got so excited that I started hand peeling the vinyl wallpaper… and it later turned out to be a bad idea! Here’s why.
Although I was able to remove those vinyl wallpapers from the walls, they had left some significant residue: thread mesh backing from the wallpaper and chunky hardened glue.
We have attempted to remove the glue and threads, but it was extremely difficult. So the solution is to use some kind of wall panels to cover the scary walls.
I have compared quite a few wall paneling options, but eventually landed on vertical shiplap paneling.
It is simple but classic, also make the wall appear taller. Our room is standard 8 ft ceiling, so of course I want the space to look taller! Plus we live in California, I thought vertical shiplap walls will add some coastal and beach feel.?
DIY vertical shiplap wall project tools, materials and cost breakdown
Shiplap panels and cost:
I used 5.5″ by 8ft primed shiplap boards. I bought pre-primed shiplap board from Lowes , because it is slightly cheaper than Home Depot and I knew I needed a lot!
The Home Depot shiplap board is very similar, .5 inch wider, which is also a great option.
This shiplap panel is around 5.5″ wide, which I think is a great width for small to medium rooms. There are some wider options but I feel like those were too wide for my 10′ by 10′ room and will my room look even smaller.
For the shiplap material cost, we spent around $450 for all the shiplap panels needed for this project. We got around 80 boards in total and each board was like $5 when we purchased from Lowes.
Keep in mind that windows and doors will reduce your material usage.
DIY vertical shiplap tools and materials
Vertical shiplap wall DIY process
Prep the walls for shiplap panels
To install vertical shiplap paneling, the first step is to have a clean state. And by that, I mean removing the casings and moldings from the walls.
Technically you can keep them, but if those moldings are thinner than the shiplap boards, your shiplap boards will stick out a bit.
For us, it means removing all the baseboards, crown moldings, window casings. We also removed all the wall outlet cover and light switch cover.
We decided to keep the door casing because we think the simple casing style might blend in with the vertical shiplaps.
To remove those moldings, we first used utility knife to break the caulk, then used pry bar to pop those moldings out.
After that, I use a putty knife to scrape any remaining caulk on the wall, so that the shiplap boards can touch the wall tightly without anything in between.
Install shiplap panels vertically
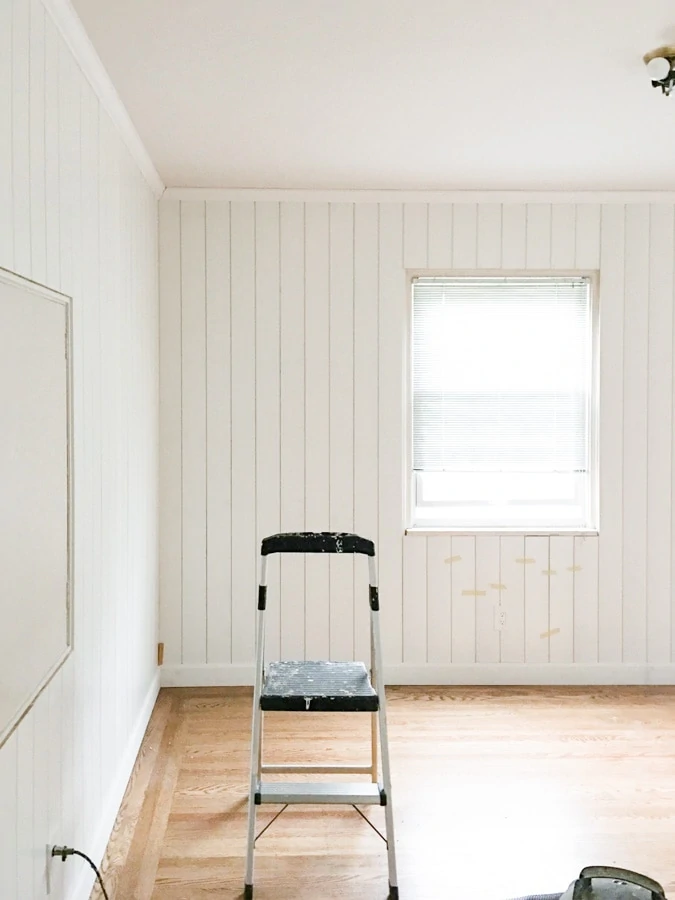
Then we started nailing in shiplap boards with a 18 gauge brad nailer. We applied ~6 nails per board, 3 on the left and 3 to the right.
When we added nails, we want to make sure to nail the left edge of the board to the right lip of the board to the left. This way they are not only nailed to the wall, but also to each other.
If you want to make it more secure, try using construction adhesives as in-between step. You can apply adhesive to the board then nail it in place.
We left less than 1″ around the window because we intended to replace the windows.
When the window company came to replace the window, I asked them to align the window framing to be flush with my shiplap wall. This would making install window later on casing easier.
Work around tricky parts
As you are installing those shiplap boards, it is no surprise to encouter tricky situation.
In fact, we have encountered several during this DIY project. My best advice is to be patient and problem solve one at a time.
Here are a few examples of what we encountered with our DIY shiplap project.
How to install shiplap around power outlets and light switch
To cut around things like outlet cover, we first transferred the shape to the shiplap board.
Then we drilled through four corners of the shape (most of the time it is a small rectangle), and used jig saw to cut along the line. So make sure to use a relatively thick drill bit so that the jig saw blade can fit in the hole.
How to work around doors when installing shiplap panels
One tricky part we discovered during the DIY process is to work around the doors.
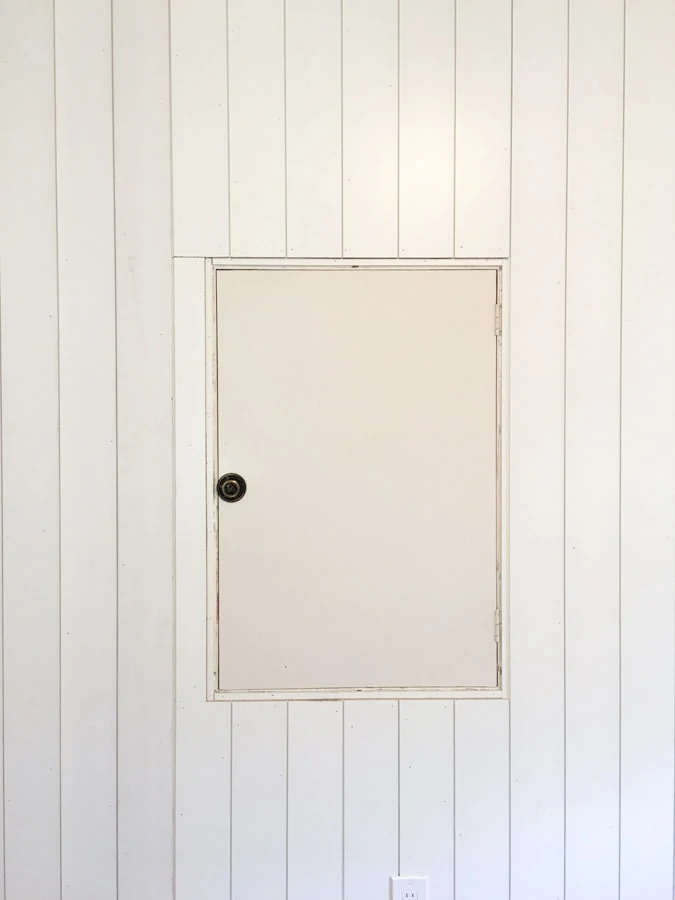
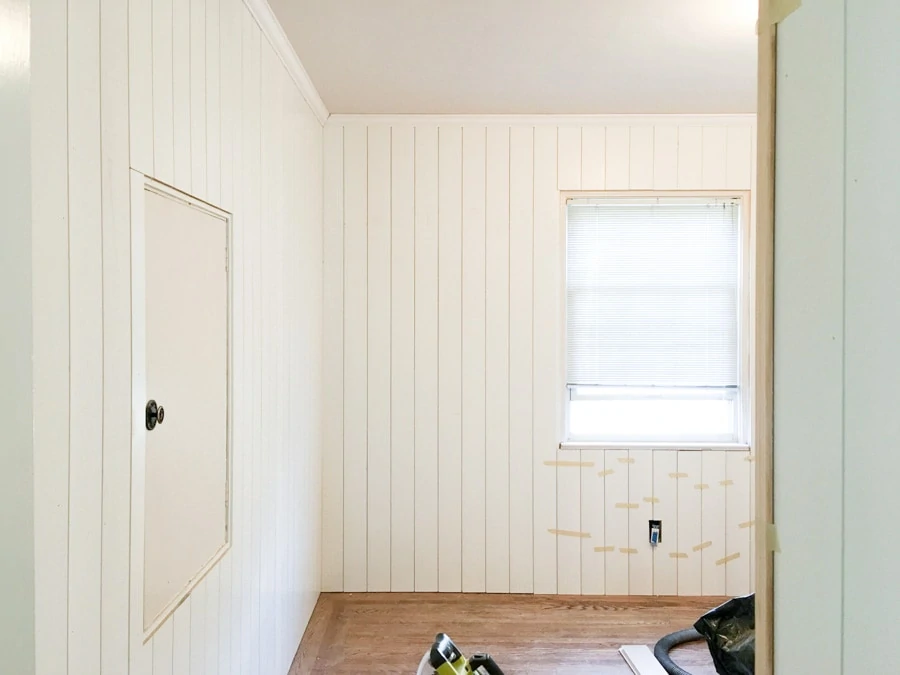
You can see in the photo below, we have a small door to the attic which we intended to cover with some sort of art. Because of that, we don’t want to add any door casings to it.
So what we did was leveraging the lip of shiplap board to create a mini recessed frame. When you install ways, you’ll need to cut off the lip of the first and last long wall shiplap board to have a clean edge.
So save those extra lips because they’ll come in handy, such as we used them for recessed casing around this door.
Now to make the shiplap panels works with the closet door.
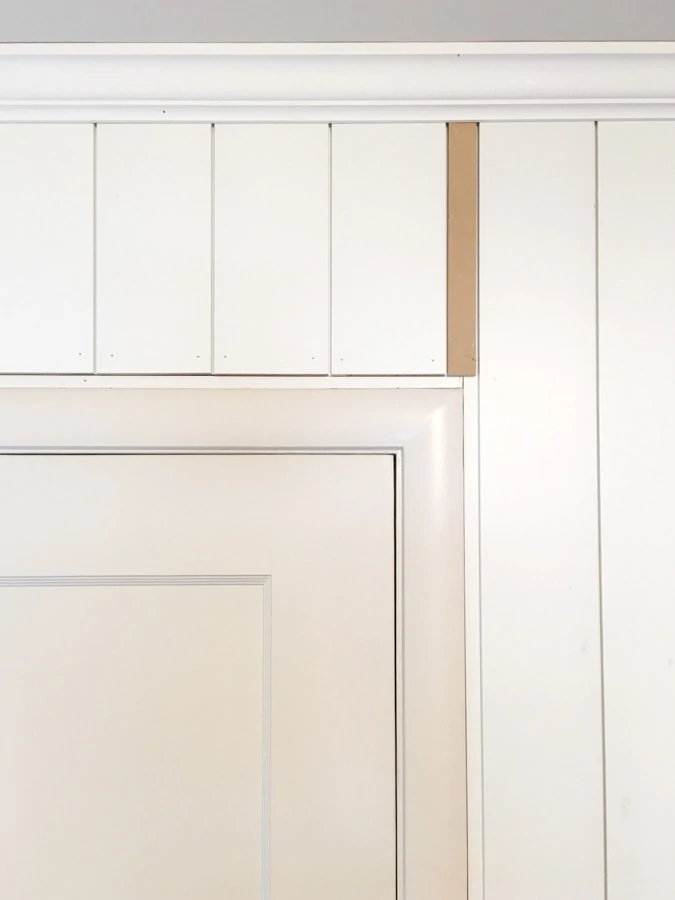
We kept the original door casing, but the vertical ship lap is thicker than the door casing. By using the lip of the shiplap, we were able to have a nicer transition between shiplap wall and door casing.
To make the process easier, we actually reversed the shiplap board on the right of the closet door, so we can leverage its lip.
And to bridge the gap of two shiplap boards installed from reverse directions, I placed 1/4″ MDF board to mimic the shiplap board look. Once it is painted, it would just look like a narrow shiplap piece.
How to finish outside and inside corners where two shiplap walls meets
Most of the time, to cover the seam of vertical shiplap wall inside corners, we just applied caulk to seal the gap. For bigger gaps, you’ll need inside corner molding to cover it up.
If the corner is outside out rather than inside, like the photo below(right side), you can use outside corner molding to finish the transition.
Install moldings back and cover all the nail holes
Once you finished installing all the vertical shiplap, it is time to add back crown moldings and baseboards. If you have saved your moldings, you can reinstall them. I wasn’t a big fan of the previous molding, so I got new baseboard and crown moldings.
After everything is in place, I did a pass on filling all the nail holes with wood filler or speckle, and cover all the seams with caulk.
I recommend getting a good quality caulk gun instead of the $3 one from the hardware store. It really made a difference on how easy it is to caulk.
How to paint vertical shiplap walls
Now it is time to paint those beautiful vertical shiplap walls – where the magic happens.
Choosing paint color and sheen
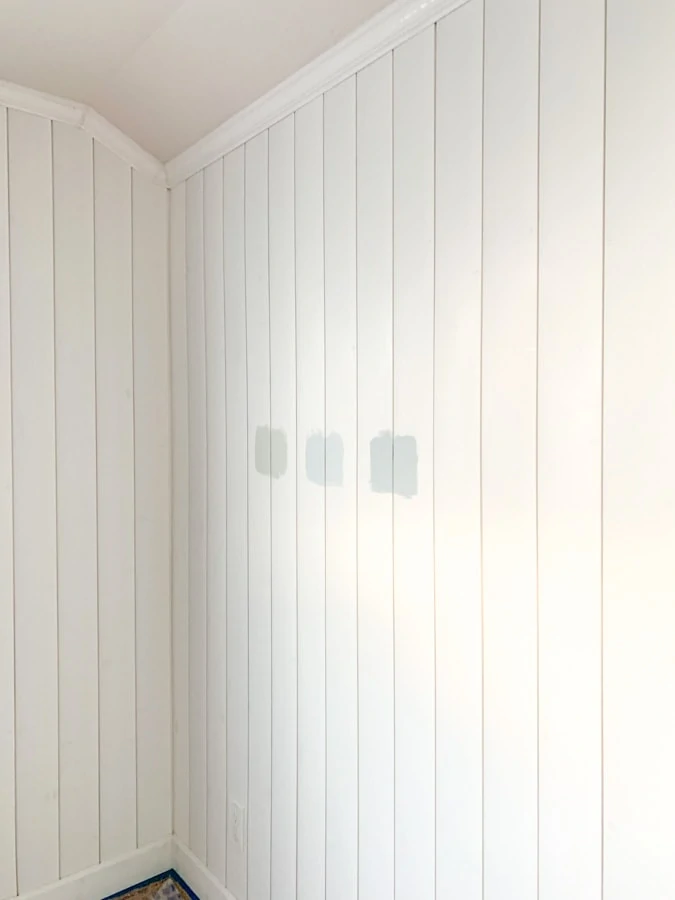
To choose a paint color, it is important to actually test them on the walls.
I bought small sample pots of paint and tested them on two walls, reason being paint color will look differently depends on wall facing.
For my wall, I decided on Benjamin Moore 2140-60 Moonshine. For my home office, moonshine looks sophisticated and gentle.
For the paint sheen I decided on Eggshell. I have done a bit research since wall paneling is a totally different animal from just dry wall.
So based on my my research, wall paneling usually has a glossier sheen than drywalls. So I upped a level on the paint sheen and landed on Eggshell finish.
Painting vertical shiplap paneling
There are two ways of painting shiplap walls. You can use the traditional way with brush and paint rollers, or you can use a paint sprayer.
For our case, we decided to use paint sprayer because we already own a paint sprayer for our Ikea kitchen project. Also spray painting is a lot faster when you need to cover a lot of space in an empty room.
To prep for spray painting, we protected all the flooring, outlets, ceiling box, and of course, windows. I’ve been really interested in the look where moldings and wall share the same color.
So I only taped the windows themselves, leaving the window casing to be painted with the wall.
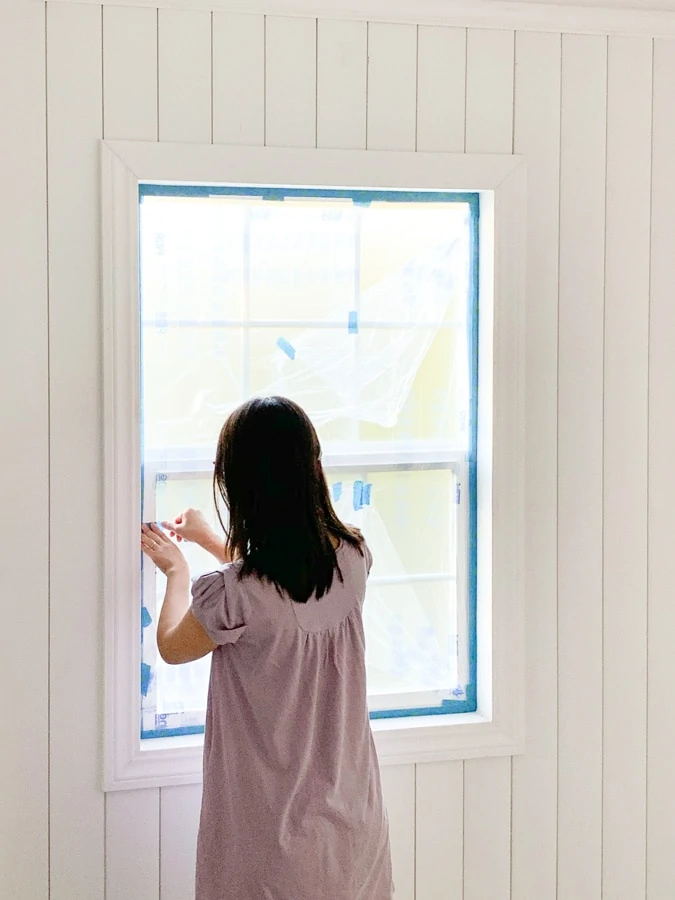
Then we did 2 pass of spray painting with a couple of hours between to let it dry. The painting part was really quick because of the spray painting can cover a larger area than roller, takes about 20 mins for each coat.
One caveat is spray paint won’t really get into the grooves of shiplap boards. They got a little bit sprayed by not a lot.
And we decided to leave it as is. Because those gaps were in the shadow, it is really hard to tell they wren’t painted fully unless you get up close.
If you would like a perfect paint coverage, you can either use a narrow brush to brush in each groove before or after spray painting, or paint the lip as you are installing vertical shiplaps to the wall. I didn’t do that because I have not chosen a paint color yet.
Here’s a photo of spray painted vertical shiplap walls. You can seet that we didn’t protect the ceiling. That is because we planned to paint ceiling afterwards with paint rollers.
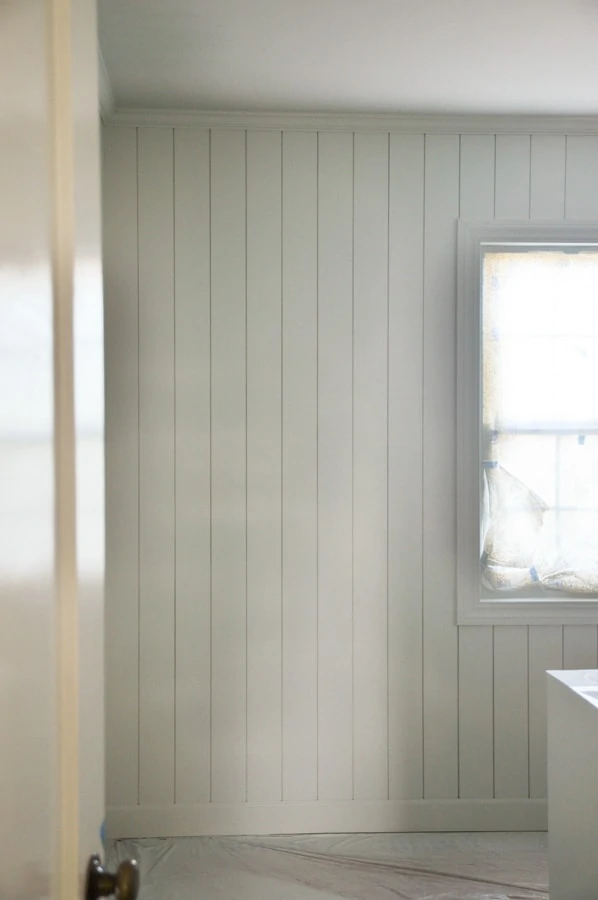
After painting, we did touch ups here and there with a small brush.
I always like to keep the leftover paint so I can touchup whenever needed.
Finished DIY vertical shiplap walls
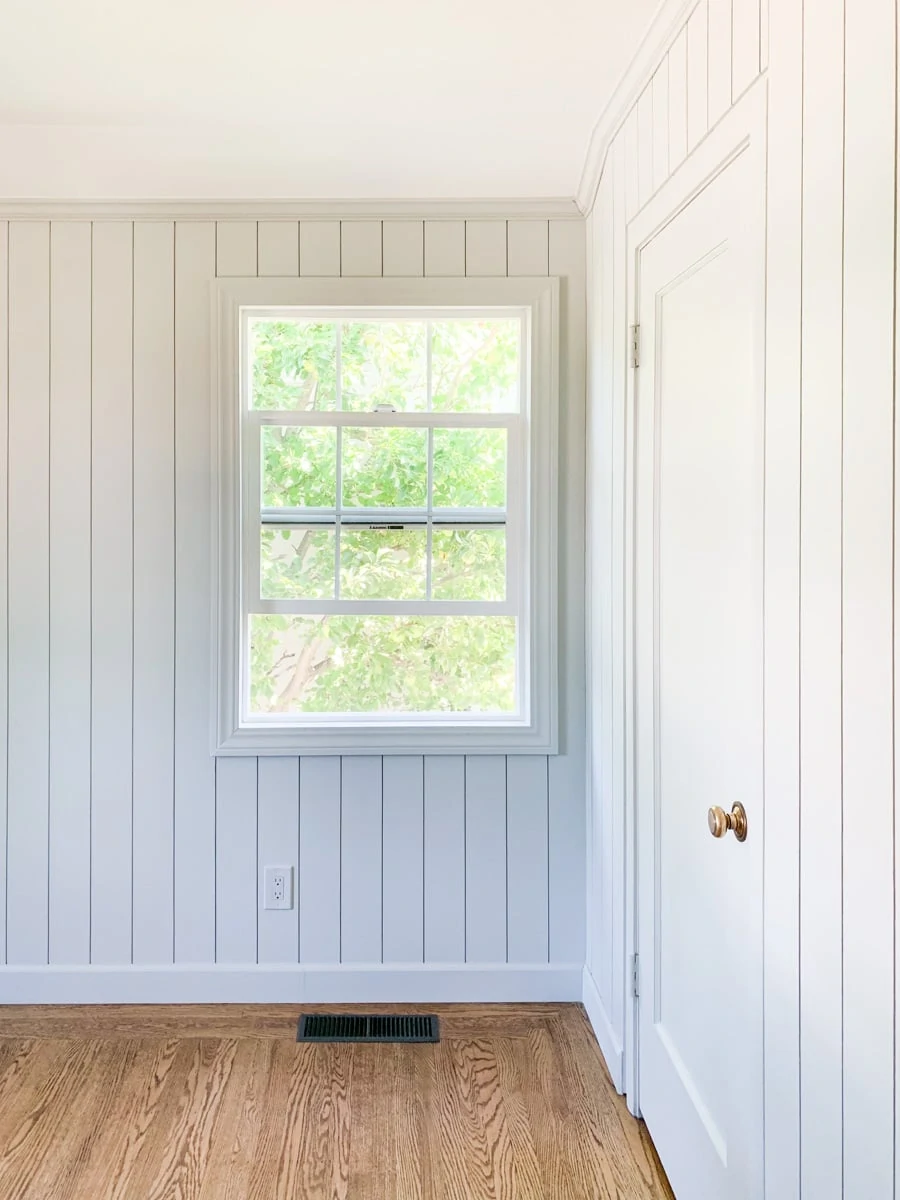
And here we go – the finished DIY shiplap walls! I’m very happy with how it turned out, especially considering it is a complete DIY project by two non professional people!
If we were to hire out, it could easily cost thousands of dollars. By DIYing shiplap wall paneling for our home office, we only paid for materials and paint.
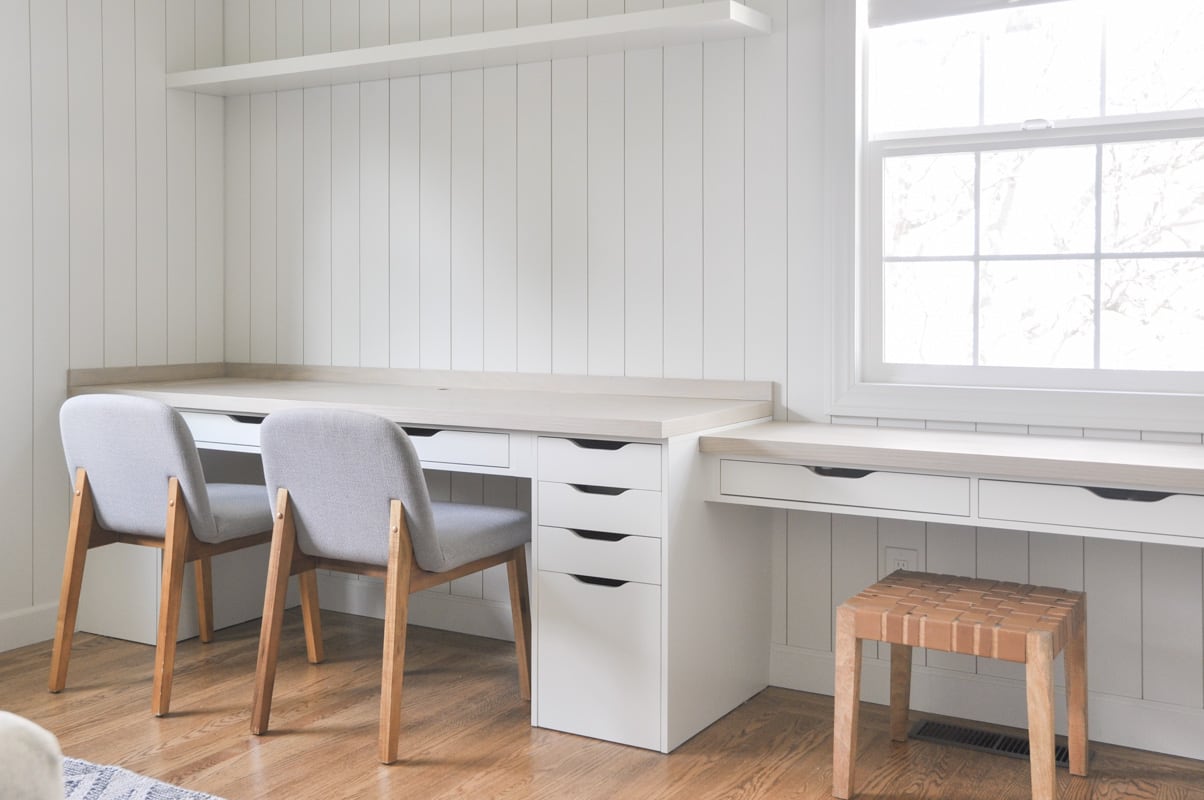
Here’s what our home office looks like after finishing this DIY vertical shiplap project. I hope you enjoy it and will give it a try!
For my home office related post, furniture and decors sources, you can find it at Home Office Sources

More DIY projects
Home Office DIY Desk Built-in with Ikea Alex Drawers
How to Limewash Brick Fireplace
DIY Home Office Closet with Ikea Trofast Hack
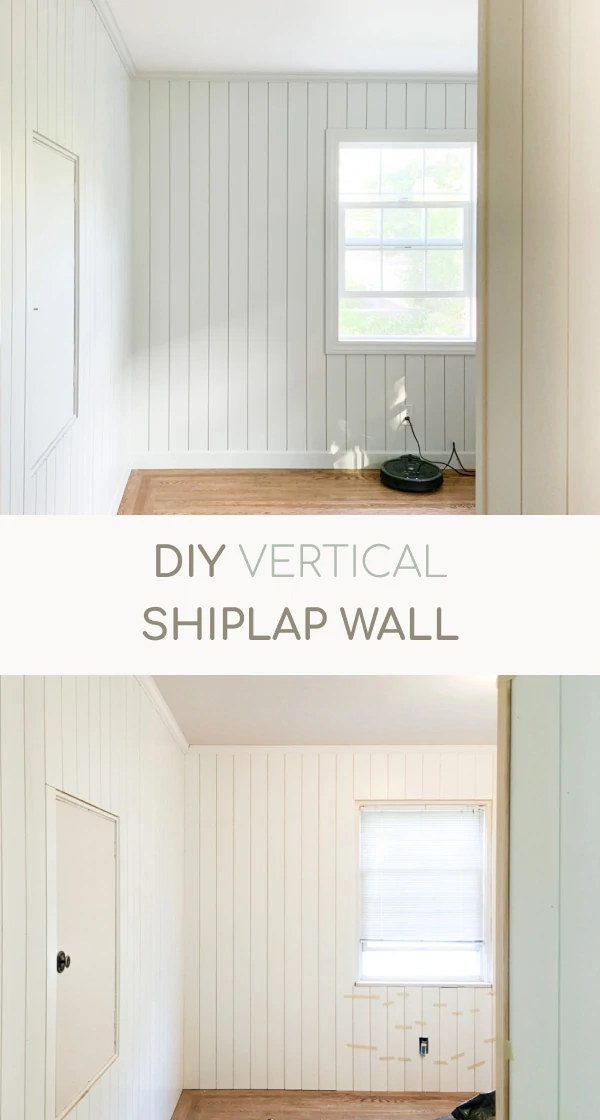
Pin it for later


Love this idea. How do you deal with the lip in the shiplap when two walls meet?
You can trim off the lip or user L shape corner pieces to cover it up.
Can you tell me what paint color you used!? It’s beautiful!
It is benjamin moore moonshine – a beautiful light gray color.
the room is so beautiful! has there been any issue with the boards that are not nailed into studs? are the boards nailed into drywall any less stable? i’m hoping to do this same treatment in my dining room!
Hi Meaghan, so far we haven’t encountered any issues with the vertical shiplap boards. Also for vertical panelling like this, it is impossible to have every shiplap board attach to the stud (given stud is vertical as well). However I have seen people using construction glue and nails to make it more secure 🙂
It looks amazing. Love it! Great job!
I really love that you went vertical with the shiplap! It makes the room look larger!
Such a huge difference !
Paloma – https://palomaguzman.wordpress.com/2019/10/10/one-room-challenge-week-2-living-room/
The shiplap is a great solution! Well done! I am excited to see what comes next!
thanks Angela! Your new painted wall is so great! what a huge difference the painting made.
Covering up those walls with shiplap is a great solution!! It looks beautiful, what a lot of work already!!
Thank you 🙂
your bathroom looks so cute with hex tiles!