Master Bathroom Remodel Reveal and a Budget Breakdown
Our small master bathroom remodel is finally done! In this post, I’m sharing how I turned this small bathroom into a fully functioning master bathroom, plus a budget breakdown on how much it actually cost, and all the sources!

To read how the bathroom comes together, check out:
Master Bathroom Remodel Mood Board and Inspirations
Bathroom Remodel Update: DIY Wallpaper
DIY Bathroom Vanity Inside Mirror – IKEA FRACK Mirror Hack
Can a master bathroom be small?
Our bathroom is in fact, very small. It is only 5 ft by 8 ft, plus a small shower niche. Because we only have 1.5 bath in this house, this full bath needs to serve as the master bath. Although the space was well maintained, the interior style was very dated. After the kitchen and bedroom update, it was time to give this bathroom some love. Also, we really wanted a double vanity as it will serve as master bathroom.
So we played with the layout: moved the toilet to the shower niche, and use that extra space to make double vanity dream happen! As to the shower, we moved it to the bathtub for a shower/bath combo.
Here’s the before image if you haven’t seen the bathroom plan post. Photo is from real estate staging when they were selling the house.
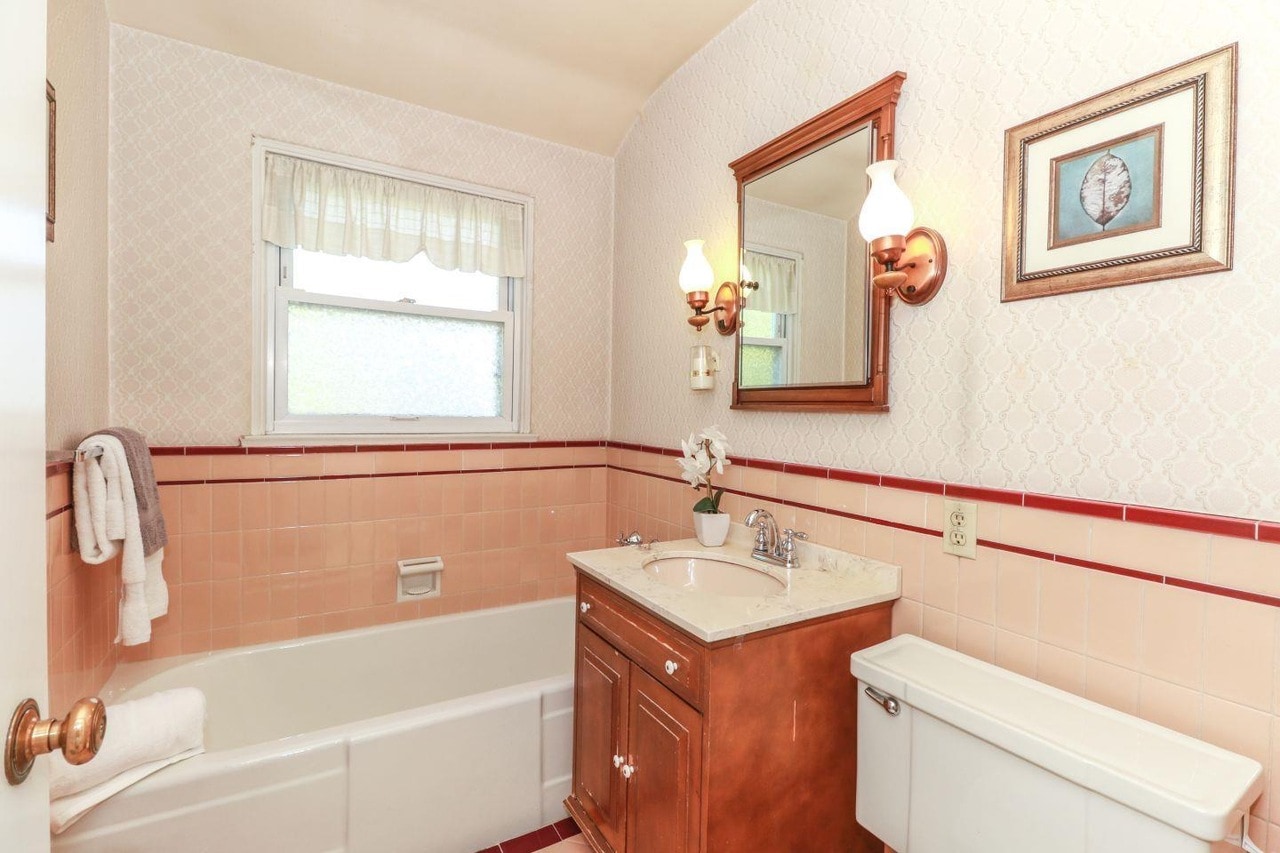

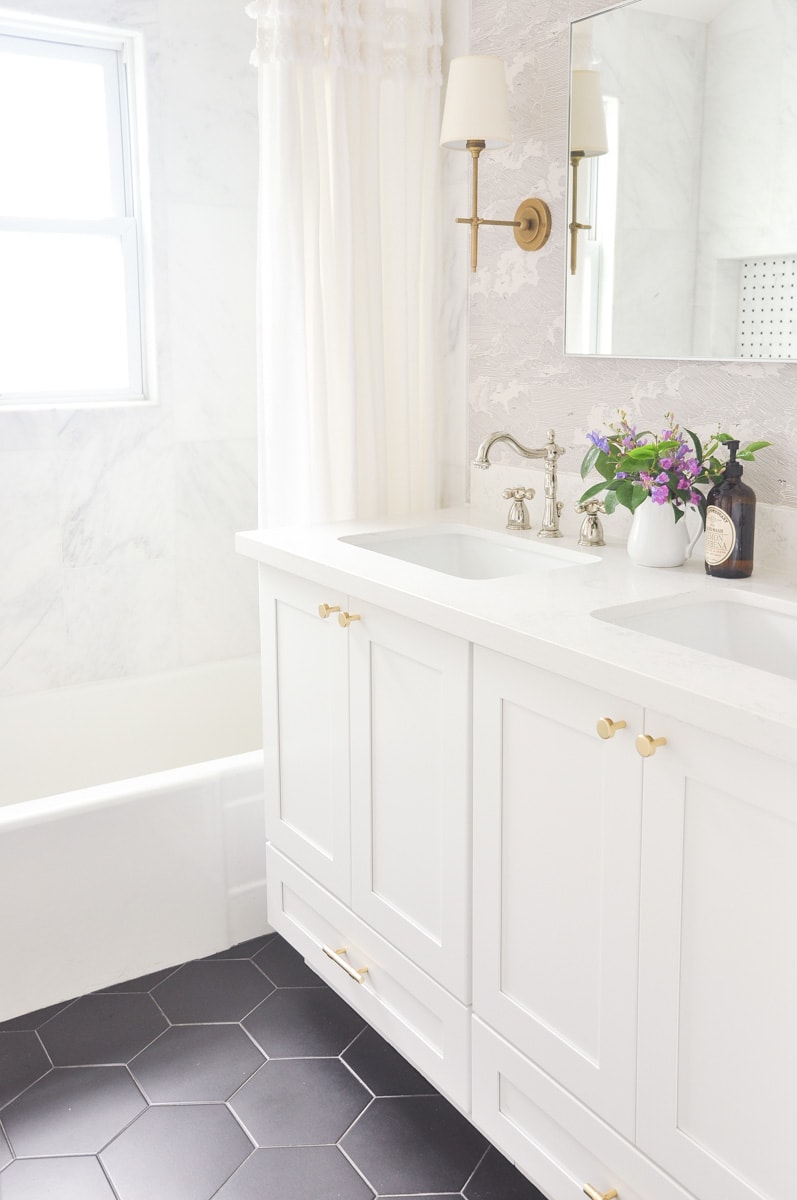
And here’s the after with new layout:

A real-life bathroom remodel story, and why we had to DIY wallpaper installation ourselves
Originally my husband and I were planning to start bathroom renovation in the summer in 2018. In fact, I had removed all the wallpapers from the bathroom due to the excitement that “our bath renovation is happening soon!” As how a remodel project usually go, there’s a series small delays on getting all the finishes and fixtures ready. However, the biggest delay was to find a good contractor we felt comfortable working with, and coordinate with his timeline.
So 4 months later, our “chosen” contractor started remodeling at the end of December 2018! Hooray! It took around 3 weeks of work, but with some delays due to holiday season. At the end, we were handed with a new bathroom with all the big parts nicely done, such as vanity with quartz countertop, fully functioning toilet, freshly painted doors and wainscoting, but without… well, wallpaper.
Originally the wallpaper installation is supposed to be part of their scope of work. But at the end of their job, they didn’t want to do it. Our guess is that installing wallpaper is tricky with those curved walls in old houses. So I decided to take on the wallpaper job myself as a weekend DIY project, with some help from my husband. It was our first time install wallpaper. With some youtube videos, we were able to get it done on the weekend! To read the story of our DIY wallpaper installation journey, mistakes we made, and lessons we learnt, check it out here.
I am absolutely happy with this wallpaper decision. Together with the wainscoting, it already adds so much style to the space without decoration.
Master bathroom tour and design tips
To have double vanities, the easiest decision is to purchase online, preferably with countertop comes with it to bring the cost down. However, our bathroom is very small, and that means there’s not enough room to do a standard 60″ double vanity. I have done a lot of search on double vanities that are less than 60″ wide, but there’s little options, as 60″ is really the minimum you can go with the double vanity. So I eventually I went to a local cabinet store, and worked with them to customize two 27″W kitchen cabinets into a double vanity.
The default layout for each cabinet is to have faux drawer on the top, and double door below it. In my experience dealing with storage, drawer is more space efficient. So I asked the cabinet store to swap the order of these two. This way we will have a real drawers to use and store things.
The cost of this “converted” double vanity is not bad at all, around $600, plus $100 to modify the cabinets. The stone fabrication did add a good amount to the total cost though. You can find this bathroom remodel budget breakdown at the end of this post.
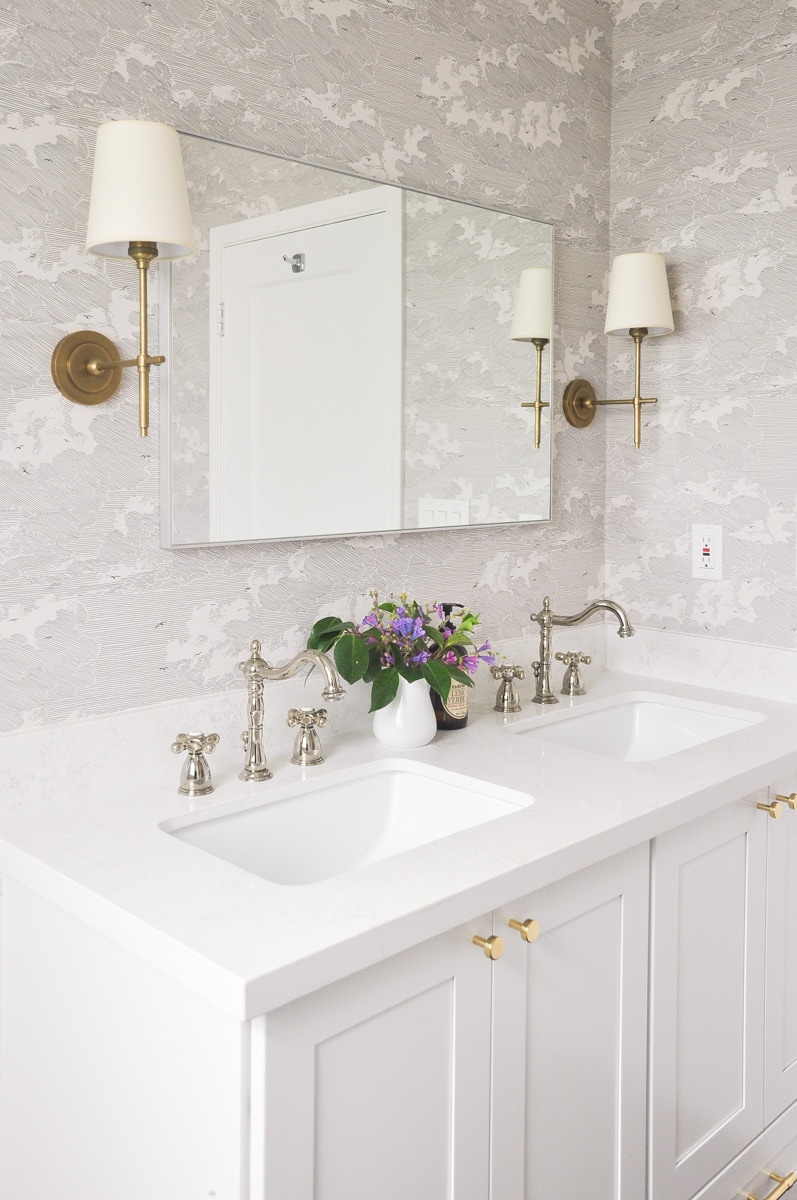
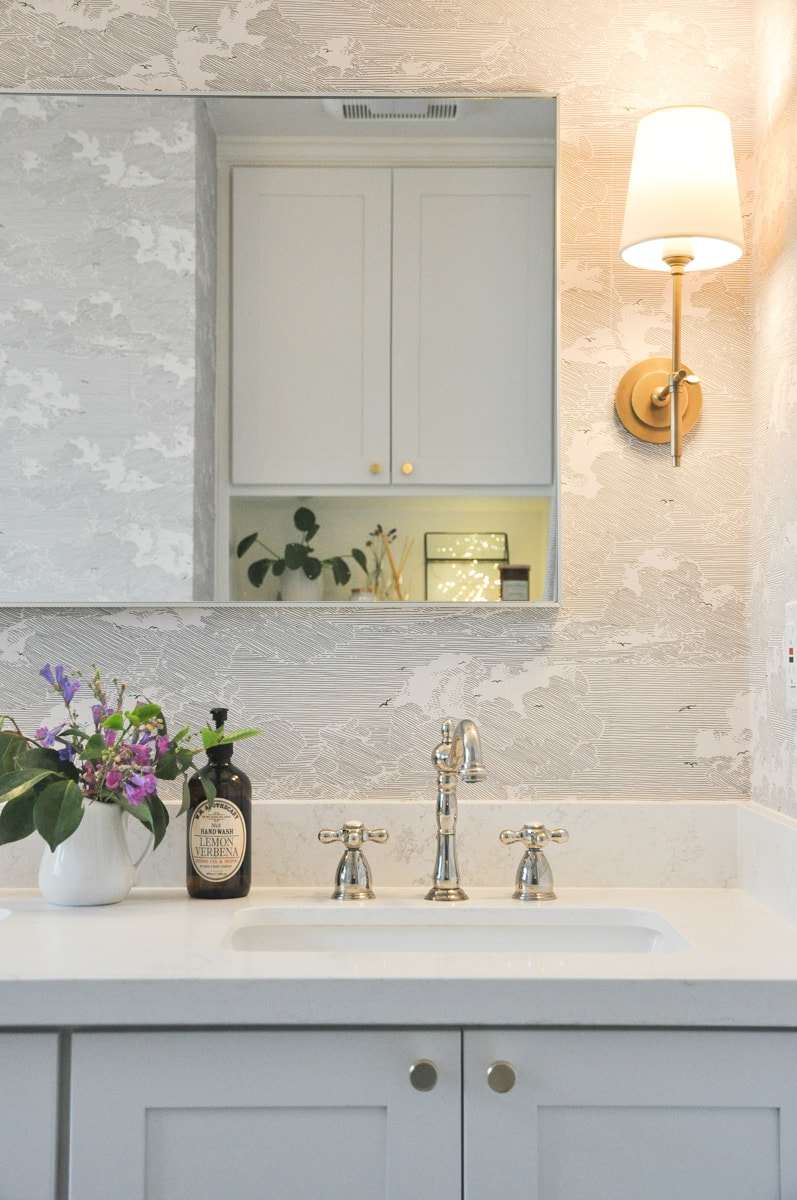
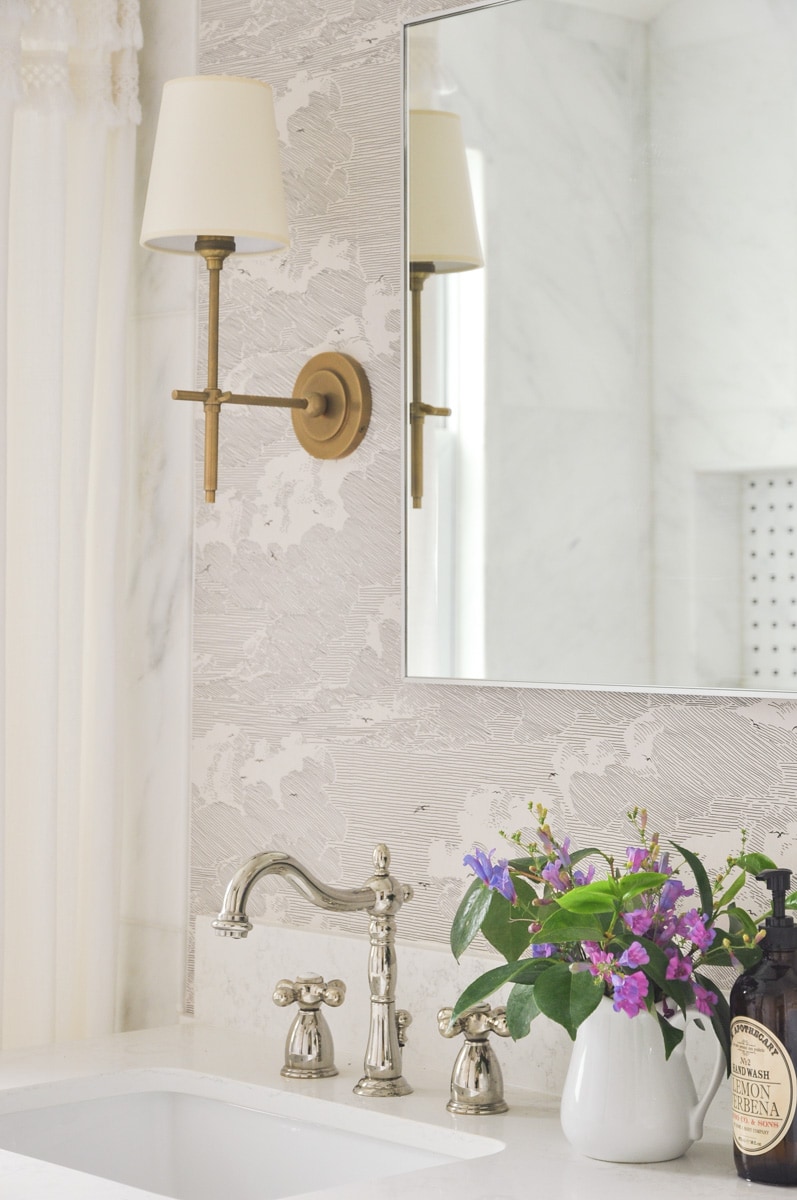
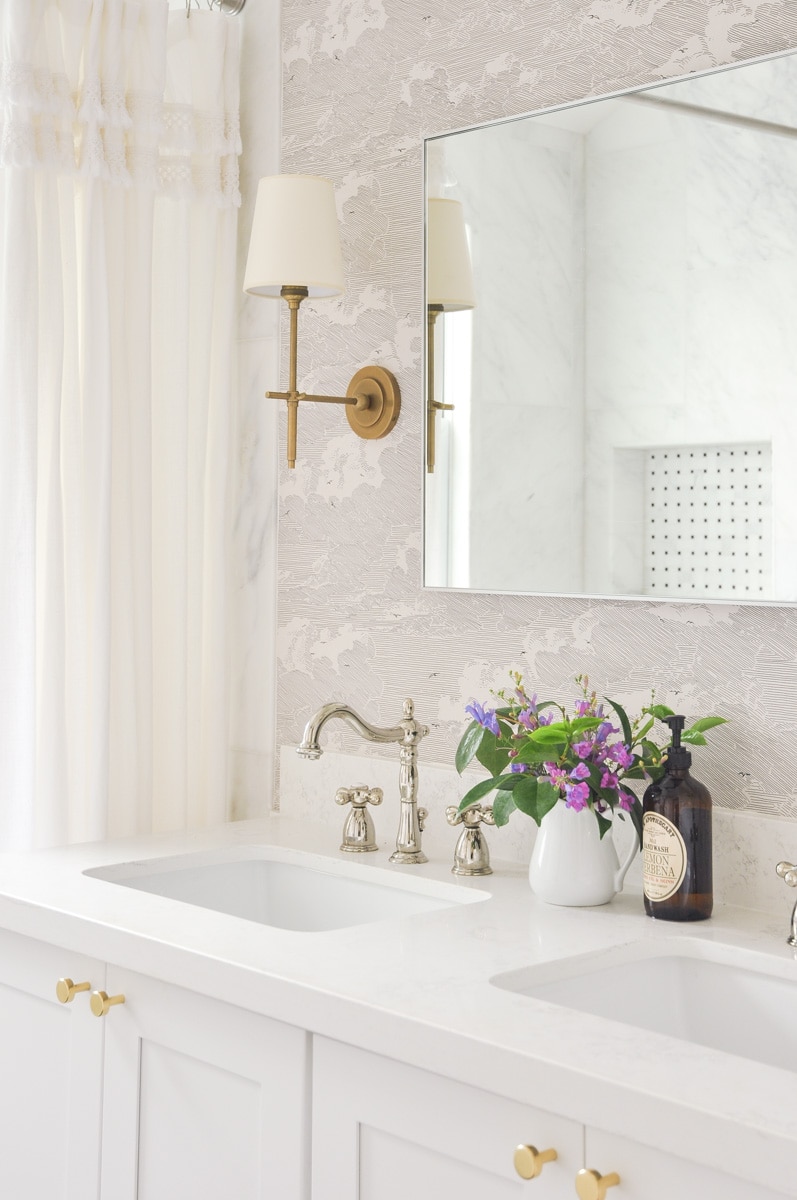
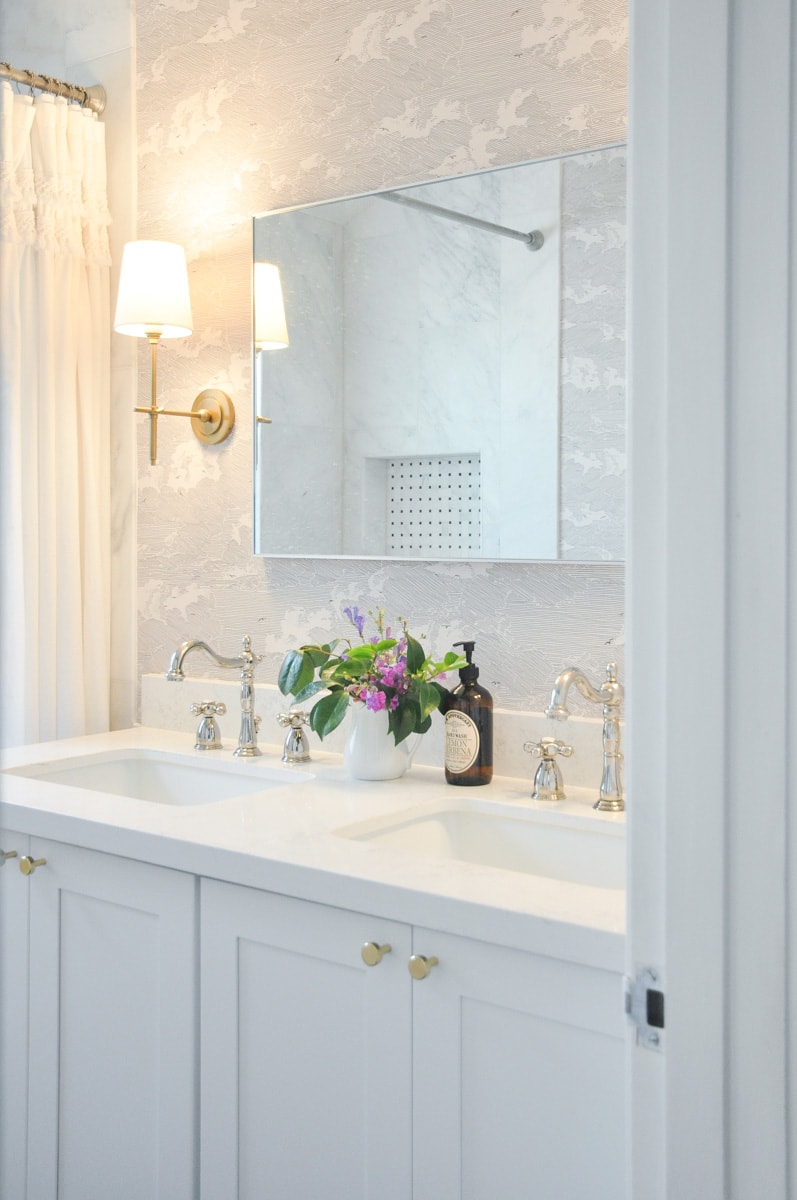
Tips on mixing metal finishes
I like to mix metal finishes for a more casual and collected look. I like how polished nickel and brass look together – it brings out an old world charm. The brass sconces looks perfect with this wallpaper I got from Anthropologie.
One tip I have when picking metal finishes is to think about which one is harder to replace. Because I knew that sink faucet and shower fixtures are hard to replace(usually involves hiring a plumber), I have them in polished nickel finish – a relatively safe and classic choice. I love brass finish but worry they may go out of style one day, so I used brass accent on easy to replace items, such as drawer knobs and pulls, light fixtures.
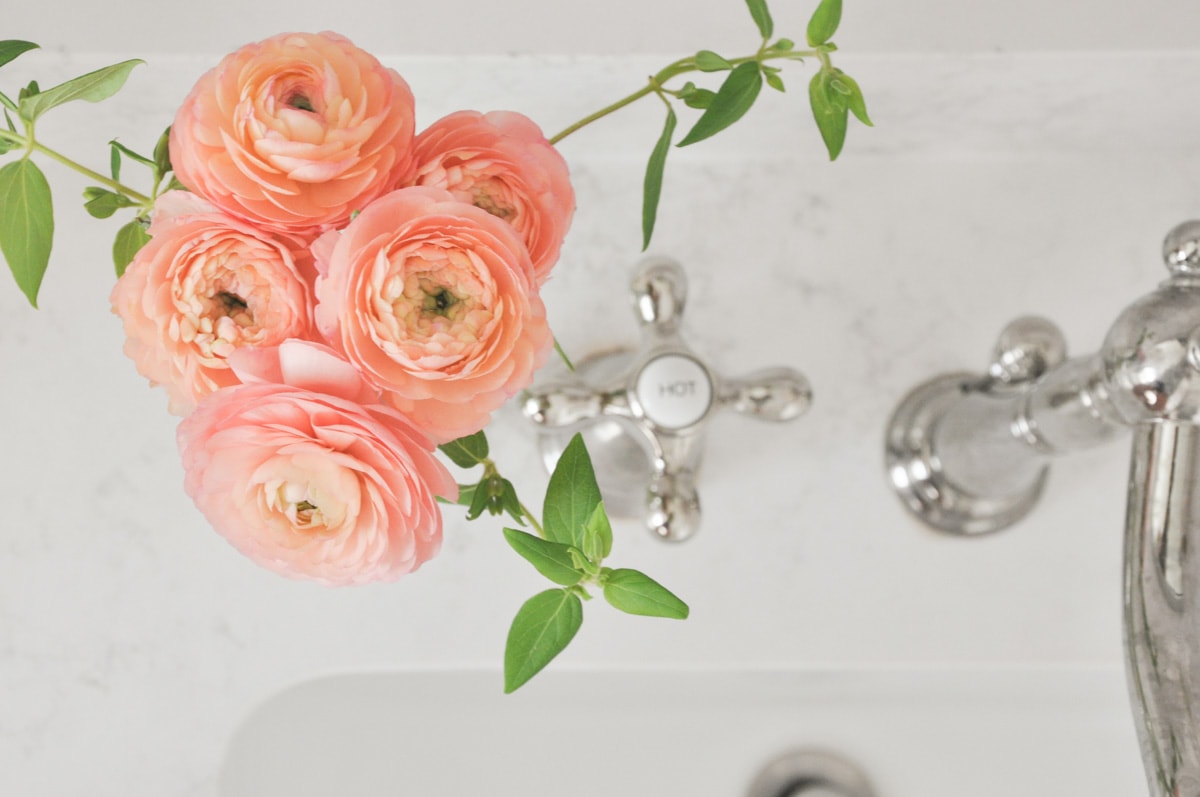
Having fresh flowers or plants on the vanity is always a big bonus. I clipped some over grown penstemon flowers from my front yard, and combined them with camellia branched I pruned a couple weeks ago. BTW, those camellia branches last forever!!!

Above toilet cabinet is a life changer for small bathroom
One thing I really wanted is an above-toilet cabinet with an open shelf. I’ve shared an inspiration photo in the bathroom plan. It was a little bit tricky to communicate it effectively with the contractor as it is not very common. But at the end I’m so glad I pushed it through! It has so much closed storage to hide toilet paper, extra toothpaste, toilet remote, etc.
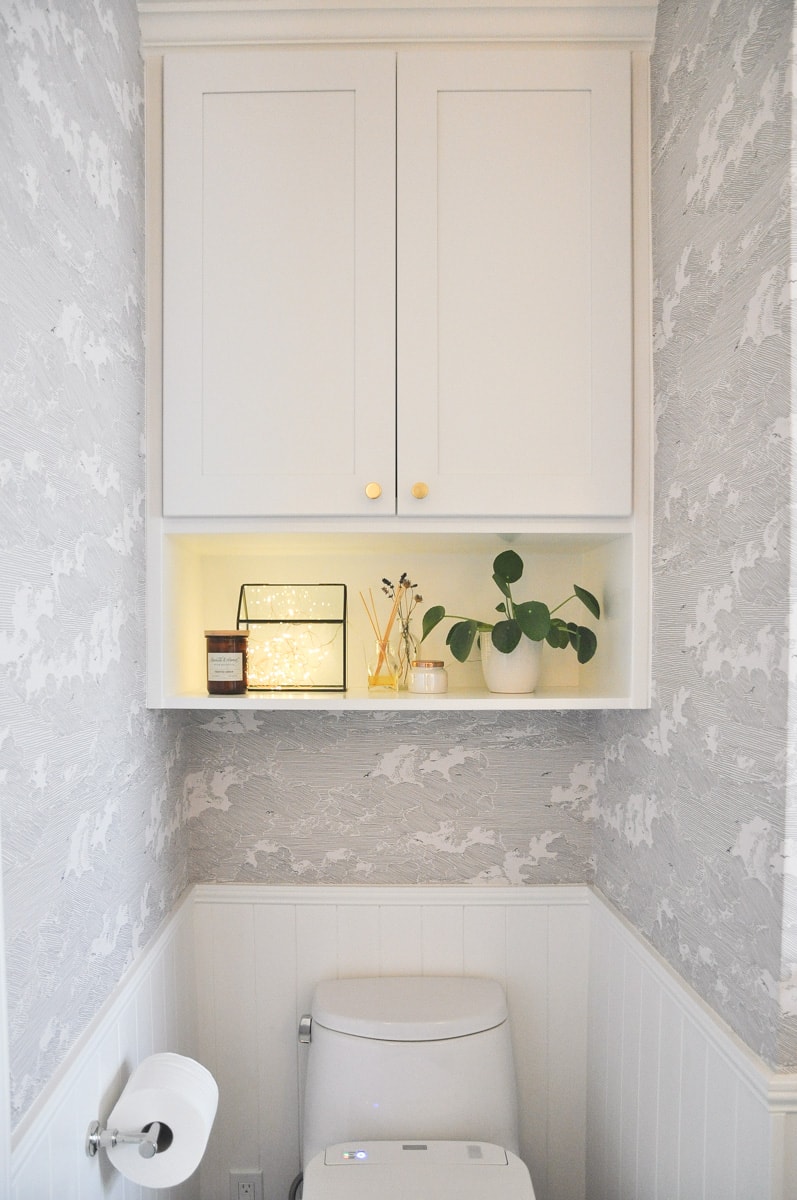
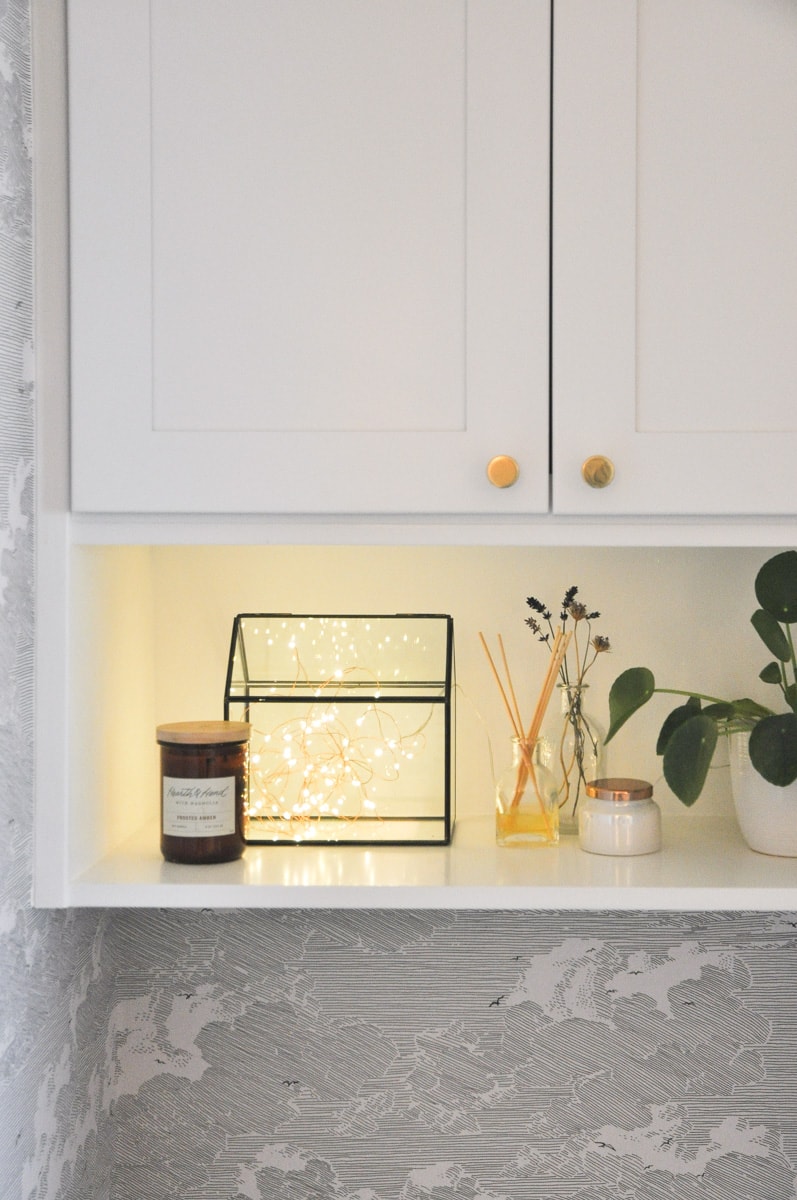
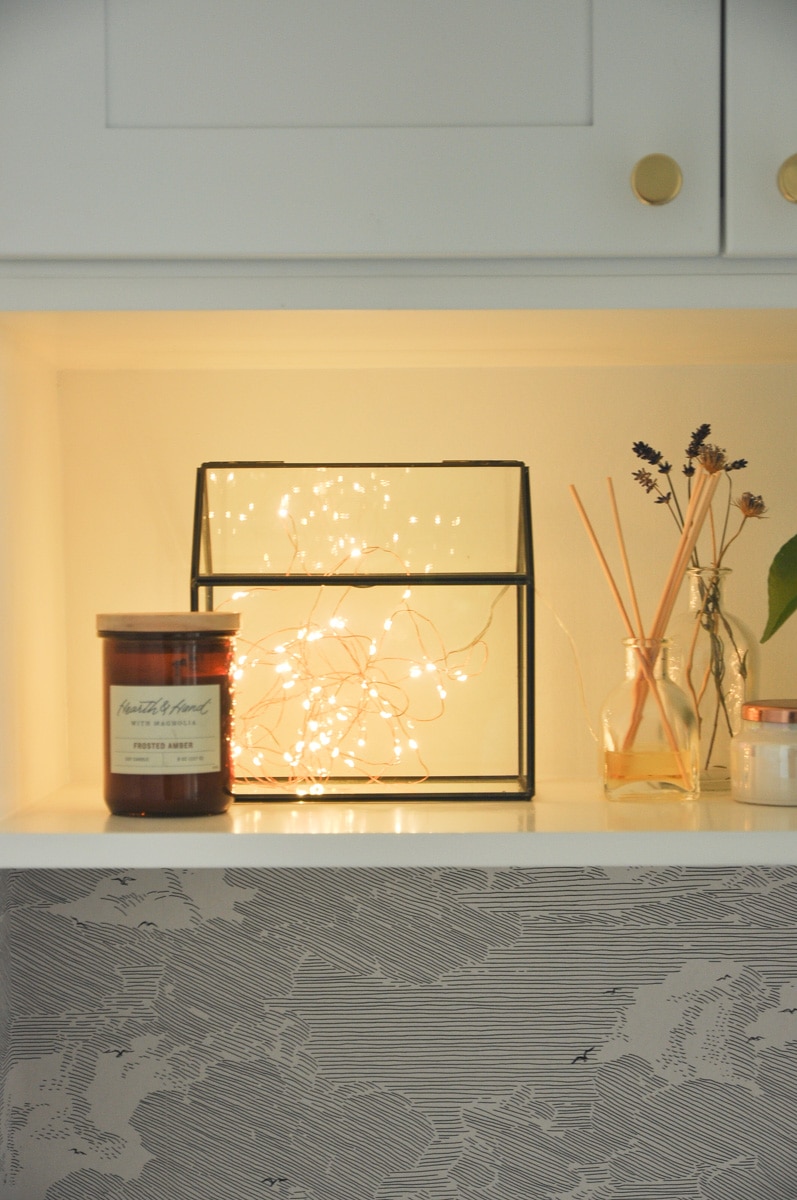
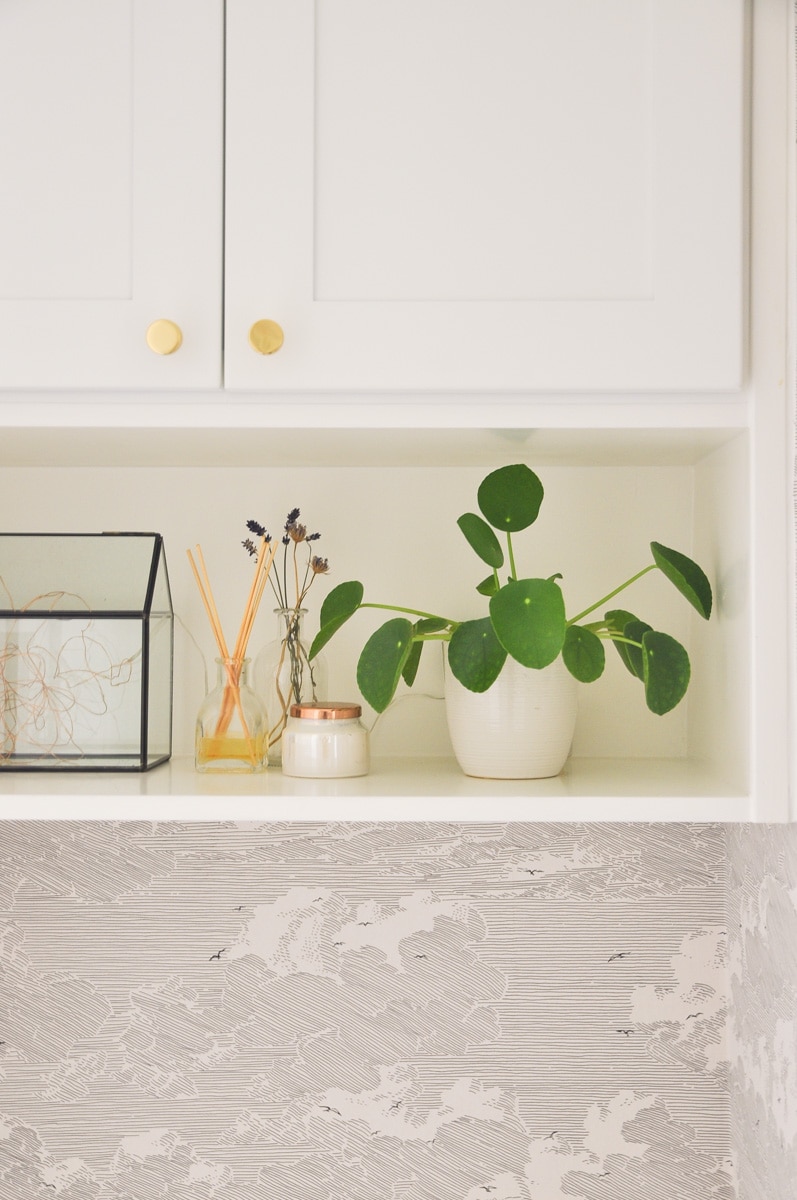
I really enjoyed the open shelf beneath the cabinet. It is a perfect spot to add some styling (AKA beauty) to this small master bathroom.
I used this space to house diffuser which is essential to any bathroom. I also added some beautiful candles and a fairy light in glass terrarium house – I set a timer on this light so it will be on between 7pm to 12pm. The goal is to add some ambient light in the bathroom for midnight bathroom run, without having to turn on the real bright light.
I recently become really interested in indoor plants. This pilea plant adds so much to the space! Instant liveliness ?. When it gets too big for this open shelf space, I have 2 baby pilea plants ready to fill the spot!
What’s next?
Well although I can technically call this room as done, there’s still some remaining items.
1. This hand towel wall above the wainscoting looks quite empty. I’m planning to add 2 pieces of artwork over there. Also considering having some small artworks on the wall above the toilet paper holder.
2. The current shower curtain is a bit short. It barely touches the bathtub. I’m planning to extend it for another 2 feet. This will make the space look taller and more lush!

Want to see how I tackle those next steps in this master bath? Follow me on Instagram or subscribe to my newsletter to get the latest as soon as they come out!
Bathroom remodel budget breakdown:
Here’s the budget breakdown. It has two parts: 1. how much we paid the contractor; 2. items we bought. The total cost is around $20k. Your contractor labor fee may vary depends on your location. Here in Silicon Valley, labor can be expensive.
Contractor labor & raw materials: $13,000 (a lot of plumbing work)
Vanity, fixtures, finishes: ~$6,000 (include a $1400 fancy toilet lol)
- hex tile 343
- tile 780
- toilet 1400
- sconces 330
- ceiling light 100
- double vanity, wall cabinet, countertop 2400
- hardwares 200
- mirror 150
- wallpaper 270
- paint, primer, wall covering adhesive ~50
Get the look:
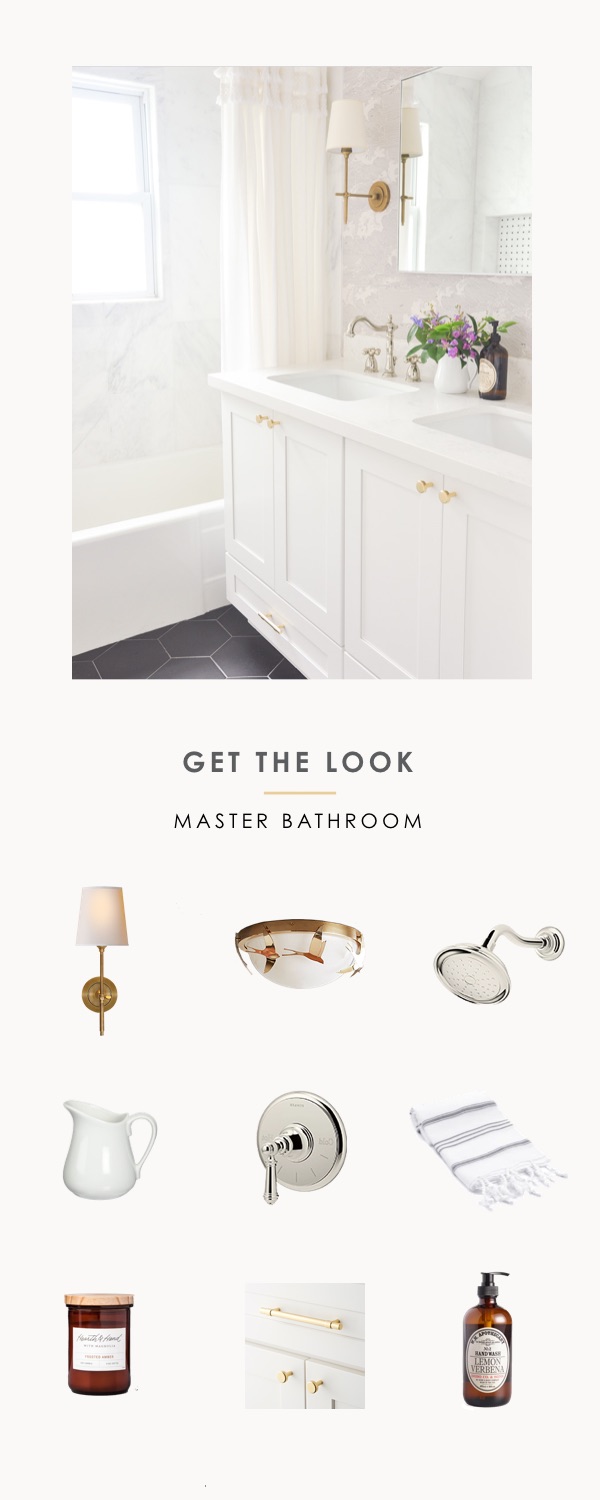
ceiling light (Anthropologie, no longer available)
Other interior posts
Kitchen Tour Part 1 | IKEA Kitchen Cabinets Honest Review After 1 year Usage
Kitchen Tour Part 2 | IKEA Kitchen Cabinets Organization Ideas and Hacks
Master Bedroom “Half” Tour | Bedroom Renovation
Love your bath remodel! I’m in the midst of remodeling and knew I wanted a cabinet above toilet. I see it’s 30×30 but how deep? What’s safe over the toilet? Don’t want to hit it when standing or sitting Thank you
I used upper cabinet so it is about ~12″ deep, and I’ve never bumped my head since it is quite shadow, plus the water tank of my toilet has depth too.
What is the name of the stone surface you used on your vanity? Love it!
Kelin,
I found your site via an EHD post and I’m so glad I did!
Could you share anything about the window in your shower? I’m preparing to renovate my small bathroom (also in a 2 bedroom ~1000 sqft home) and the shower has an old wood single hung window that I’m certain needs replaced for waterproofing. But I do love the light that a window in the shower brings in! Just want to make sure it’s taken care of properly to avoid future moisture-related issues.
Thank you in advance for your insights. As a fellow garden and interior design lover, I’m excited to now be subscribed to your newsletter.
Happy new year,
A
Kelin,
Two follow-up questions for you as I’ve continued thinking about your bathroom over the past couple of days!
First, do your 5×8 ft. bathroom dimensions include the bathtub itself, or is the room 8 ft. long excluding the bath?
Second, it looks like you chose to keep the original bathtub. Is that correct, and if so, how did you come to that decision?
Thank you again!
A
Hi Alyssa!
1. it is 8ft long including the bathtub
2. yes, we kept the origonal one to save cost since it is in pretty good condition, plus it is such a hassle to replace it.
wood window does sound dicey to be near a shower. I would recommend you to get window with more waterproofing materials, and make sure to seal it well during install. alternatively you could try skylight instead!
Curious about where to find the cabinet above the toilet? Did you purchase or was it customer made?
It is from the same supplier of my bathroom vanity. basically it is a kitchen cabinet plus a shelf.
Thanks for this blog you post. It is very helpful to me I hope you post more help from us. So that we can learn more about how to manage this kind of plumbing plan. Choosing the best for your home is the best you must do.
Hello Kelin,
It is a very interesting solution for bathroom lovers. I am eager to love to remodel my bathroom, I am confused to collect information for upgrade my toilet. Thanks for sharing your document.
Hi. I’m really curious to know where you purchased the light sconces. The link has them listed for $209 each and your budget says you paid $330. Did you really use the same ones you link to? Thanks!
When I bought it, it was $199 each, with some promotion going on. So after discount, it was $330 for both sconces. This is the link I used: https://bit.ly/2z6WonO
Your bathroom is gorgeous! I can’t believe it used to look like it did “before.” I’m so inspired. Could you share where you found the cabinet for over the toilet? I’m looking for something in that style. Really lovely job!
Hi Rosalin,
Thank you! I’m so glad you find it inspiring.
The cabinet over the toilet was purchased at same place as the bathroom vanity, from a local cabinet store. It didn’t come like that.
I was a 30″ wide 30″ tall wall cabinet. I asked the contractor to add a shelving unit right below it by sharing some inspiration pictures(that I shared in “bathroom mood board and inspiration” post).Then I painted them and the wall behind it in a satin white to make them look like they are one piece.
My tip would be DIY yourself by adding a shelving, and paint it. Or bring some reference photos to a handyman/contractor to make it happen. My contractor didn’t add any extra money as it wasn’t a complicated job. Hope that helps!