DIY Throw Pillow Covers with Zipper | Serena and Lily Inspired
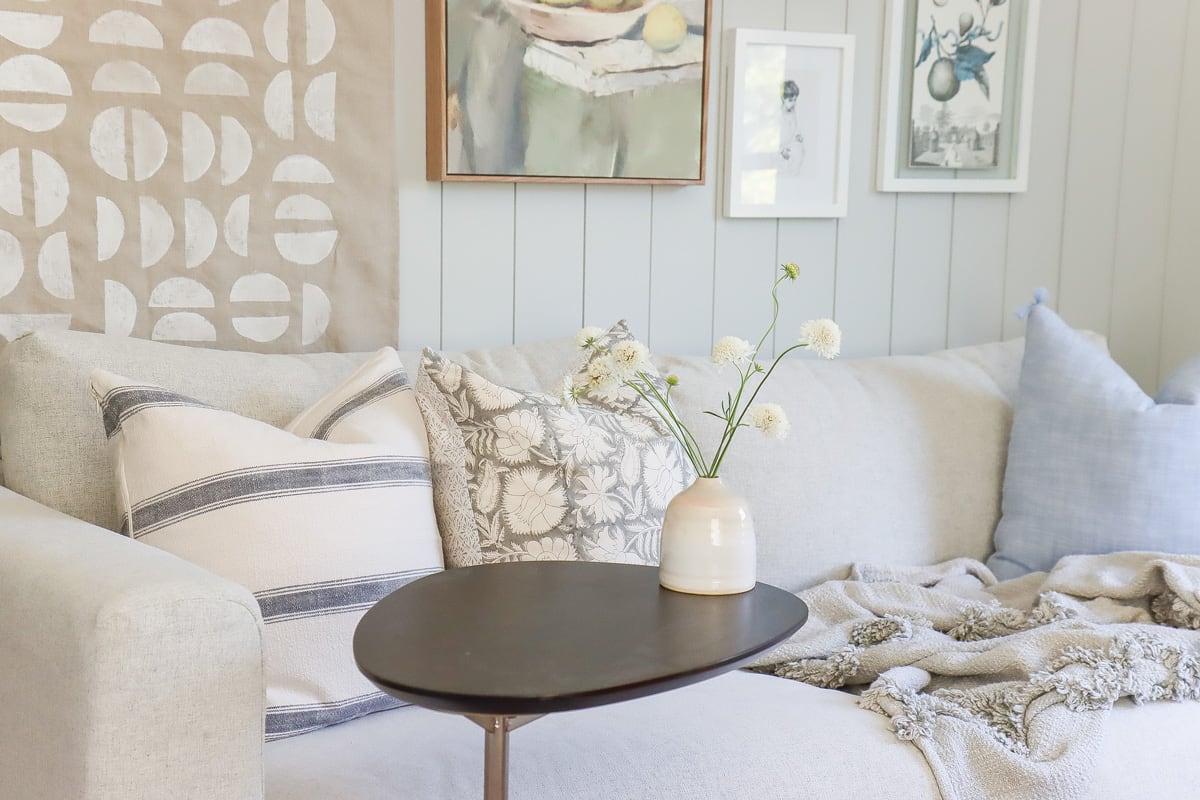
In this post, I’m sharing how to DIY throw pillows that look chic and expensive! This is a simple DIY home decor project that you can do easily within a couple of hours. These DIY zipper pillow covers were inspired by Serena & Lily at a fraction of the cost.
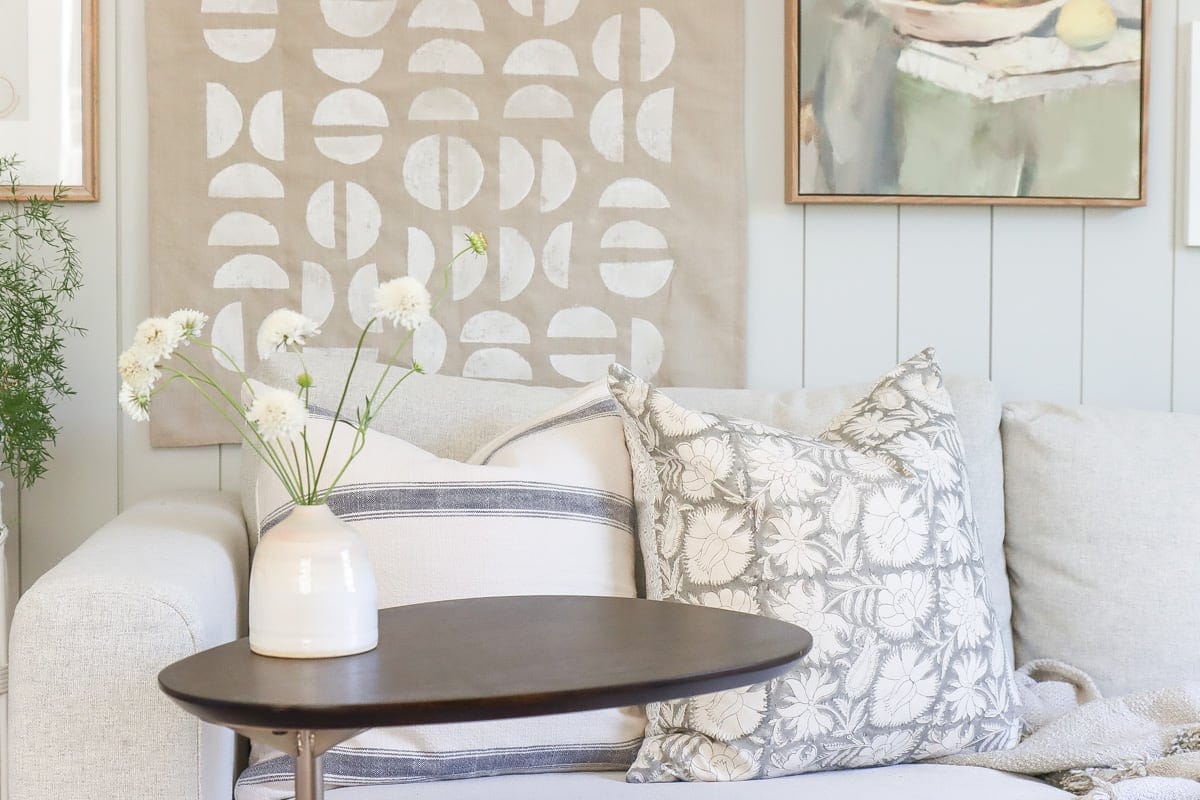
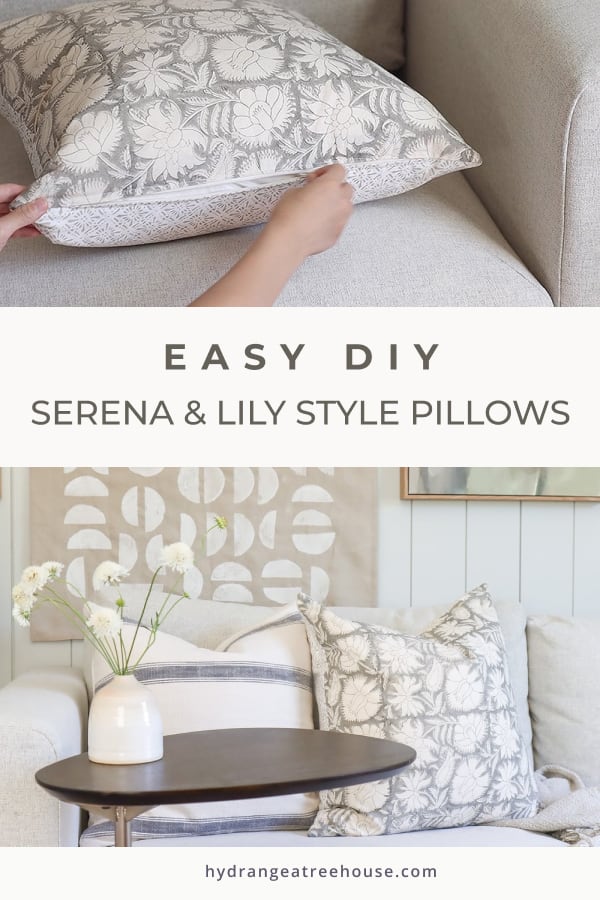
Serena and lily inspired pillow
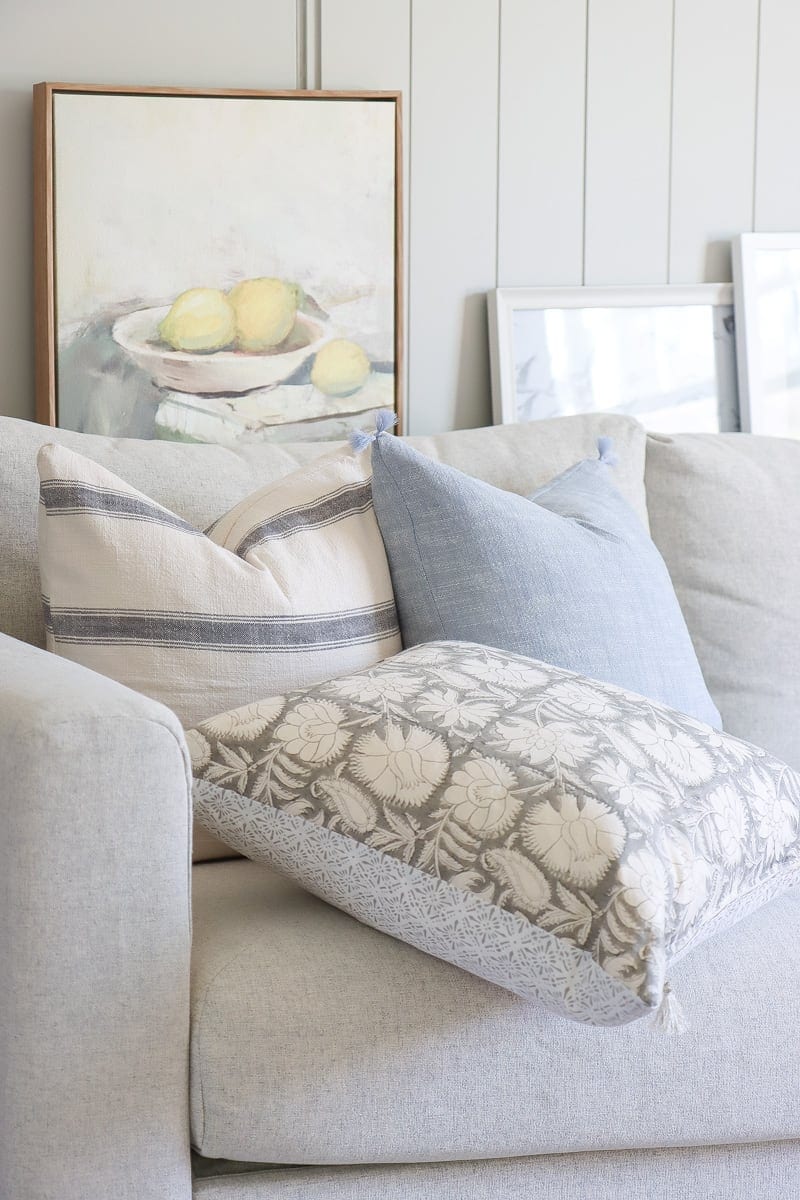
I’m always in search of beautiful throw pillows to decorate my home and amp up the style. I Iove the brand Serena and Lily a lot with its chic and classic style, but their 20 by 20 in pillows can easily go above 100 dollars! So instead of buying expensive pillows, I DIY’ed expensive looking throw pillows that resemble Serena and Lily style!
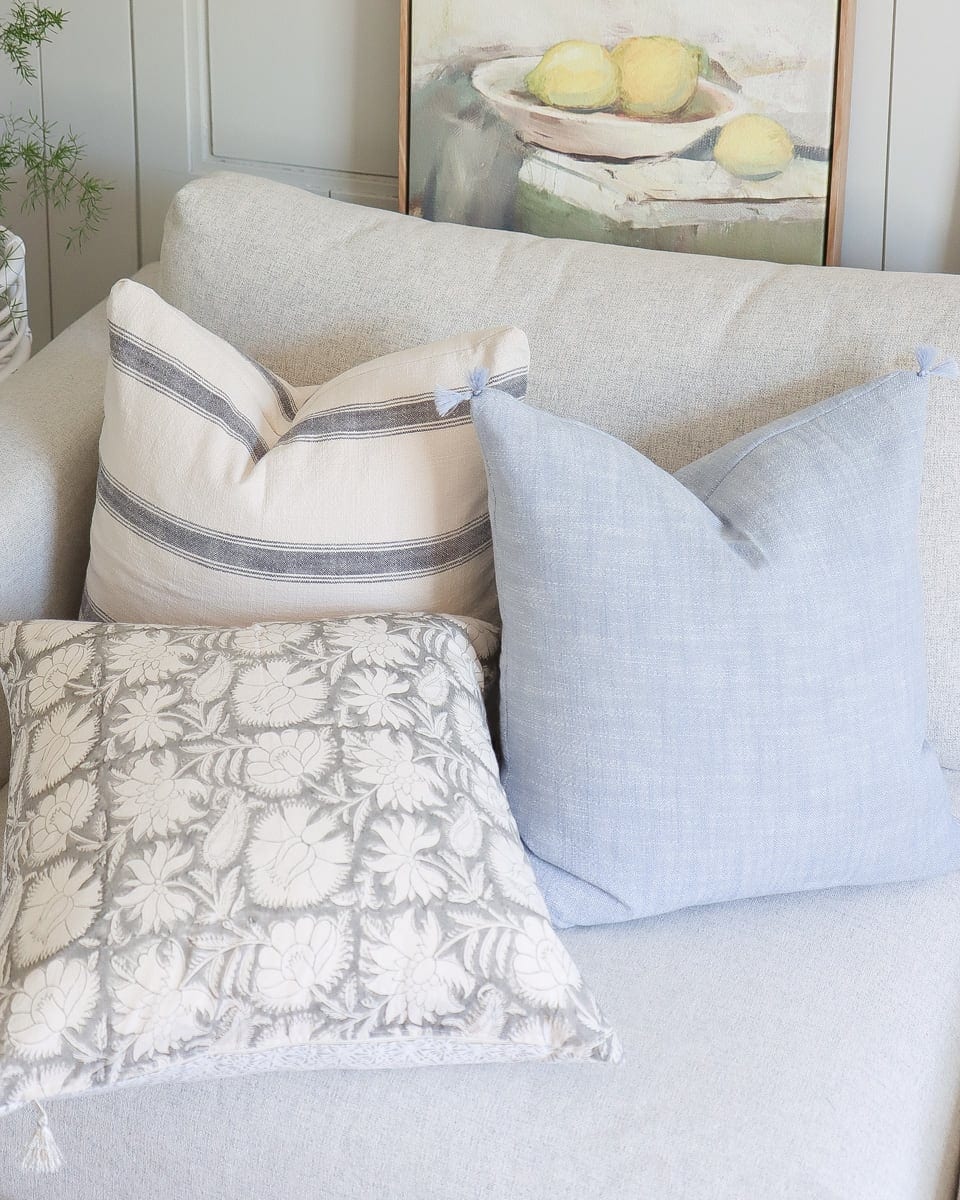
As a result, I’m so happy with how those DIY pillows turned out! I also added interesting details such as tassels to add more personality.
In this post, I’m sharing how to sew a zipper pillow with tassels on the zipper pull. In an upcoming post, I’m sharing how to make invisible throw pillows with tassels on the corners! If you’d like to know when it comes out, follow me on Instagram 🙂
Sourcing fabrics for your DIY throw pillow
First of all, let’s talk about sourcing fabrics to ensure a good looking DIY pillow cover. Fabric is the soul of a throw pillow and a lot of times I found it is difficult to find pretty decor quality fabrics at an affordable price. So Instead of buying traditional decor fabrics from a fabric store, I like to find creative ways to source fabric for my DIY pillow cover projects.
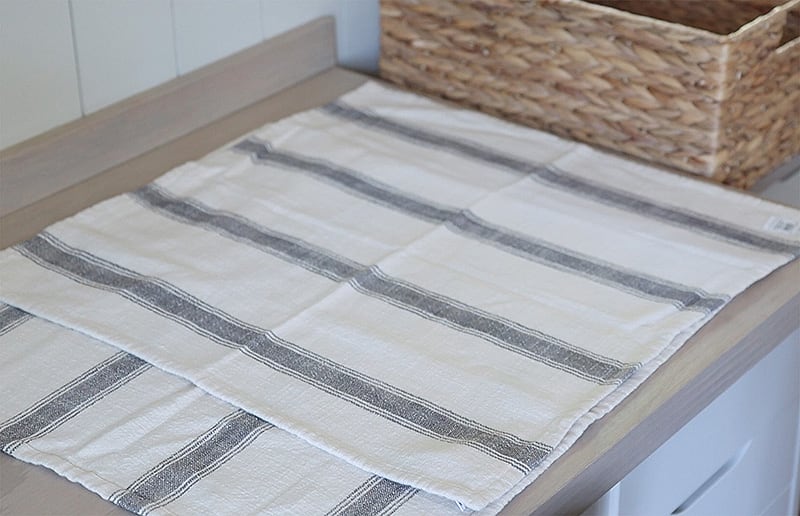
Napkins (20” by 20”)
Napkin is my favorite fabric source for throw pillows. Why? There are 2 main reasons:
#1 Low cost.
Buying napkins to make pillow covers is really low cost, compared to traditional fabric shopping. I like to buy 20 by 20 inch napkins and most of the time I can turn 2 napkins into a close to 20 by 20 inch throw pillow cover. There is almost no waste on the fabric and you will pay exactly how much fabric you need.
For the DIY pillow cover in this post, I spent less than $10 with the fabrics. It is a great deal to me because the fabric is pretty and high quality!
Traditionally, If I were to buy decor/upholstery fabrics, I have to buy it for it’s entire width and length that can be divided into ⅛ of a yard as minimum. As a result, there can be quite some waste of fabrics if I only want to use the fabric to make pillows.
#2 Color and pattern choices.
There are so many furniture or decor stores selling napkins, so the choices are endless! I especially love Pottery Barn napkins because those are high quality and pretty, so your finished DIY pillow will look expensive!
Great napkins for DIY pillow cover

Other decor fabrics
Besides napkins, there are other great choices for decor fabrics, such as kitchen towel, table cloth, etc. Check out my All about DIY Pillows post where I shared more tips on this topic.
Why DIY a zipper pillow?
If you want your DIY throw pillow to last and always look good, I highly recommend installing a zipper as the closure.
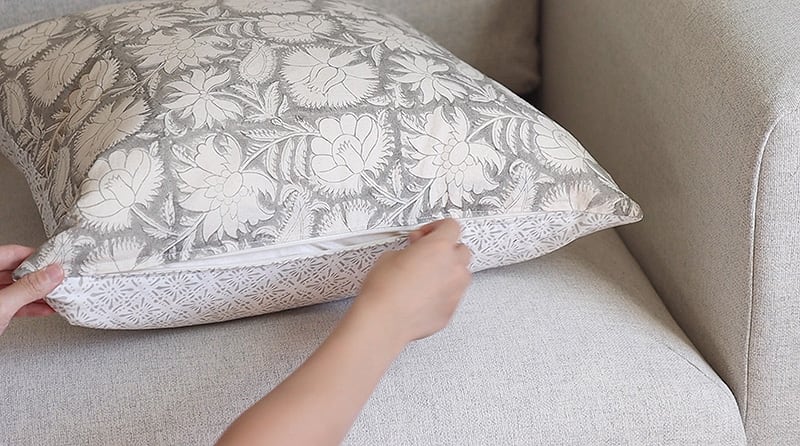
There are a few ways for a DIY pillow cover closure. An easy way is envelope closure. Although it is the simplest way besides not having a closure(not recommended), it doesn’t make you pillow look full, and also only looks great on one side.
So for this project, I used a normal zipper, but hid with construction so it is not super visible. Next week I will share a DIY pillow tutorial with invisible zipper, so you can learn both ways and decide which one is for you!
DIY throw pillow video
Check out my video version of this DIY zippered pillow cover tutorial! And subscribe to my youtube channel if you would like to watch more videos like this.
DIY throw pillow materials and tools
Napkins in this project:
Tools:
DIY throw pillow step by step instructions
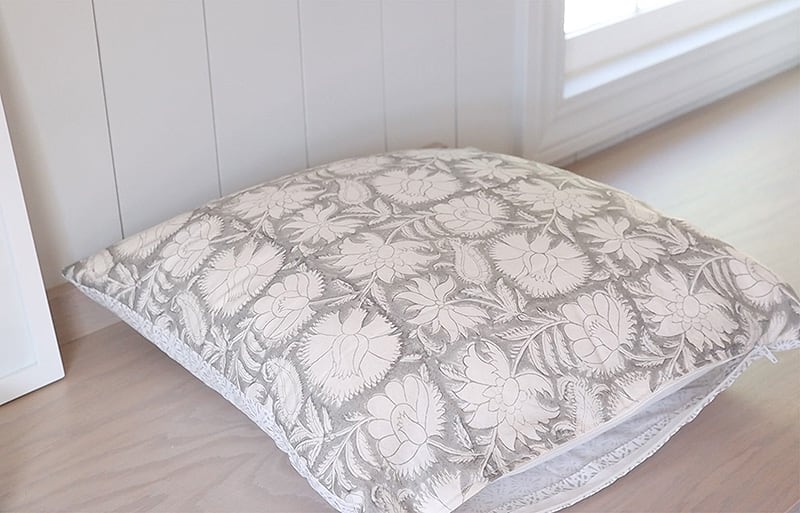
Step 1. Remove napkin hem or cut fabric
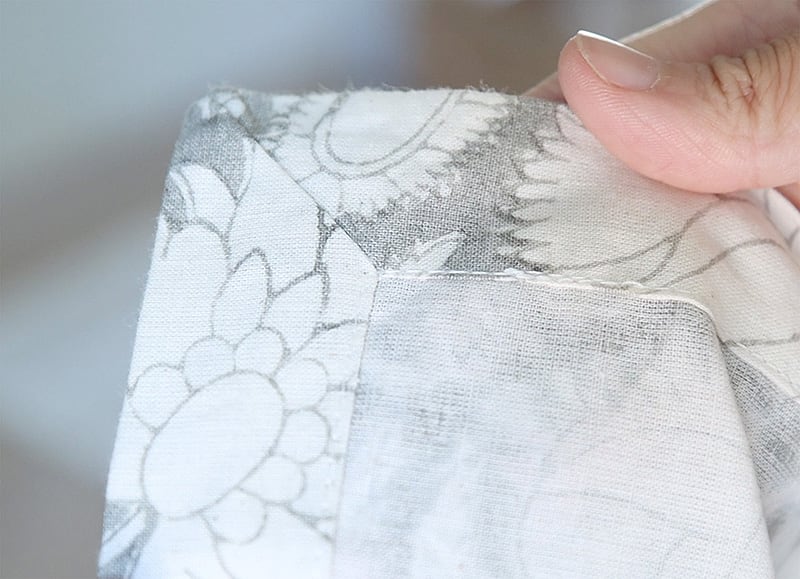
My first step is to remove the hem of the napkins. This step is totally optional because you can always sew inside of the hem and you’ll have a finished edge inside your pillow. But for my case the hem is quite wide, about 1 inch. So by removing the hem I was able to create a 20-inch by 20-inch sized pillow. If I don’t remove them, this pillow would be 18 by 18 in which is also a decent size.
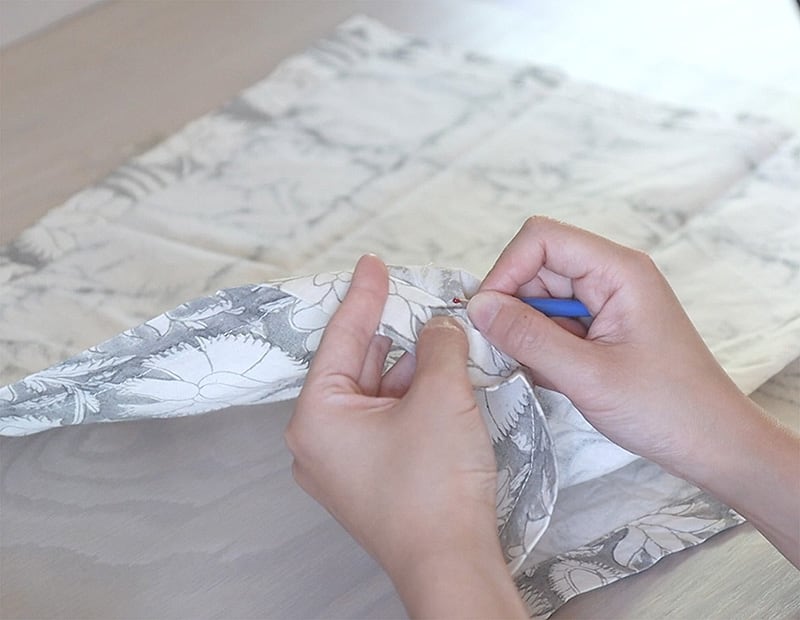
I used a seam ripper to remove the hem line and it took me about 5 minutes to do it all, just play some podcast while you do it.
If you are not using napkins. Simply cut 2 pieces of fabric at the size of 21 inch by 21 inch.
Step 2. Install zipper
The next step is to install the zipper.
Basting stitch
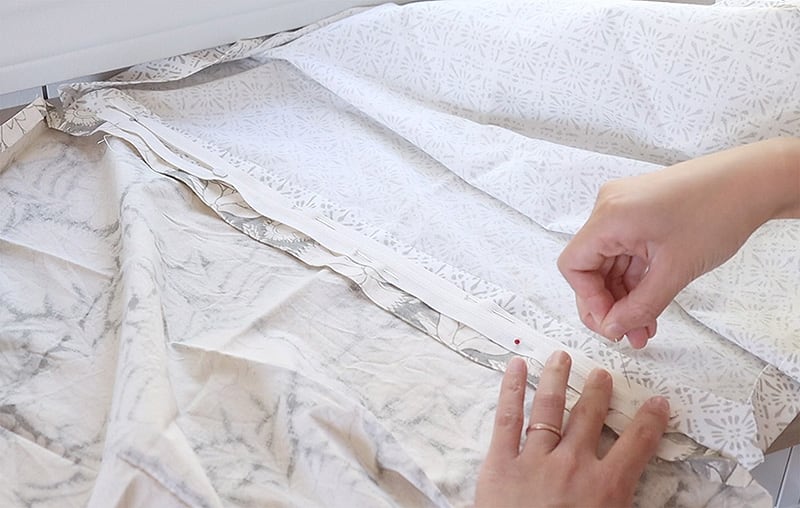
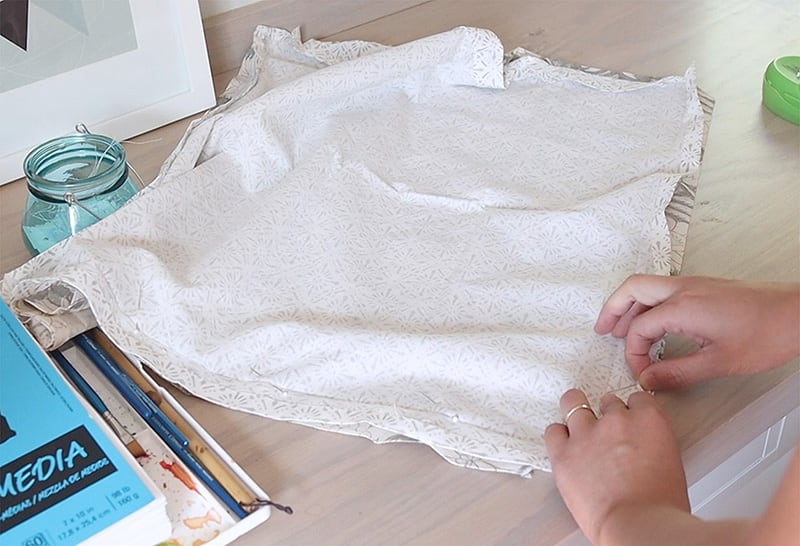
I placed the two napkin fabrics on the table, with the right side (pretty side) facing each other. Now with the hem opened, I can use the creased line as a sewing guide and it will give me exactly a 20 by 20 inch pillow.
I pinned along the edge where I’ll add the zipper.
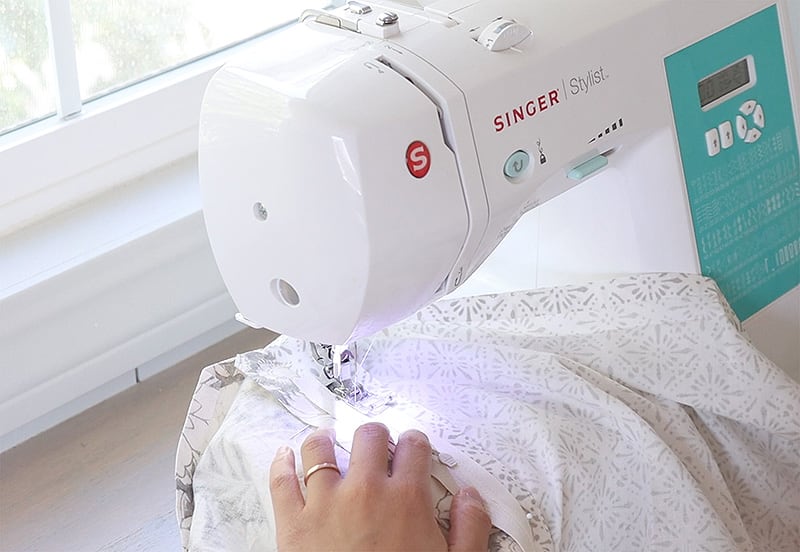
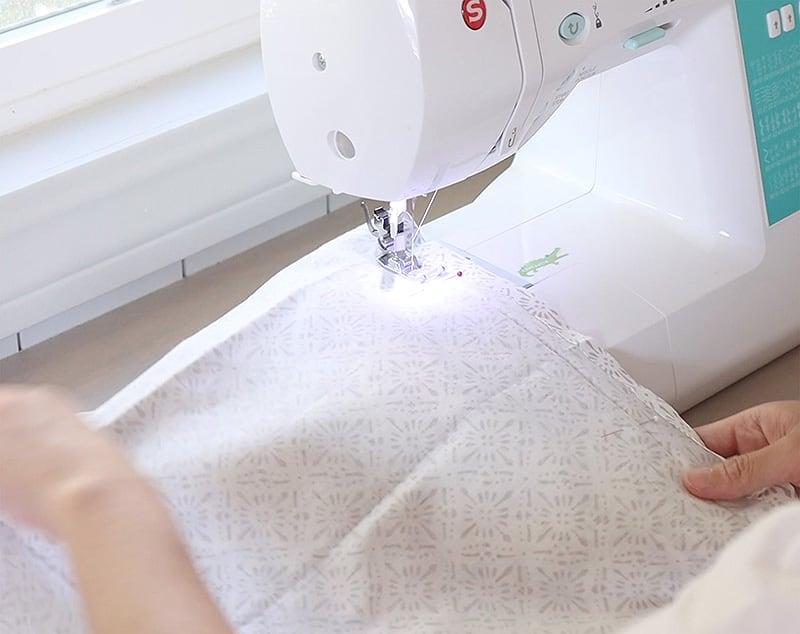
To add the zipper, I changed the stitch length on my sewing machine to 4mm, this will create a basting stitch. Basting stitch is just a fancy term to describe a long running stitch which temporarily holds fabric together and can be removed later easily.
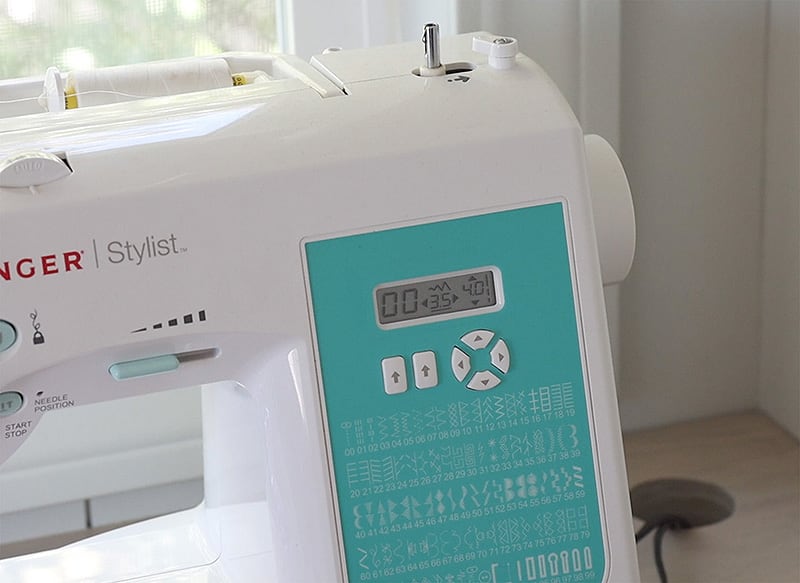
Then I just followed the creased line and sewed a straight line with the basting stitch. Once I finish the basting stitch, for the beginning and end of the line where the zipper doesn’t cover, I resew these two sections using a normal length stitch.
For any stitch, except for basting stitch, make sure to back stitch at the beginning and end for extra security 🙂
Add zipper
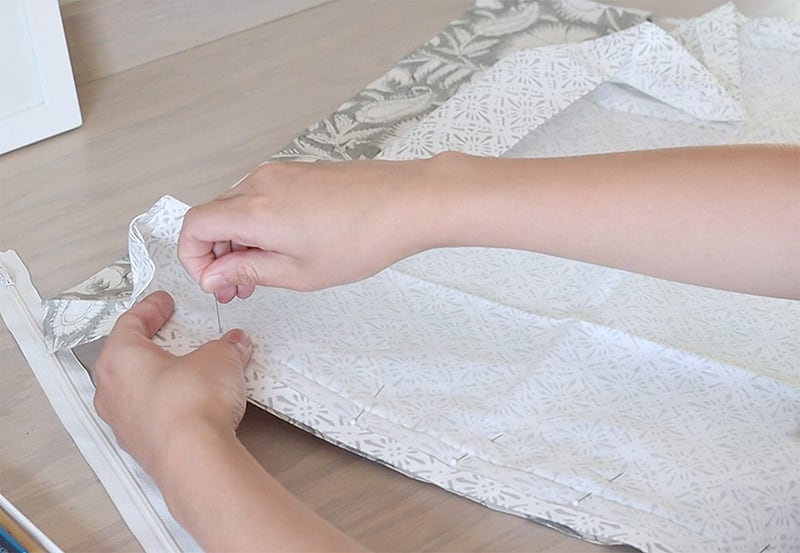
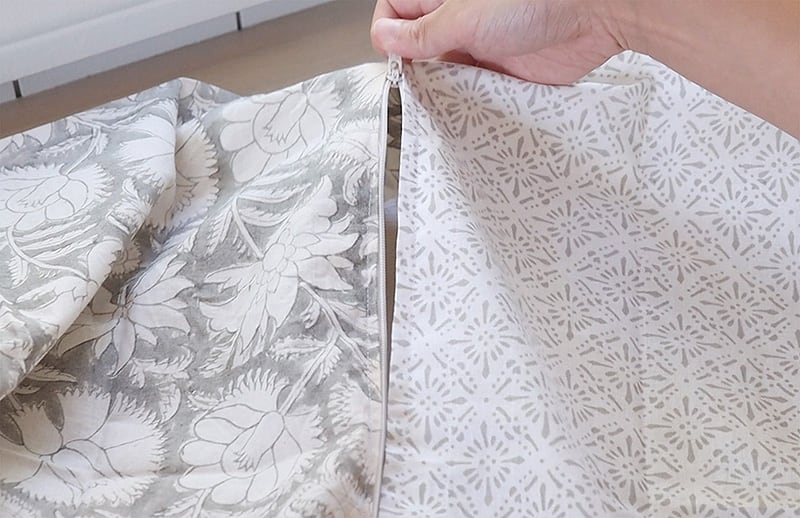
After that, I placed a zipper on top of the seam, with zipper teeth facing seam allowance, and pinned the zipper down so it won’t move around.
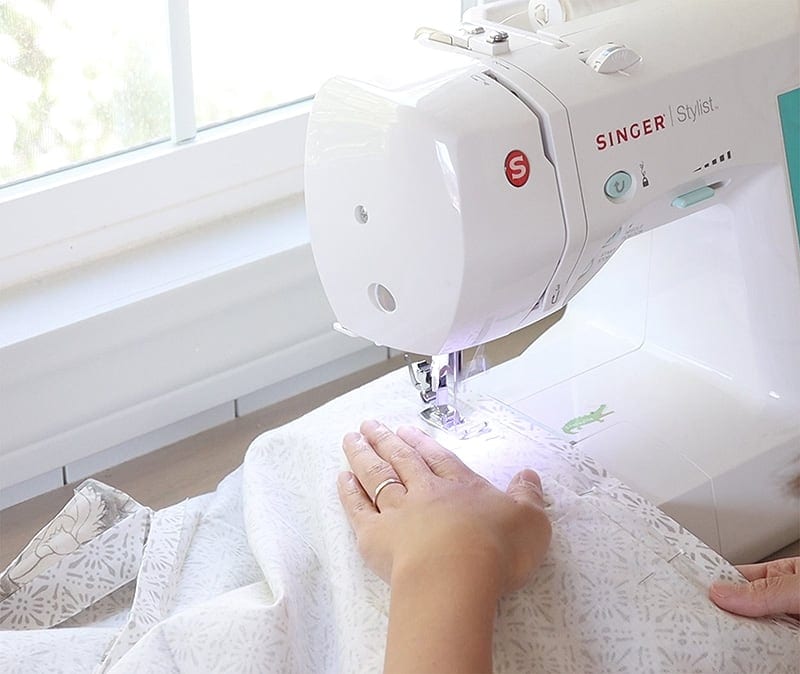
Then I brought it to my sewing machine, and sewed along the zipper teeth. This will secure the zipper to the pillow and also serve as a top stitch, so you’ll want the stitch to be pretty tidy.
I sew along the entire zipper teeth, creating a skinny long rectangle shape. When you pass by the zipper pull, just be careful and sew slowly. I used the hand wheel on your sewing machine to help with that.
Remove basting stitch
Now you can remove the basting stitch and test out the zipper closure. I used a seam ripper to remove those basting stitches within the rectangle I sewed – don’t remove those stitches outside of the zipper closure.
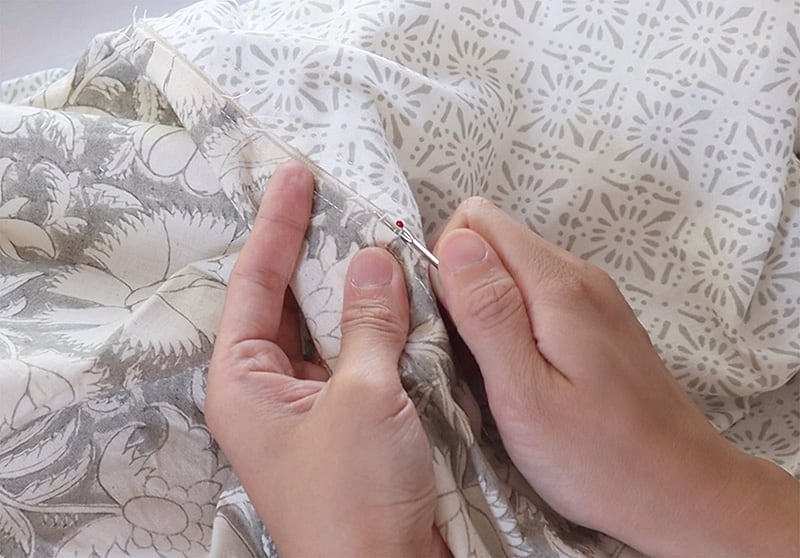
This is where the basting stitch comes in handy! Because the basting stitches were very long, it was really easy to remove them!
Then I test out the zipper by opening and closing it.
Adding a zipper to your DIY pillow may not be the easiest way to make a pillow but I promise it’s going to pay off in the long run. It just makes changing the pillow so much easier and creates a nice and professional finish.
Step 3. Finish sewing the pillow together
Now the hardest part is done, the next step is to finish the pillow shape. I pinned along the remaining three sides of the pillow, and sewed long using the creased line as a guide. I also back stitch around the four corners, but that is optional.
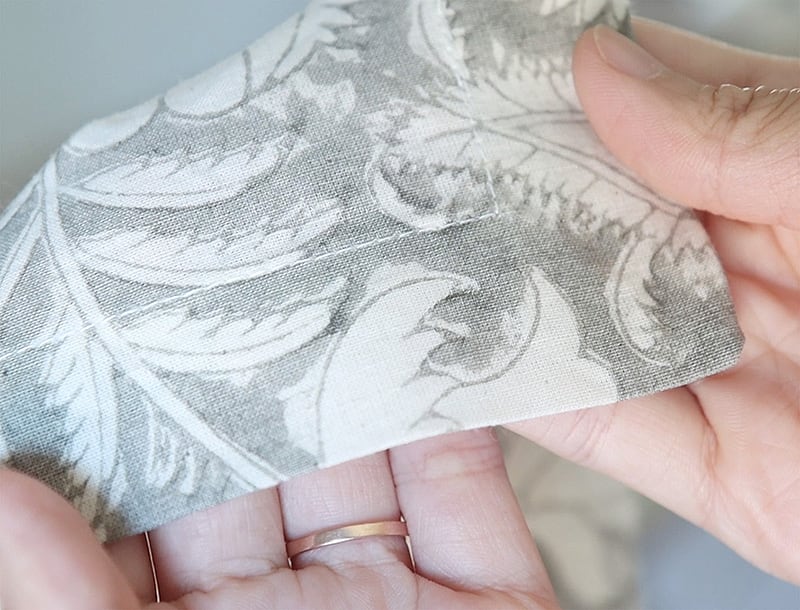
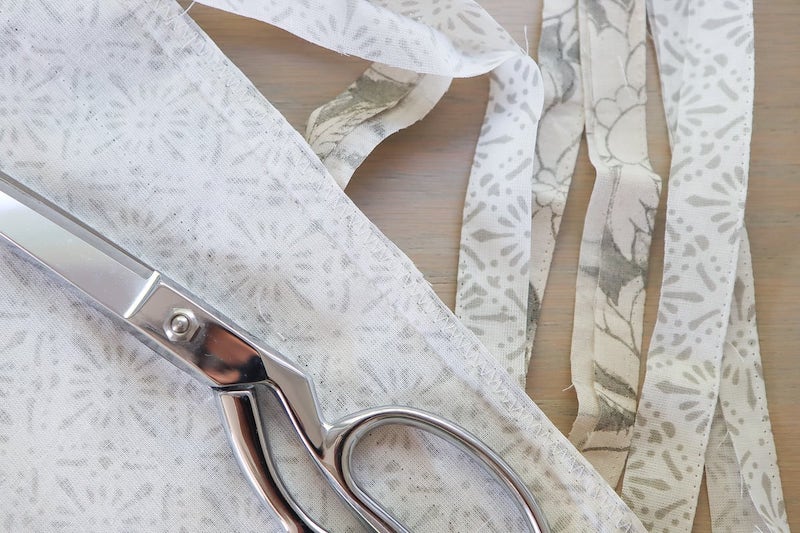
To finish the raw seams, so the fabric won’t fray when being washed, I used a tight zigzag stitch. So the stitch is wide but close together. I zigzagged for both sides of the zipper seam, and three other sides of the pillow.
I applied the stitch about ¼ inch away from the seam line. Then I remove the extra fabric with a fabric scissor, just carefully cut along the outer edge of the zigzag stitch.
So at this point, The basic construction is done. I turn the pillow cover right side out, and add cushion insert to test it out.
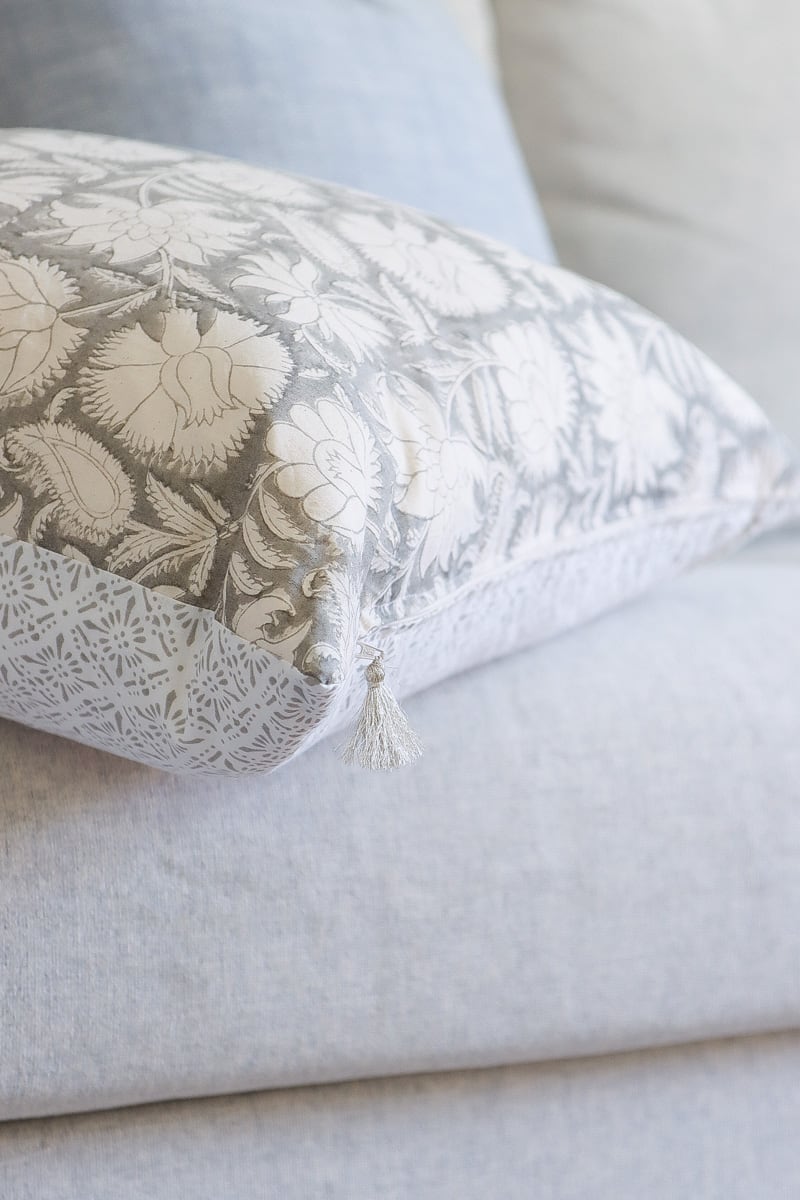
Step 4. Add tassel to zipper pull
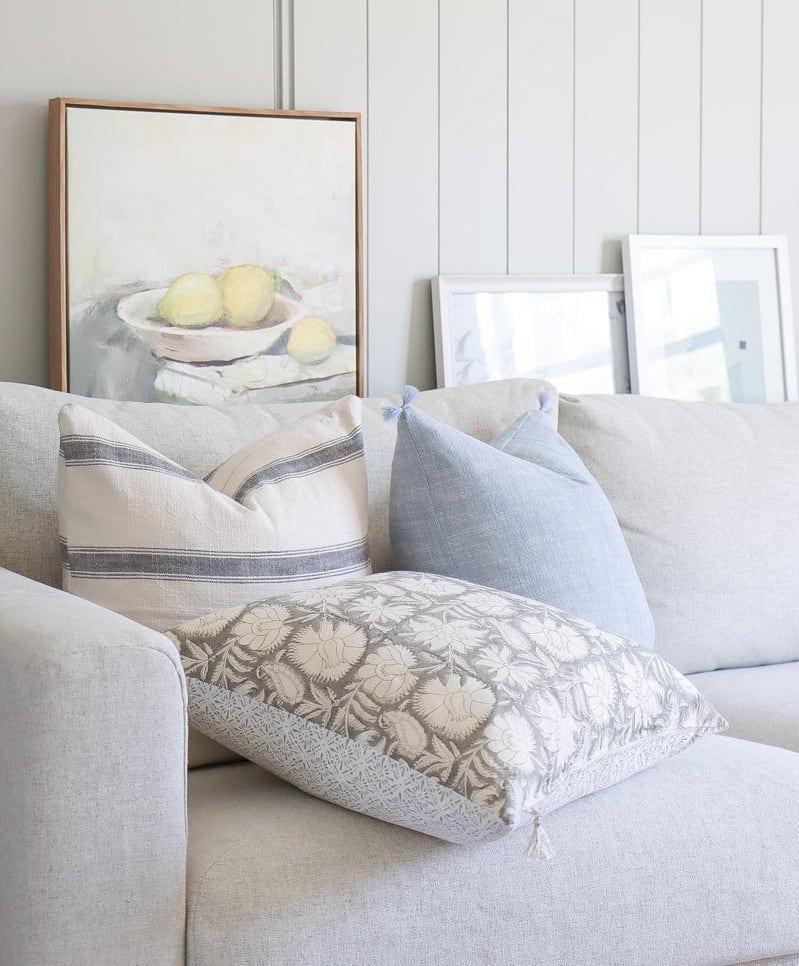
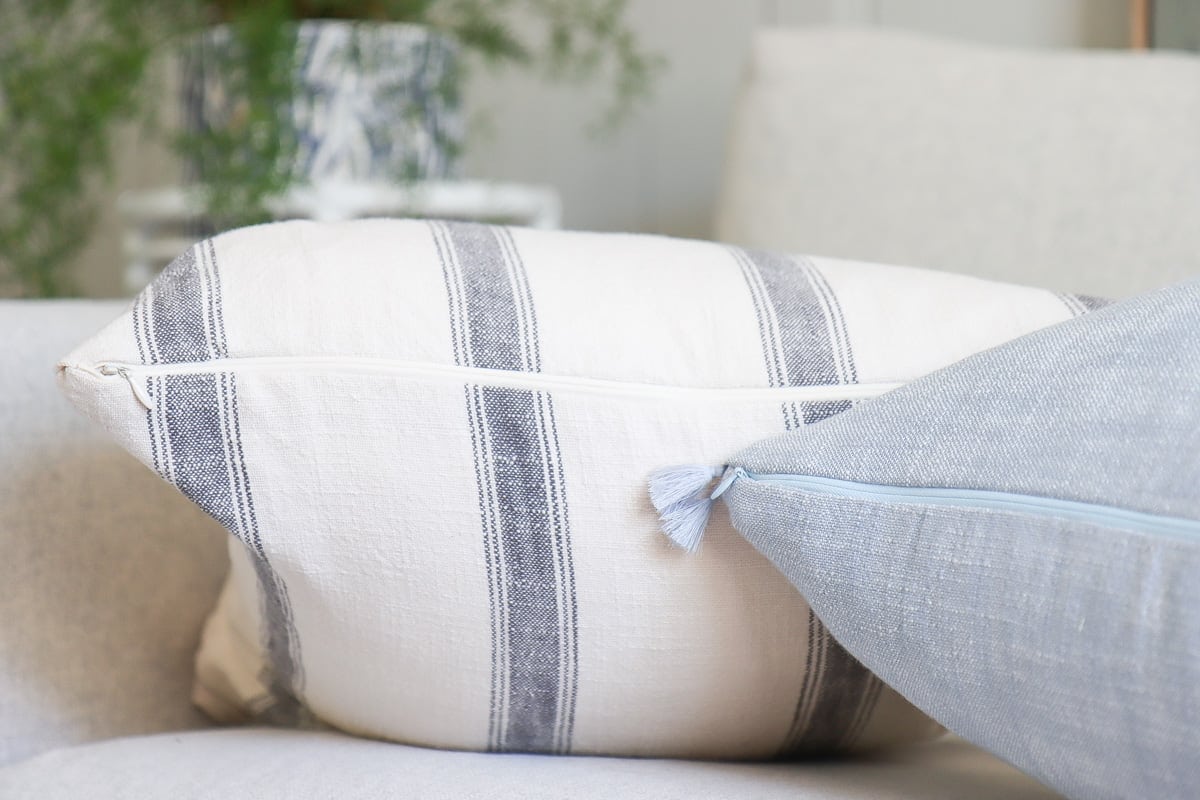
To add more interest to this pillow, I made a tassel using silver embroidery floss I had around the house. I tied it around the zipper pull. I just like how it instantly adds a new texture to the throw pillow.
I’ll share how to make a tassel in my next DIY pillow video where I made the blue pillow with tassels using some different techniques. The video will come out next week, so stay tuned!
Well I hope you enjoy watching or reading this DIY throw pillow with zipper tutorial and are ready to make your own! With this technique, you no longer have to buy those expensive pillows covers because you are able to DIY your own Serena and Lily quality throw pillows!
Related DIY home decor posts
All about DIY pillow: sourcing fabric, cost, how-to
5 ways to make your sofa looks more expensive
DIY removable bench cushion cover
Pin it for later
I love your choice of napkins and how easily you explain the project…What pillow inserts do you use? Thanks for sharing.
Thank you Mary! I used the Ikea feather pillow insert
Thanks so much.
I came across your lovely tutorial video on YouTube last night. I have sewn for many, many years, but never thought about using napkins as pillow cover fabric. But it’s such a fantastic idea! I loved your ideas and video so much that I ran out and bought 6 napkins from Pottery Barn today! Thank you for the great ideas (I watched many of your other videos as well!)