You’ll be surprised at how quick and easy this no sew table runner project is! I talked about the fabric selection and shared several hacks that will speed up the DIY process – perfect for a farmhouse and cottage dining space!
How a table runner purchase lead to a DIY project
From where I grew up, or at least in my family, table runner is not a thing. So when I discover the home decorating world and seeing how much a table runner would add to a table scape, I secretly made a decision: when I have a real dining room, I will get a table runner.
As I shared in my dining room plan and building banquette experience, you can probably tell that my dining room is taking shape. I thrifted a $40 dining table on FB market place and refinished it to make it look more modern and high end. I also got some cute chairs from target that can be used both indoor and outdoor. So close to being done! So of course this is the perfect time to pick a table runner. One thing I’m sure of is to have a cute table runner sitting on top of my newly finished table – just thinking about it would make me happy 🙂 What I’m not sure is whether to buy it or DIY it.
What made me eventually DIYed my own table runner is because my purchase experience. I bought a table runner from Target, but ended up returning it. When I brought it home and placed it on the table, it just doesn’t match my dining room style. And the major issue is the length of that table runner is the exact same of my table length, so it doesn’t look good with my dining table. Not shorter, not longer, but awkwardly the same. That was the moment I decided to DIY my own custom sized table runner.
What makes “no-sew” possible?
Not everybody has a sewing machine. And even if you have a sewing machine, hemming the edge does require a fair amount of time and patience. For my first DIY table runner, I decided to make it quick and easy buy figuring out a way doesn’t require hemming.
The common approach to “no-sew” sewing is to use fabric fusible tape. That method remove the requirement of sewing machine, but will require a similar amount of time for this project. After my unsatisfied purchase, I was getting a little bit impatient.
So instead of cutting fabric, attaching fusible tape then iron, I tore the fabric by the grain so that each line is straight, then create fringes to finish the edges to add a more casual and boho look.
DIY no sew table runner materials
This method requires very few materials. You’ll need your table runner fabric, scissor, and a pin or needle to create the fringe. And yes, that’s all you need 🙂
For the table runner fabric, I used some leftover fabric from table cloth I purchased from Target a while back for DIY pillow project. In that project, I talked about how to find affordable and pretty home decor fabrics. So check out that post if you don’t have your table runner fabric ready yet.
DIY no sew table runner instructions
1. calculate your table runner size
The first step is to determine the size of your table runner. Table runner is essentially a long rectangular piece of cloth. The standard width is 10″ to 15″, usually 1/3 of your table width. The length your table length + 12″, so that there’s 6″ overhang on each side.
In my case, I decided the table runner is 12″ wide and 84″ long, so it overhang around 8″ on each side.
2. cut(tear) fabric to size
The second step is to cut the fabric to size. Because I will create fringe on all the edges, I tear the fabric on the grain instead of cutting it with a scissor. The reason is that this ensures all the edges are straight will be perpendicular to each other, plus it is way faster to tear the fabric than cutting it carefully with a scissor.
The way I do it is to mark the measurement on the fabric first. This is extra important if your fabric has some pattern which you want to lineup (in my case, I want all the stripes to be centered lengthwise. Then I use scissor to cut a little notch, and use my hand to tear it apart. If you have not done this before, I would recommend you to practice on scrap fabric first to get a feel. Alternatively you can just use a scissor!
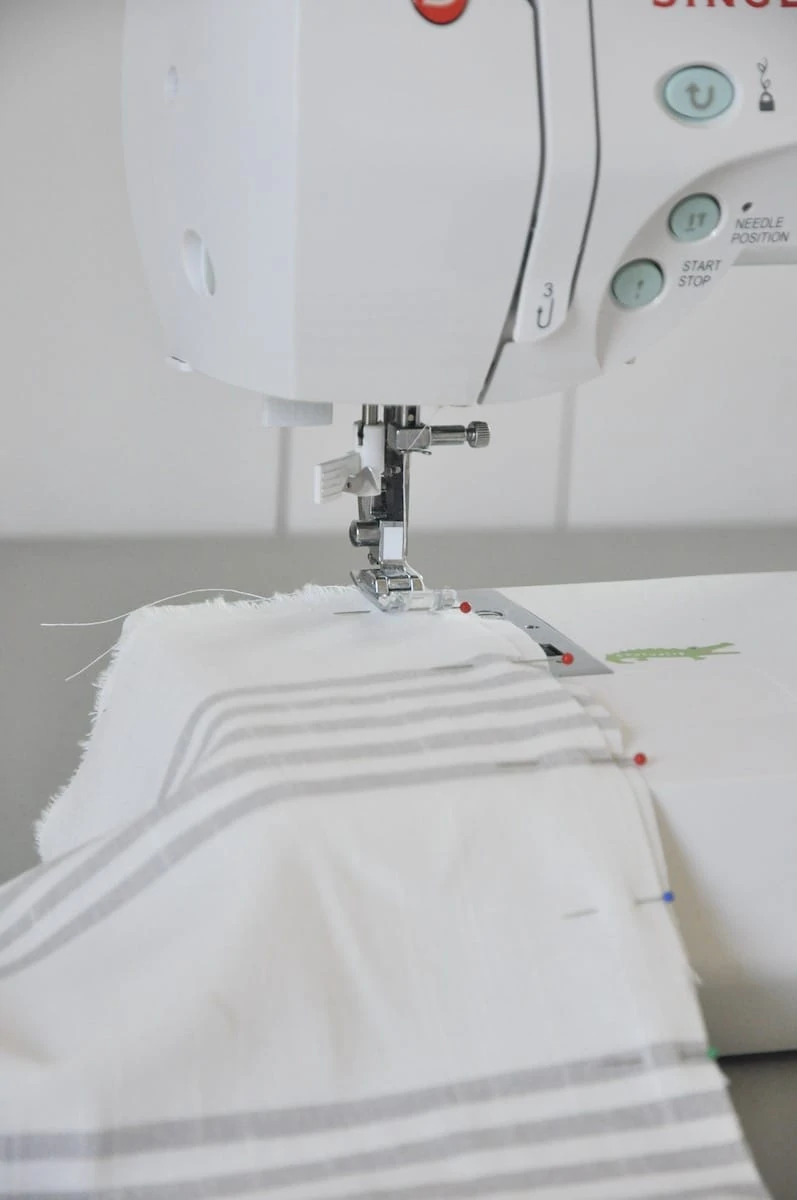
I have to admit I cheated a little bit on the “no sew” part during this step. Because I have previously used the same fabric to make pillows, the leftover fabric is less than 84″. So I combined two 12″ x 43″ fabric together to extend the length with a sewing machine. If your fabric is long enough, this won’t be an issue. For example this 84″ table cloth I had is a great length for most tables.
3. create fringe edge
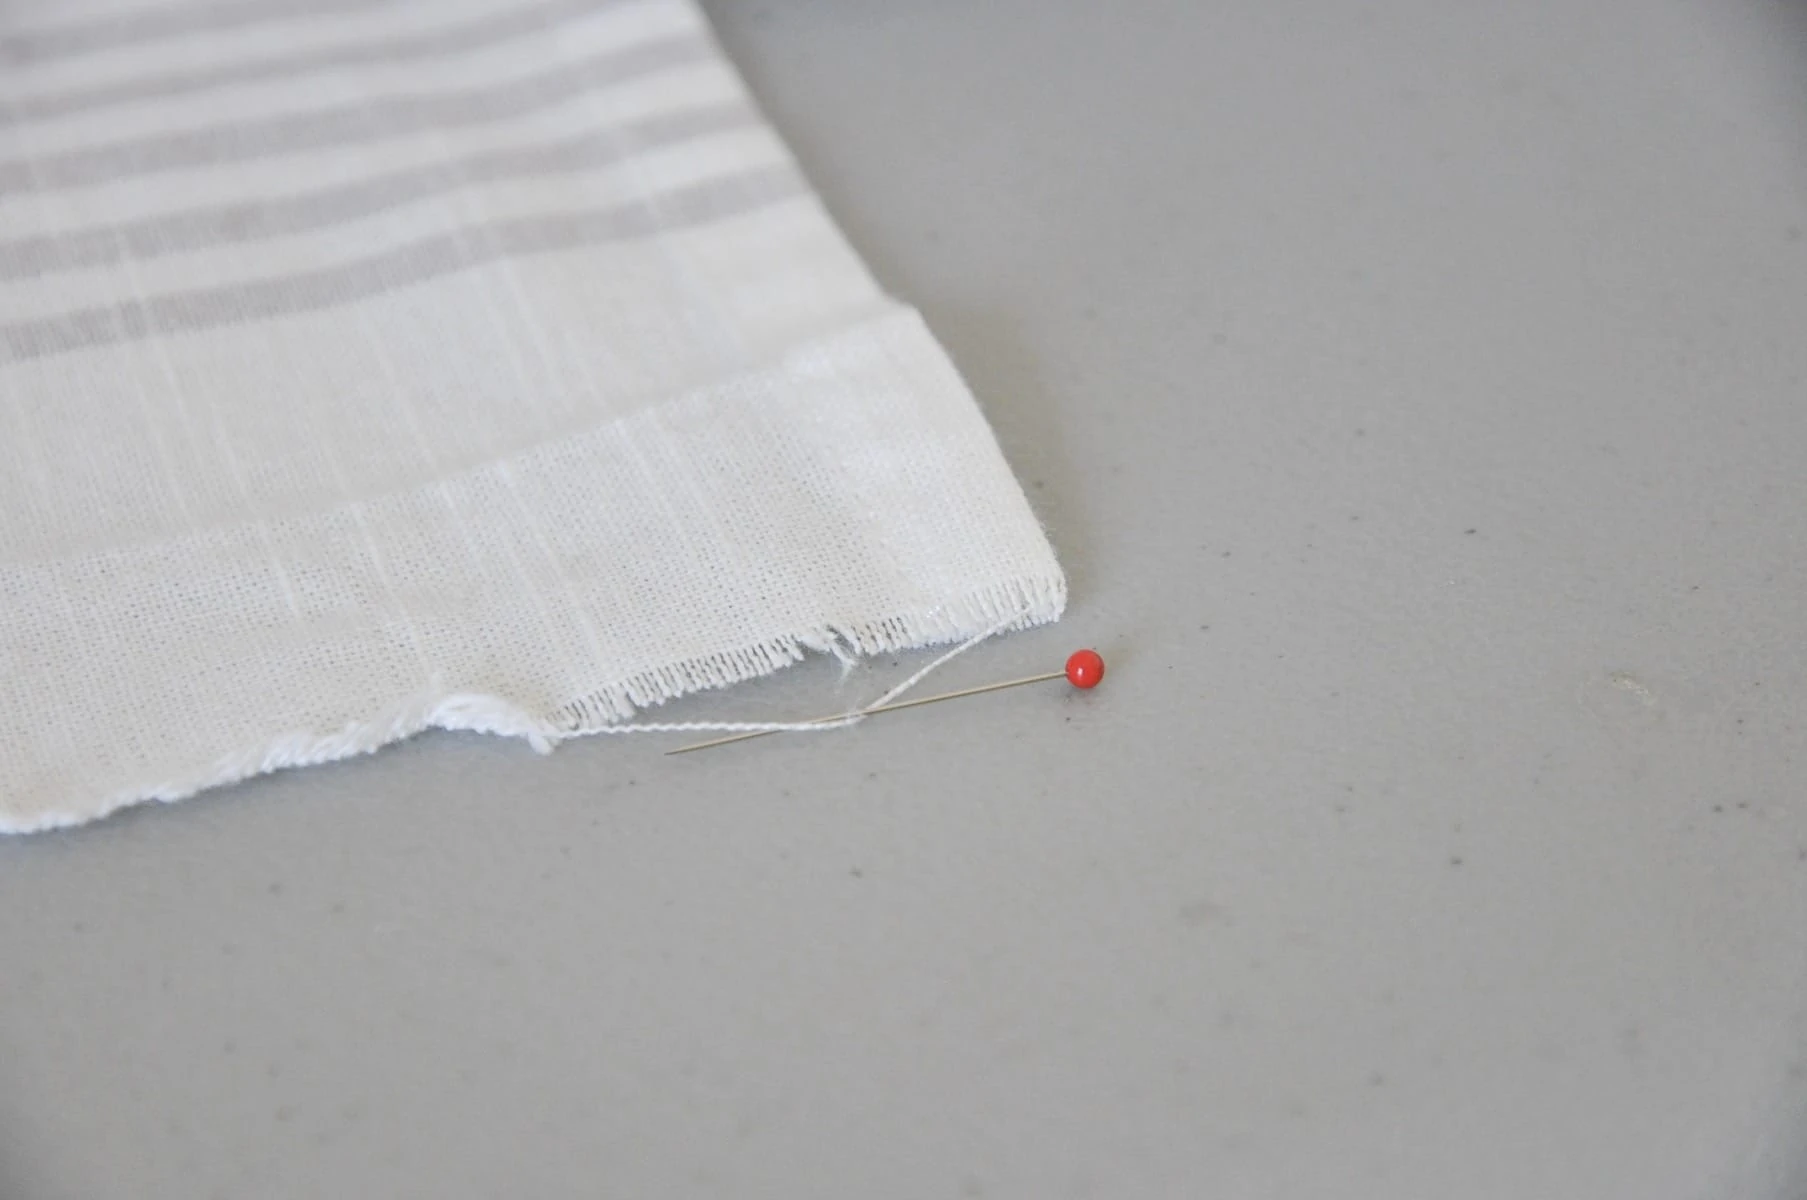
Now it comes to the step to give the raw edges a nice finish. Use a pin or needle to remove the thread which are parallel to the edge. Remove thread one by one as removing multiple will lead to thread tangling. Be very patient at this step. I would recommend listening to podcast or watch TV shows on this step 😛
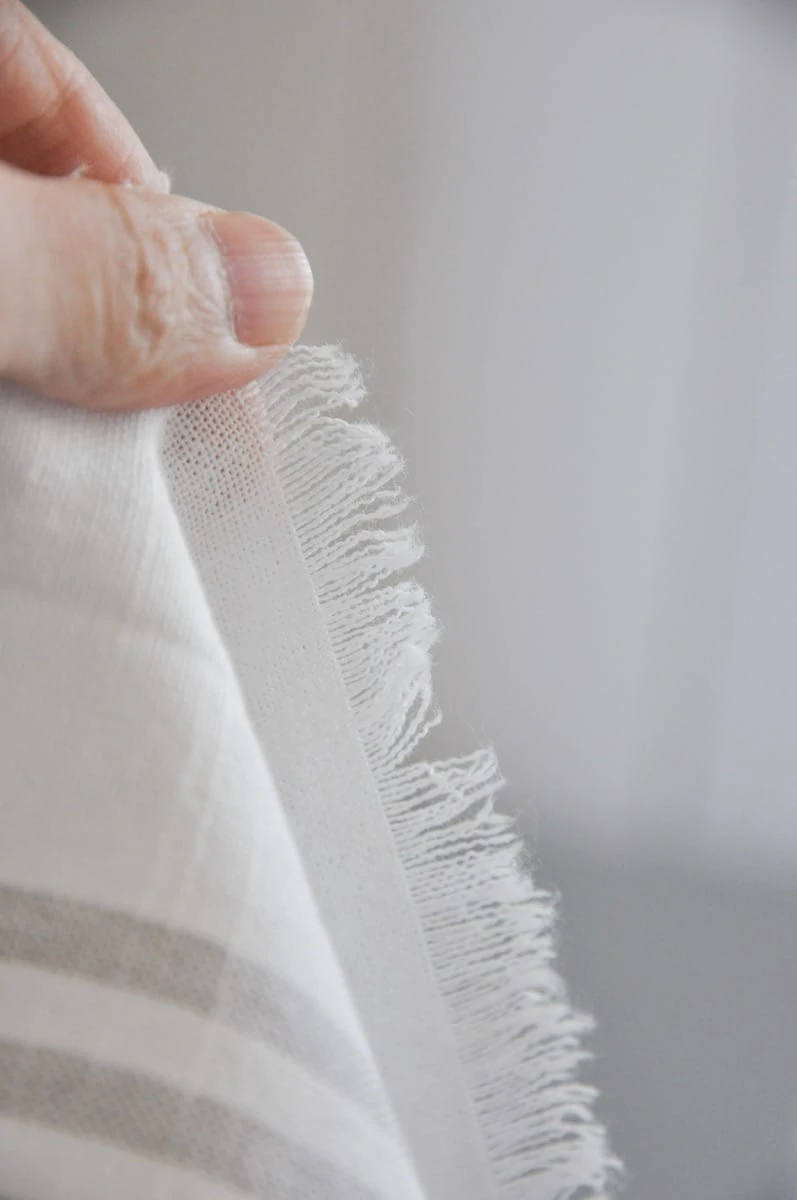
Keep removing the threads until you have a 1/2″ wide fringe! Then move onto another edge until you finished all the edges needed. If you have 2 raw edge and 2 hemmed edges when you start, you can keep the hemmed edge intact, like what I did.
Sneak peak of my dining room
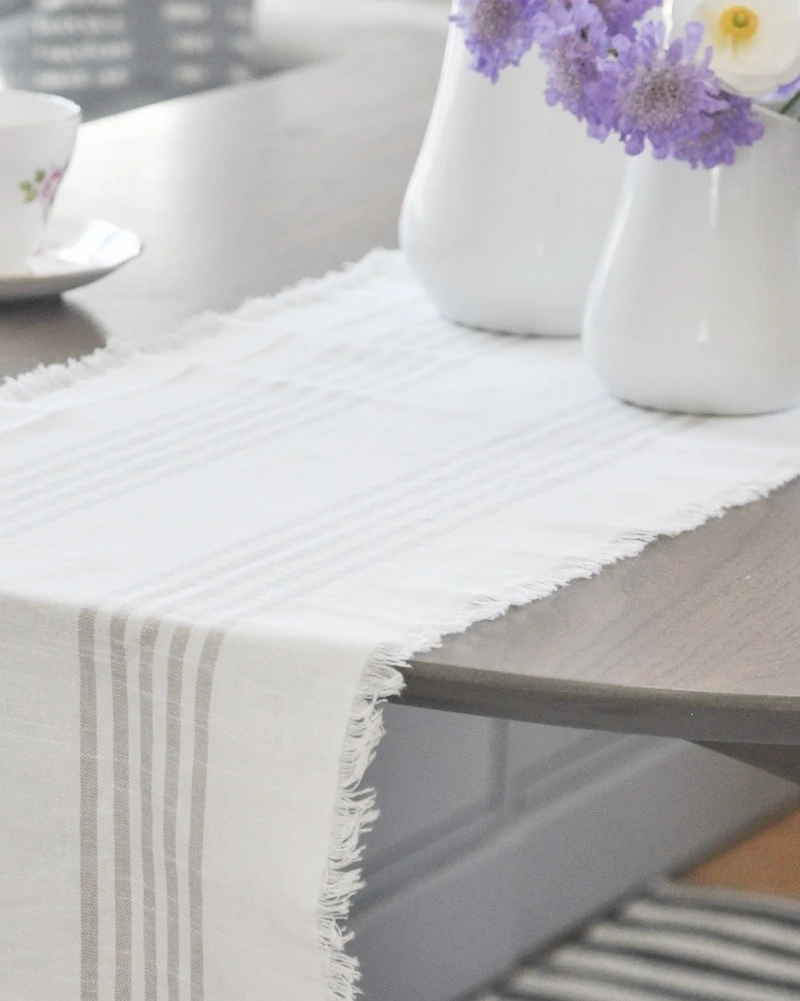
Once my table runner is done, I was so excited that I styled my dining table and took a lot of pictures! I will share my dining room update soon, but here’s a sneak peak ?






Will the raw edge fray more with washing. How would you suggest to wash this?
I would think so! this happens to anything with frayed edges. I kinda like this raw look, but you can always further trim it if needed
I love this! I have this fabric and am currently using it as curtains in my bedroom. I have been thinking about cutting it into small strips for a “runner” for my nightstands. This might just convince me to do it!
oh nice! this fabric makes awesome curtain too 😀