This post is all about IKEA kitchen organization ideas. I’m sharing how to plan Ikea kitchen cabinets layout, cabinet drawer vs door, and best Ikea kitchen organizers.
If you are interested in how IKEA kitchen cabinets are holding up after 2 years, and how much IKEA kitchen remodel cost, be sure to check my post Ikea Kitchen Review, as part of the Kitchen Tour Series.
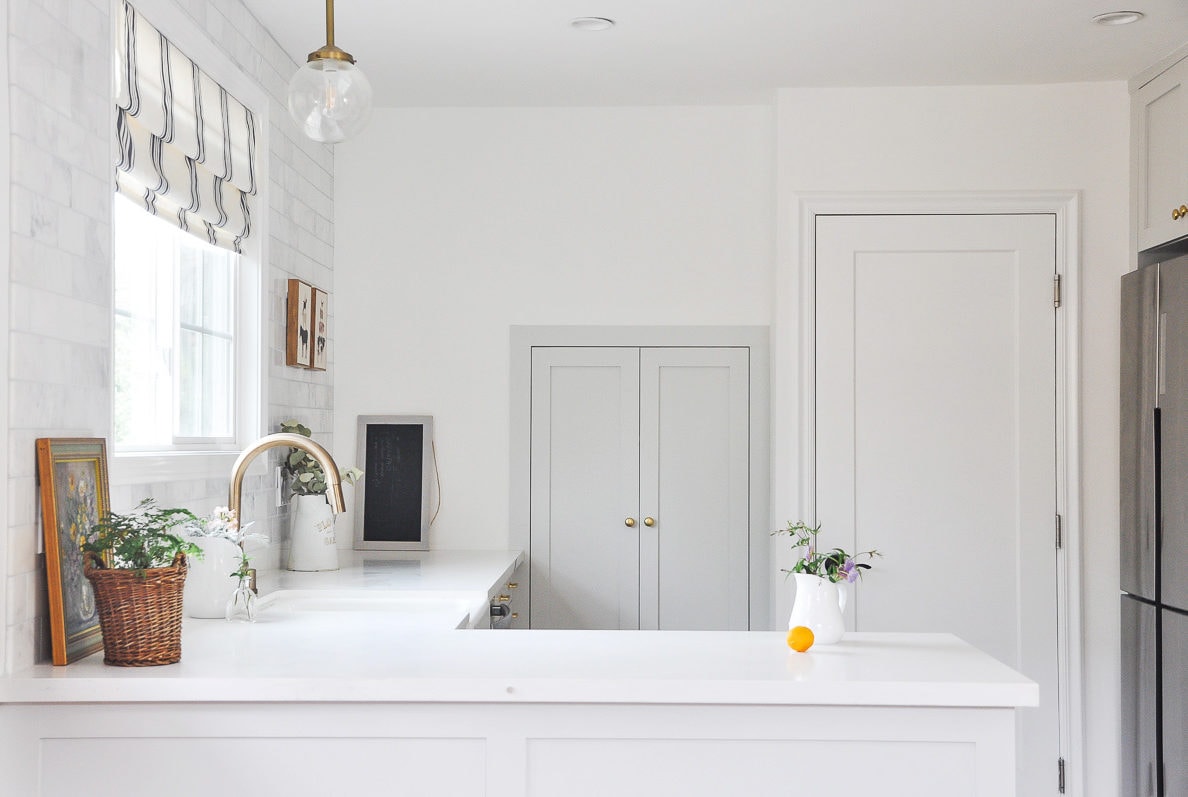
Quick Info on my Ikea kitchen
I have been using our IKEA kitchen cabinet system for over two years. So far I have been really enjoying using it! It is affordable, customized and super functional.
For my small 10′ by 10′ kitchen, I’m pretty happy with its storage capability and organization system, empowered by Ikea kitchen organizers. With the limited footprint and cabinets, I’m able to keep all the essential kitchen appliances (big and small) and kitchen tools organized.
This post is NOT sponsored by IKEA, I just want to share my kitchen ideas and organization hacks. Hope you find them useful 🙂 For IKEA kitchen review, such as pros and cons, visit Ikea kitchen tour part 1.
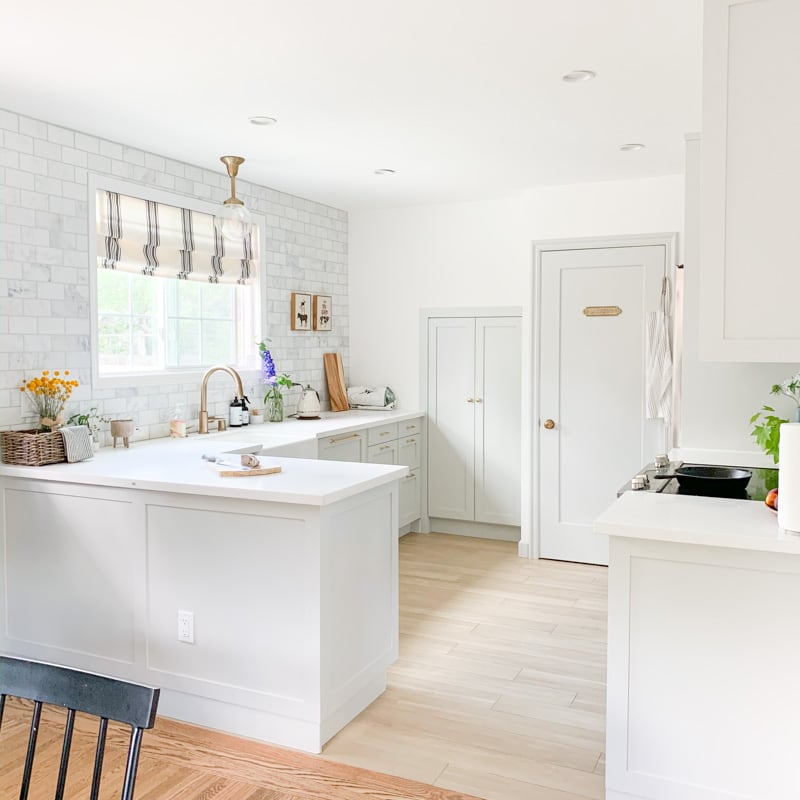
Ikea kitchen layout for small kitchens
As you might have read in my Ikea kitchen honest review, my kitchen is 10’ by 10’ – a 100 sqft relatively square space. Compare to most American kitchens, it is definitely on the smaller side.
For a quick glance of my kitchen layout, here is a 3D render from IKEA Home Planner tool:
The kitchen is open to dining room, which is pretty much the same size. The big opening on the right is connected to the living room.
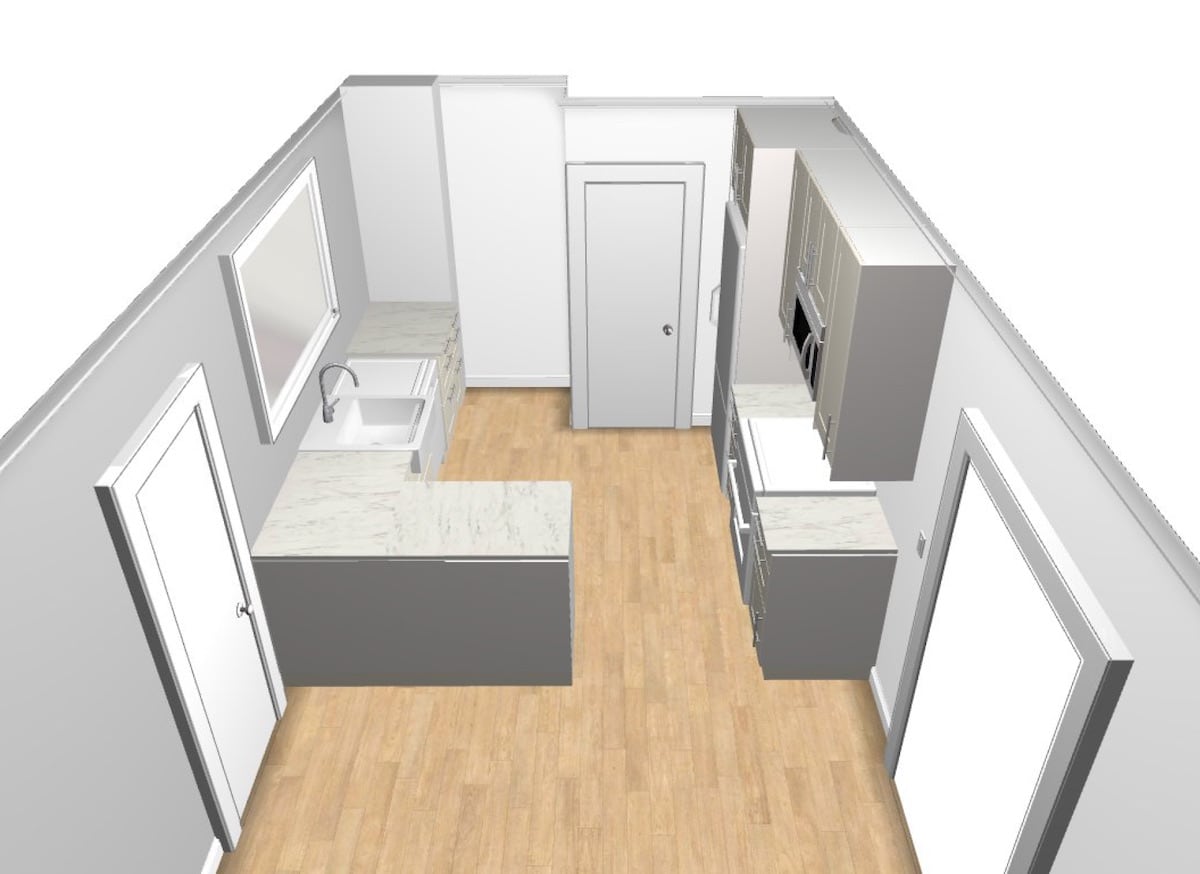
Although I would like to have a kitchen island to add more cabinets, with a 10′ by 10′ kitchen, it is impossible to fit an island. And believe me, I have tried every layout trying to squeeze in a decent sized island but it just doesn’t work.
So we followed the original kitchen layout: have a peninsula coming from the left wall, to add extra countertop space and storage.
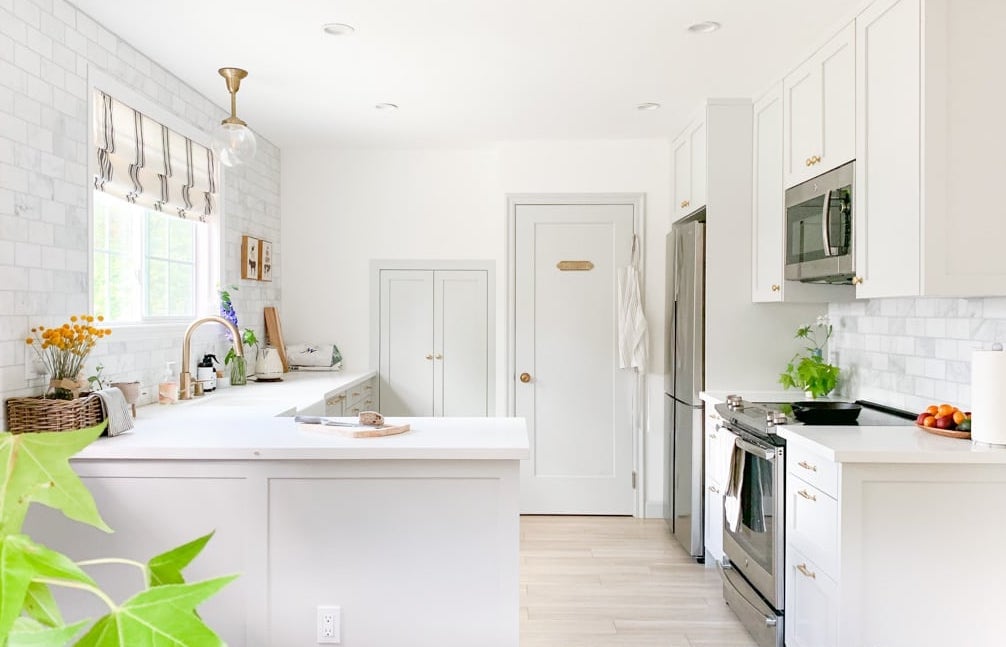
Because all of those kitchen essentials such as sink, range, fridge will take away some countertop space, having a peninsula is critical in this case to add counter space.
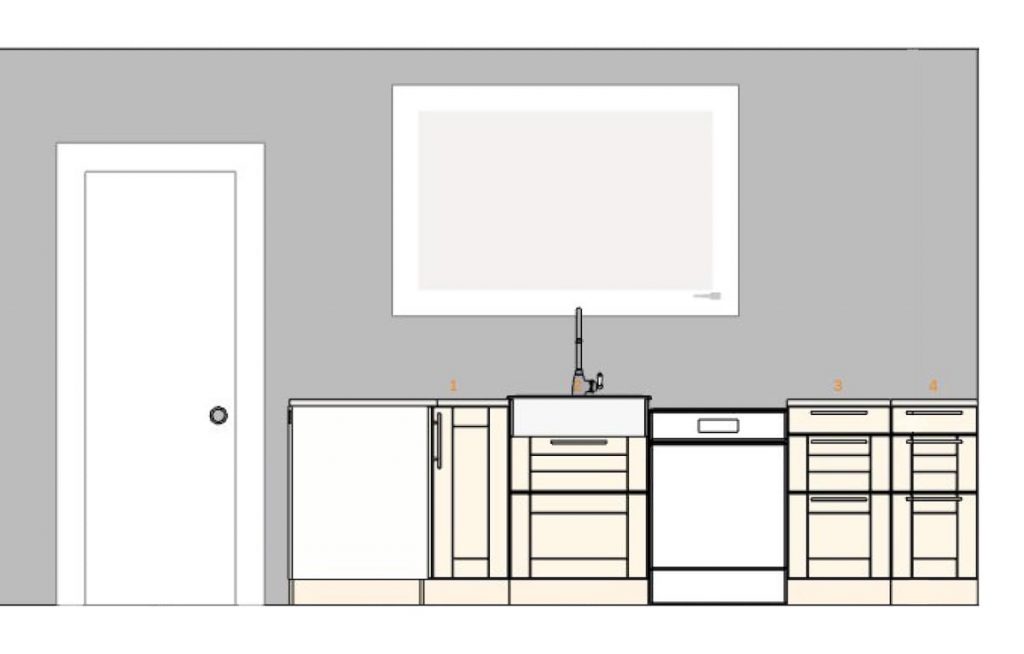
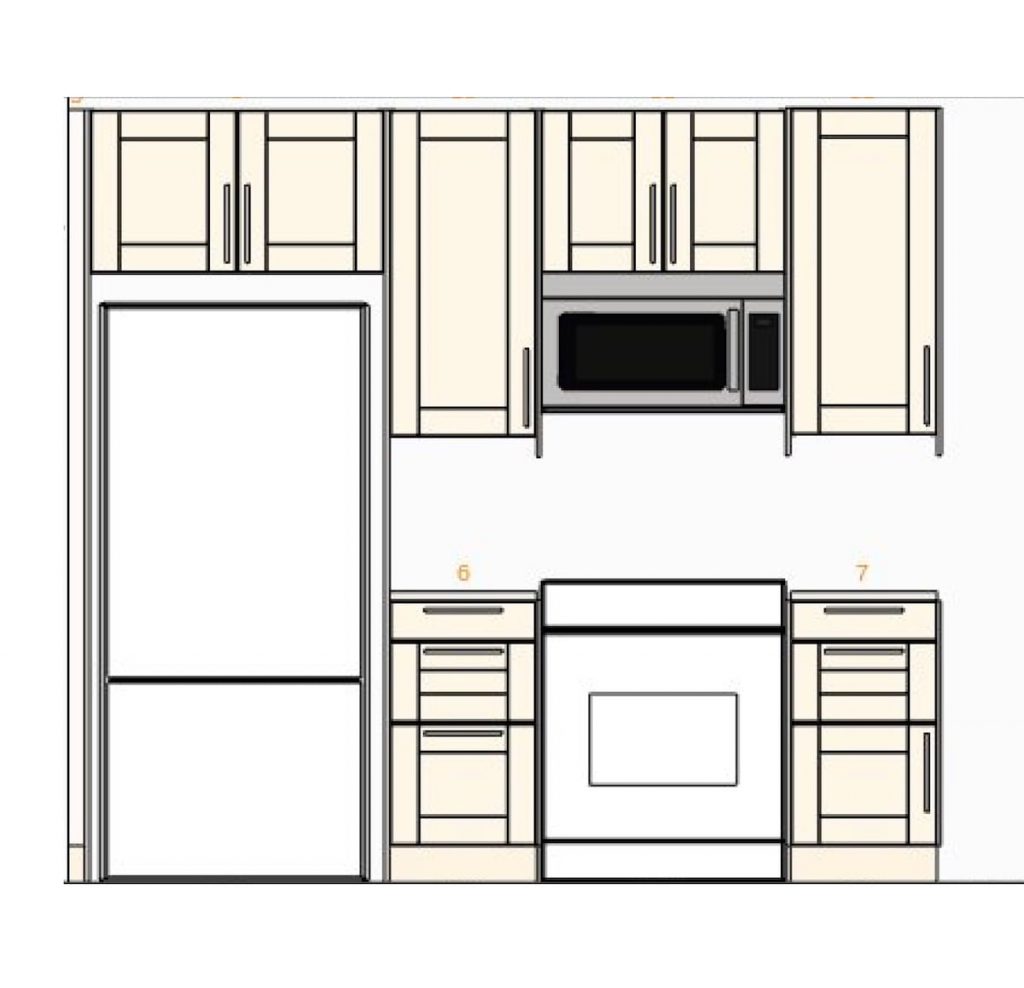
In total, this small Ikea kitchen only has 7 lower cabinets (including one used as a pull-out trash cabinet), and 4 upper cabinets.
Most of the lower cabinets are drawers, with the exception of lazy susan at the corner as part of peninsula, and the cabinet below the sink.
Here’s the kitchen cabinets layout diagram from IKEA Kitchen Planner:
Ikea kitchen organization – zoning
To have a super functional and efficient kitchen, I recommend to start with zoning.
Kitchen is usually packed with thing you use regularly, so having a big picture of how things will be organized is critical during the kitchen design process.
For my Ikea kitchen, I divided my kitchen into 3 essential zones: cleaning zone, prepping zone and cooking zone. Plus two non-traditional zones: storing zone and trash zone.
Here’s a floor plan of all five kitchen zones:
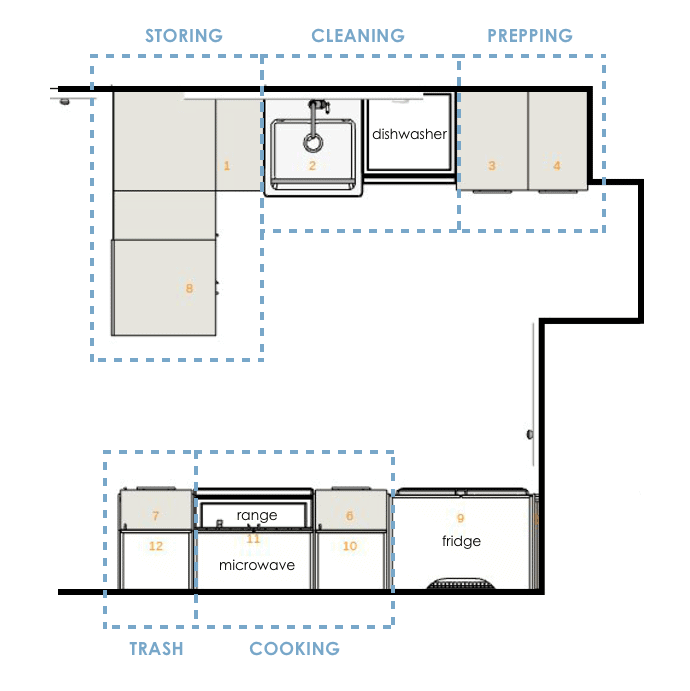
Note each zone doesn’t have to take a lot of space. Sometimes a single kitchen cabinet might just do the trick. Here’s the breakdown of how I’m organizing each zones.
Kitchen cleaning zone:
Generally speaking, sink and dishwasher mark where the cleaning zone is. It is where you wash fruit, veggies and all the other ingredients, or clean up dishes.
Ideally you want the dishwasher and sink to be next to each other, so you can rinse the dishes and load it into dishwasher fairly easily.
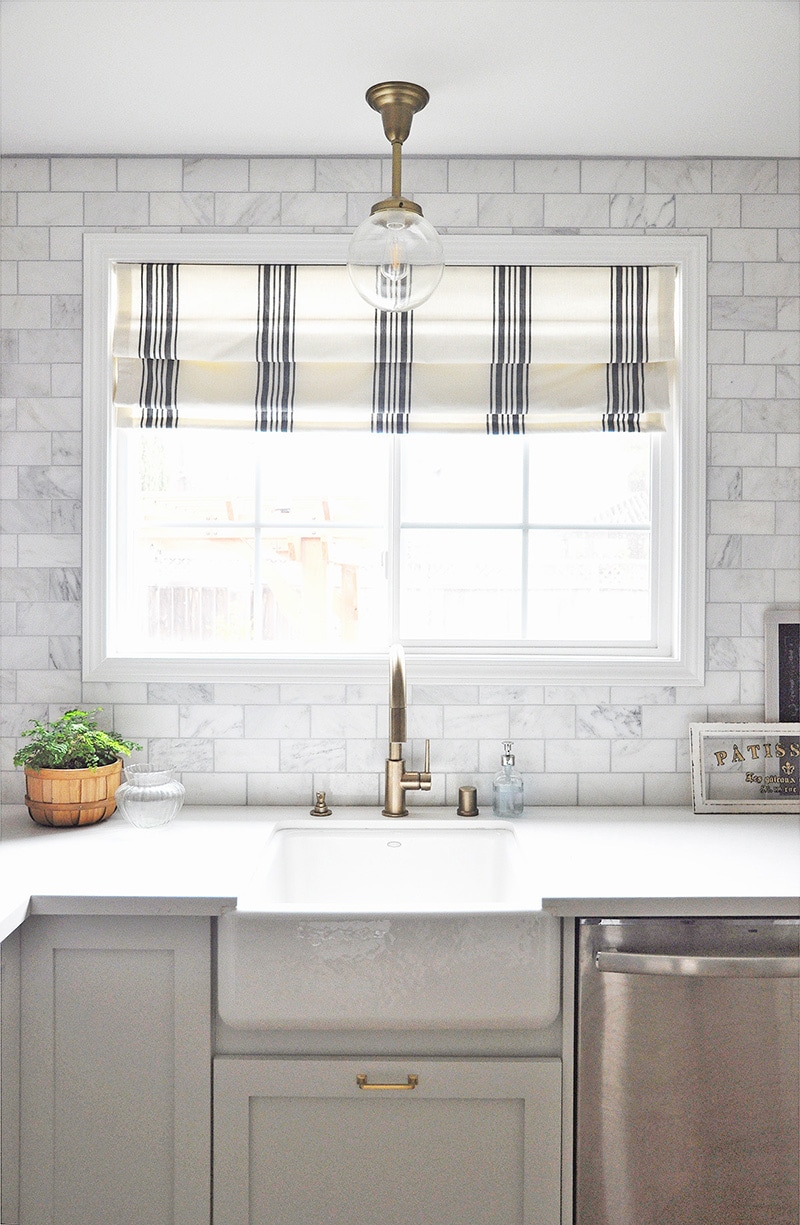
Below the sink, it usually makes sense to store household cleaning items, dish soap, sponge, general purpose cleaner, and also dishwasher tablets.
Under sink storage can always be tricky. So I recommend looking into some smart organizers from Ikea, such as shelf insert or organizers attached to a cabinet door.
Kitchen prepping zone:
For prepping zone, I like to store everything I need to prep a meal: serving plates and bowls, utensils, knifes, kitchen gadgets, cutting boards, you name it.
One good idea for better kitchen organization is to keep the prepping zone next to the cleaning zone, so you can unload clean plates from the dishwasher right to a serveware cabinet.
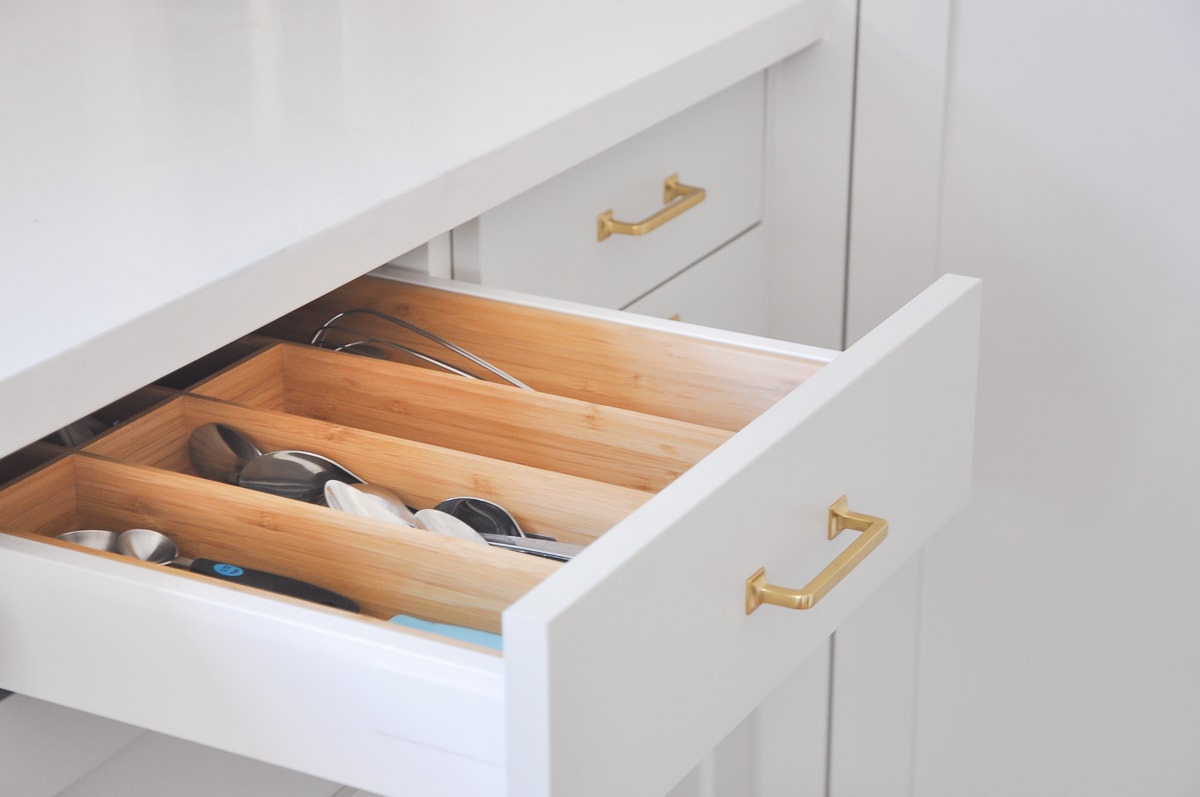
I used Ikea drawer organizer insert to organize all of cutlery items in one small drawer and keep different type of utensils separated.
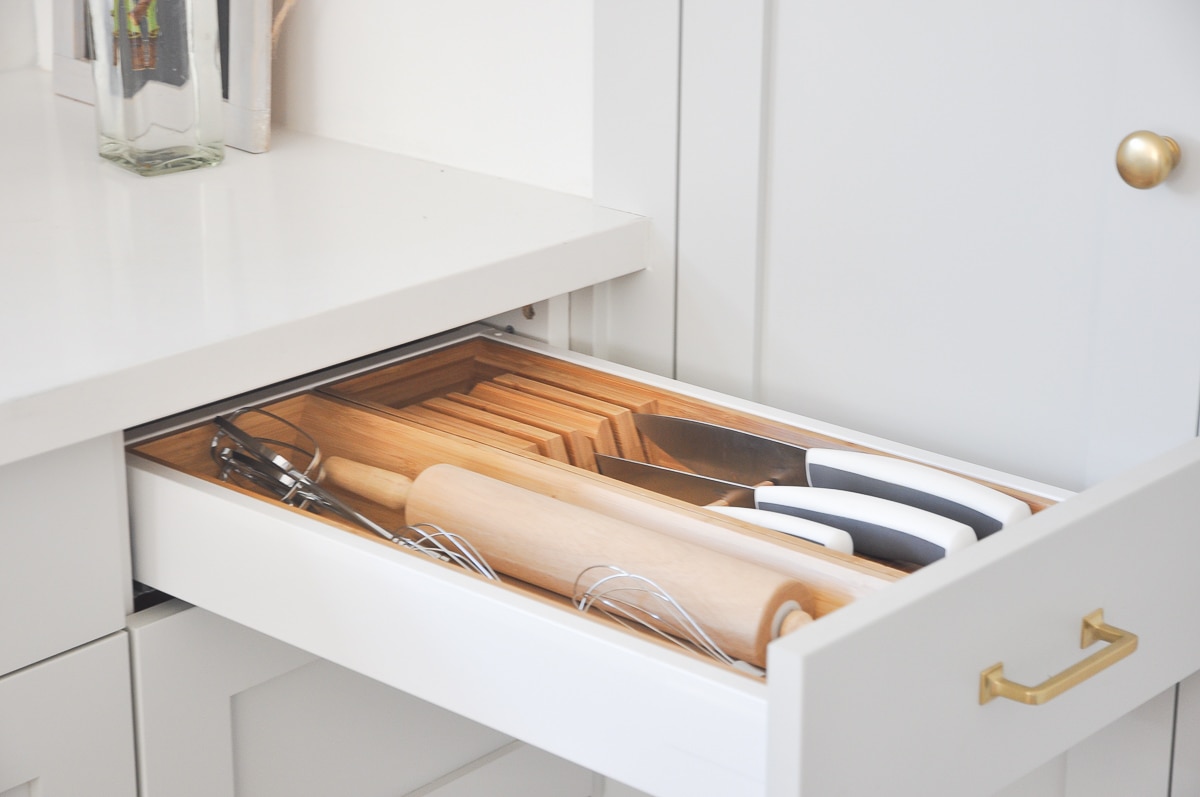
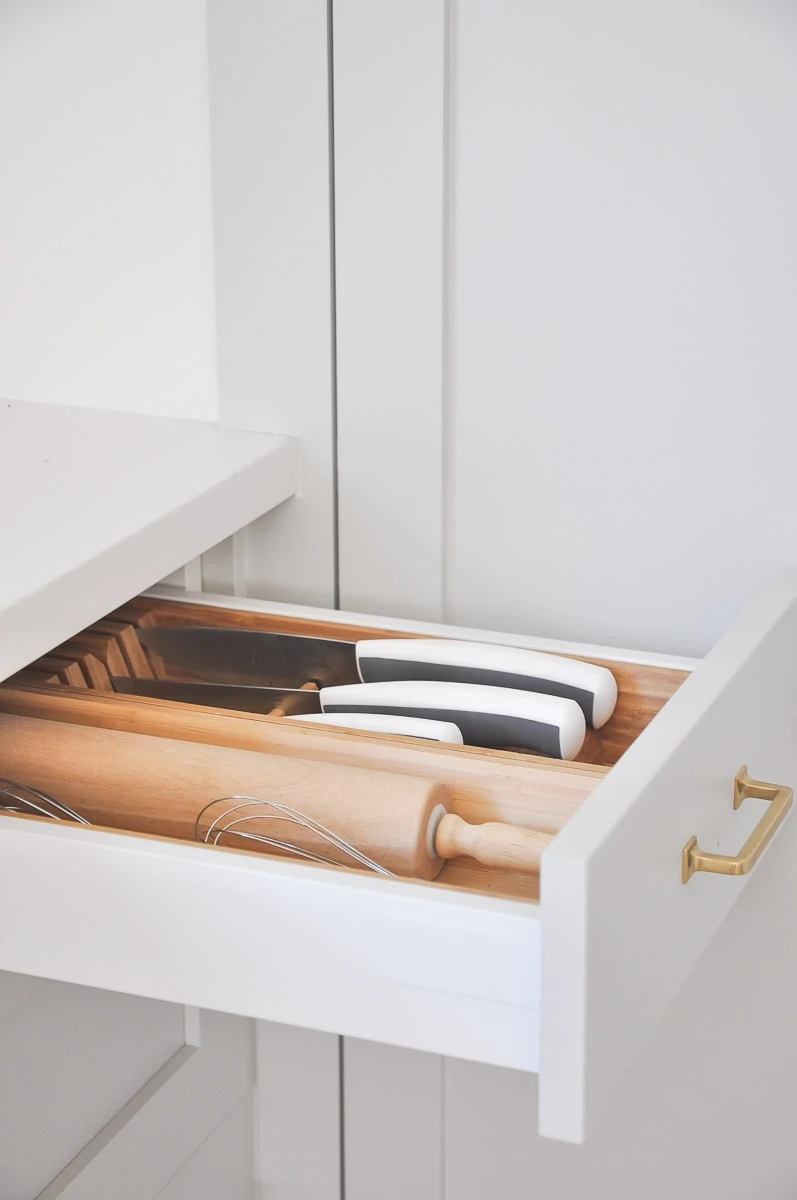
I stored knives and other long kitchen prepping tools in an upper drawer of Ikea kitchen cabinet for easy access.
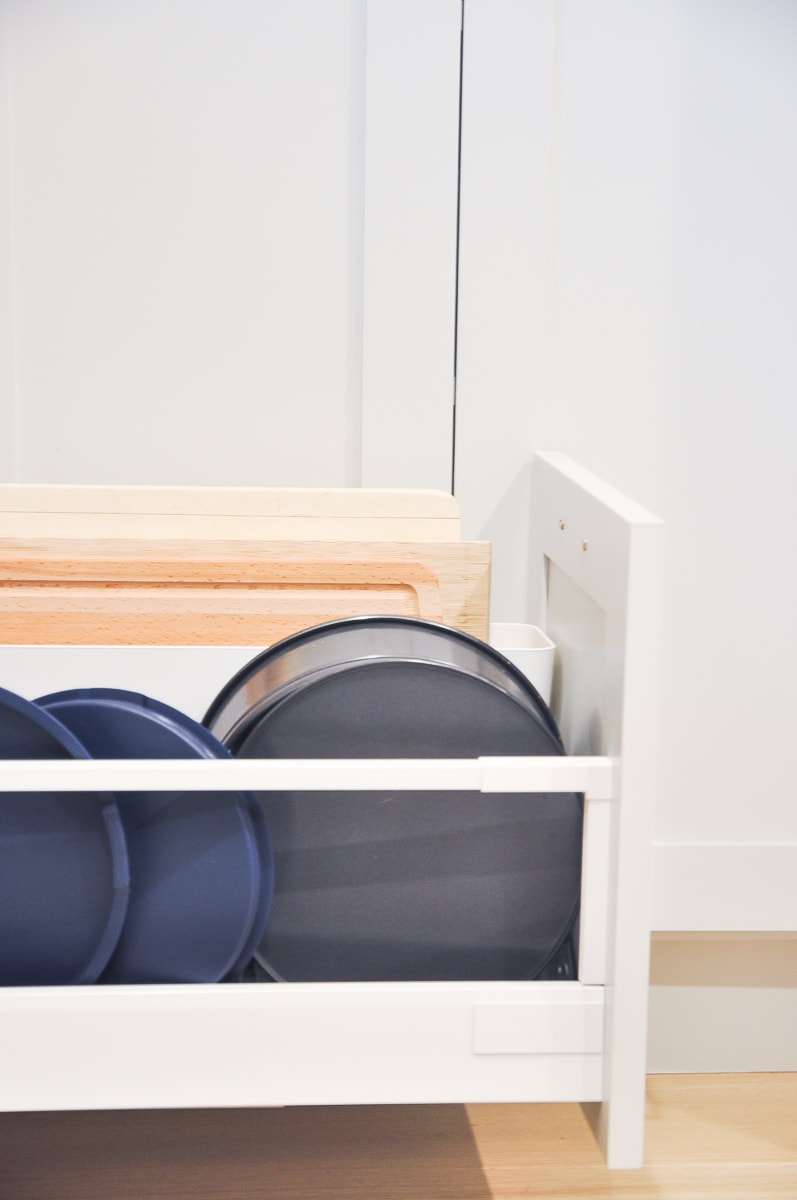
Cutting board can be tricky to keep organized and also can take up a lot of precious space in a small kitchen. So it is best to store them vertically to save space.
To store cutting boards in prepping zone, I used a cutting board organizer from IKEA.
It clips right on the edge of an Ikea kitchen drawer. I really enjoy using it as it keep all my cutting boards standing straight, making it a lot easier to store and also to take out.
Kitchen Cooking zone:
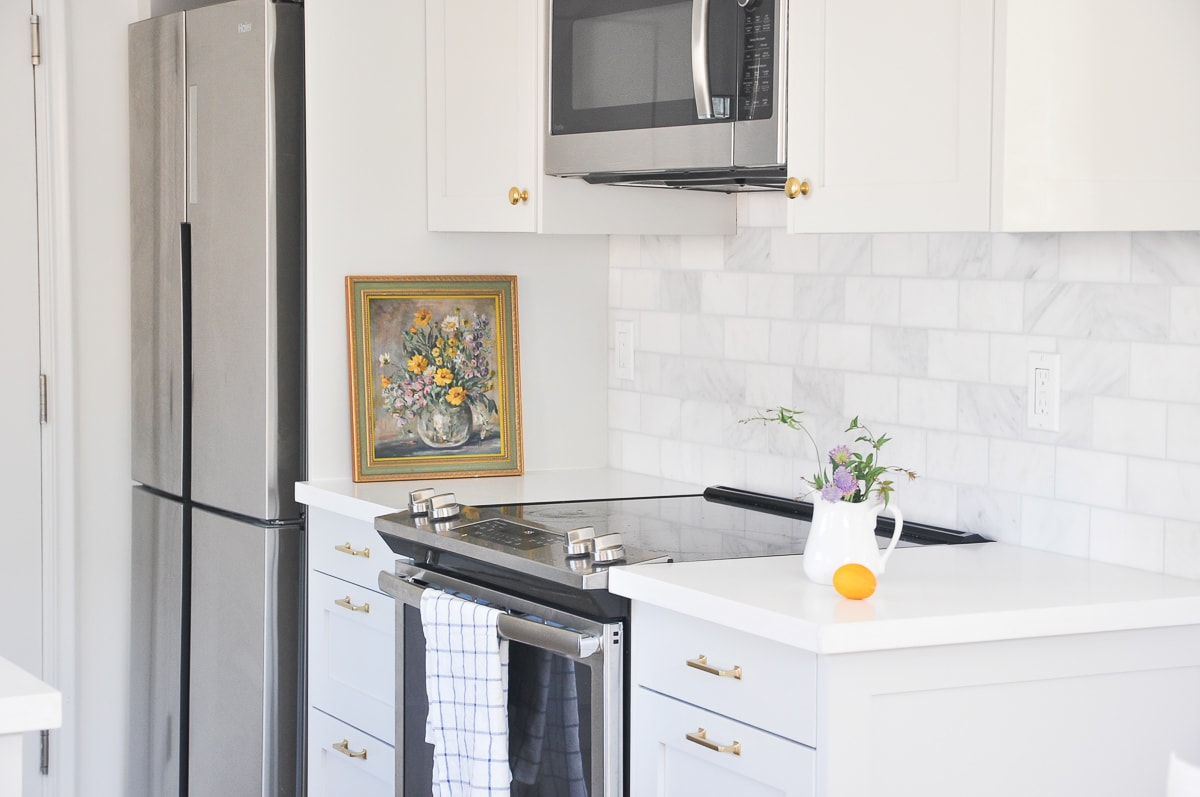
A kitchen cooking zone is all about what you need during cooking. For me, I dedicated an entire Ikea kitchen cabinet with three drawers to this zone.
For best organization in this cooking zone, I chose the 3 drawer layout from Ikea kitchen cabinet, with small, medium and large drawers.
I use the top drawer for spatulas with the help of an Ikea drawer organizer.
In the middle drawer, I DIY’ed a spice drawer organizer and use this drawer for all sorts of spices. For the bottom drawer which is the tallest of all three, I store cooking oil and sauces.

If you are interested in keeping your cooking spices organized, be sure to check out my tutorial on how to DIY spice drawer organizer. It’s an easy DIY project, but makes all the difference for a more organized cooking zone.
My kitchen cooking zone is fairly small so I don’t store pots and pans in the zone. Instead, I store them in the storing zone that I will talk about next.
Kitchen storing zone:
I believe most of us probably have a bunch of pots and pans, plus some special cooking appliances such as instant pot, crepe maker, stand mixer, etc.
Honestly, these things takes a lot of space so it’s worth spending some time on figuring out where they can be best organized.
Because most of my Ikea kitchen cabinets are on 18″ wide, it is hard to store those appliances in an efficient way. So Instead I organize them in the corner lazy susan, a 24″ wide lower cabinet with three drawers, and a couple upper cabinets.
Ikea lazy susan cabinet is great if you have a corner to deal with. It offers ample space for pots and pans organization, plus you can take them out easily by just turning lazy susan.
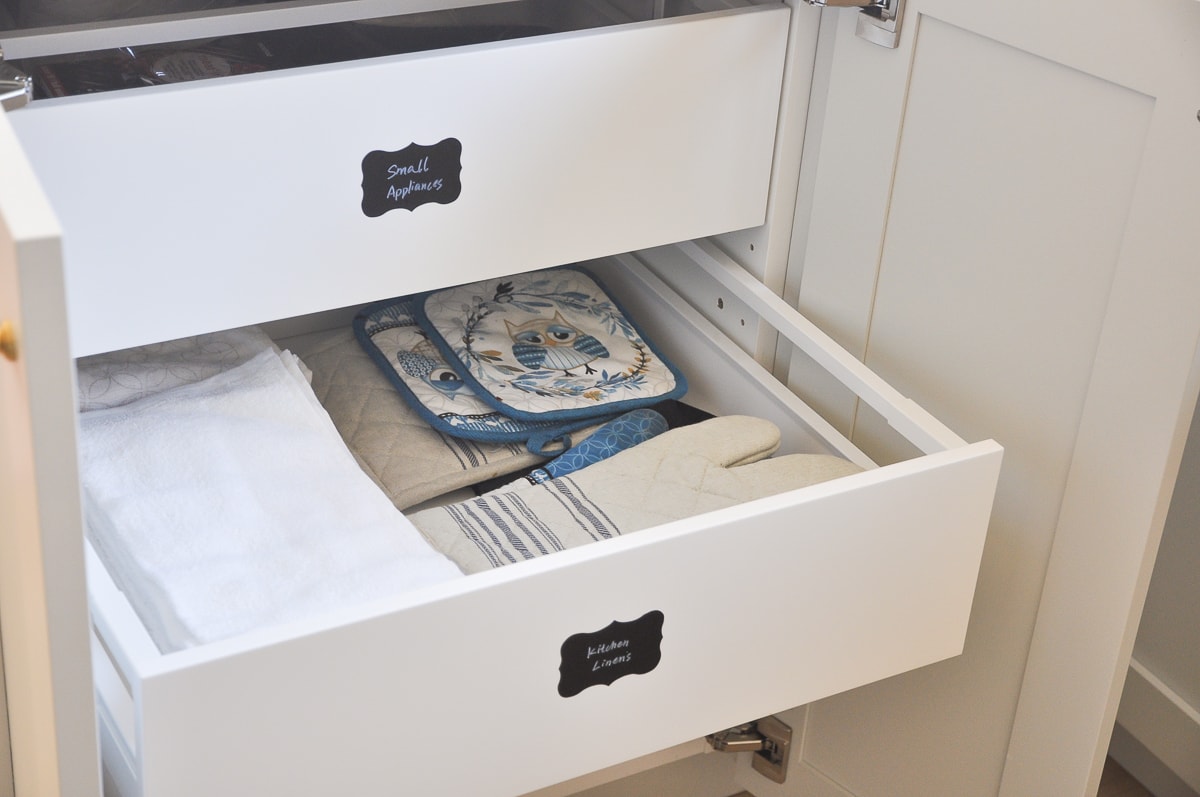
For the 24″ 3-drawer cabinet, I actually use it to store small appliances, their manuals, and kitchen linens.
I also like to use chalkboard labels to mark things.
Kitchen trash zone:
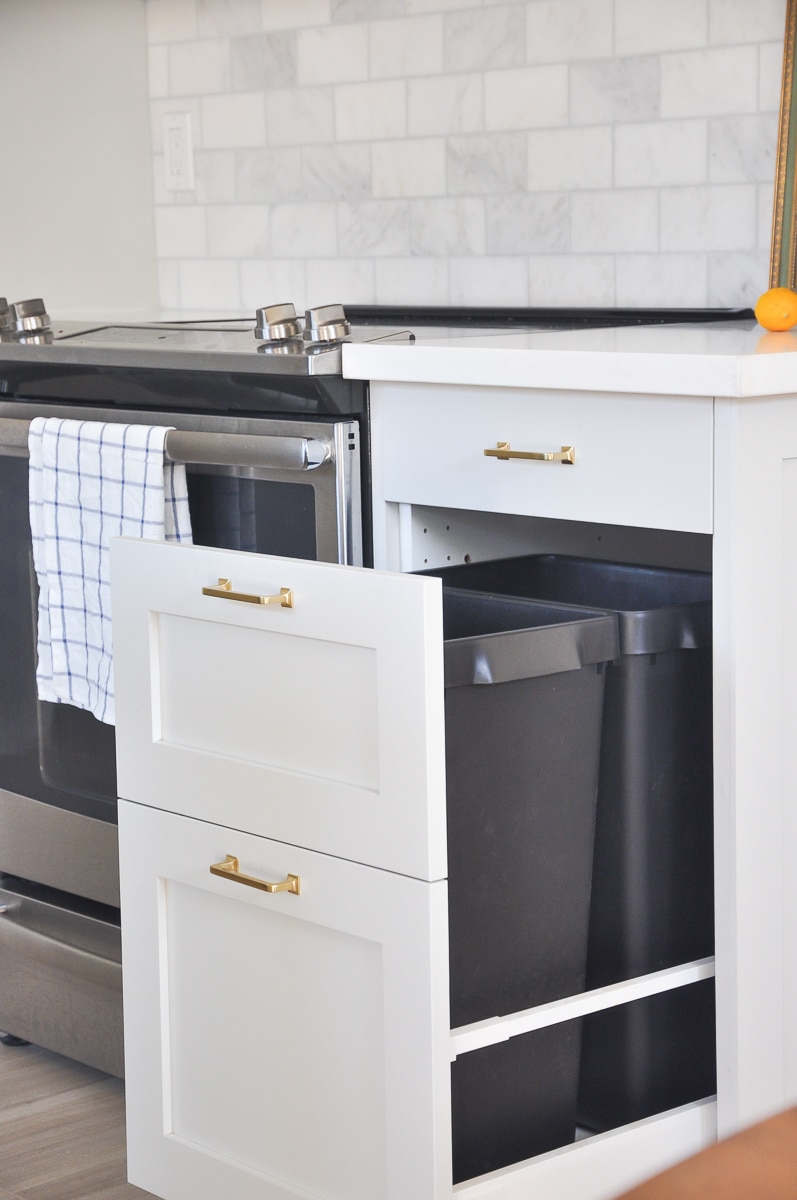
This zone is very straight forward, just one single cabinet unit for trash purpose. Ikea doesn’t have any official kitchen trash cabinet, but you can easily use a tall drawer and place two of their big trash cans inside.
My Ikea trash cabinet uses their 18in base cabinet, with “1 double drawer, 1 drawer” configuration. I was able to fit 2 Ikea 9 gallon trash bins inside the double drawer.
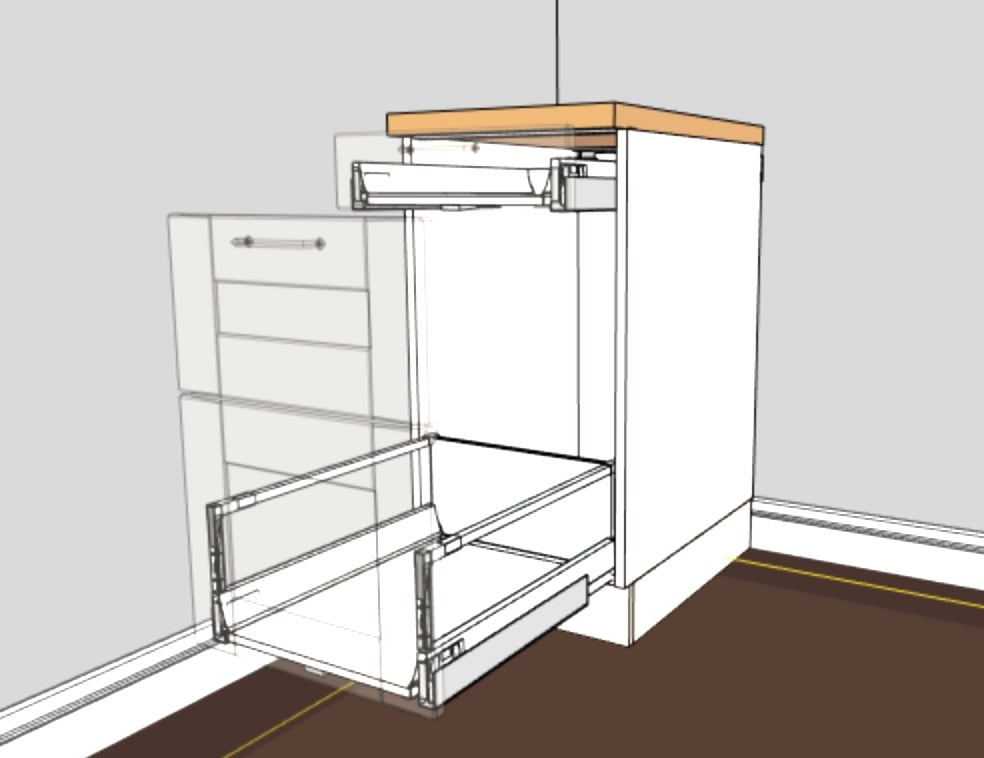
Besides the large trash drawer, you can fit shallow drawer above the trash drawer to store other necessities such as the trash bags – I like to use those compostable 13-gal bags as it is more environment-friendly!
It is also a good size to store cling wrap, parchment paper, and zip-loc bags.
Ikea kitchen organization ideas and hacks
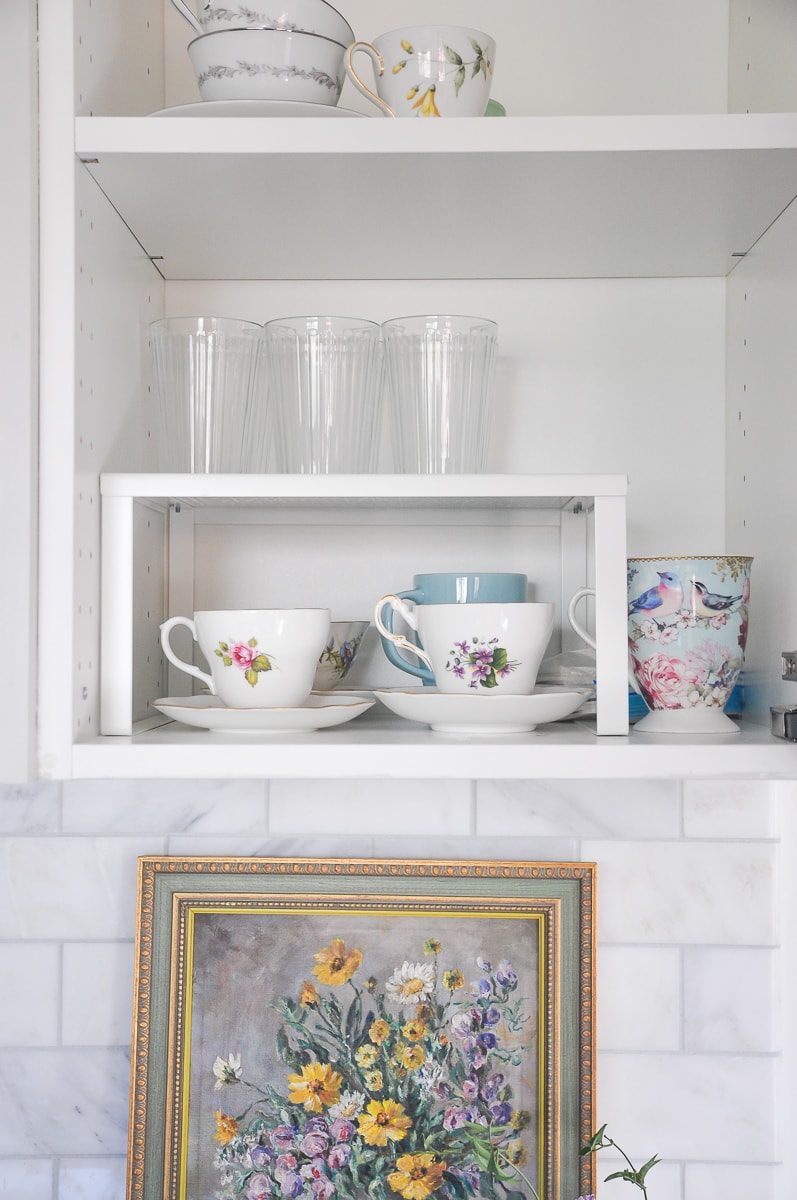
Once you plan out your kitchen zones, you have built a solid foundation for a super functional and organized kitchen.
Here are some additional ideas and hacks that will level up your kitchen organization games. I also recommend some of my favorite kitchen organizers (most of them are from Ikea).
1. Maximizing lower cabinets with drawers
Do you feel like cabinets with drawers can store more things compare to those with doors? I certainly do!
Over the years I have found that having drawers in the lower kitchen cabinet makes it so much easier to store things. When I designed my IKEA kitchen, I made sure to have an assortment of drawer sizes for my lower cabinets.
The strategy of maximizing drawers for Ikea kitchen cabinet worked out great: I can find things I need at a glance by simply pulling out drawers; Taking things out is so easy – no more rearranging things to get something out from the back.
2. Don’t be afraid modify your drawer
Speaking of drawers, one thing I love about IKEA kitchen system is the flexibility to modify kitchen cabinets as the your needs change.
The Ikea Sektion kitchen system has nested drawers that can live inside larger drawers, which makes medium to large sized drawers more space efficient.
When we first built our Ikea kitchen, I didn’t have any nested drawers. After using it for several months, I realized that I needed one more drawer to store bowls.
So I ordered a nested drawer from IKEA and installed it in one of my medium sized drawers. By doing that I was able to combine two gadgets drawer into one, and freed up a whole drawer for serving bowls.
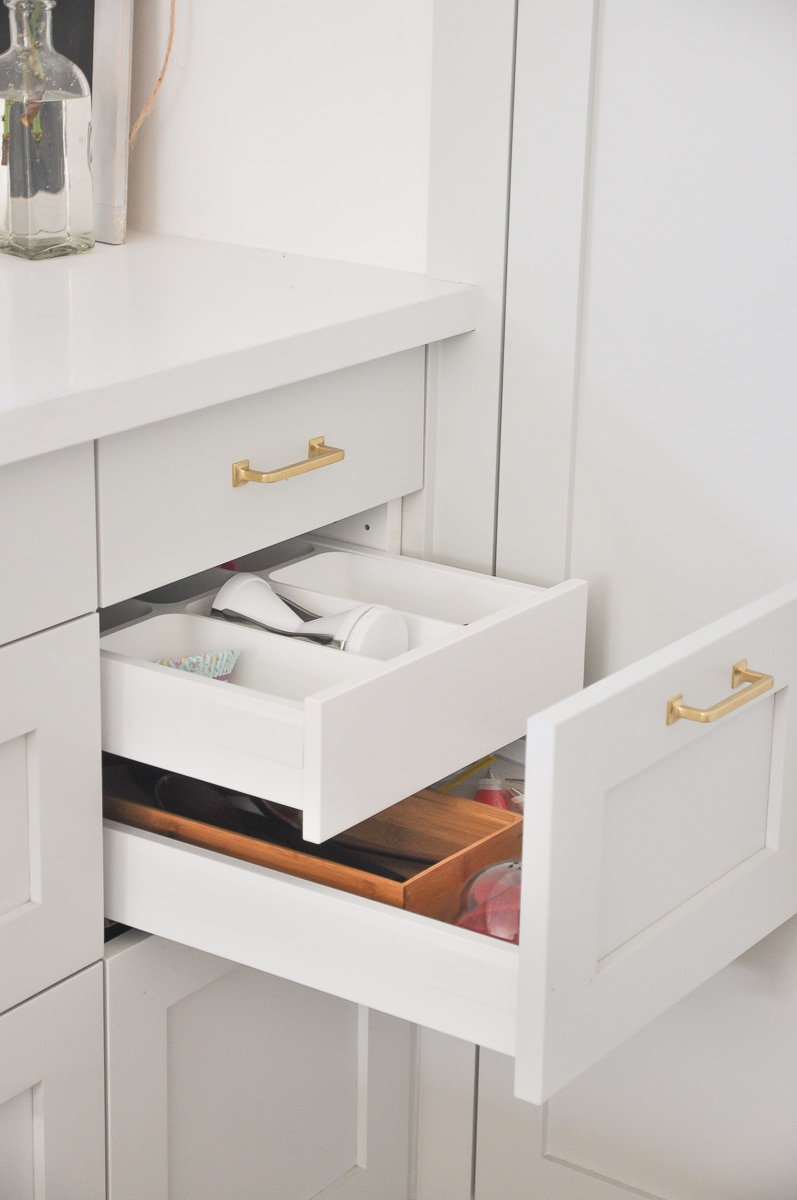
If you have previously used doors instead of drawer for your Ikea kitchen cabinet. You can also easily convert them to drawers.
3. Kitchen appliance ideas to save space
If you have a small kitchen just like I do, be extra mindful when picking appliances for your kitchen.
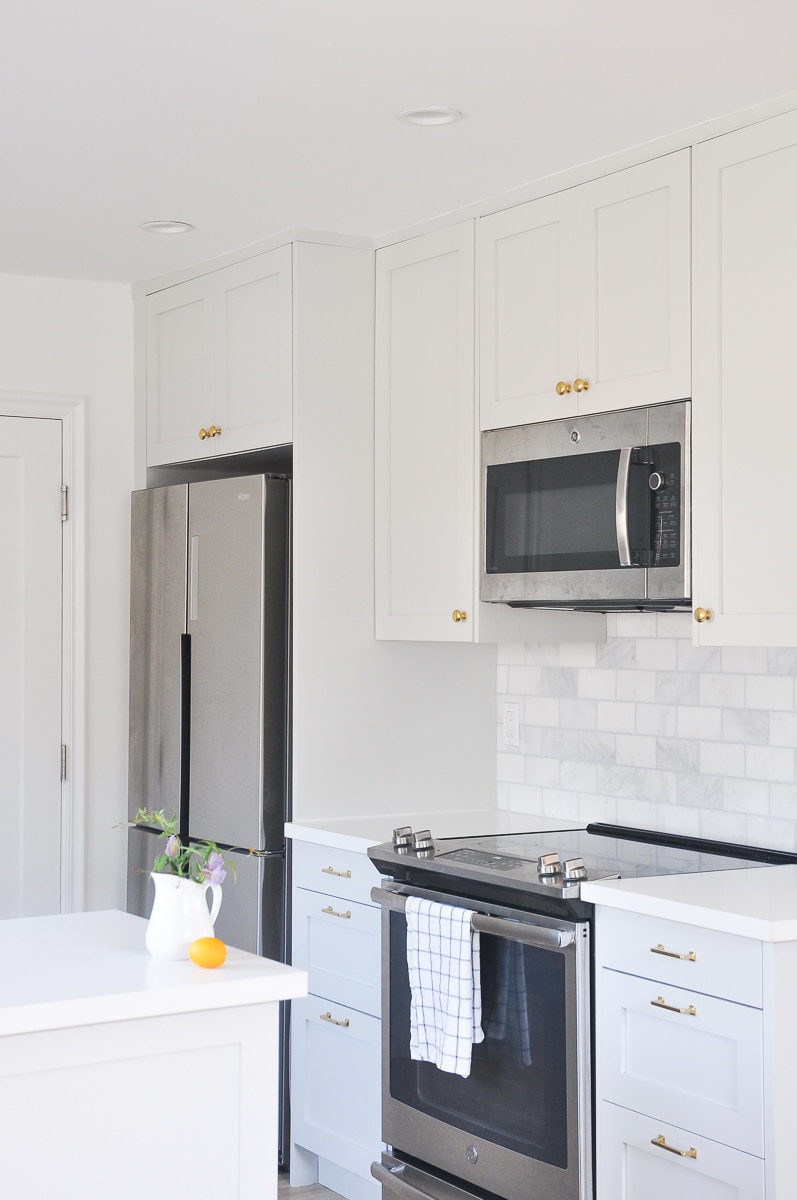
A counter depth fridge can work pretty well for small kitchens: it takes less space, and makes your kitchen look larger because it doesn’t stick out as much.
I almost bought a traditional range hood, but ended up buying a microwave with vent. Why? because if I get a normal hood for my kitchen, there will be no space for the microwave except on the kitchen counter.
If you like to bake a lot, consider getting a convection microwave, so that you can bake small things in there too if your big oven is occupied.
For range, I got a standard 30″ wide range with bottom pull-out drawer. I love the pull-out drawer quite a lot as it is a perfect place to store baking pans and cupcake molds.
4. Leverage vertical space for kitchen pantry
I have an awkward recessed area in my kitchen wall that is about 60” tall, 30” wide, and 12” deep.
Because of the shallow depth, I wasn’t able to have any lower cabinet there. So we ended up hiring a closet company to add a custom cabinet inside with many shelves that we can use it as pantry.
It is something you can probably DIY too.
I made sure the pantry door style matches my Ikea kitchen so they look seemless.
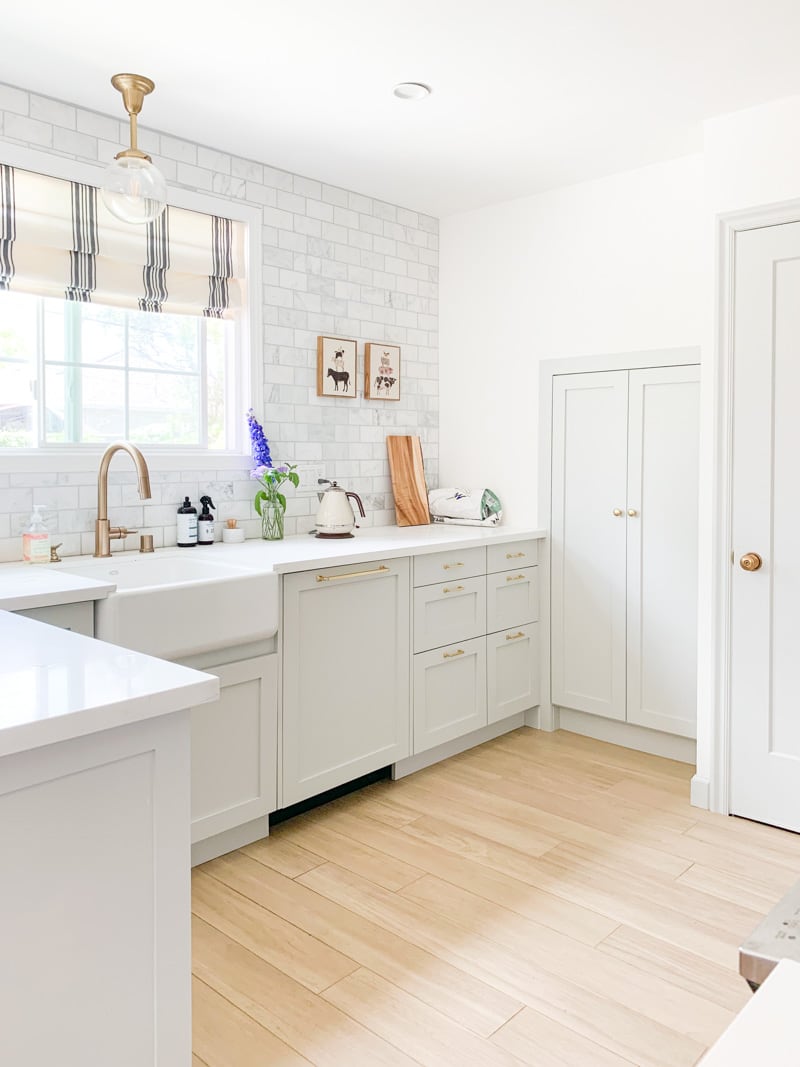
After converting that awkward space into a pantry cabinet, it has made it super easy for me to grab pantry items as I cook, and we were able to free a bunch of space from the lower kitchen cabinets.
You may not have the exact awkward space to convert into a pantry, but I encourage you to think vertically in terms of pantry organization.
Most pantry items are fairly small, so having some tall and shallow shelf/cabinet will help you so much with storing those those things, such as this billy bookcase that is less than 12″ deep!
Another good option is to invest a pantry shelf if you are more of an open storage person. Imagine how much they can store without really invading your kitchen square footage.
5. Use kitchen drawer organizers
Another way to make drawers more organized is to use drawer organizers. I have used a lot of Ikea drawer organizers in this kitchen.
Besides my DIY spice drawer organizer, I have drawer organizers for utensils, knifes, kitchen gadgets, etc. Since I bought them from IKEA too, they fit my cabinet drawers perfectly! Ikea Variera line has some good quality drawer organizers!
Here are some of the Ikea drawer organizers I purchased:
utensil tray | specula tray | knife tray
Best Ikea Kitchen Organizers
Keeping a kitchen organized is not an easy task, so why not lean onto some super functional organizers? I really like Ikea kitchen organizers because they fit into Ikea kitchen cabinets perfectly and also the cost is pretty low!
Here are a few great Ikea kitchen organizers that can amp up your kitchen organization.
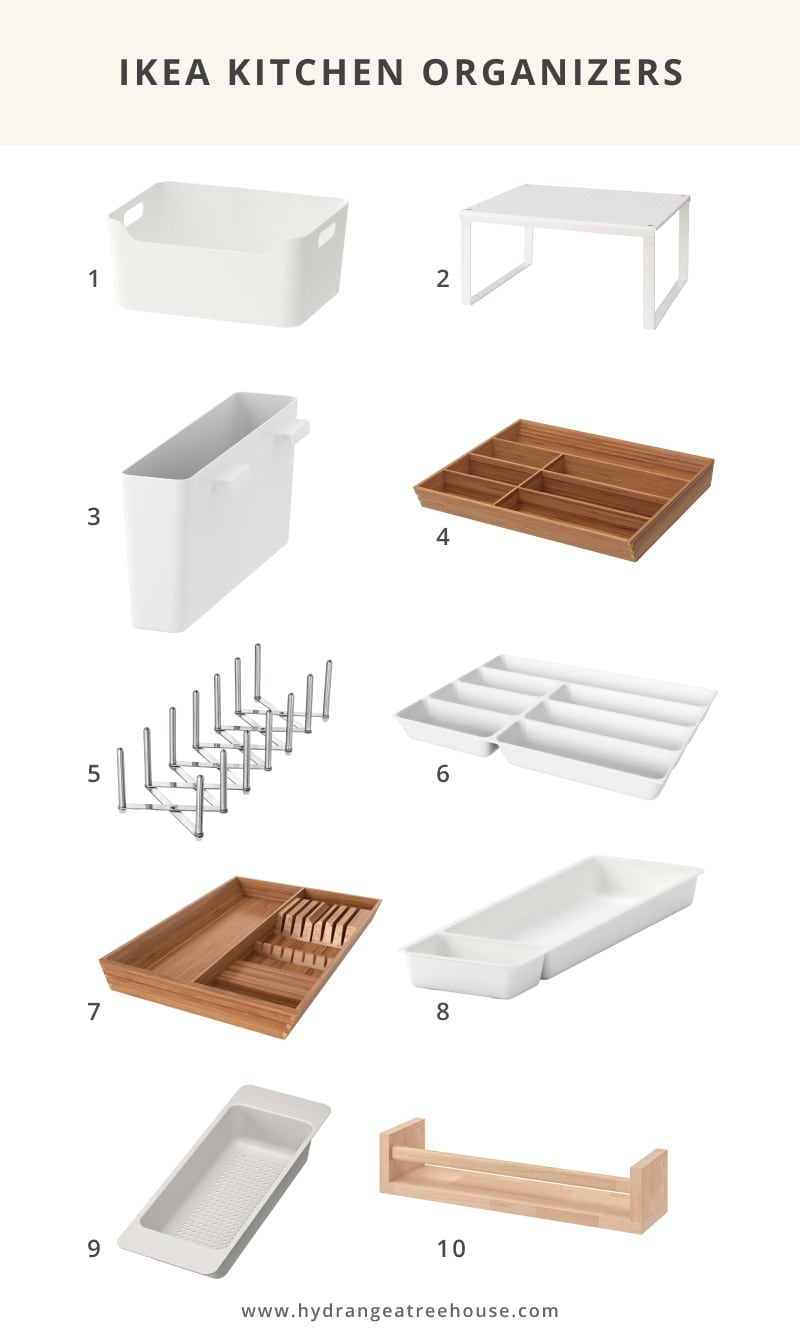
1 | 2 | 3 | 4 | 5 | 6 | 7 | 8 | 9 | 10
Ikea Kitchen Organization Summary
So those are my Ikea kitchen organization ideas and hacks for you, as well as the best Ikea kitchen organizers.
This blog post is not sponsored by anyone, so I just want to share my own Ikea kitchen organization ideas with anyone who is interested in having a more efficient kitchen.
This post is the part 2 of my Ikea kitchen tour. If you are interested in Ikea kitchen remodel process, cost and how it is holding up after 2 years, be sure to check out my Ikea kitchen review post, as my Ikea kitchen tour part 1.
Also, I have recently been interviewed by Semihandmade blog sharing my top tips on Ikea kitchen organization. So check out this article here.
More kitchen ideas
Kitchen Tour Part 1 | IKEA Kitchen Honest Review After 2 Years
DIY Spice Drawer Organizer ( with Video) | Kitchen Organization
Small Kitchen Organization: 5 Tips on How to Maximize Storage And Keep Things Organized
Pin it for later
Hi, could you link the handles you used for the kitchen? They’re quite beautiful!
They are from Rejuvenation: https://rstyle.me/+3zR-H44U2EP3x574hteNew (affiliate)
The finish I used is called Aged Brass.
Thanks for all the ideas and hacks! All are worth following! Keep sharing stuff like this!
Thank you so much!
What color and name are the cabinet fronts?
Hi, there! We’re in the final stages of installing our IKEA kitchen and I’m struggling finding the right size garbage cans for our trash drawer! The ones that fit all seem to be 10 gallon and our family of 5 can’t seem to make that work. I was unable to find a source for your garbage cans (is this a weird ask?! haha). Would you mind sharing a link? Thank you!
It looks like they updated the trash can I had and replaced with something similar.
https://www.ikea.com/us/en/p/hallbar-bin-with-lid-light-gray-50420206/