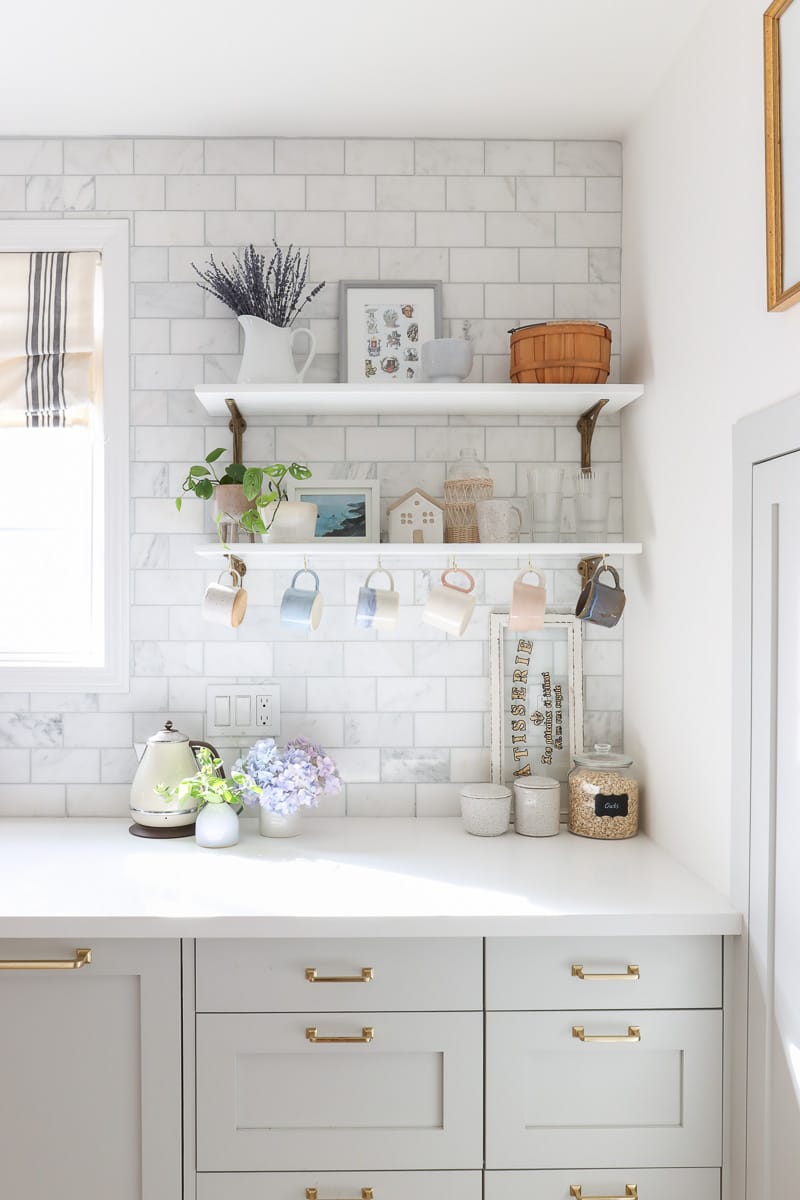
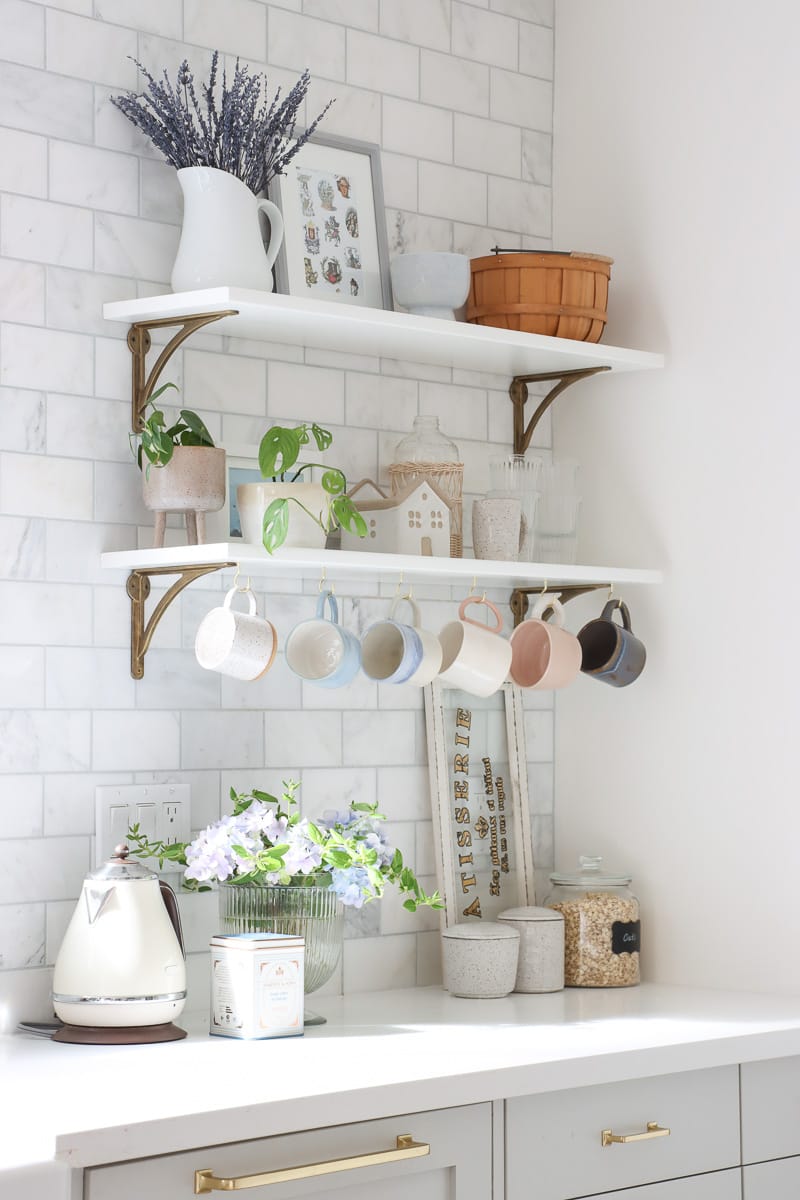
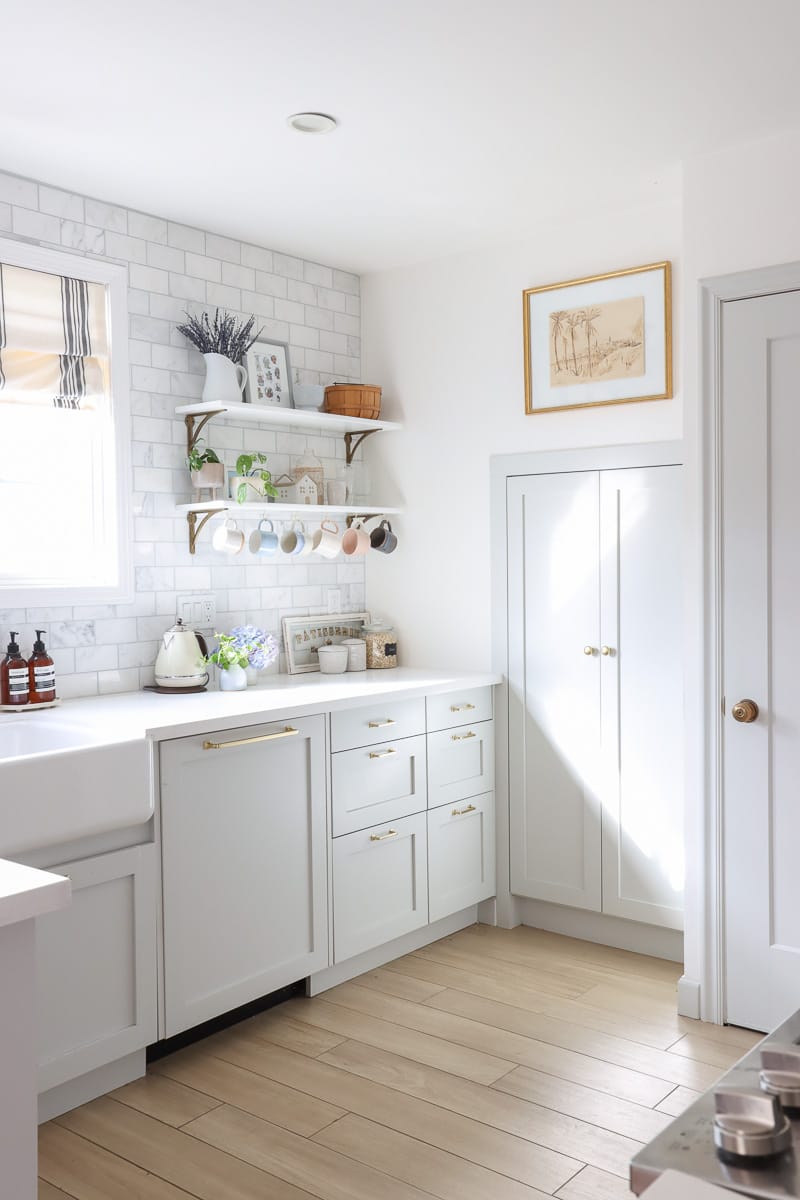
Jazz up your own open shelves with DIY mug holder to display your coffee mugs and tea cups! It adds both functionality and style to your kitchen, plus it is cost-efficient and simple to make!
Why should you create a DIY coffee mug display?
Open kitchen shelves have remained to be one of the most popular styling elements in kitchen design. It does a great job showcasing your personal style while offering real storage. One of the stylish storage solutions is a DIY coffee mug holder.
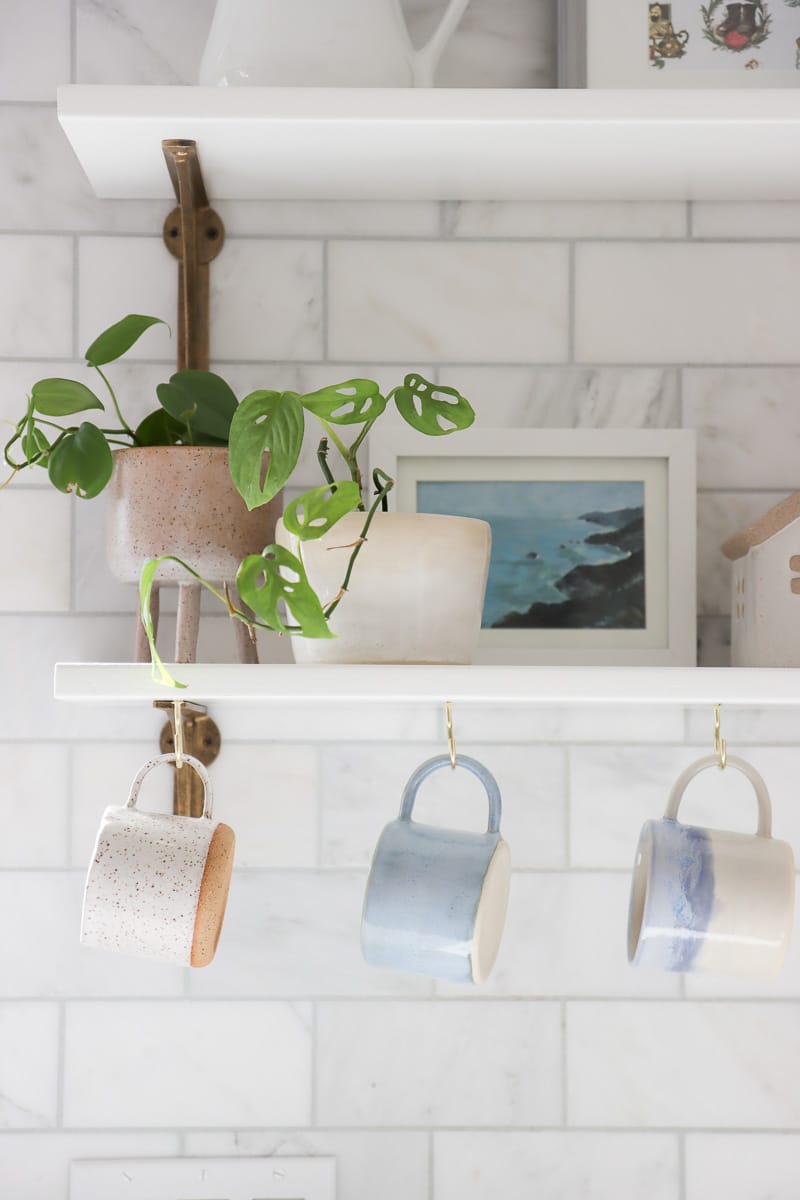
Not only can you hang hand-washed mugs there to dry, but it is also a great place to show your coffee mug collection and personality.
However, most of the time, our kitchen doesn’t always have built-in open shelves where you can hang your tea cups and coffee mugs if your kitchen is equipped with open shelves at all.
If you don’t want to spend a good amount of money on hiring out or buying expensive products, DIYing your own coffee mug display shelf is a huge help in terms of saving money.
What’s more, creating this DIY coffee mug display shelf is easier than you think. If you are looking for a new way to spice up your kitchen, definitely give this project a try!
In this post, I’ll also share with you how to create this DIY coffee mug holder without damaging your existing wall marble tiles.
This project is also adaptable; you can add this DIY cup holder to your existing kitchen shelves, or create kitchen shelves from scratch with this tutorial. In this design, you can also remove and add the shelf itself easily.
DIY mug display for kitchen tools and materials
Some of the tools and materials I listed here are optional, depending on what tools you use and how you adopt this tutorial.
DIY Coffee mug display video
DIY coffee mug holder for kitchen shelf instructions
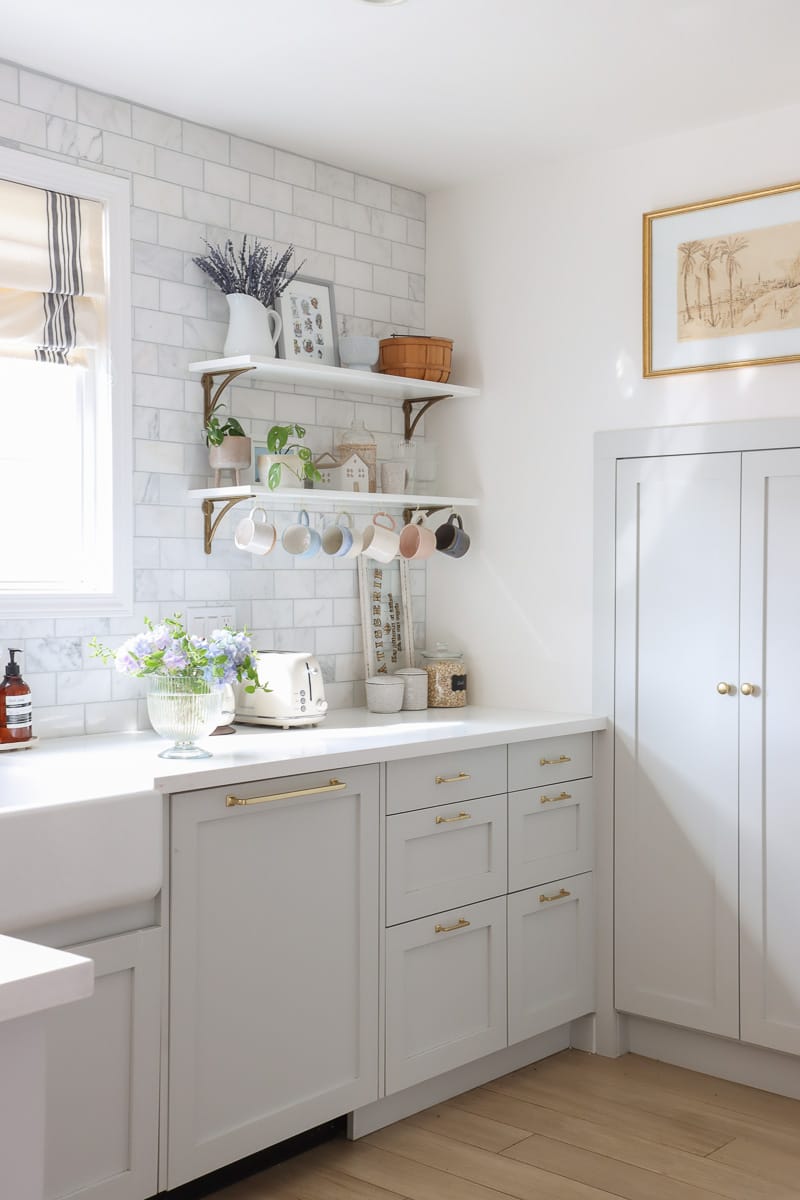
For this project, I have decided to install two kitchen shelves that are supported by brackets because it is generally easier than installing a floating shelf in my own experience. I am aiming to use the bottom shelf to serve as a coffee mug holder where I can display all of our handmade mugs that I love.
The first few steps are on how to DIY and install open shelves, and the next part is on how to install cup holders.
Step 1: Wood cutting and trimming
I bought a pressure-treated board from a local lumber yard that I plan to paint white to match my kitchen’s countertop color. I used my table saw to cut them to about 10in deep. Most kitchen shelves are 8-10in deep.
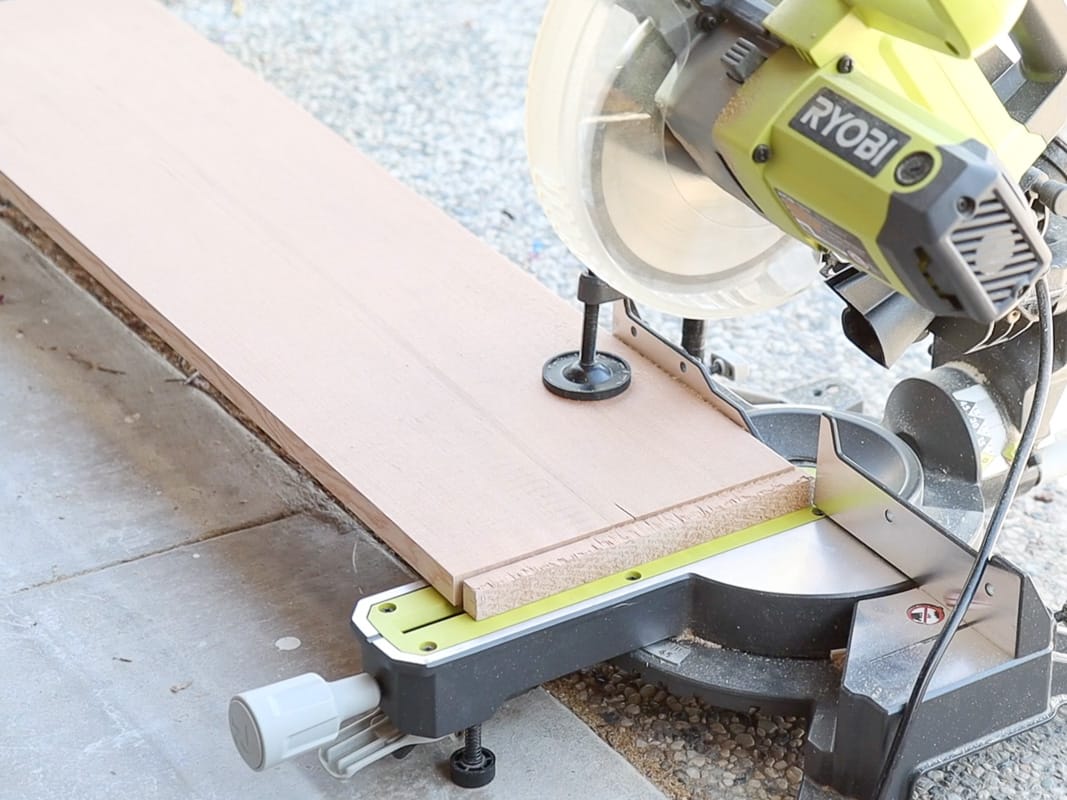
Since they were rough cut by the lumbar yard, I need to trim both ends with a finer finish since some of the edges will be visible. You can use any tool that you have on hand, but in my case, I have a miter saw to help me cut the edges.
Step 2: Prime and paint kitchen open shelf wood board
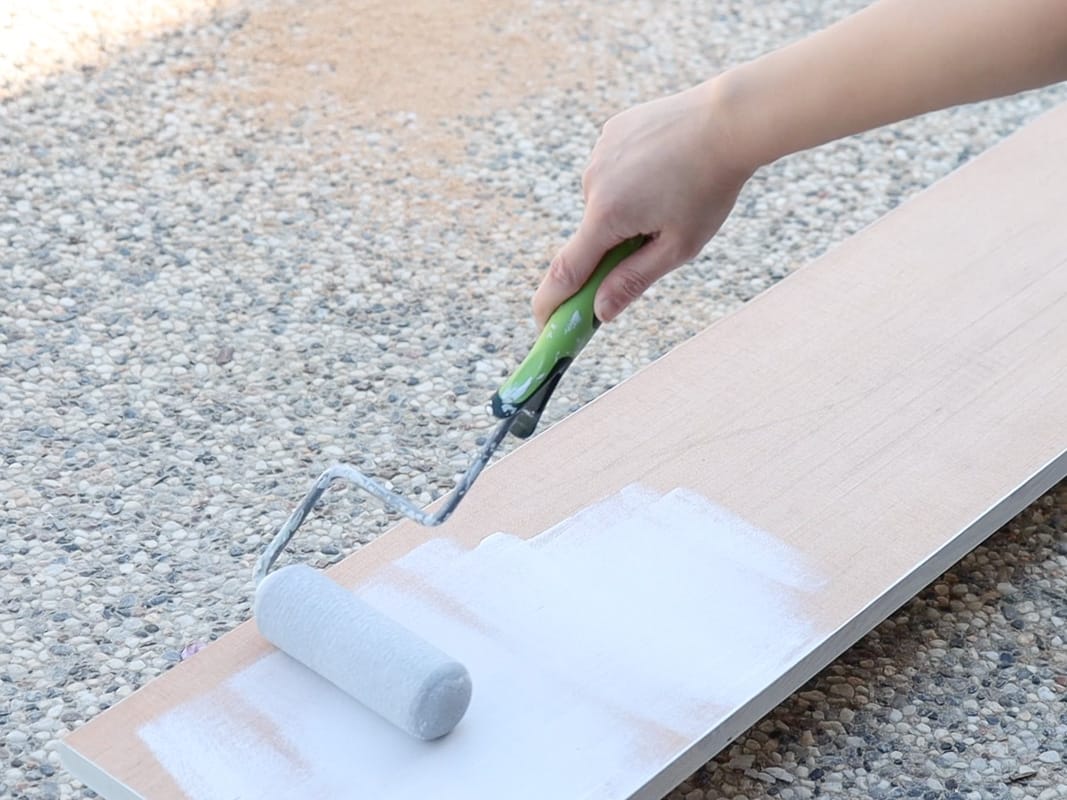
As I mentioned, I want to have white open shelves for the kitchen space, so I gave each board a coat of primer and three coats of paint. The color I’m using is Simply White by Benjamin Moore. I’m using cabinet paint for durability, but it does require a longer cure time.
Step 3: Set up the brackets
I bought this bracket in an old brass finish online but the color is darker than what I wanted. So I decided to brighten up the brass finish with some Rub ‘n Buff gold wax.
There are plenty of stores where you can buy ready-to-use brackets for your shelves. But you have to make sure that the brackets are durable to hold down the shelves and the items that you will be putting on them.
I added a drop of the gold wax and then spread it thinly using a brush. This product allows me to have a very light coat and have more accurate control of how much finish I want to add to it.
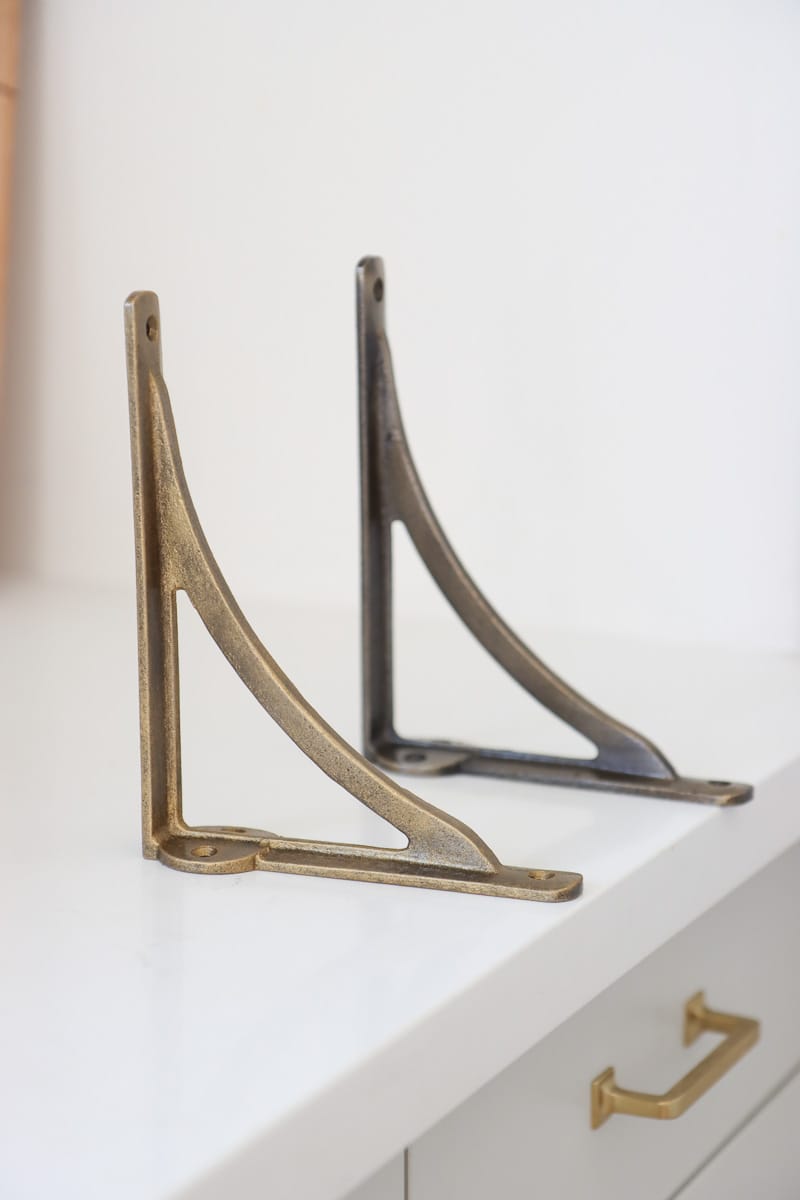
After the gold wax, the color is a lot brighter and looks more like brass. I have considered using spray paint but that way I won’t have any control over how translucent the new layer is.
After polishing up the shelf bracket, it’s time to install them on my marble-tiled wall.
Step 4: Install the supporting bracket (Bonus: clever hack to add kitchen shelf on marble tile without damaging the tiles)
Once the shelvings are ready, it’s time to install the supporting bracket.
Now, drilling your kitchen countertop will likely damage your tiles one way or another since we will be creating a hole around it and there’s no way to patch it back.
But, if you are like me who does not want to stick to one design and likes to change things every now and then, ensuring that I can remove and add my shelves without damaging my existing tiles is very important.
Removable DIY cup display for the kitchen are a very bright idea, the only challenging part of this project is drilling and protecting the tiles.
Now I’ll be sharing with you how I drill the marble tile for my DIY cup holder without damaging it.
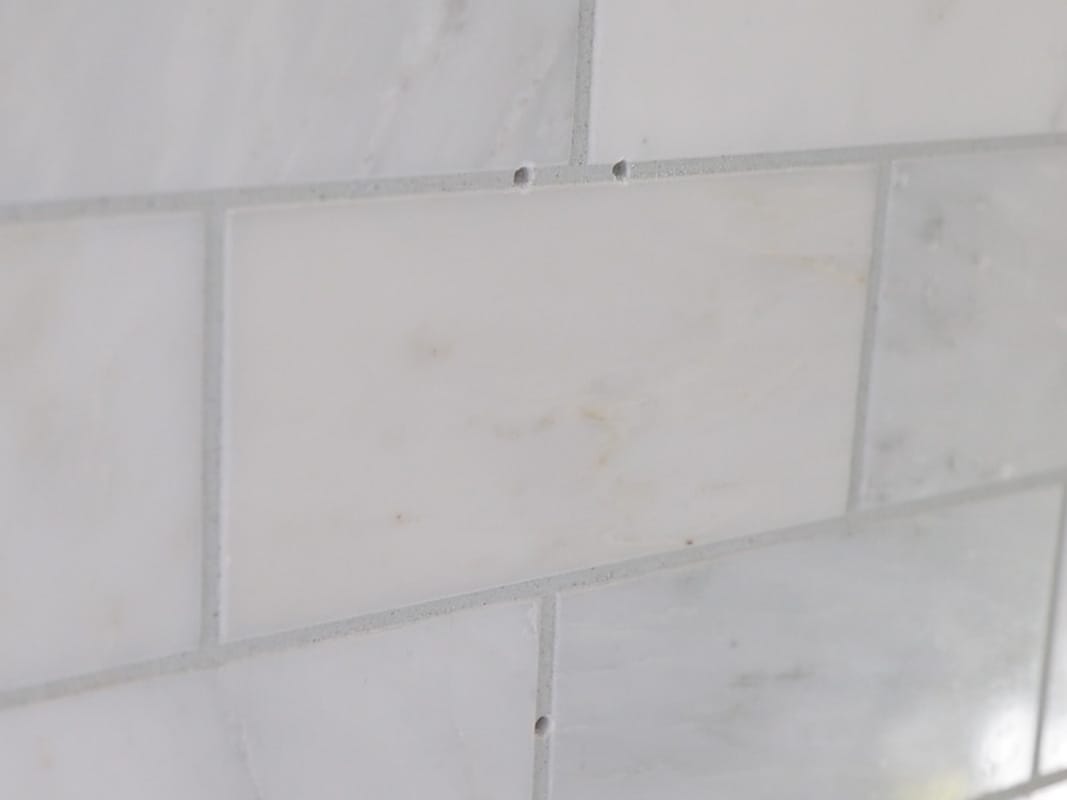
I’m using a masonry drill which is recommended for stone or grout-like materials., I need to predrill the area because it is impossible for a screw to go in without a pilot hole.
I created three holes in the grout line of my backsplash wall. You can see from a zoom-in view here that the marble tiles were barely damaged in this case. Later if I decide to remove the kitchen shelves, I can patch them up with the same grout, just like nothing has ever happened.
And then I added the bracket to the wall with screws. If your grout is thicker, you can certainly add a wall anchor first before screwing it in. Keep in mind that this installation will likely miss the stud, but I know I won’t use it for anything heavy. I am mainly planning to use these kitchen shelves as a decor display plus for displaying my coffee mugs.
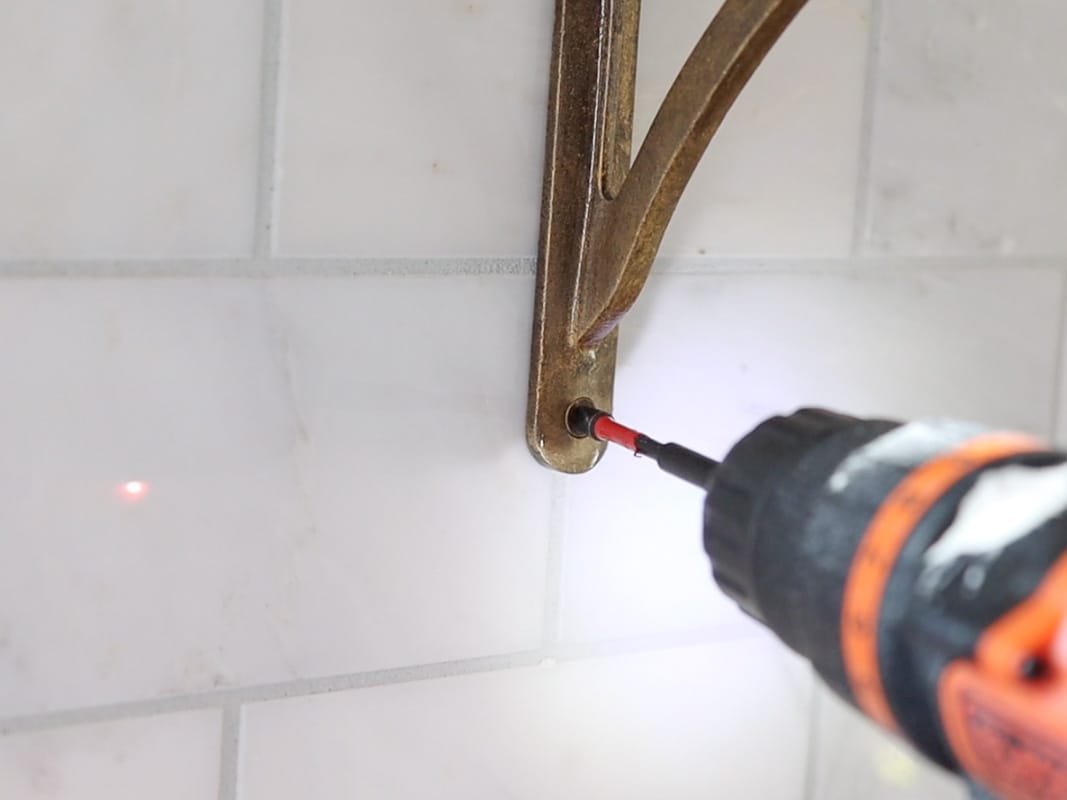
If you wanted to hold anything heavy I would suggest you aim to hit the studs instead of going to the grout line. But that will for sure damage some of the tiles.
After that, you can add the brackets instantly like normal.
Step 5: Install the cup hooks for the DIY coffee mug holder
Once that is set up, we can now move to the mug holders. I’m using this cup hook from Home Depot that is 3/4 of an inch because I have a mug that has a very chubby handle. I think for most cases using ½ inches should totally be sufficient.
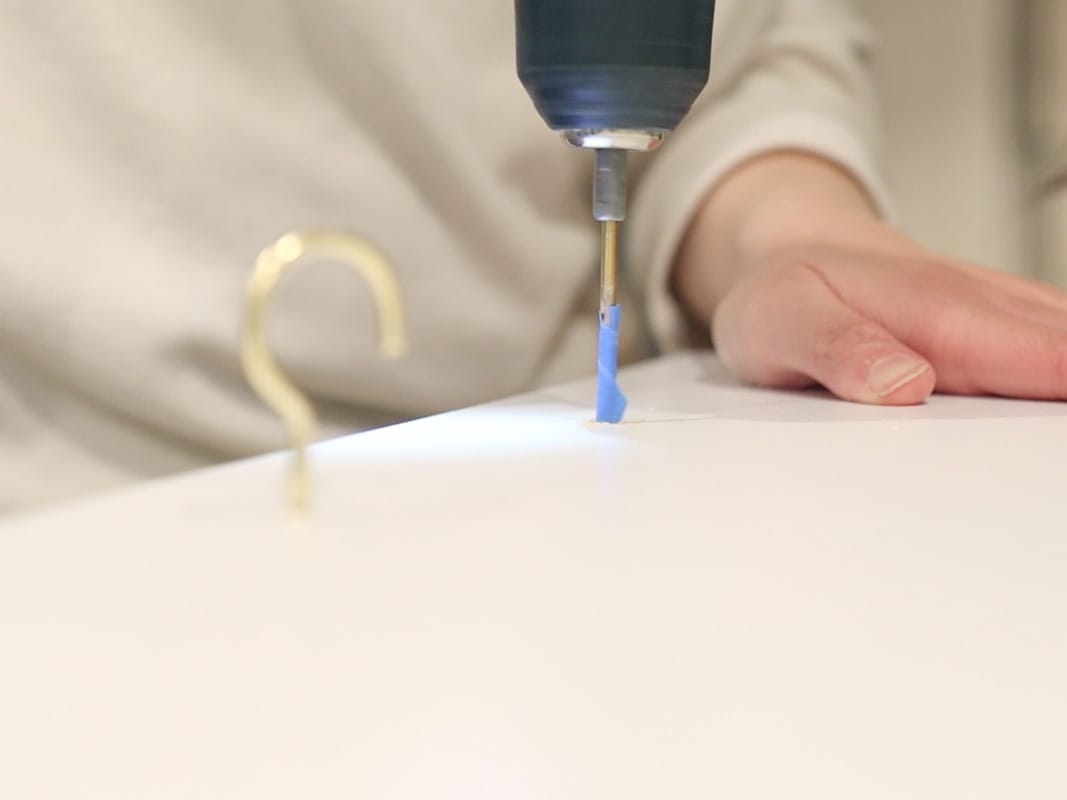
I’m drilling a pilot hole and marking the drill bit with painter’s tape based on the screw length so that the cup hooks won’t stick out from the other side of the board.
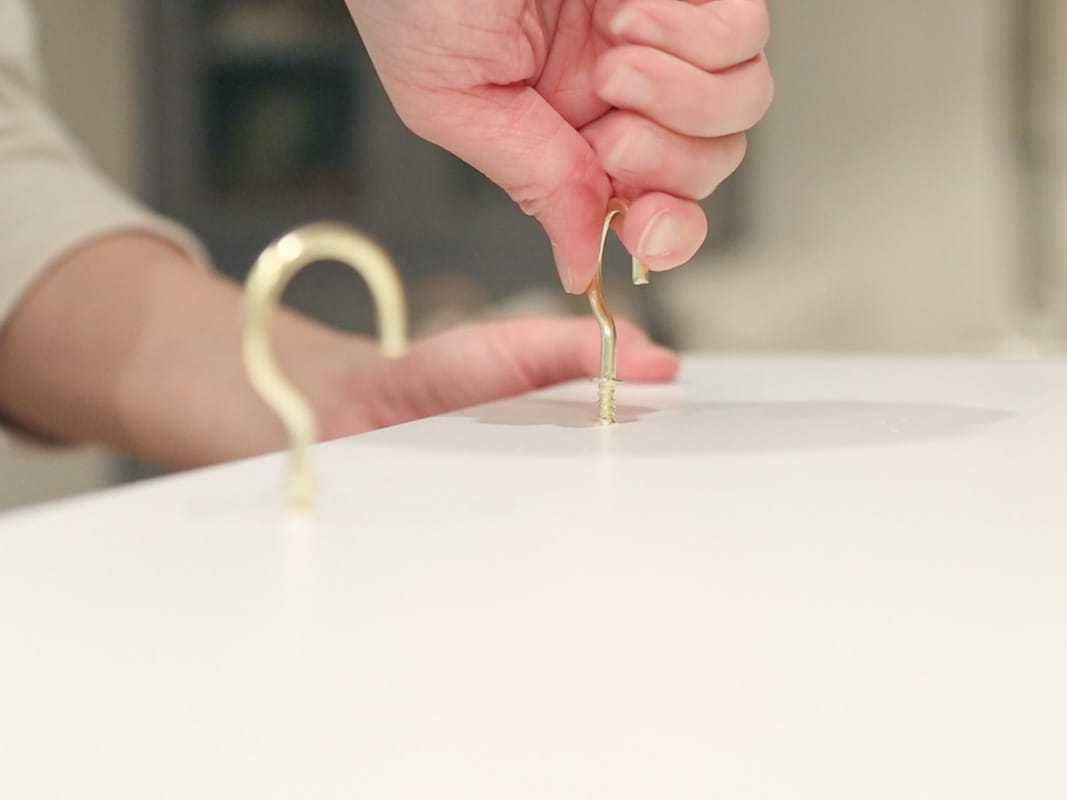
Then I just screw each hook in and make sure the opening is facing the outside to make it easier to hang any mugs or cups.
Step 6: Secure the shelves and the brackets together
After putting the cup hooks on the shelf, I just put the shelf back onto the brackets and secure them with some screws so that they won’t move. The screw I’m using is shorter because what came with the bracket is too long and my board is only 3/4in thick.
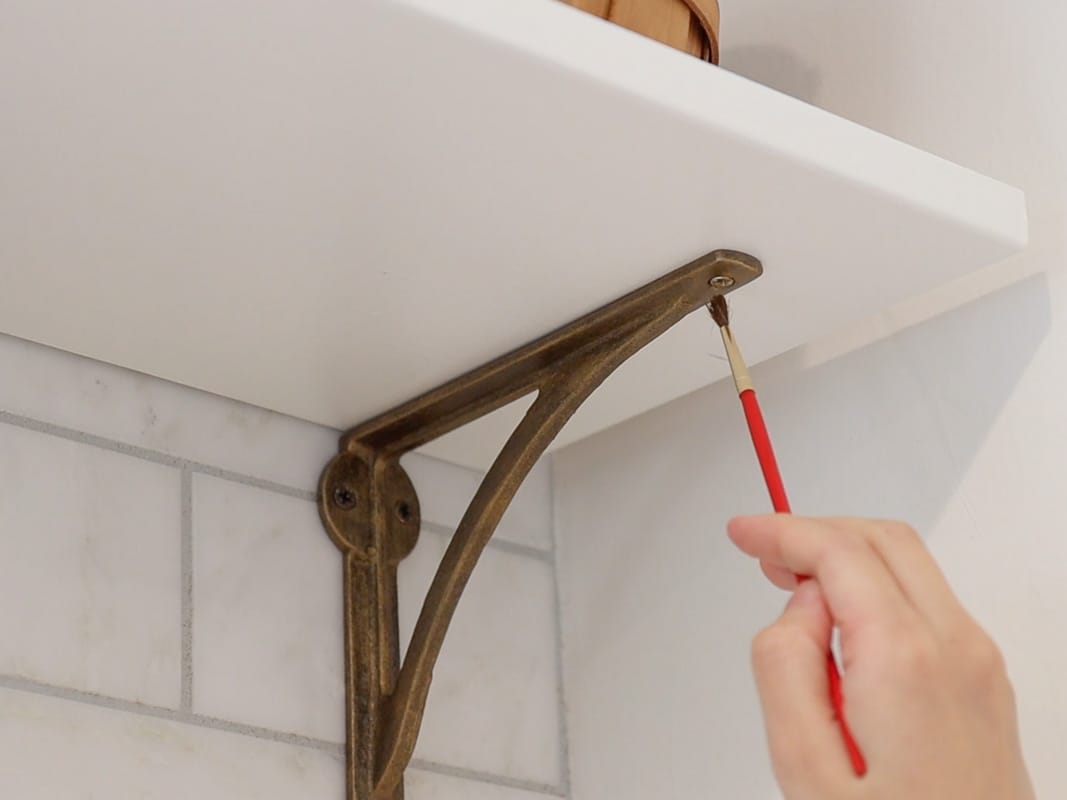
I’m using the Rub ‘n Buff again to touch up the silver screws and make them blend in with the color shelf bracket more. I’m also using a small piece of paper to wipe off the excess Rub ‘n Buff wax.
Step 7: Decorate
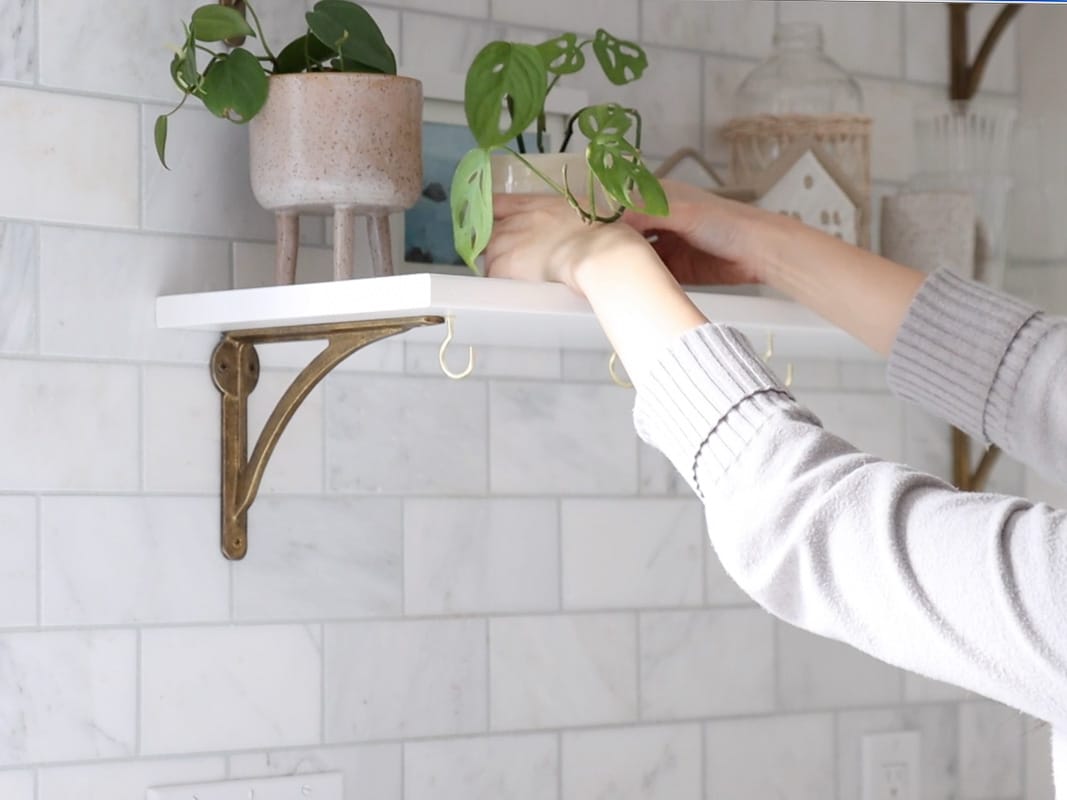
This DIY coffee mug display project is almost finished and to top it off, it’s time to decorate!
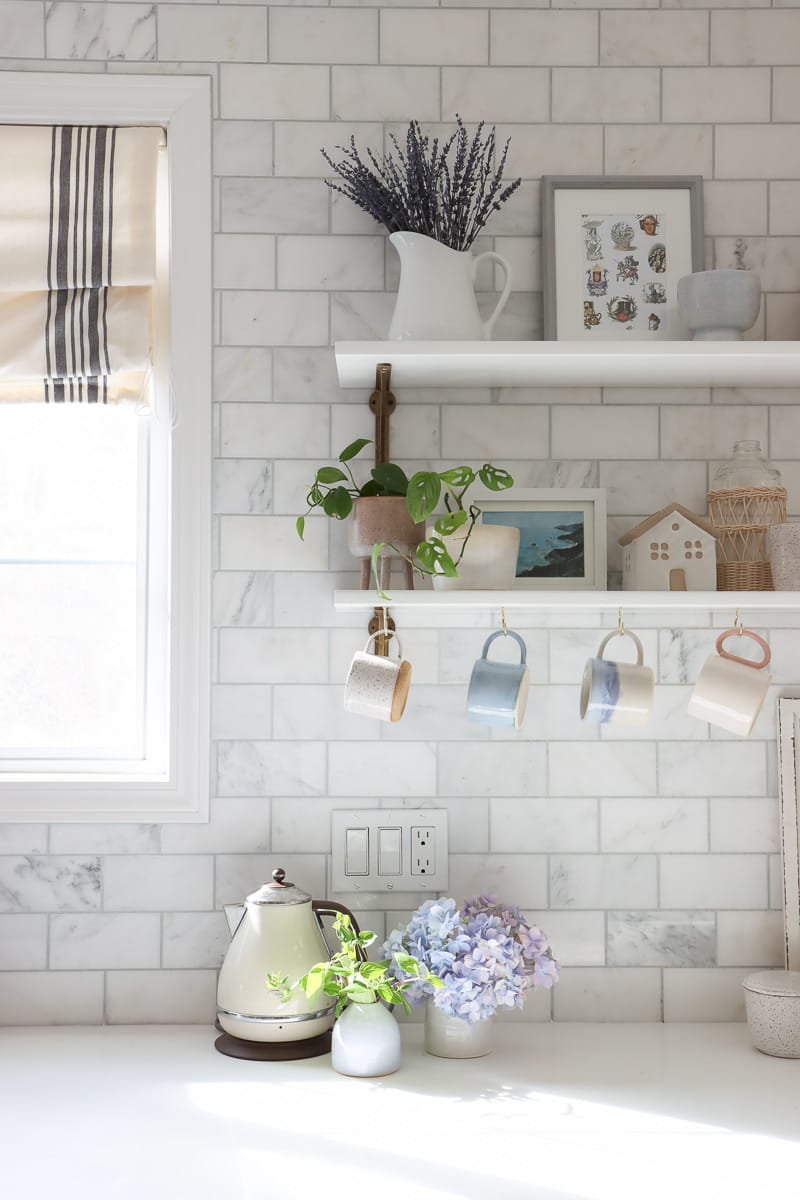
Because my DIY coffee cup display shelf is right next to the kitchen window with some natural light, I decided to put a couple of plants, hoping that they will get bigger and eventually trail over the shelf – more visual interest! You can add your favorite plants but I suggest you add less heavy plants so you can avoid damaging your shelf.
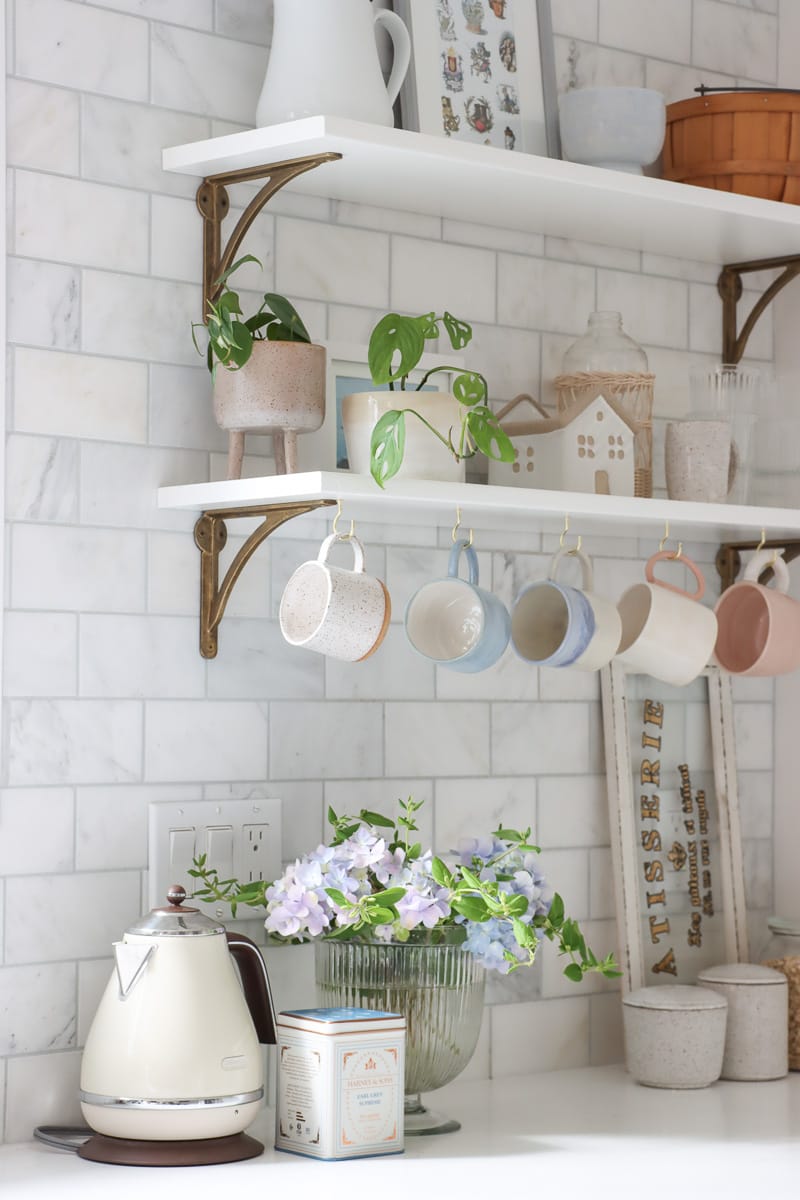
And now comes the most exciting part which is hanging my coffee mugs. I’m putting some of my favorite mugs that I use weekly if not daily! Feel free to add more decorations to your liking but make sure to keep it lightweight.
DIY mug holder for kitchen open shelf summary
DIY cup display for kitchen shelves are cheap, simple to make, and provide you with extra storage in your space. This DIY coffee mug holder idea has a very minimalist design which gives you a lot of freedom and no limitations for your decorations and pop of colors.
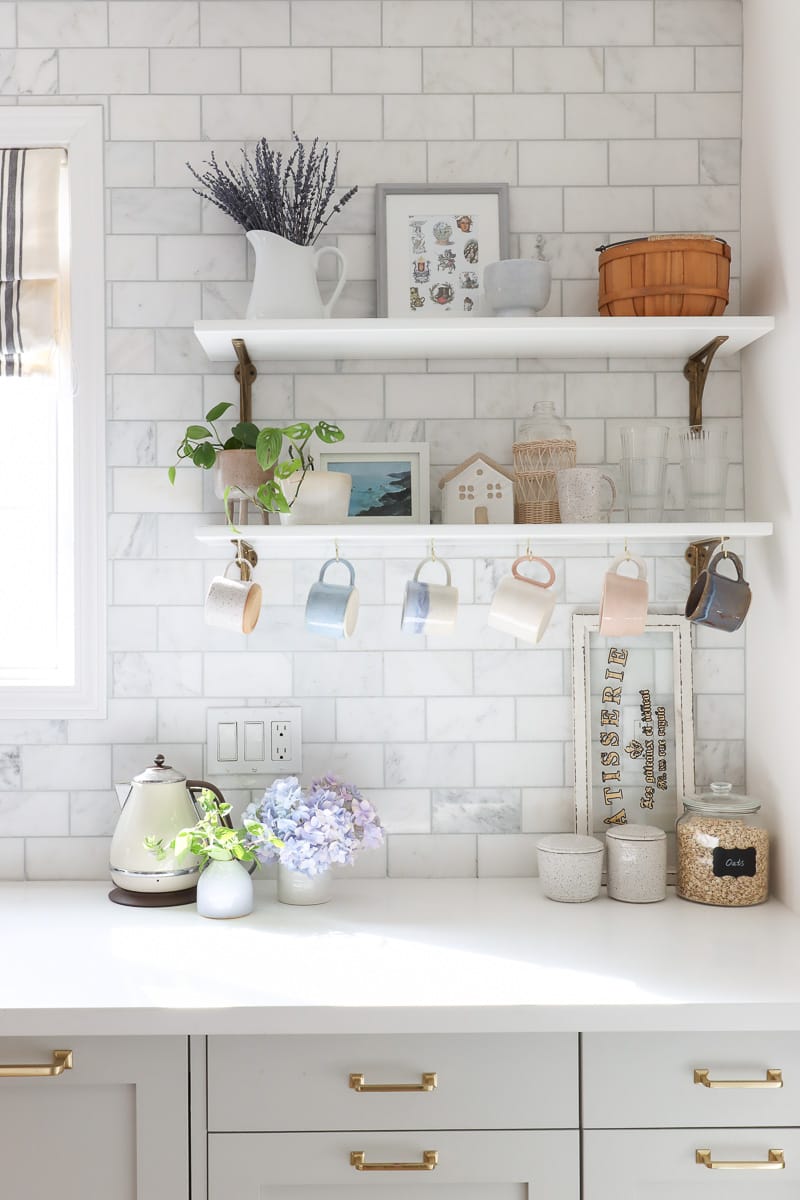
Always remember that aesthetics does not have to be complicated, even if you are not an expert in home renovation, simple DIY projects like this DIY mug holder are very accessible and will provide your home the spice that you need.
There are certainly many ways to create coffee mug display for your kitchen. I’m sure you’ll figure out the best way to display your beautiful collection. Good luck with your project!
More kitchen projects
Ikea kitchen organization tips
Pin it for later
Leave a Reply