This is a tutorial on how to make a DIY iPad stand for drawing.
I’m sharing how I made a simple iPad stand DIY with wood. This project is great if you like to draw using iPad and want to achieve a perfect angle. Plus you can use this iPad holder on desk, or even on bed.
I also added a soft felt surface for this drawing tablet stand to protect my iPad Pro.
I’m building this for my iPad Pro 11in, but you can customize the size and angel of this tablet stand for your own tablet and preference.
Why build iPad stand for drawing
I recently made a wood stand for my iPad because I couldn’t quite find something that fits my needs in the market.
I mainly use my iPad to draw, so I needed it to be at a pretty low angle for a comfortable iPad drawing experience.
Most of those tablet stand/holder on the market are designed for them stand more straight up instead of laying down.

So I designed and built an adjustable iPad stand with wood. I specifically designed it in a way that is easy to make and customizable.
You can really customize this tablet stand for your needs, depending on your tablet size, or angle you want it to sit.
The DIY process of this drawing tablet stand is pretty straight forward, so I’d say it is an easy build, even for beginner DIYers.
DIY iPad stand video trailer
Let’s start with a short video trailer so you get an overview on what I did. Here’s a 1 min video version of this DIY tablet stand.
If the video doesn’t work here, you can watch it on YouTube here or scroll down to find the full length video in the middle of this post.
I’m posting DIY videos on my channel on a regular basis, so subscribe if you like to see more videos like this!
DIY wood iPad stand finished look
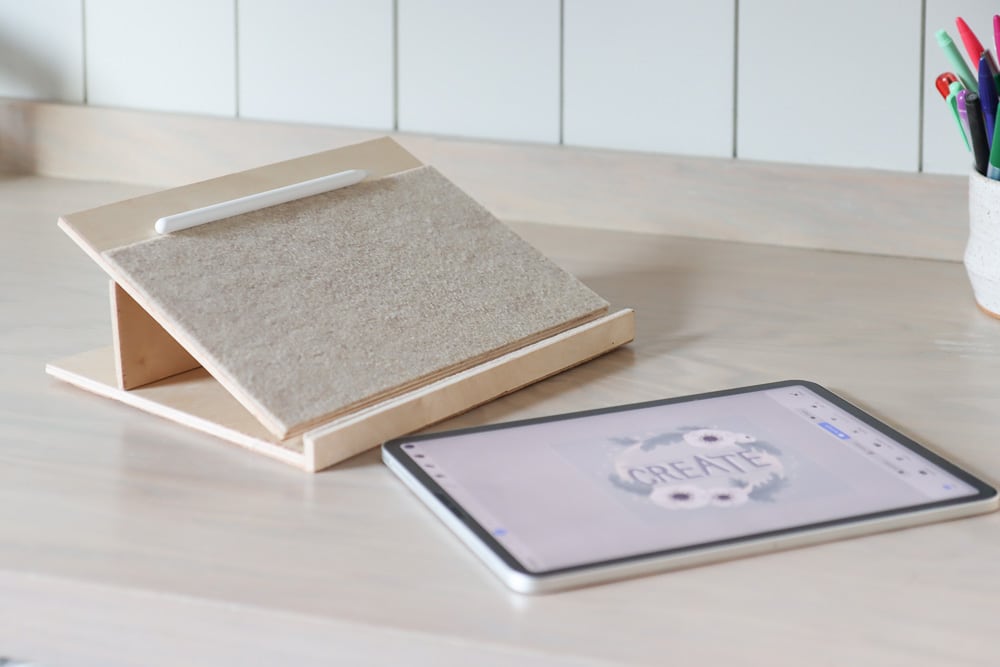
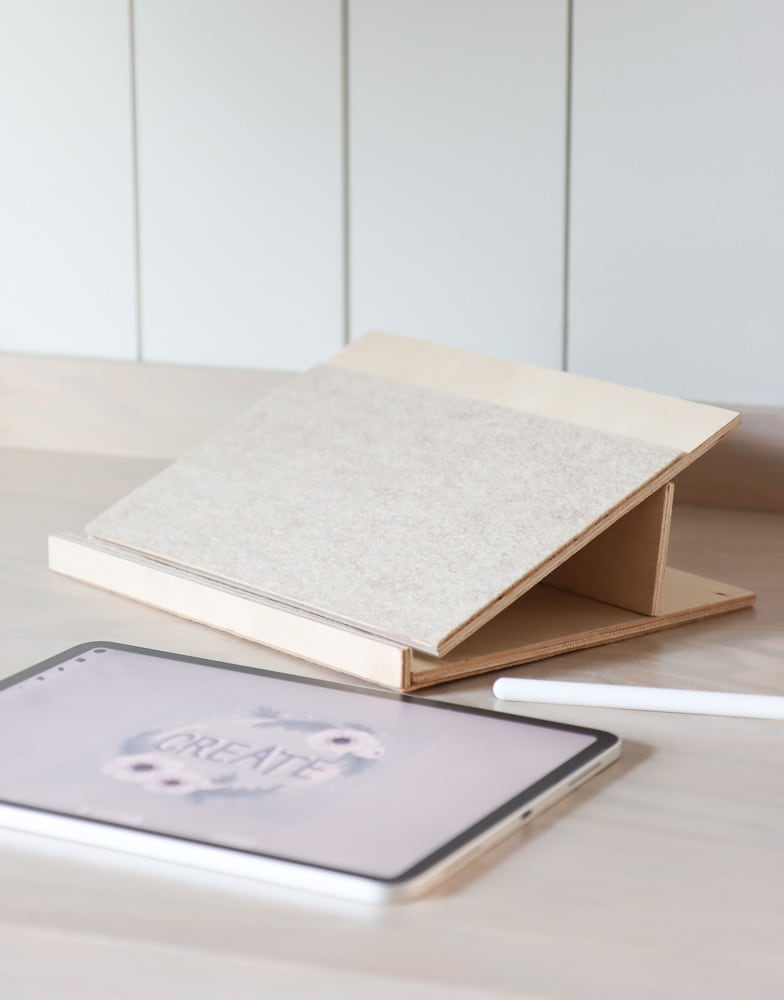
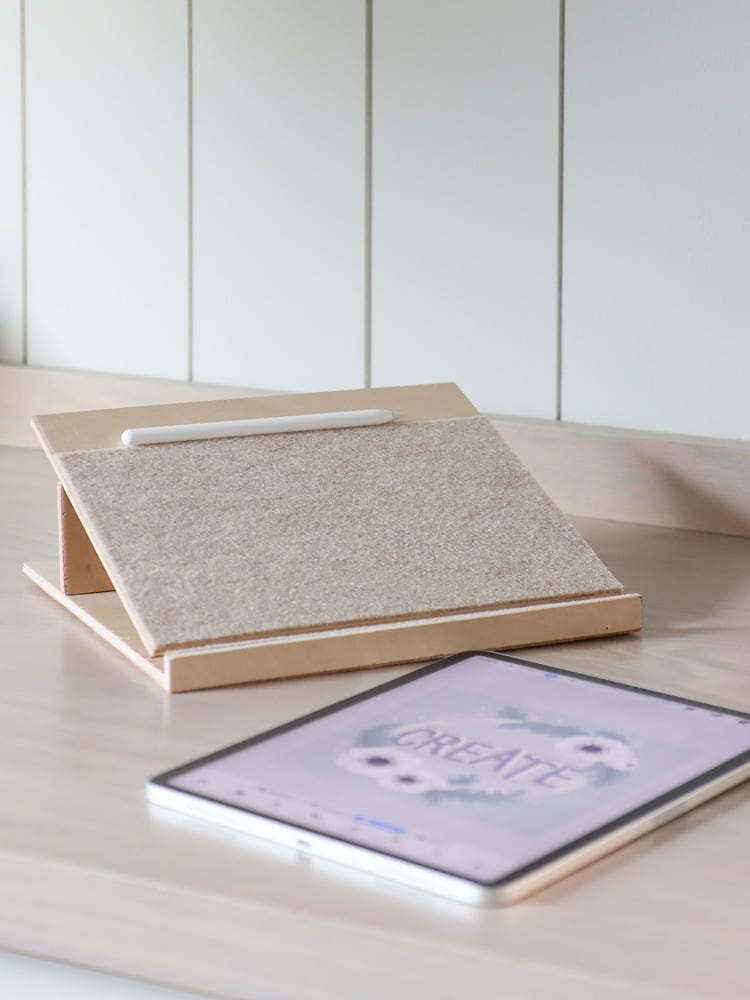
Here’s what my finished DIY iPad stand looks like.

This iPad stand is roughly the size of my iPad when folded, just slightly larger. I did make it slightly deeper to account for the Apple pencil.
The size is fully customizable, so you can make it as large as you want.
DIY iPad holder tools and materials
DIY wood iPad stand full video tutorial
This is a full length video tutorial
If you enjoy this video, you can subscribe to my channel for more ideas on home decoration and DIY.
Instructions for DIY iPad stand for drawing
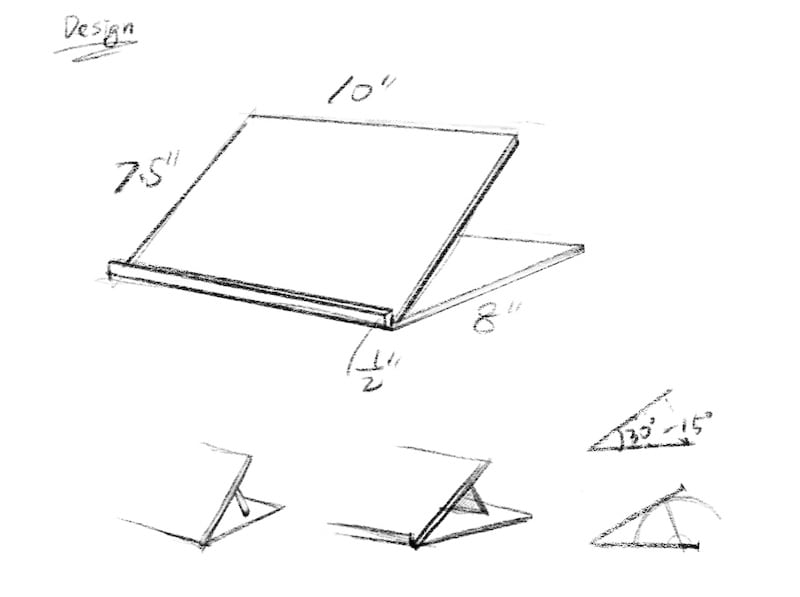
First of all, here is a rough sketch I did for this drawing tablet stand, so you can get an idea of what we are building here.
DIY wood iPad stand project template
Step 1. Cut out plywood pieces
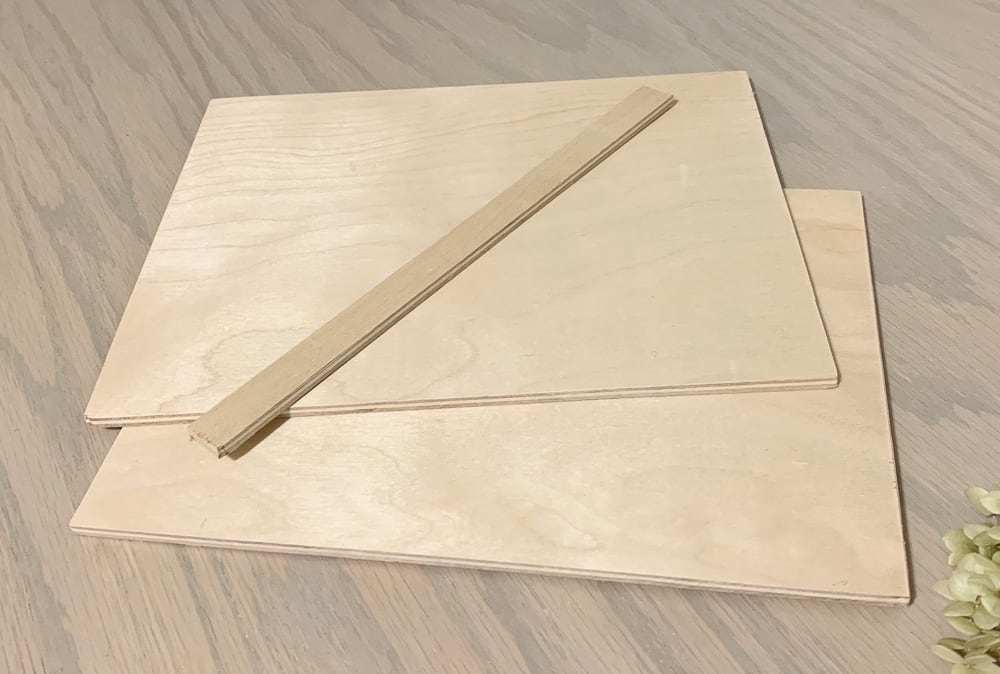
So To begin, I cut out some quarter inch plywood to size.This project needs four pieces.
I have a template you can use to cut your pieces based on your iPad size, so check out the template above.
Step 2. Connect plywood pieces by hinges
Now with all the wood boards ready, I need to connect the largest two boards with a hinge.
BTW, I’m adding a tape on the edge of one of the boards just as a visual guide. I’ll be removing that later.
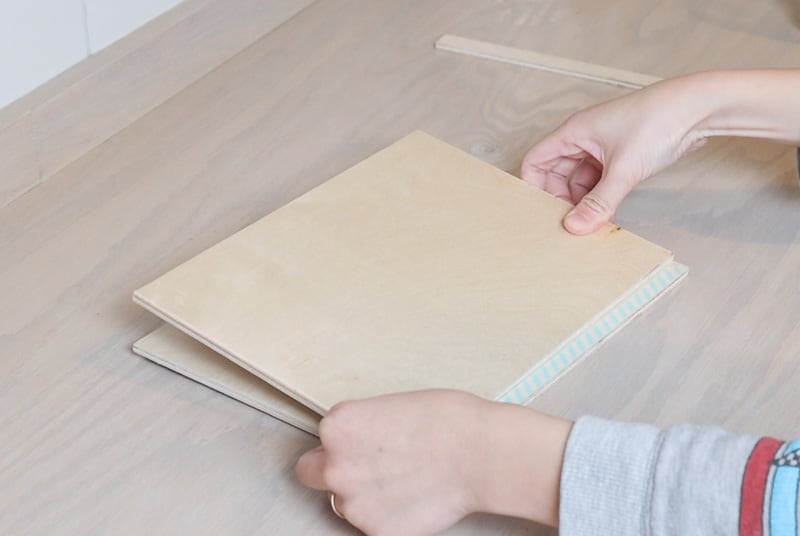
So I aligned two boards with one side, then added the hinges to the side that doesn’t line up.
I first tried using screws which the hinges come with. However, even with the small hinge , the screws are still too deep for my 1/4 inch plywood, so they stick out by quite a bit.
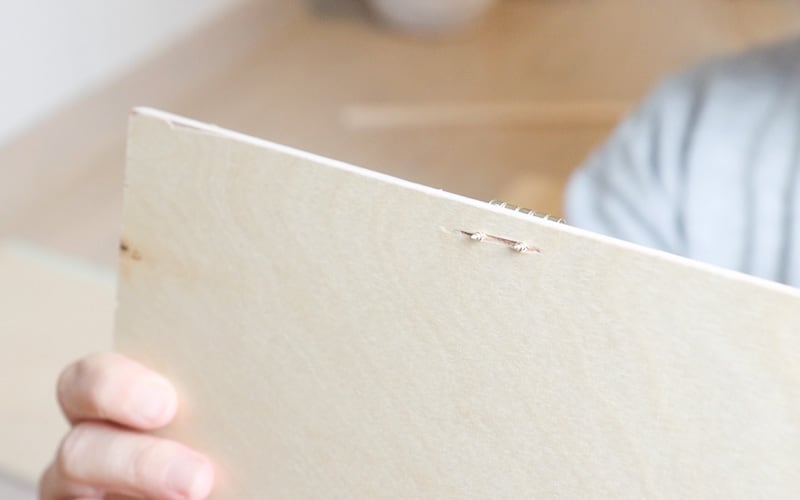
To solve it, I am using a plier to cut the screw shorter – make sure you wear safety glasses while doing it.
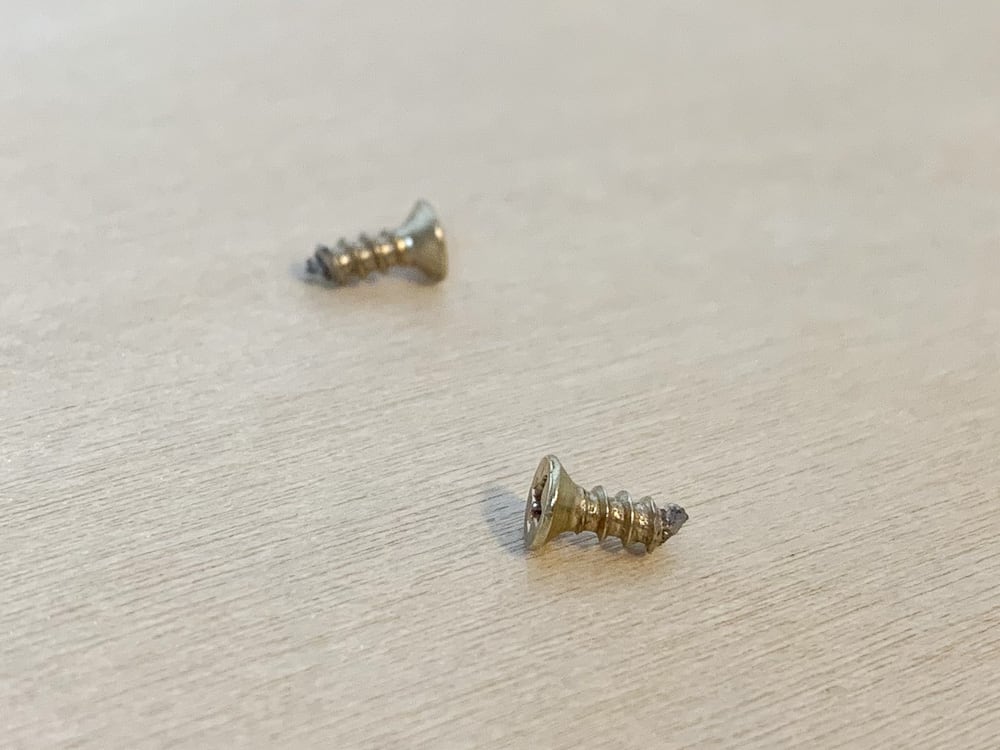
So after trimming the screws and reattaching them, they will not stick out from the board.
I started with one hinge but found out that it will wobble a little bit. So instead I added two more to stabilize it.
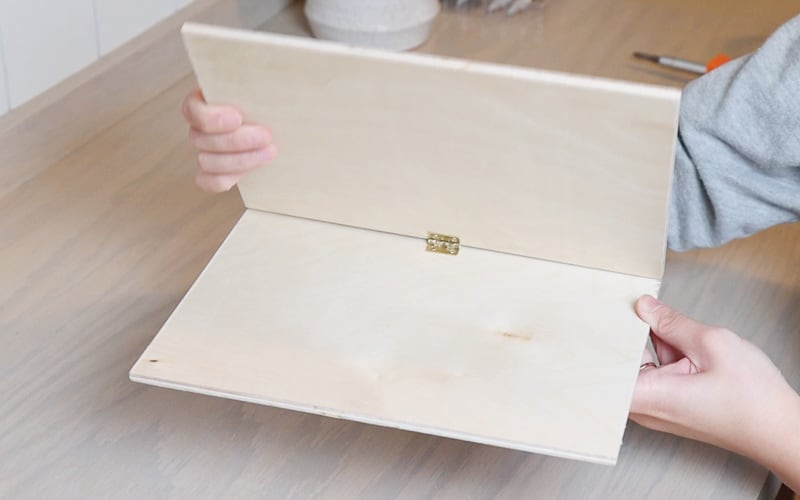
But I think two hinges would just do the trick.
Also I later gave up shortening the screws because it’s too much work. And I ended up using super glue instead which I’ll share later.
Step 3. Add stopper to the top board where iPad will sit
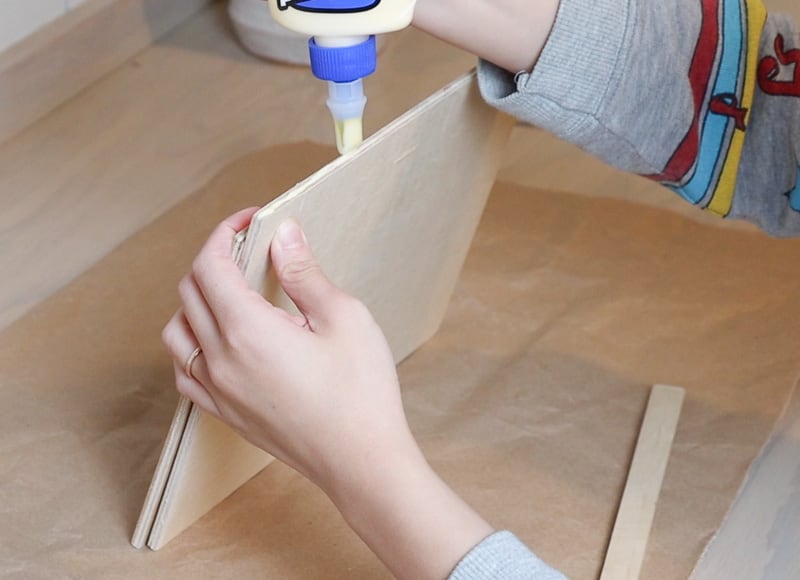
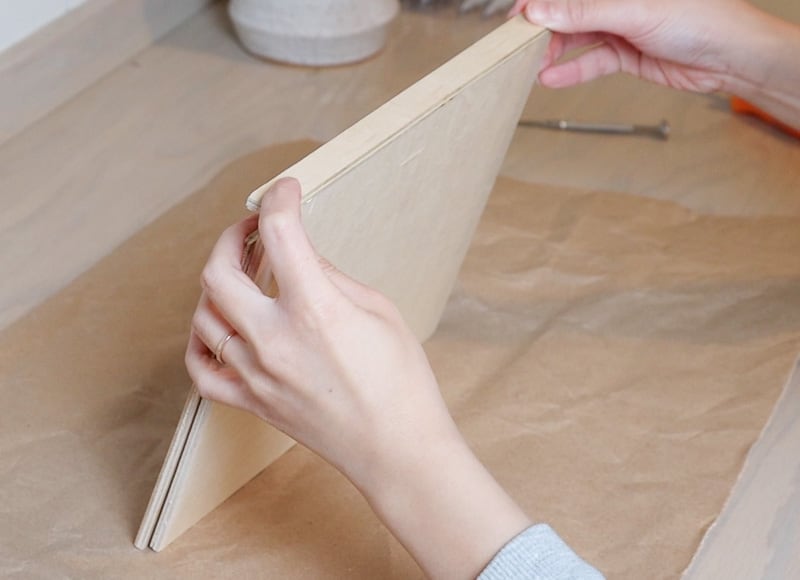
Now I have the two main pieces connected, I’m adding a stopper on the top plywood board so that the iPad would not slide off the stand when it is raised at an angle.
I used wood glue for this and let it dry according to the package instructions (usually overnight)
Step 4. Add support board
And now I have the basic shape, I need to add a supporting board to create the angle.
I’m using hinges again for the connection.
But at this point I was tired of cutting those tiny screws and I ended up using super glues for this job and it’s really quick and easy.
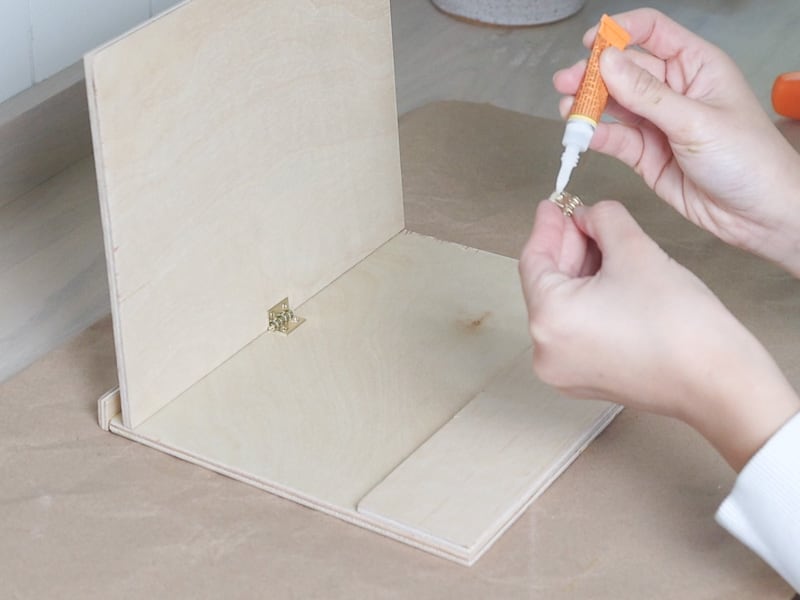
So I just applied glue to one side of the hinge, and attached it to the base. then I wipe off the extra glue for a cleaner look.
Then I just let it dry and apply it to the other side of the hinge, and let it dry as well.
Now you can see the basic shape is done.
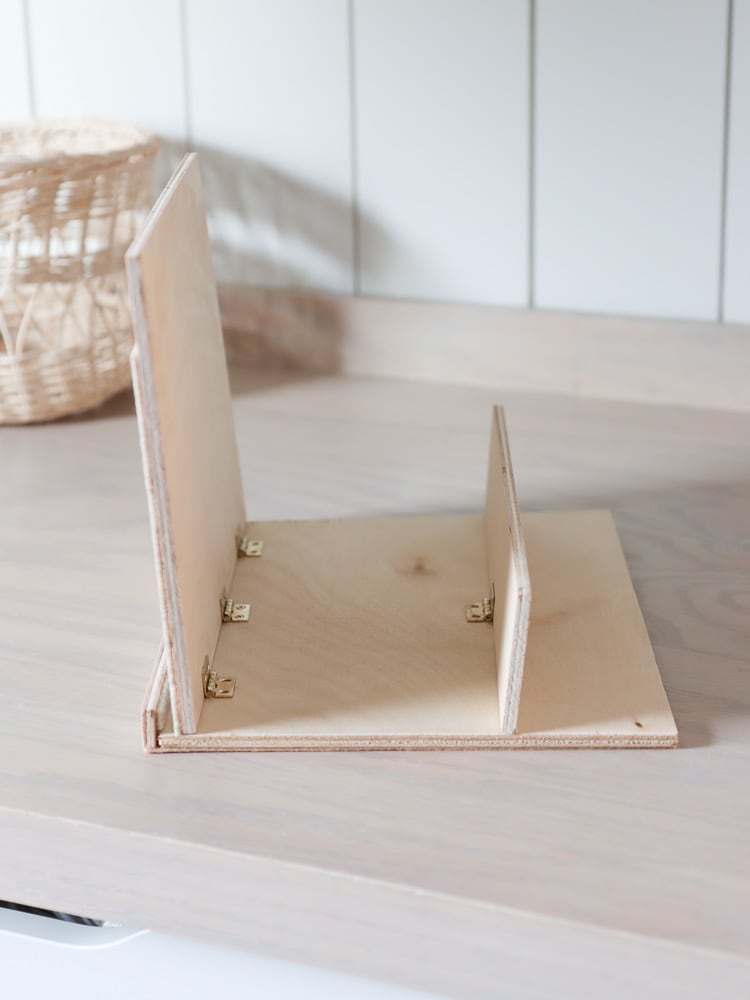
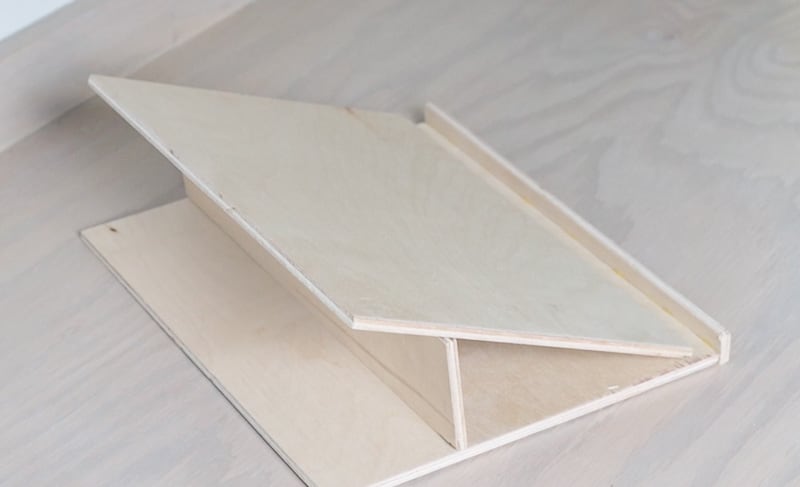
In my case, I used 1 hinge to connect the support board to the base, but you can do 2 hinges if you want.
For the support wood board sizing, I particularly cut it to the size that will achieve my perfect angle. So mine was just a little bigger than 2 inches. So for your iPad or tablet, it might be different depending on how angled You want the iPad to be.
I would encourage you to position your WIP iPad stand, and determine your ideal size to cut.
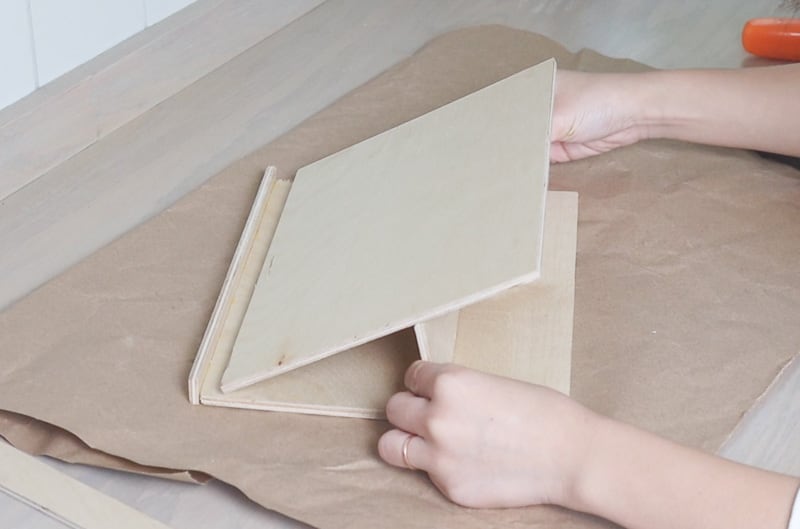
If you want to make the angle adjustable, the size you cut will need to achieve the maximum height, and then you can go lower from there. I’ll explain more in a little bit.
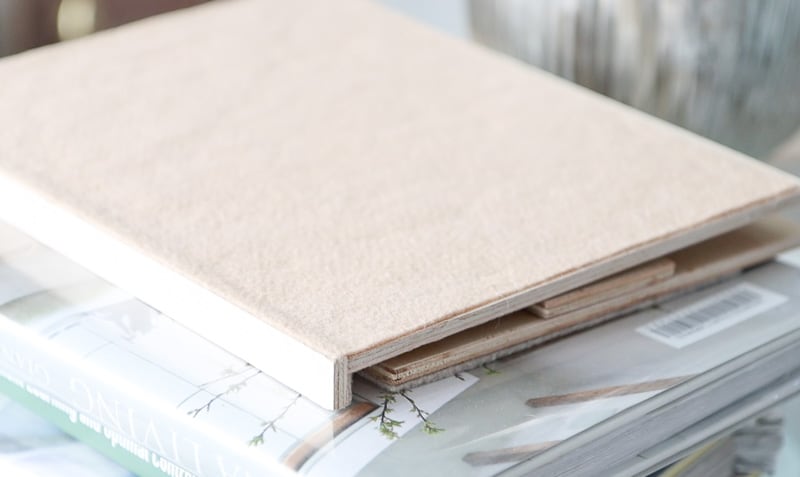
With all the glue dried and cured. I tested them out and it’s working pretty well. Also it can be flattened like a notebook which makes it easy to store.
Step 5. Add felt sheet
Next I want to add some nice touches to give this iPad stand a softer surface and better finish.
So for the materials, I’m using some felt sheets and cutting them to size. Then I used Mod Podge as the adhesive, and glue the felt to the surfaces where the iPad will be sitting.
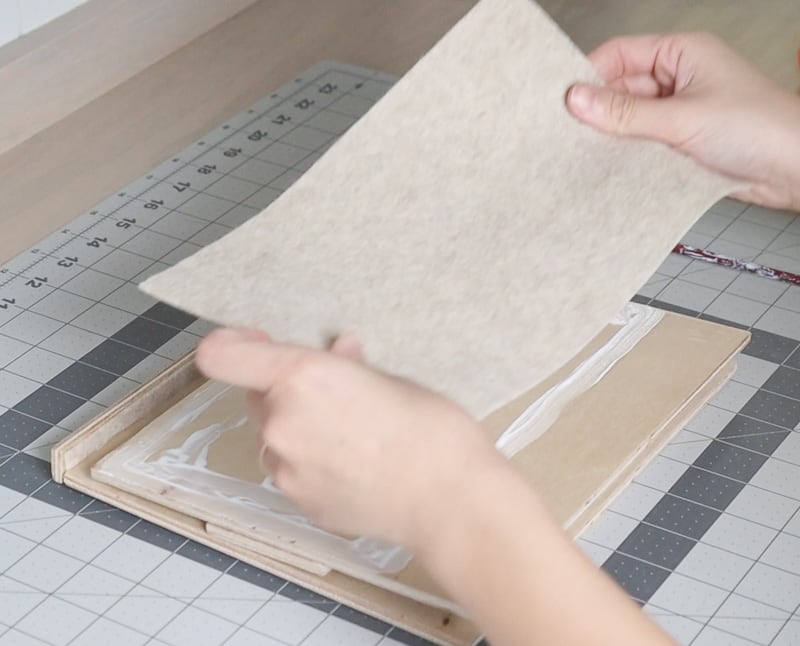
You can use any adhesive of your choice.
I also added a sheet of felt to back, just in case I put this iPad stand on delicate surfaces in the future.
How to modify the angle or make it adjustable?
This drawing tablet stand is designed to be adjustable in two ways. And that’s also why I used wood as the building material.
It is a lot easier to cut to a desired size, and also assemble pieces together.
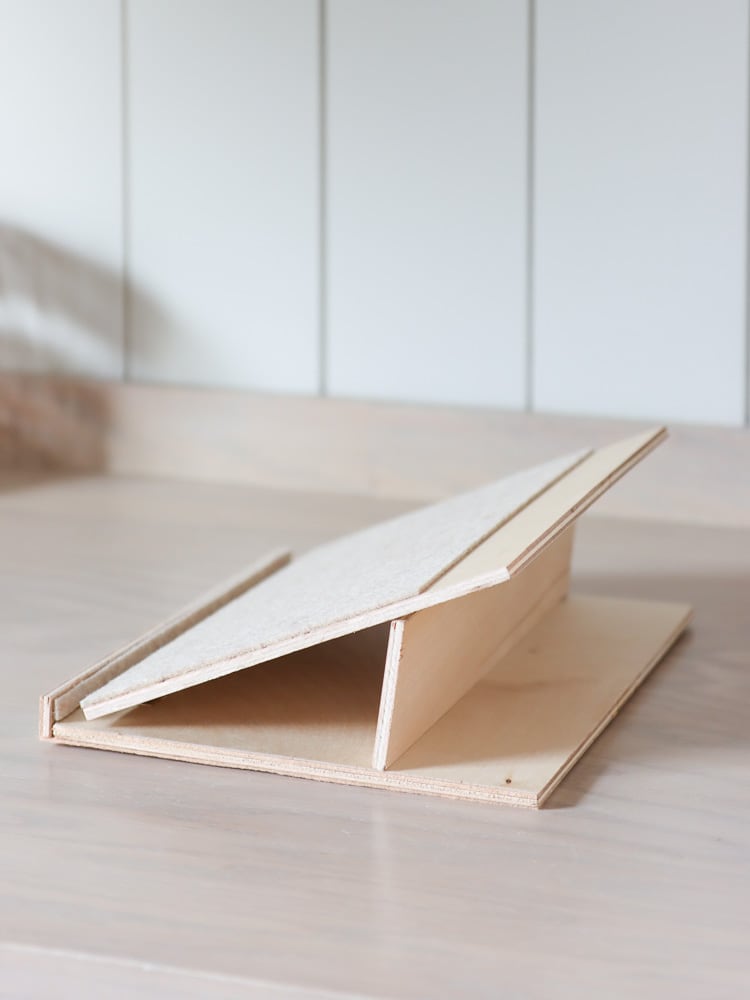
First of all, you can change the angle of this drawing tablet stand from my version. Simply increase or decrease the height of the support piece and you’ll be able to get your own perfect angle for drawing.
The angle of my iPad stand is fixed, but you can totally make it adjustable. In fact, I might do it in the near future if I want my iPad to lay down a bit lower for drawing purposes.
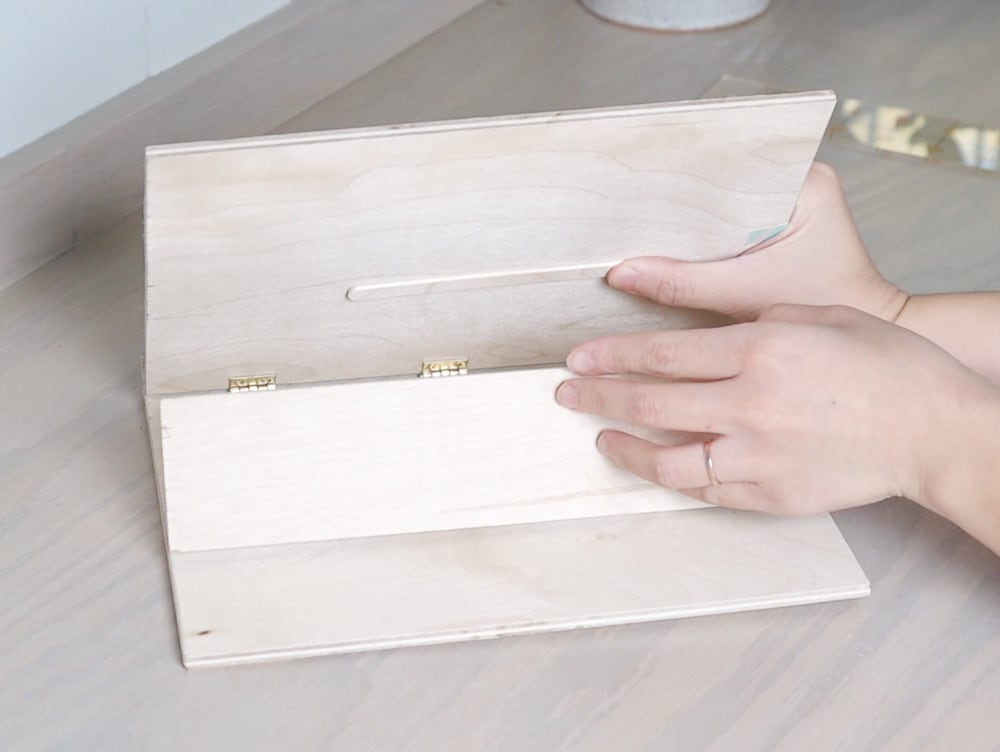
For a more adjustable drawing tablet stand, you can add some wood slats on the back as the stopper for the back support.
Using popsicles is probably one of the easiest ways as it doesn’t require you to cut anything, just stick them to the back with wood glue.
DIY iPad stand for drawing project summary
So I’m very happy with this DIY project because it’s so easy to build and I’m able to use it for iPad drawing at a very comfortable angle.
It’s really pretty to store as I can fold it up easily and carry it around.
I hope you enjoy this quick tutorial and build your customized DIY iPad stand.
Other DIY ideas
Pin it for later
Leave a Reply