How to make a wreath with dried hydrangeas and other preserved flowers. Hope this blog post gives you some great dried hydrangea decor ideas 🙂
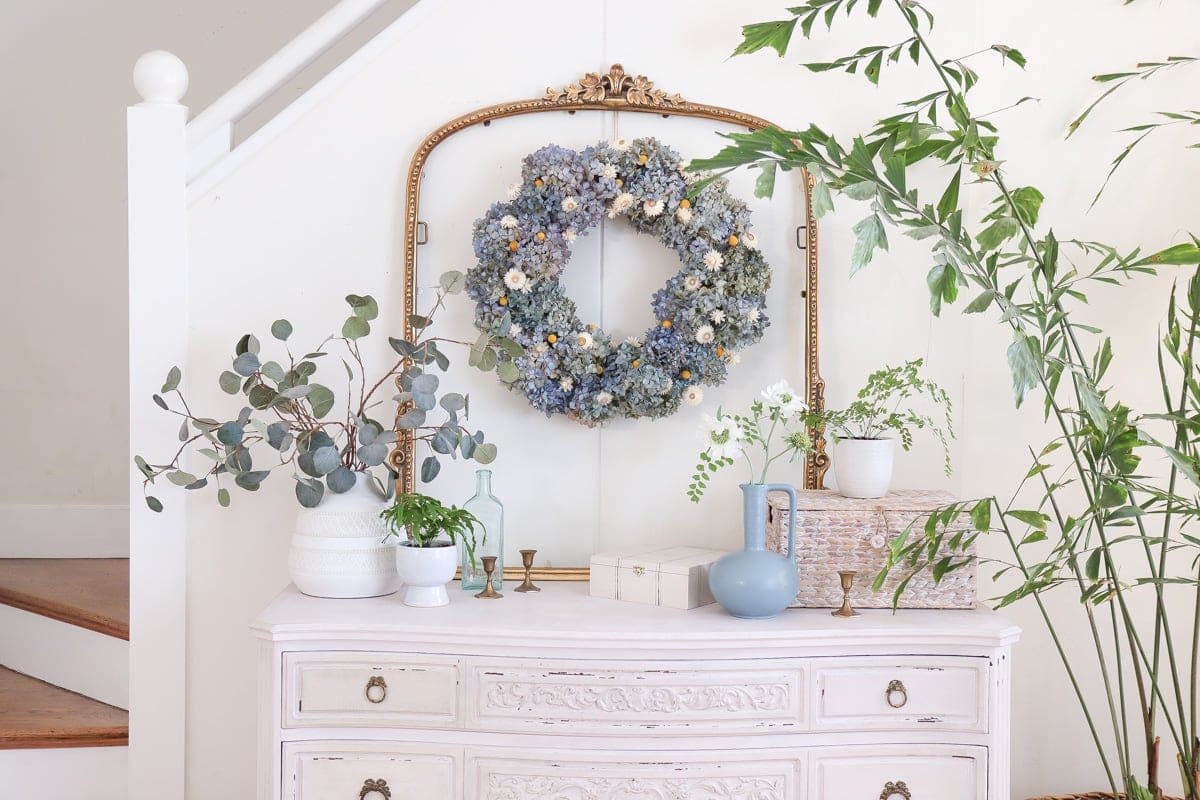
DIY wreath with dried flowers
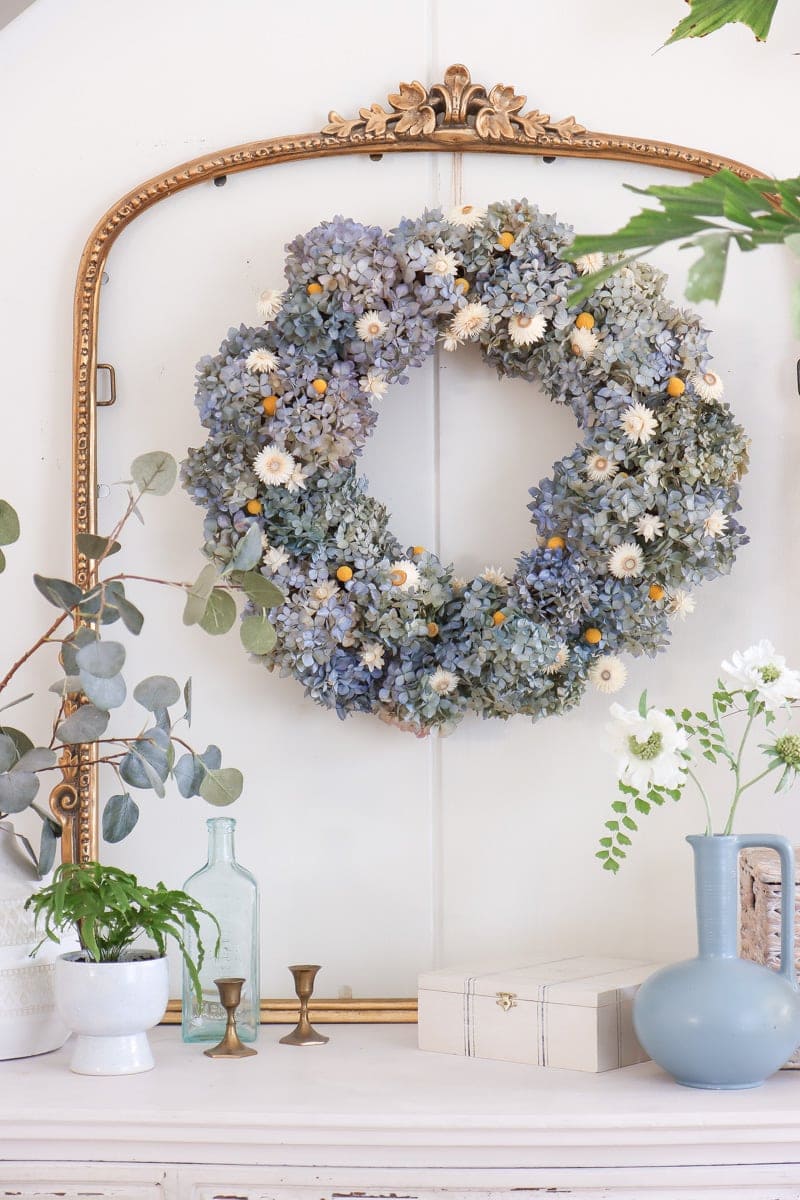
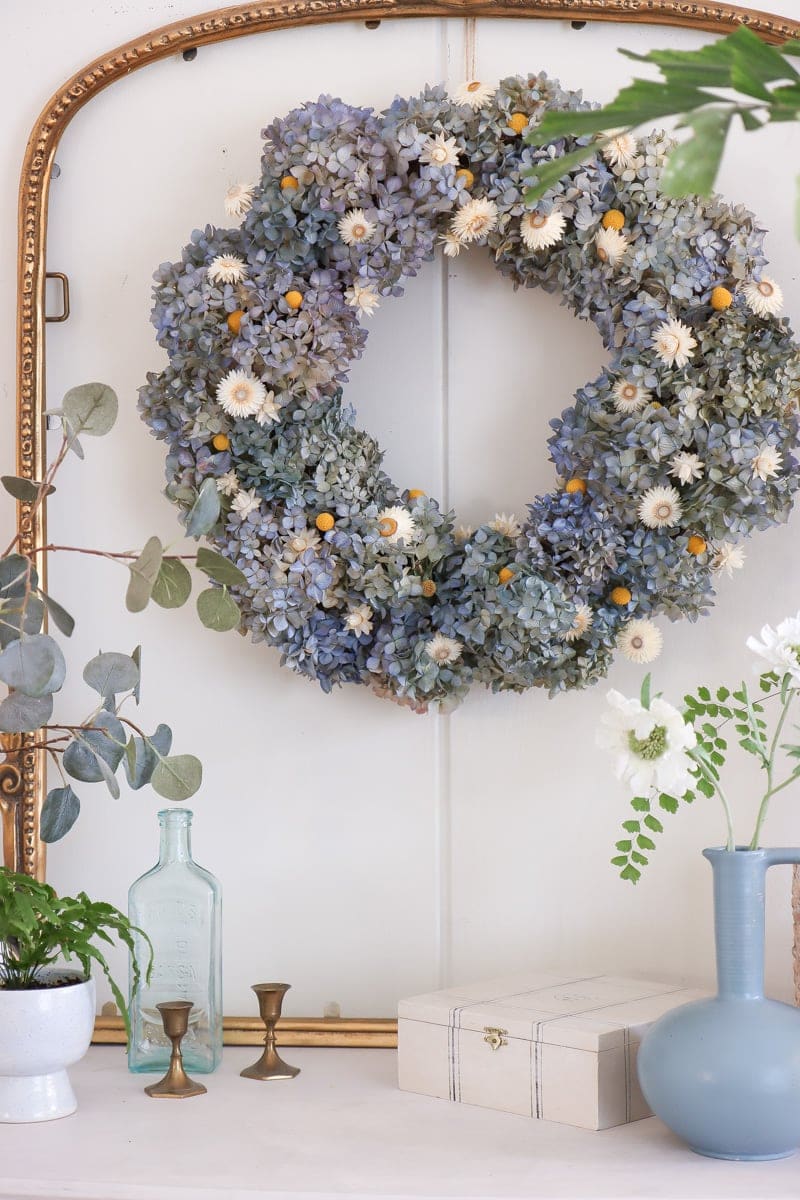
This is a very fun and pretty DIY dried hydrangea wreath project that you can use to decorate your home! This DIY project uses naturally dried hydrangea flowers and a few other dried flowers I preserved from my cutting garden.
Dried flower wreath is a perfect DIY project for home decoration: it lasts forever, is made of natural material, and just looks great year round!
If you have dried flowers on hand, this is a great DIY home decor project to consume them! If you are short on dried flowers, you can always buy preserved flowers from Etsy or even faux flowers from craft stores.
How to dry hydrangeas and preserve flowers
For this project you’ll need a lot of dried flowers, so learning how to dry fresh flowers is the key. Generally speaking, it is a cheaper to buy fresh flowers than preserved flowers, especially if you can preserve flowers from your own garden which is completely free!
I have a few hydrangea plants in my backyard, so once or twice a year I harvest the blooms and dry them indoors to preserve them.
When to pick up hydrangea flowers for drying
The hydrangea plant I used for flower drying is Nikko Blue, Endless Summer, and Annabelle hydrangeas.
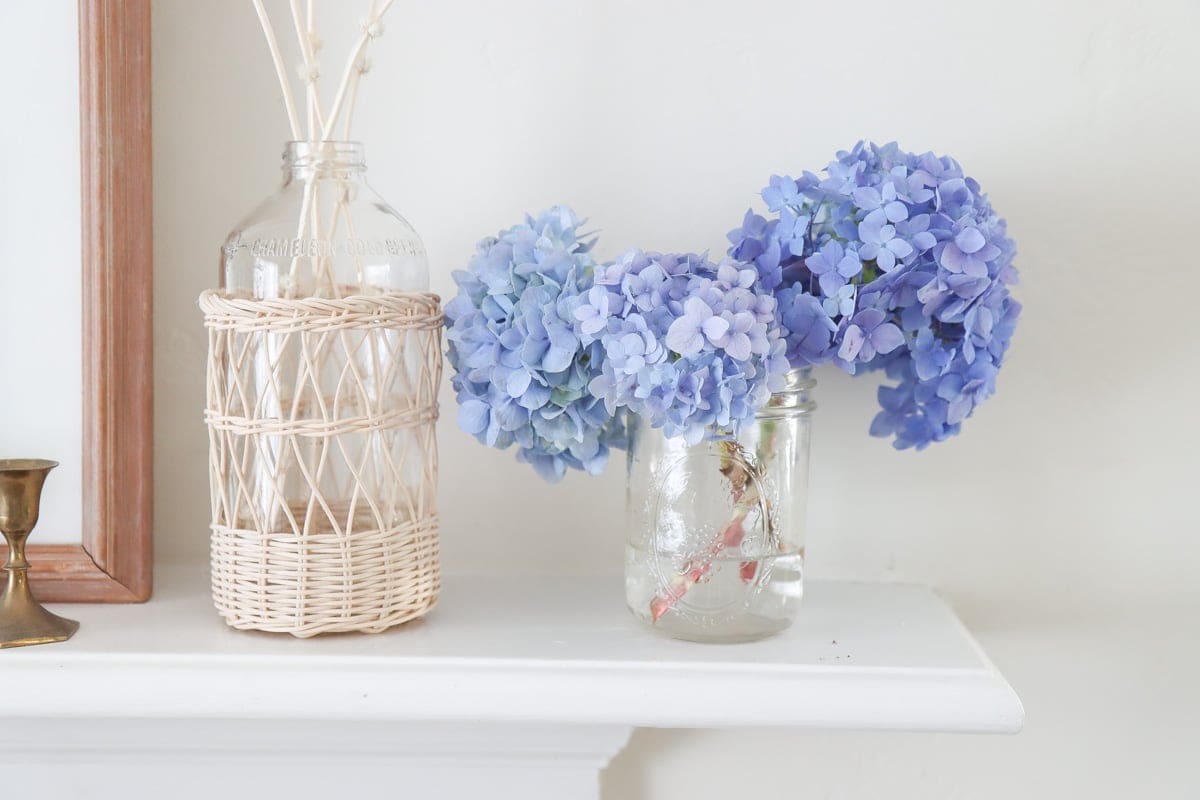
The trick to preserving hydrangea is to harvest them when they are later in the blooming stage so the petals are generally crispier than when they first bloomed. At this stage, the flower will also take on a slightly darker hue.
For Annabelle or some white hydrangeas such as limelight, their flowers will turn green and that is an indication it is the right time to pick them up. If you pick them up too early, the blooms will wilt during drying or they will dry to a less pleasant color (more brown-ish).
I like to put them in a jar with about 2 inch of water, and just leave them in a shady spot away from sunlight. Letting them sit in water is not necessary if those blooms are already aged enough, but I like to do that just to be safe. This process takes about 1 weeks – 4 weeks depending on what stage your hydrangea flowers are in.
How to preserve other flowers
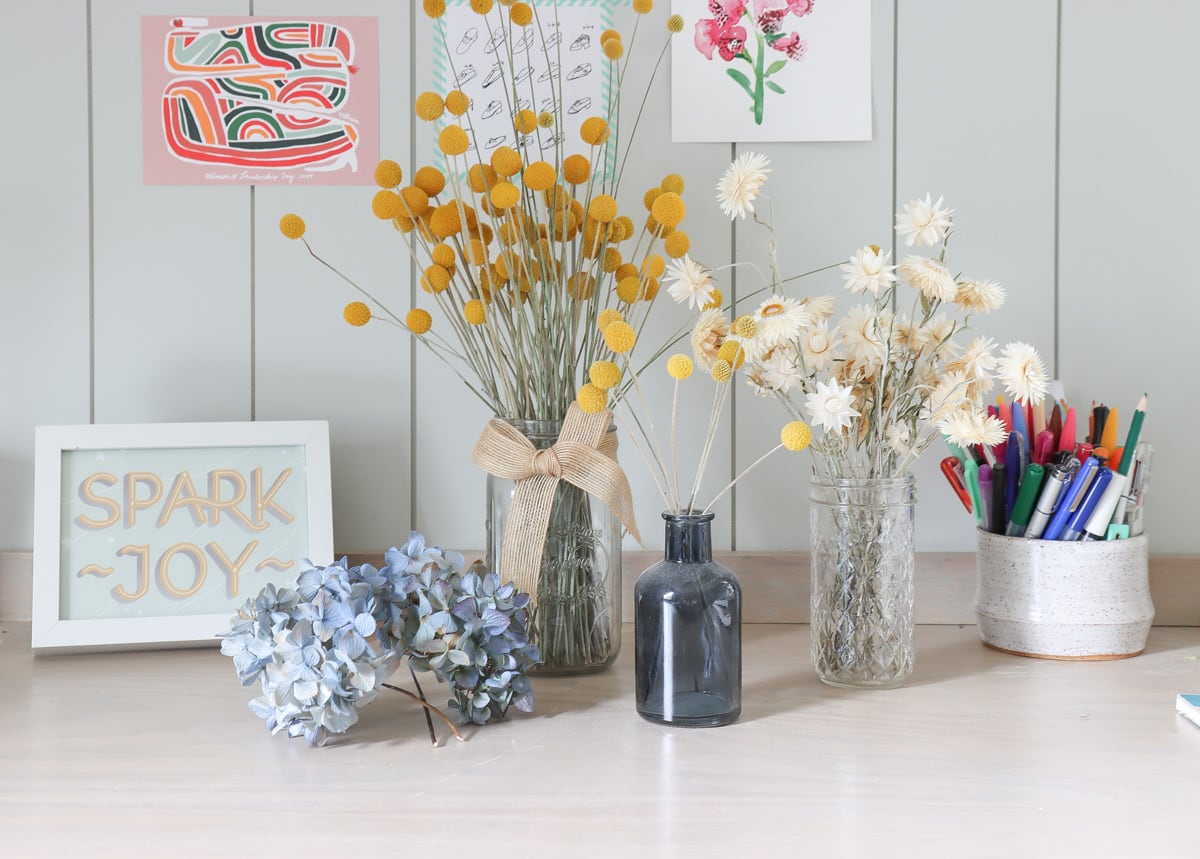
In terms of preserving other flowers, it is always a good idea to try out different flowers from your garden and see which one dries well. I have noticed flowers that naturally look dry when they are still fresh tend to dry well. In my garden, craspedia (billy balls) and strawflowers are my favorite in terms of preserving since they look the same when dried.
I usually just place flowers that I want to dry in an empty vase and away from sunlight, but occasionally I hang certain types of flowers upside down to keep the stems straight, such as roses because the flower might be too heavy for the stem to support!
DIY dried hydrangea wreath video
Here’s the video version of DIY dried hydrangea wreath project. If you enjoy this video, be sure to subscribe to my Youtube channel for more videos like this!
DIY dried hydrangea wreath materials
Floral dye spray (hydrangea blue)
Floral dye spray (fresh green)
Assorted dried flowers: I used Nikko Blue hydrangea, Annabelle hydrangea, billy balls, white strawflowers
If you don’t have all the dried flower on hand, here are some online dried flower sources:
billy balls | assorted strawflowers | nigella pods | rabbit tail grass | cotton stems
DIY dried hydrangea wreath instructions
Build out wreath with dried hydrangeas
I first collected all my dried hydrangeas and started to assemble them onto a wreath. I used a grapevine wreath I got from a craft store as the base to attach the flowers. With my big pile of dried hydrangea blooms, I ended up making two hydrangea wreaths, one big wreath from blue hydrangea blooms, one small one from green Annabelle hydrangea blooms. Hydrangeas are very productive once they establish, so all those flowers are from one season.
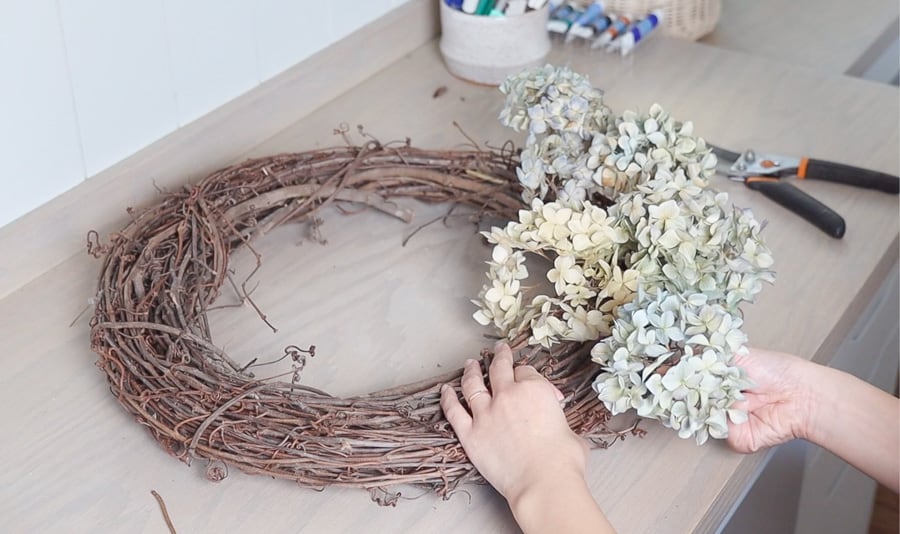
Attaching those dried hydrangea flowers to the grapevine base was actually very easy. I just push the stems through the vines and they usually stay pretty well. As I was plugging dried flowers in, I also trimmed some small vine pieces that were sticking out too much to protect the dried flowers.
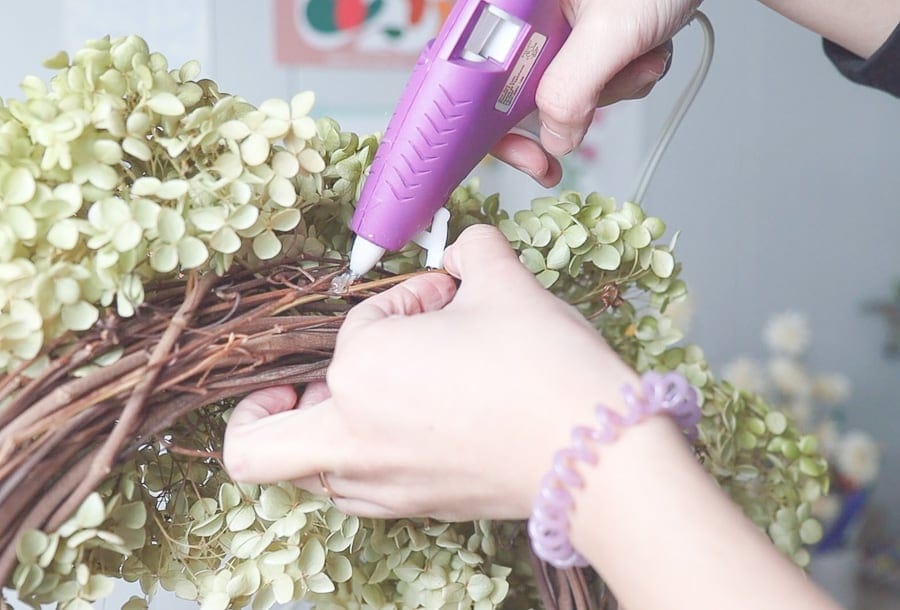
I roughly plugged in those hydrangea flower heads one by one until I finished the whole circle and then filled in any big open gaps until I got good coverage. For the flower stems that don’t stay well, I use some hot glue to secure them to the grapevine wreath.
Alternatively, you can use florist wire to wrap them around like in this post, but I was too lazy to do it and I know I will leave it hanging on the wall once the project complete. How much you want to secure the flowers will depends on whether your grapevine wreath can hold the stems well and how much are they gonna be handled once complete.
Spray dried hydrangea wreath with flower dye
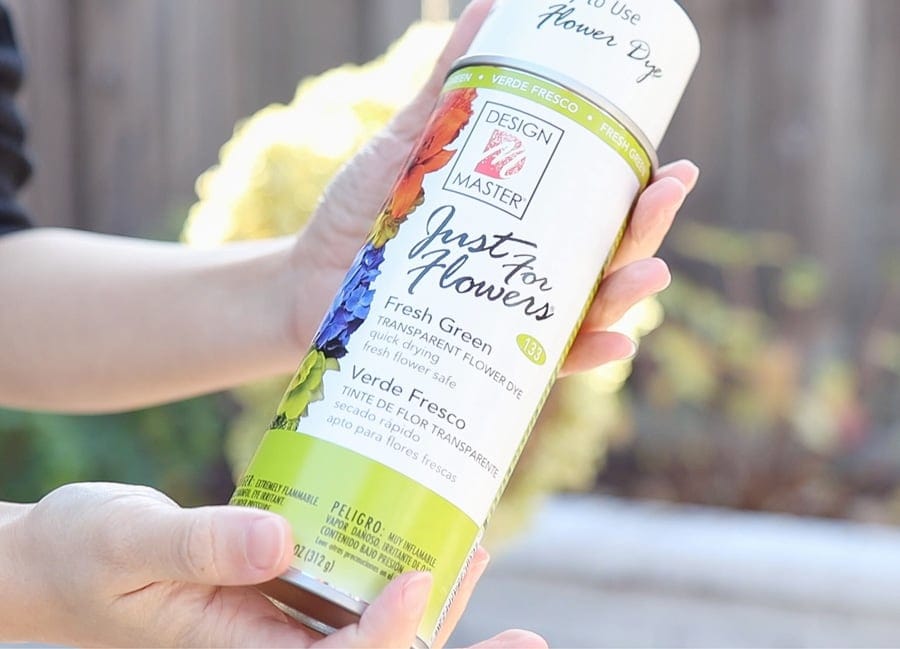
Then I used a floral spray to spray the hydrangeas to my desired color. The floral spray is a transparent flower dye that looks very natural on flowers. The reason I used this product was because most flowers will fade over time and with this spray my wreath will keep the same color for a very long time plus I can enhance their original flower even more and make it slightly more vibrant.
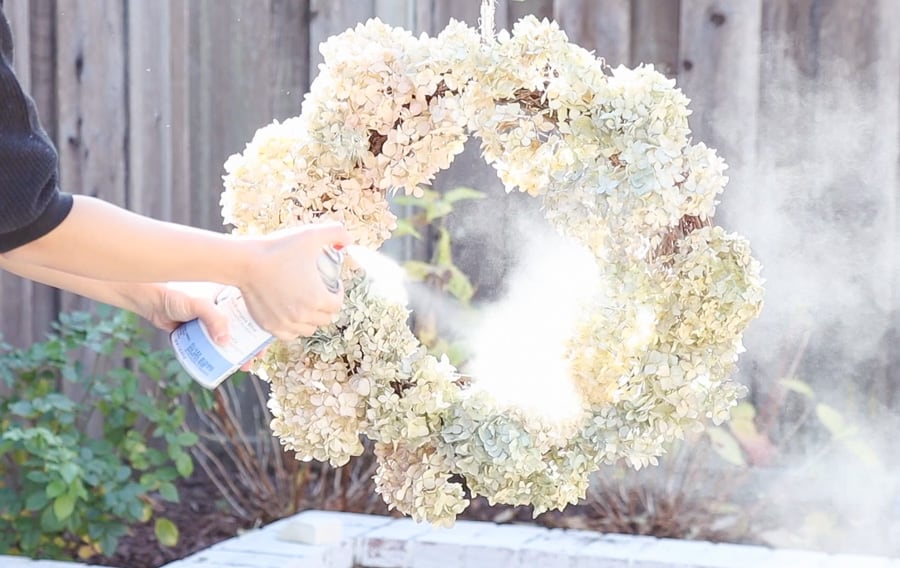
The color I used is called hydrangea blue, which is perfect for my choice of flower. I also used fresh green flower dye for my Annabelle wreath since the base color was lime green.
Fill in accent flowers
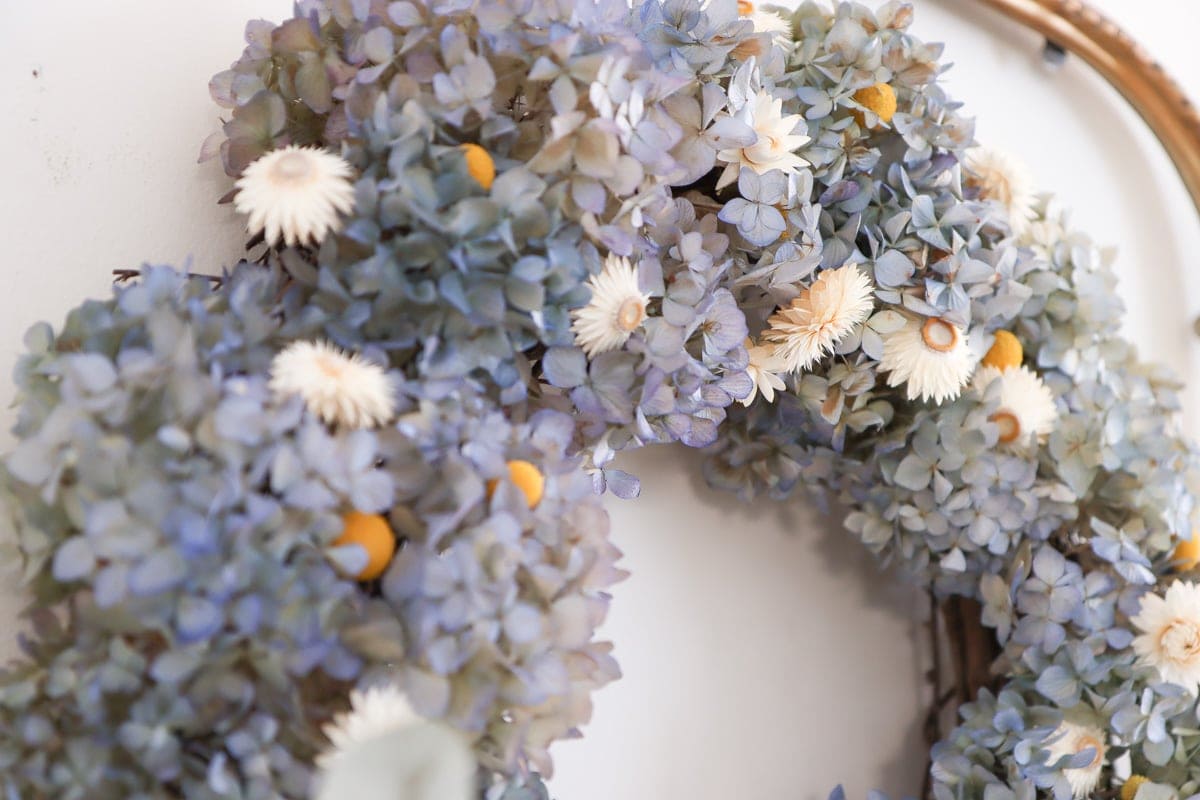
The next step is to add filler flowers and that’s also why I was okay with some small gaps on my first layer of hydrangeas flowers. For this wreath, I used some strawflowers and billy balls from my garden. Both flowers are famous for lasting forever so I wouldn’t even worry about spraying them at all to keep their color.
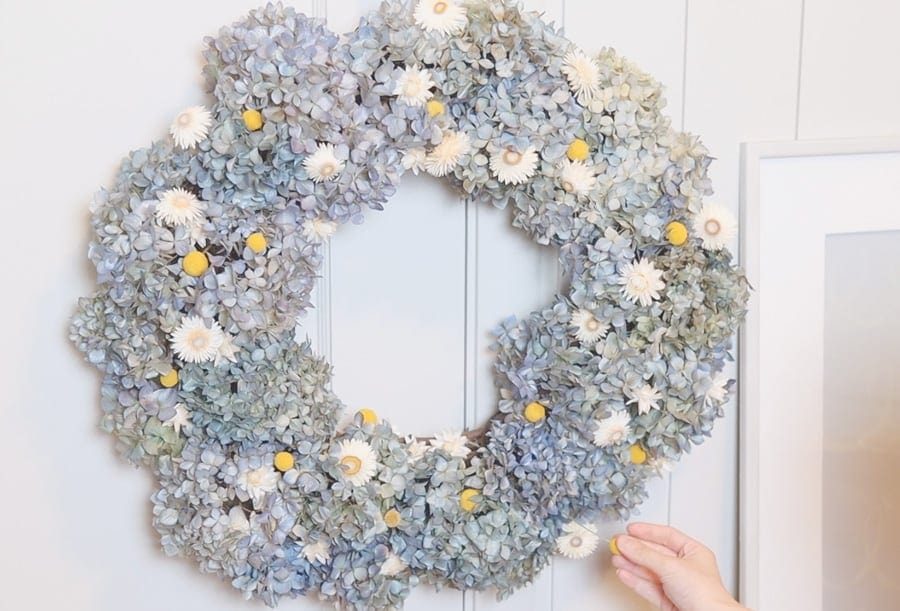
I just drizzle them evenly around the wreath trying to fill in any gaps I have after the hydrangea layer. Because some of the flowers have very thin stems, I apply a bead of glue with a hot glue gun at the end then plug them into the wreath. This way I was able to secure them onto the wreath without pushing them in too hard to damage it.
My tip for a visually pleasing DIY flower wreath is to start from large to small, and that’s why I started with the hydrangeas then moved to strawflowers and then craspedia. Another tip is to vary the amount of different types of flowers. For example, I used twice the amount of strawflowers than craspedia. This way the wreath will have more depth and interest.
If you plan to place your DIY wreath in a place with bright light, I would recommend applying a coat of UV protectant spray to protect the flowers from fading color. This step is optional but can be helpful if you’d like your dried flowers to keep their vibrant color.
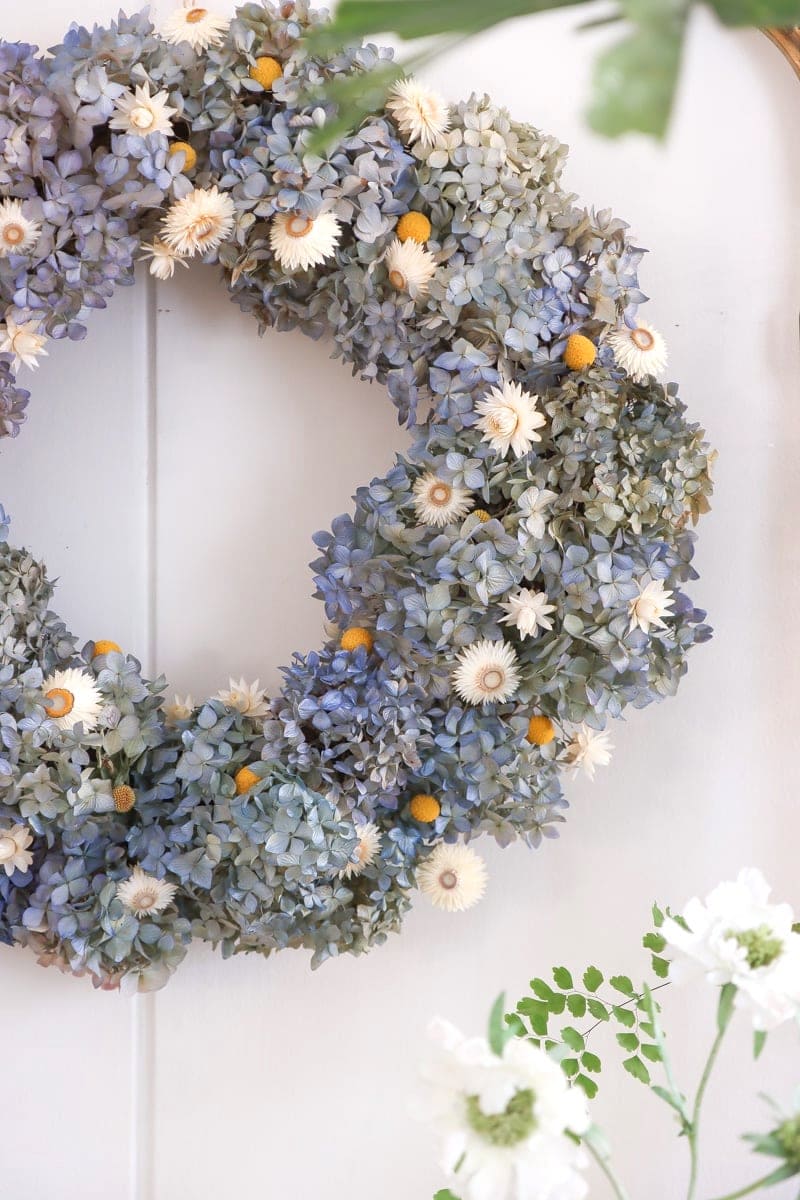
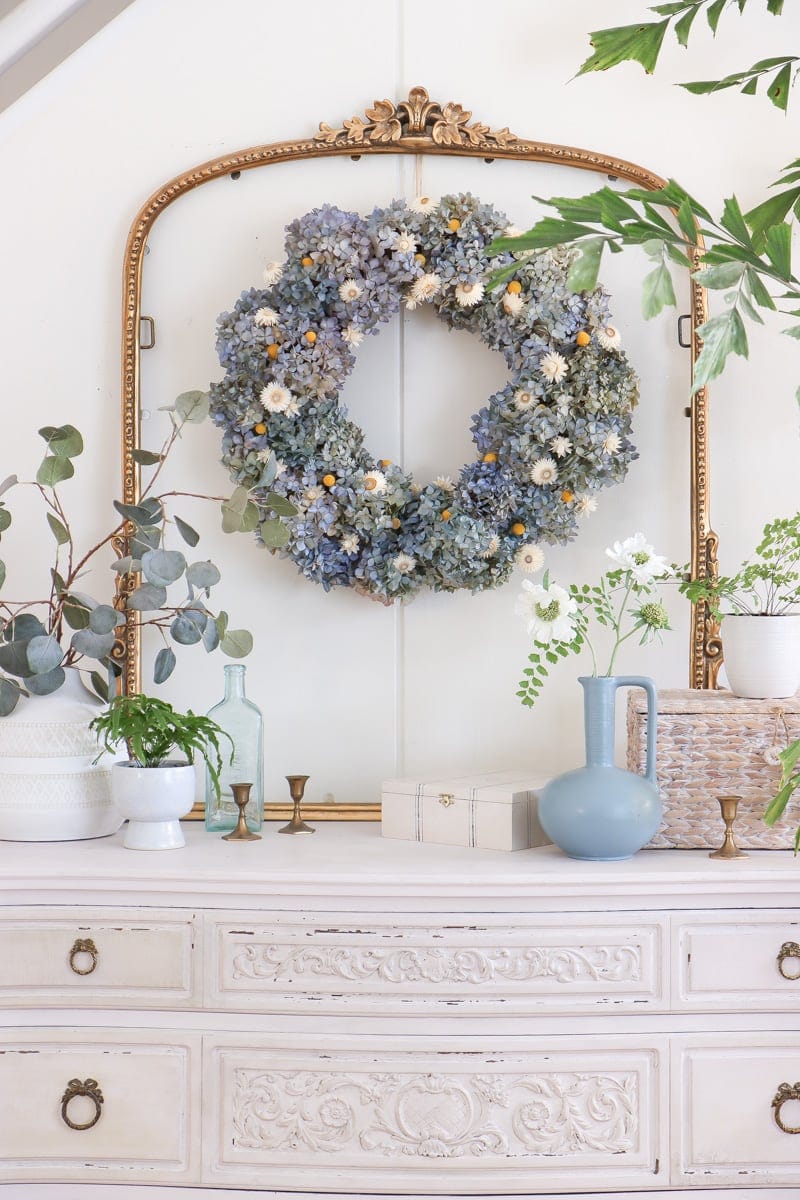
For the green wreath with preserved Annabelle hydrangeas, because the size is pretty small, I only used billy balls as accent flowers. I might drizzle in some small flowers in the future once I preserve more flowers.
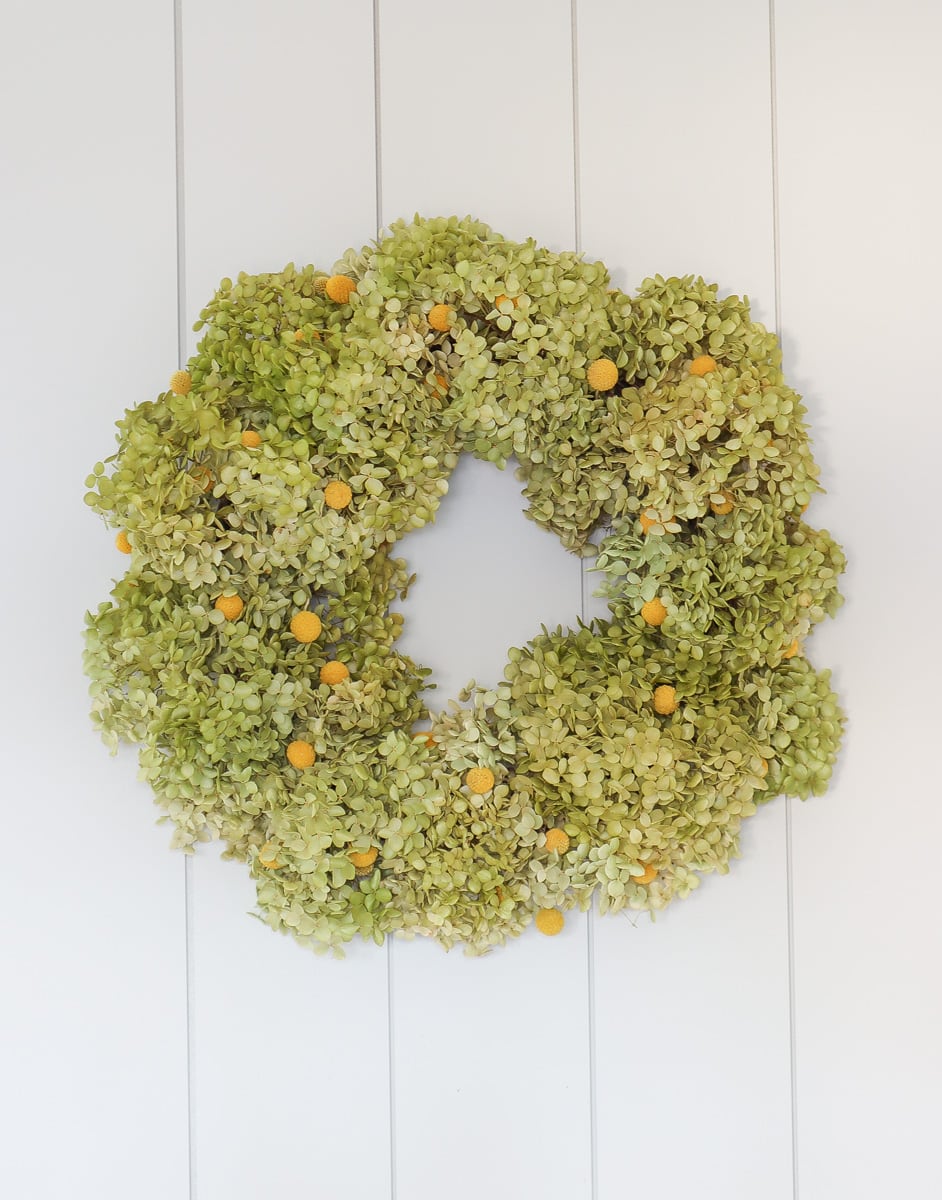
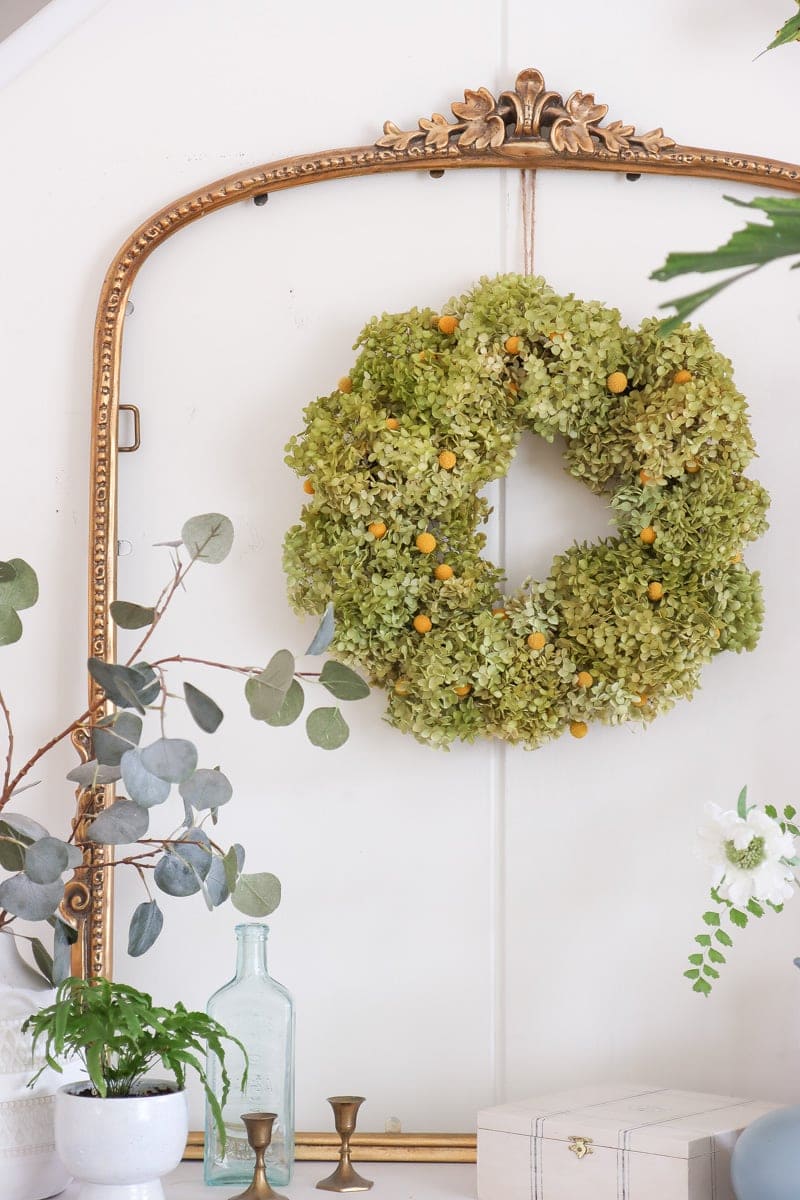
Attach ribbon or string for hanging
Once the flower building part is done, I just attach a string on the back of the wreath so I can hang it in my home! Another cute idea is to use a piece of ribbon – I see it as a great way to add color and texture to this wreath.
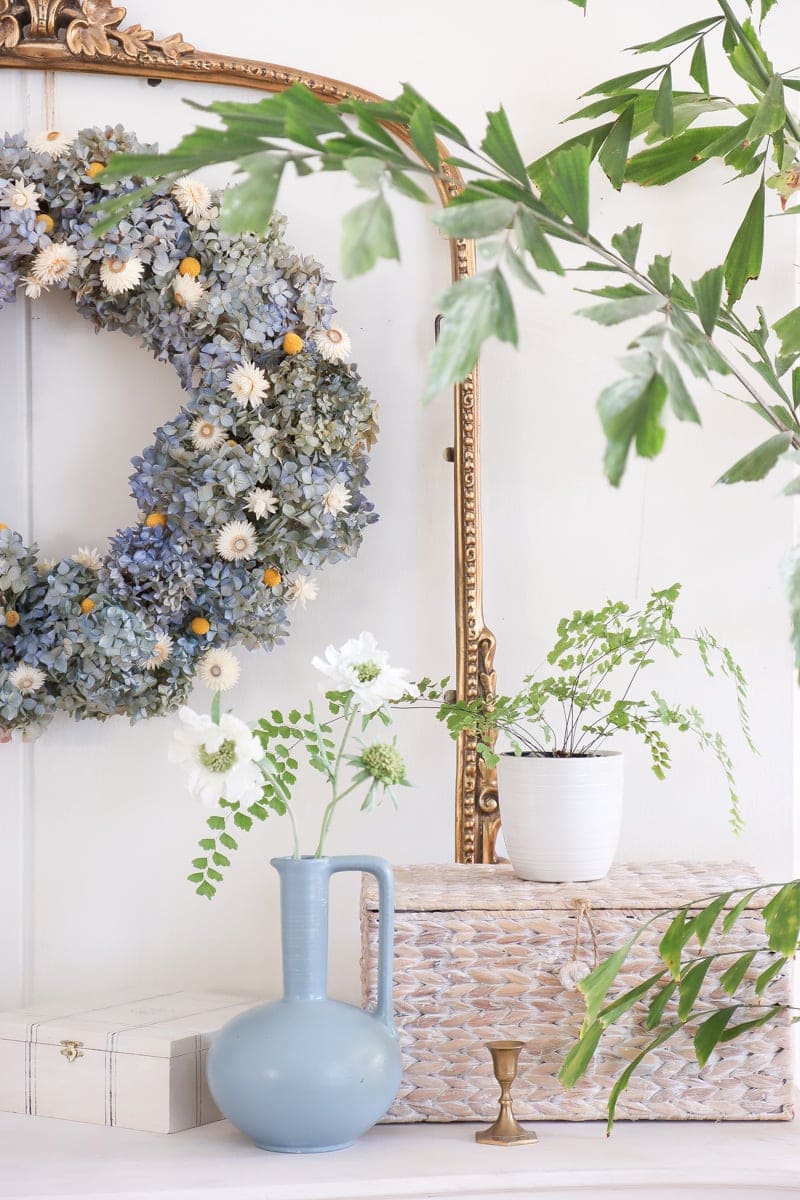
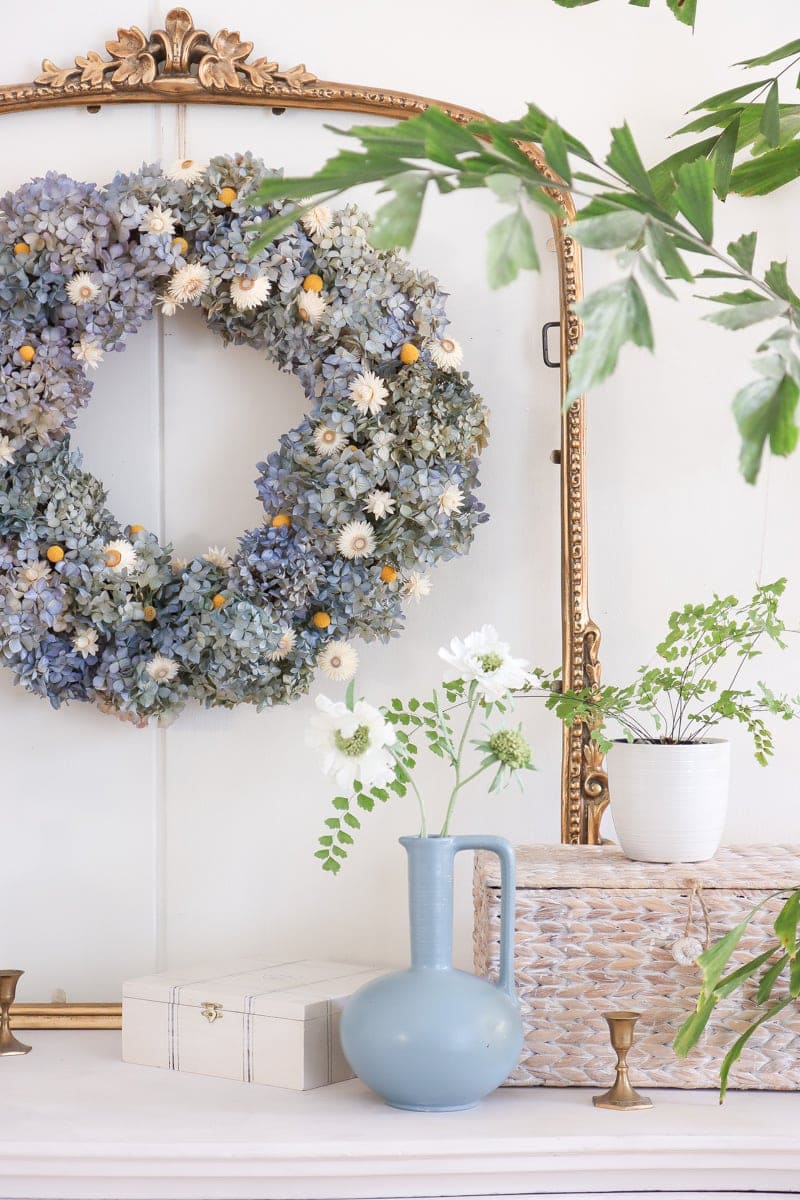
I placed mine in my entryway which is part of my living room. I think it looks pretty good with my gold mirror frame 🙂
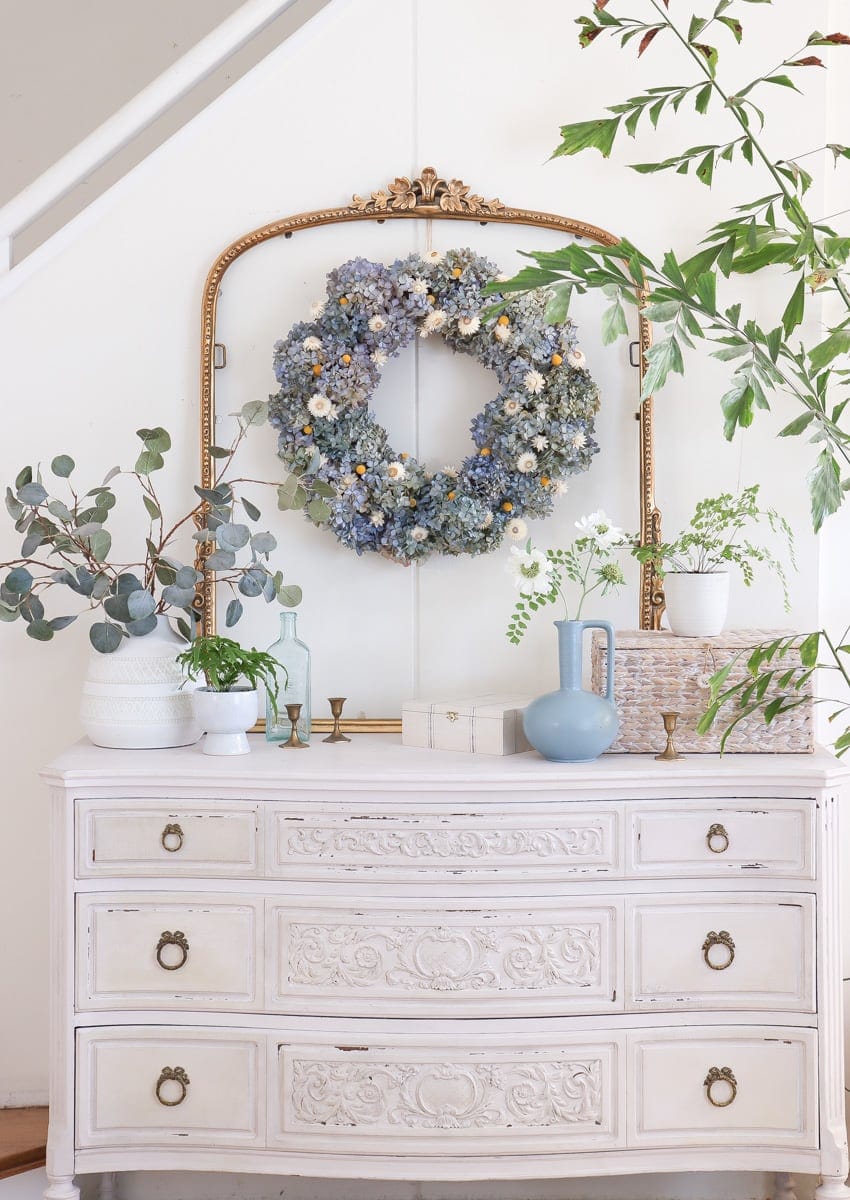
So that’s all for how to make this dried hydrangea wreath. I’m absolutely in love with how this project turned out and it just brightens my mood whenever I walk by it. I hope this post offers you some great dried hydrangeas decor ideas!
Related DIY projects
DIY Large Wall Tapestry for Less
DIY Serena & Lily Inspired Pillows
Vintage Cigar Box Makeover | DIY Home Decor
Pin it for later


What a beautiful wreath. I love hydrangeas. My favorite to use are my limelights.