DIY a hot glue gun stand in an easy way! In this post, I’m sharing how to make this hot glue gun holder in a few simple steps. No fancy tools or skills are required. All you need is some spare wooden board, and a few common tools and spare parts.
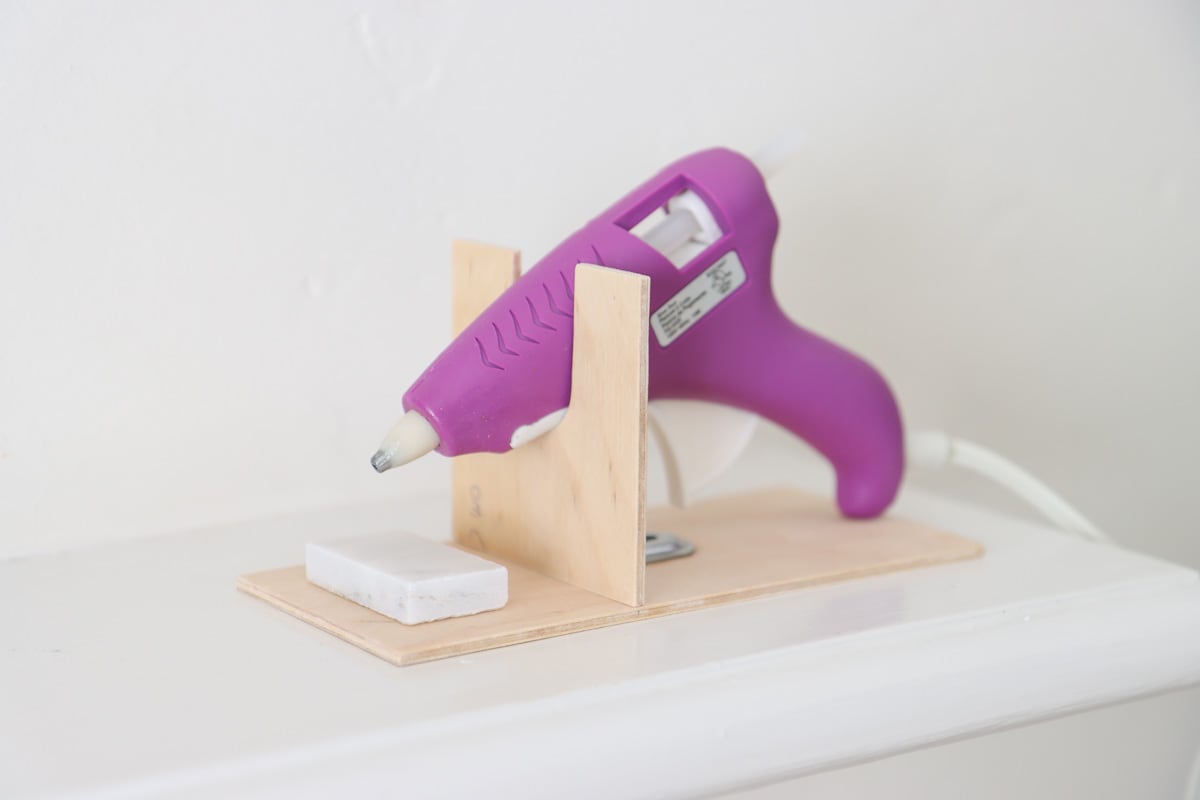
Why do you need a DIY glue gun stand / holder?
As an avid DIYer, I have been suffering from this problem for a long time – my hot glue gun always falls over while idle, and those little legs that came with it don’t really work.
I have to confess that my hot glue gun is nothing fancy as I just picked up an affordable one from Michael’s. The weight itself is never enough to hold my glue gun in place, especially with the power cable being kinda thick, which can really influence the weight.
So after struggling with this problem for long enough, I decided to build myself a hot glue gun stand, or you can call a holder, so I can solve the problem for good.
If you are facing the same problem, I highly encourage you to give this easy DIY project a try. Because as DIYers, we cannot let a problem keep happening to us that can be simply solved by an easy DIY 😉
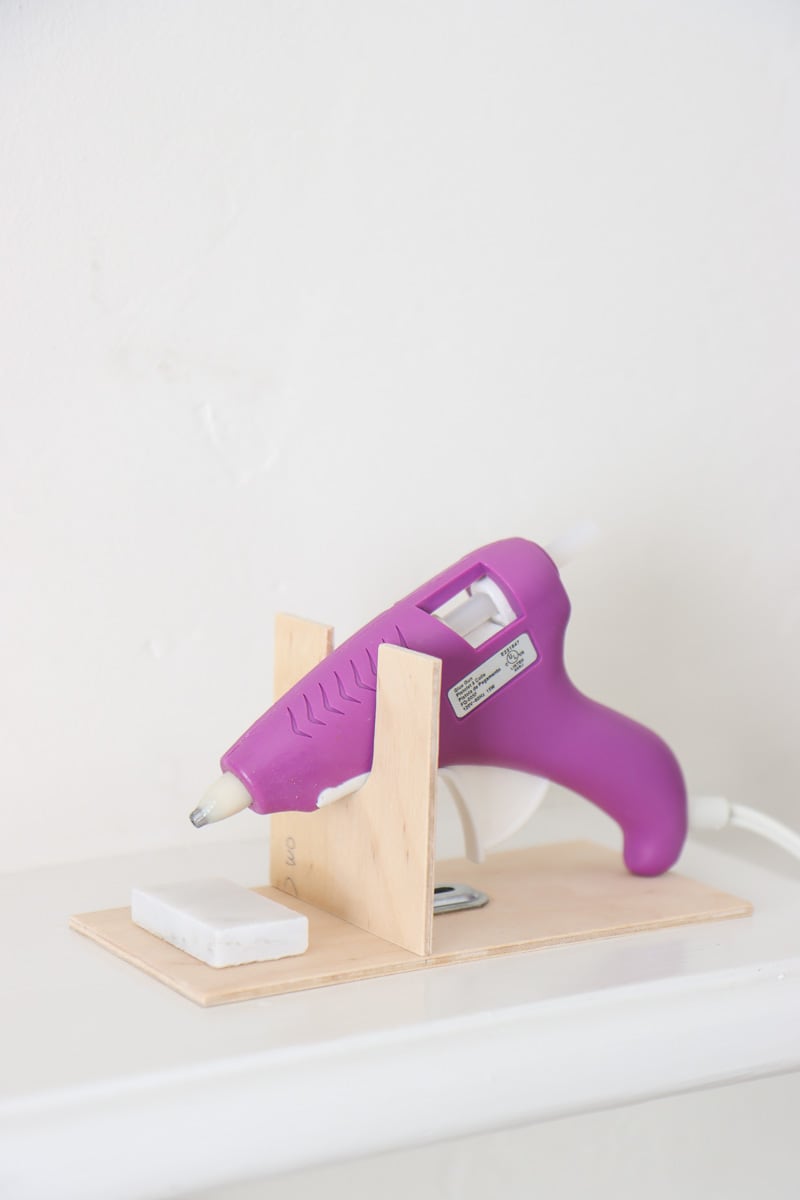
The most easy DIY hot glue gun holder ever
This is probably the easiest DIY project I have done in a long time.
It was so quick and easy that my brain had a hard time adjusting to it haha – given I recently finished building a window seat which was quite a process.
This DIY project took me less than 30 minutes. The construction of this glue gun stand is super simply, and it doesn’t require any special skills or fancy tools.
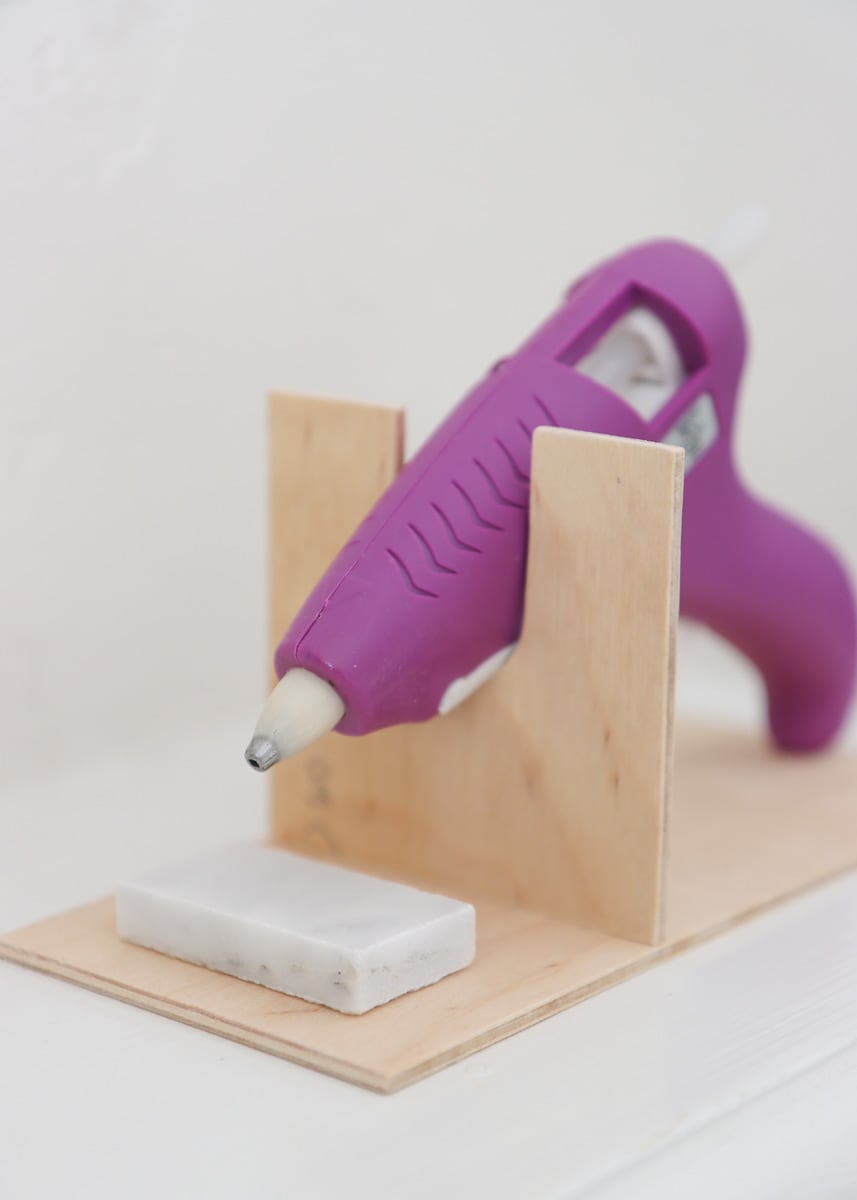
Before I designed this DIY hot glue gun holder, I was researching online and some of those tutorials looked rather more complicated than what I wanted – a quick and dirty solution.
So I’m very happy with how easy and effective this DIY hot glue gun holder is. I hope you find it helpful too!
DIY glue gun stand materials and tools
Materials
Thin plywood. I used 1/8 in plywood but 1/4 also works.
Gorilla glue or super glue. I used Gorilla glue because it is readily available and great quality.
Tile sample (optional). This tile is what I used.
Tools used
How to make the hot glue gun holder
Step 1. Prepare and cut plywood
The first step is to determine the size of your glue gun holder.
I have a small glue gun that I bought from Michaels. So this is my DIY glue gun stand size: the base is about 3 inch wide and 6 inch long. And the vertical board is about 4 in.
So for me, I first cut a strip of wood that is 3 inch wide, then I cross cut it so I have both the base and vertical board, and they are exactly the same width.
Now for the vertical board you need to cut out an “U” shape so that your glue gun can rest on it.
I used a spade bit to cut a 3/4 inch size hole in the middle and then I just used a hand saw to cut both sides of the hole to create this U shape.
You can also use a jigsaw if you have one on hand.
This picture below is what I have cut out. Looks pretty simple right?
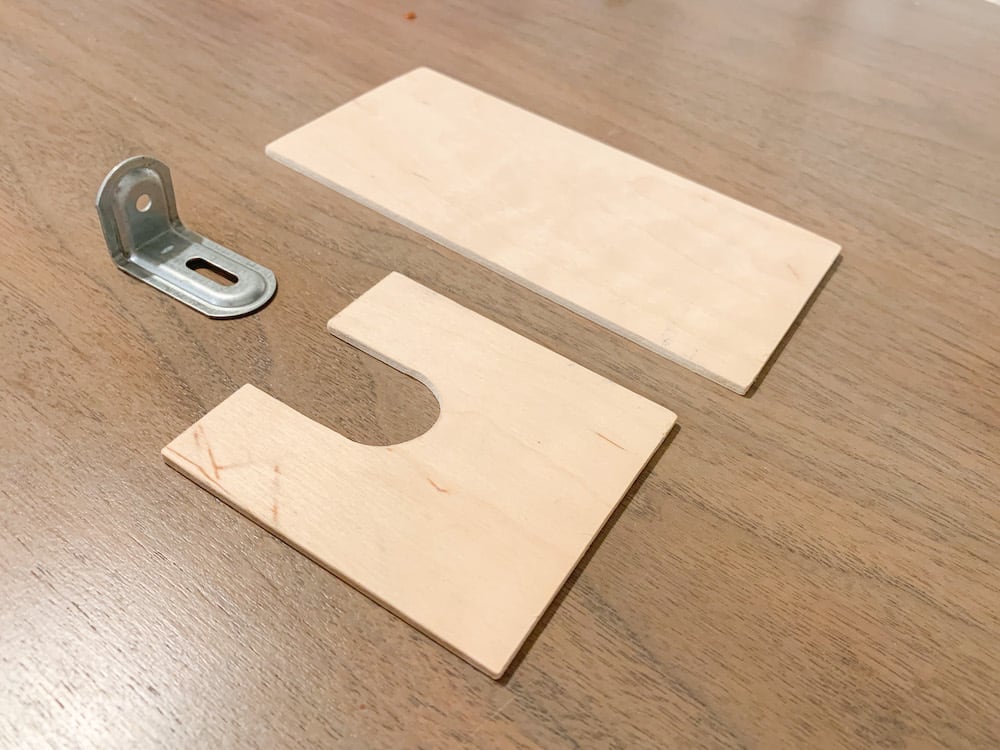
If this U shape is challenging for you to make, assuming you don’t have a spade bit or jig saw, cutting a V shape using a hand saw will also work! Just make sure the “V” is wide and deep enough to fit the front portion of your hot glue gun.
Step 2. Attach L bracket
No, it’s time to build the glue gun stand.
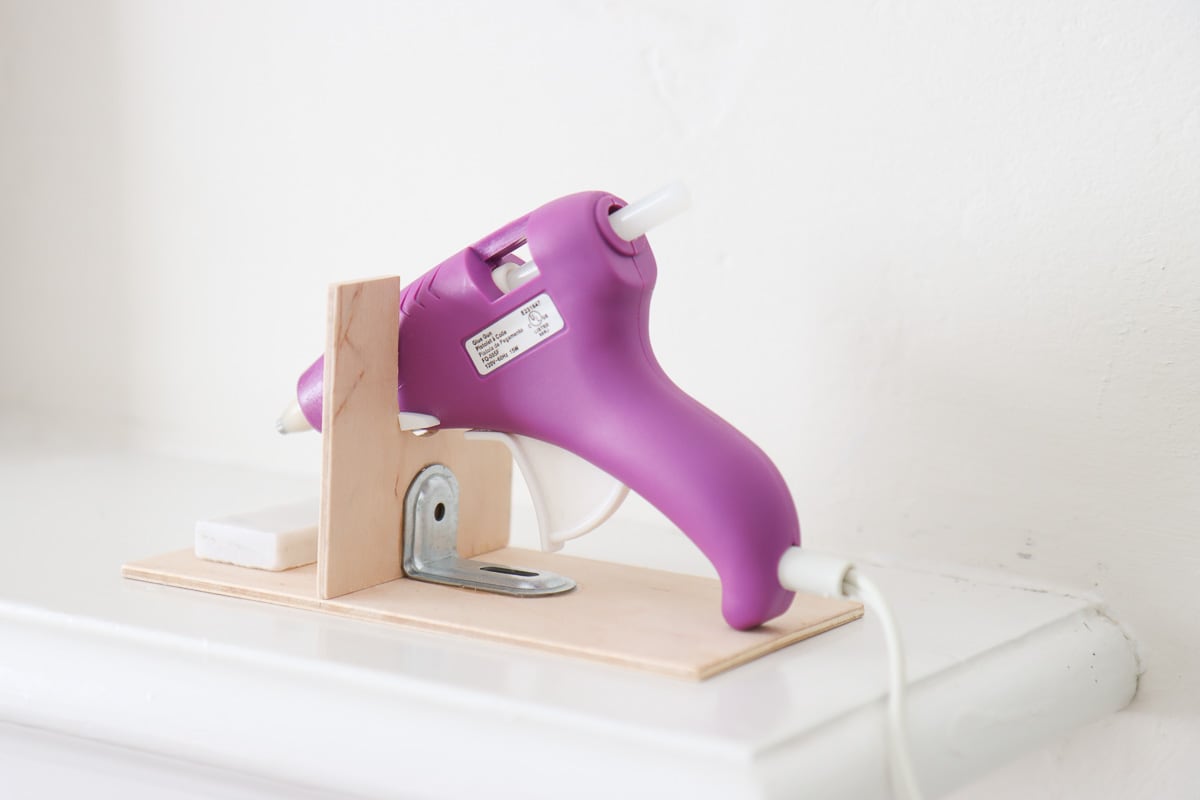
I use an L bracket because it is the easiest way to attach things together in a perpendicular way.
Because the boards are very thin, I don’t recommend using screws. If you use a sticker board like 1/2 inch or 3/4 inch you can use a short screw to do this job.
With an L bracket, it is super easy to attach things together. Basically, I added some Gorilla Glue to one side of the L bracket and then pressed it on the base of this glue gun holder.
I let it sit for about 1 hour, just so the glue can harden a little bit.
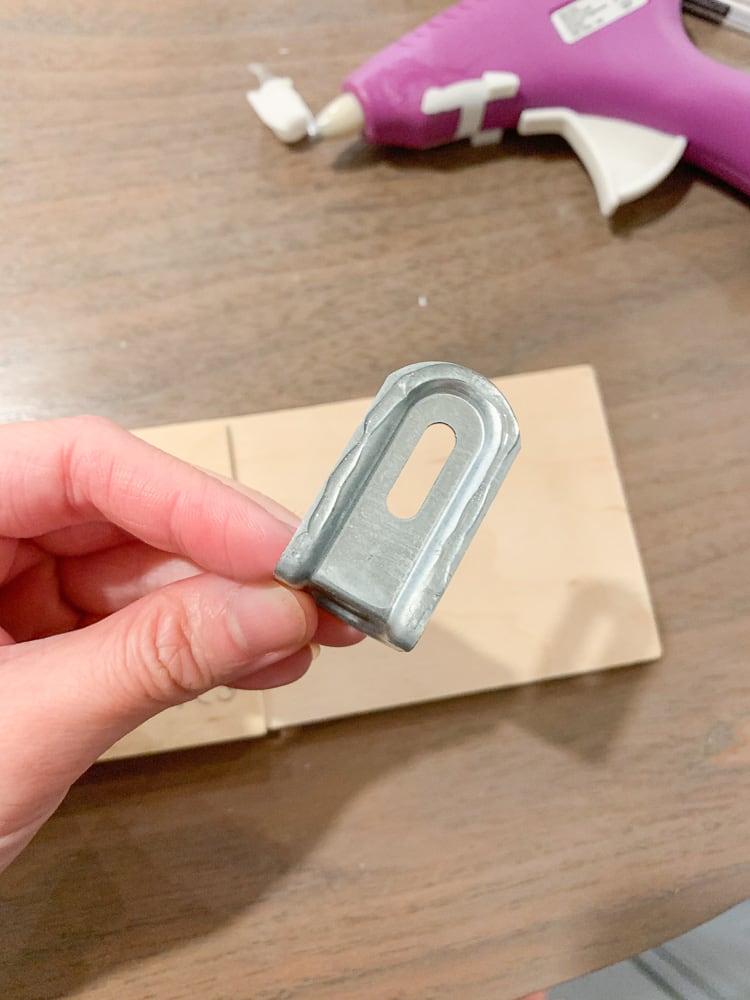
To make sure the L bracket is in perfectly parallel of the holder base, I placed the other board next to it to align them. Hope this step makes sense, but also it is optional as you can totally eyeball it!
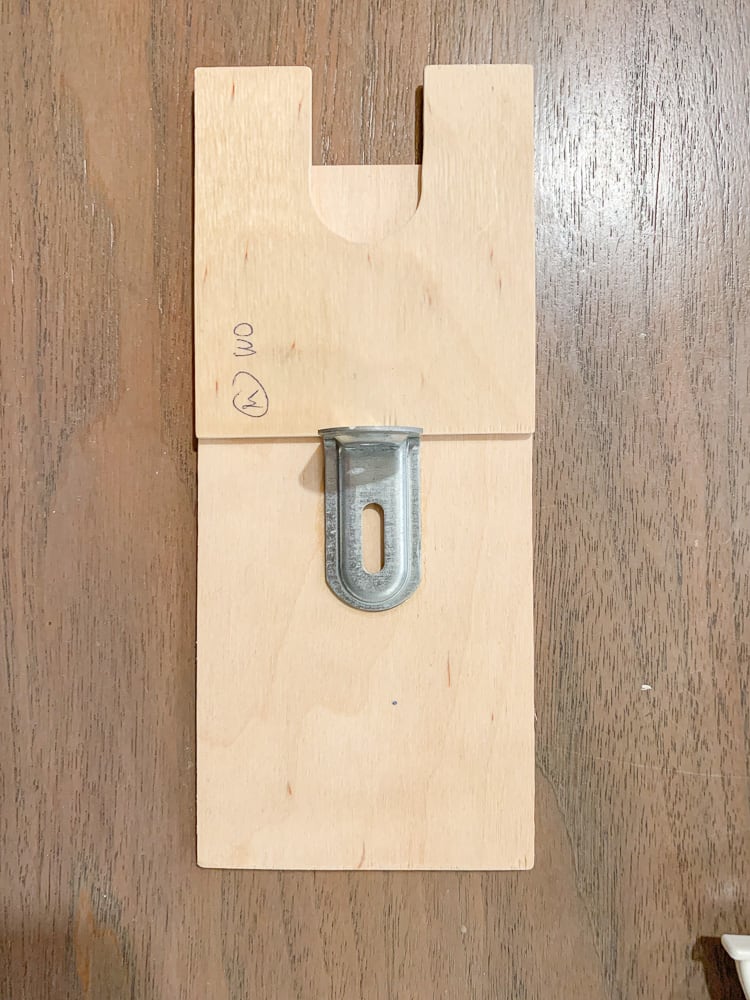
And it will look like after that step. The L bracket is leftover from an previous Ikea project, I used the long end to attach to the base board, and left the shorter end to attach the vertical board.
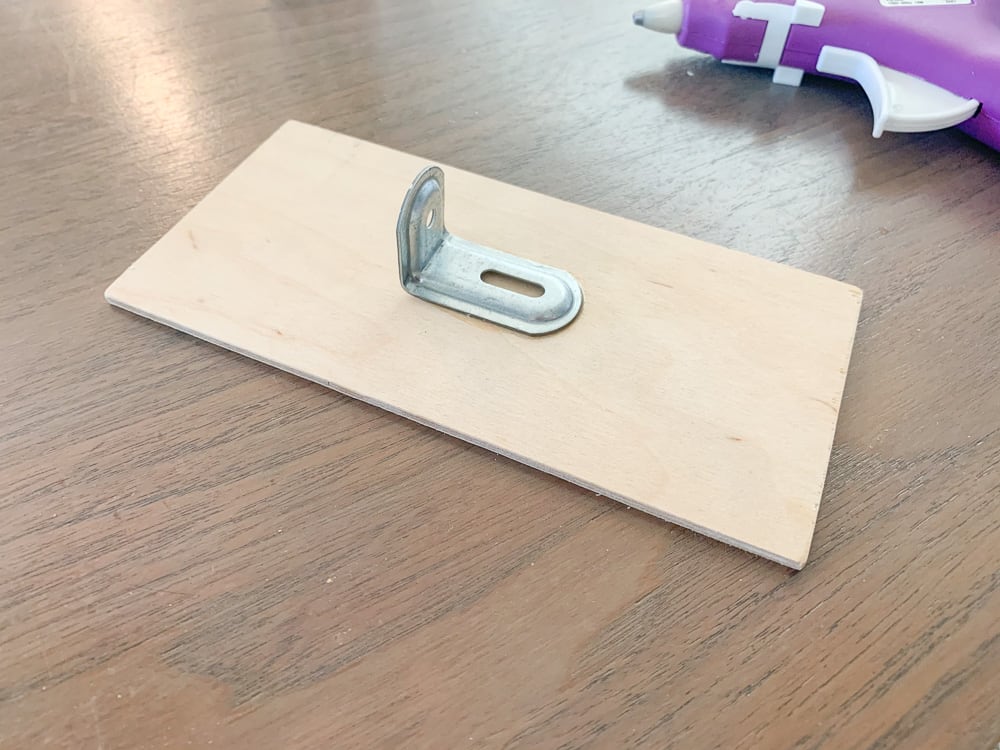
Step 3. Add vertical support
At this step, the glue got some time to dry, you can place the vertical board next to the L bracket. This way you’ll be able to get a sense of how tall you want the vertical board to be.
I played with the angle of my glue gun lean on this stand. At this point you can decide how deep the angle is and where the glue gun sits. I ended up trimming my board a tad shorter.
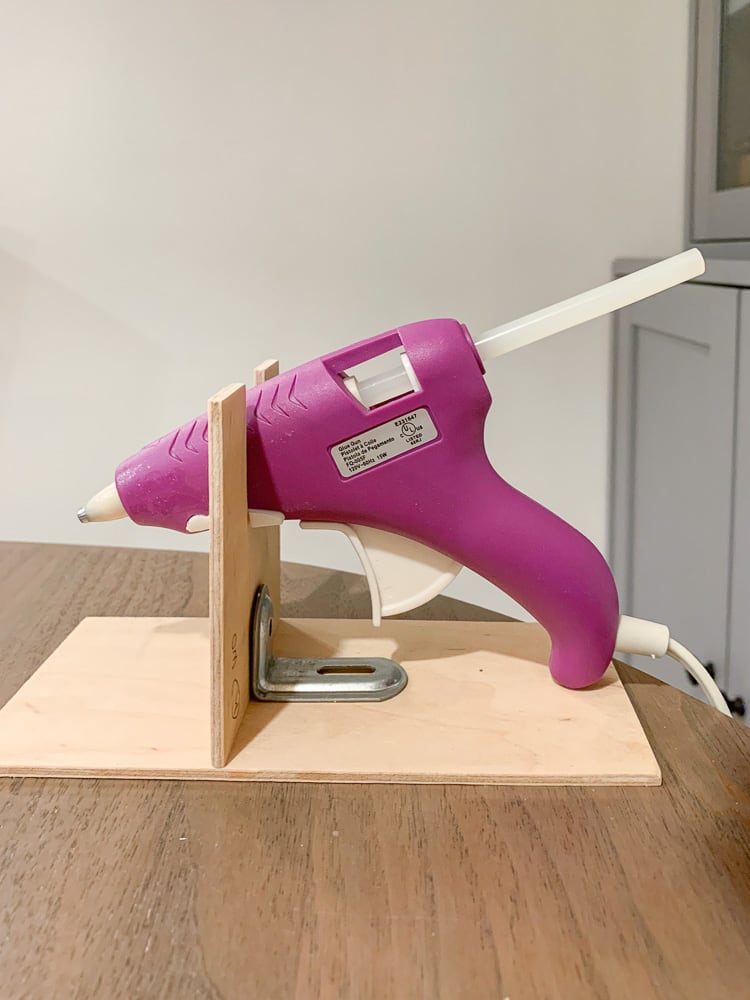
Once You are happy with the height and angle, you can use the same method of gluing the vertical board to the other part of the L bracket.
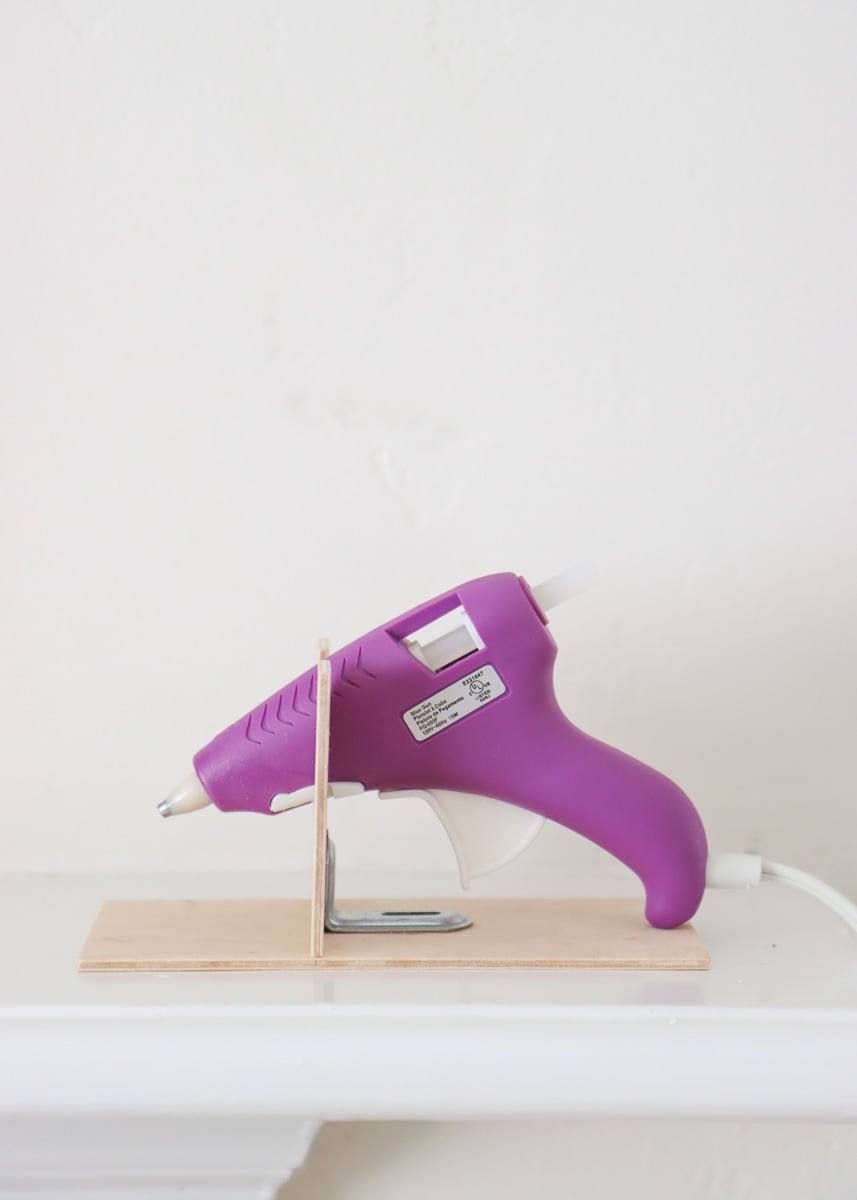
Step 4 Add a tile
Okay now you should have a perfectly functioning glue gun stand, assuming that you let the glue dry and cure overnight.
This step I’m gonna talk about is optional but I recommend it.
So basically once you turn on the hot glue the melted glue will likely drop onto your glue gun holder. So it would be nice to have something that catches it and that you can remove it easily.
I used a small tile sample that I received during my bathroom renovation and I just cut a small block from it.
You can totally hot glue gun to the holder but I wanted it to be removable so I ended up using a 3M command strip to attach the small tile piece with the glue gun stand.
DIY glue gun variations
This is probably the simplest DIY glue gun stand tutorial I can think of!
It took me so little time but I’m sure it will save me tons of time by holding my hot glue gun still while I’m doing DIY.
If you want to amp up your game, there are a few variations you can try.
For example, instead of a thin plywood board, you could use a thicker board to make it more substantial. You can easily get 3/4 inch wood boards from home depot.
You can get boards that are 2.5” wide or 3.5” wide. That way you only have to do cross cuts which will save you some time.
Also you can paint this hot glue gun holder with your favorite paint color, bonus point if you match that tile to your paint color!
I hope you enjoy this tutorial and happy DIYing 🙂
Other easy DIY projects
Pin it for later
Thank you so much for the tutorial. I have been asking my son in law to make me one. I guess I can make my own now.
so happy to hear you find it useful 🙂