Easy DIY mudcloth wall art for your home. I’m sharing how to choose and frame beautiful textiles to create stunning art for your space.
DIY framed fabric wall art for cheap
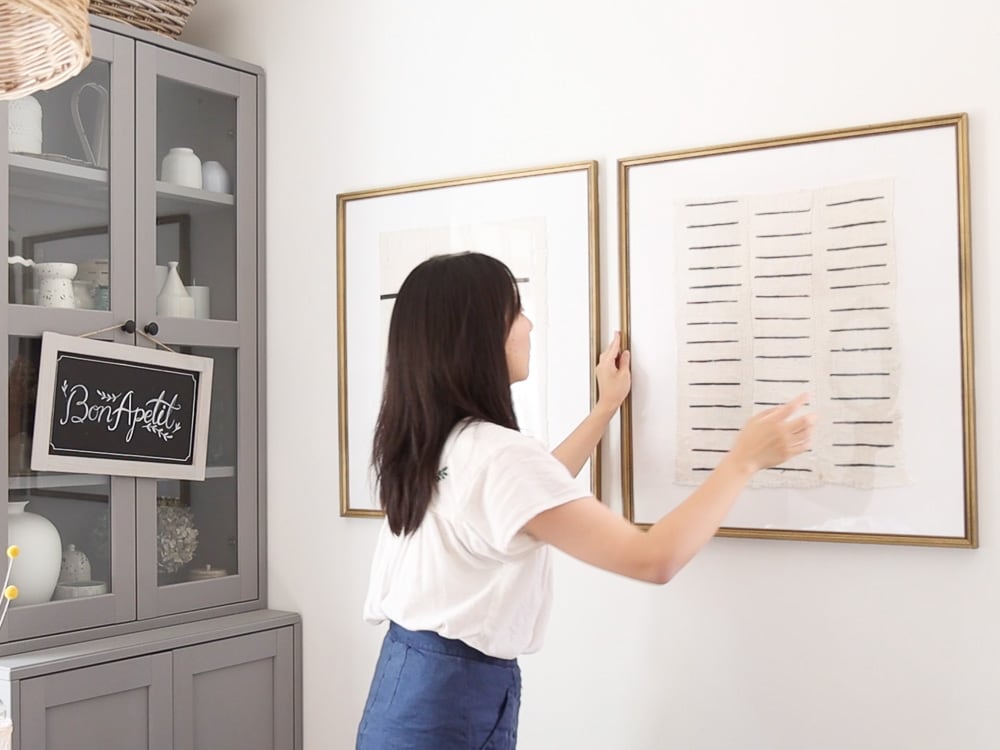
Today I want to share a very quick and simple DIY, but I think it can make a great impact for your home. I recently made a pair of framed fabric wall art and really loved it!
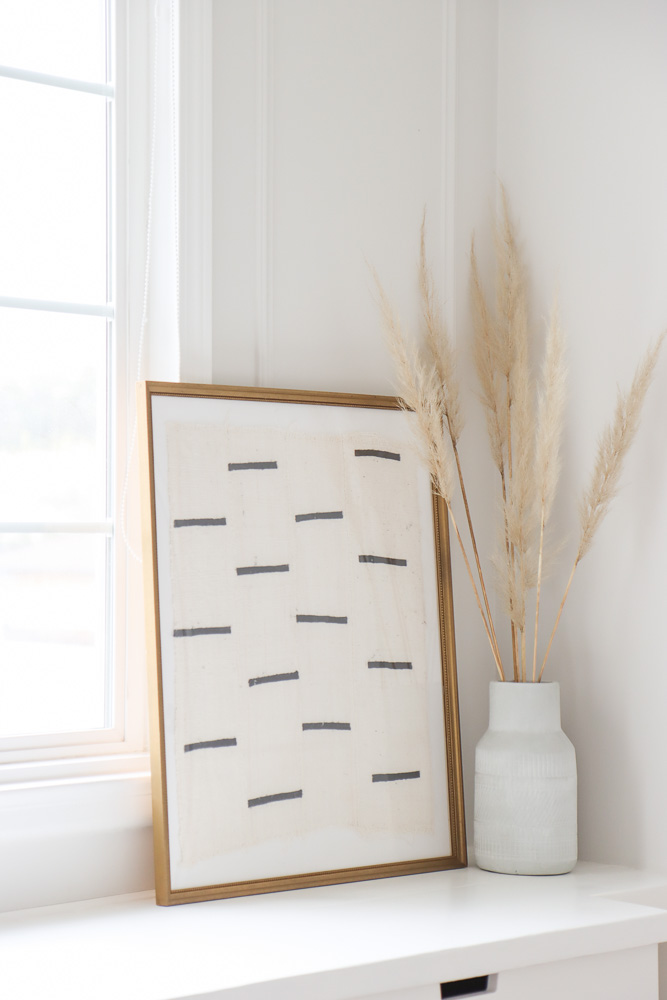
The process was really easy and it didn’t require any fancy tools or materials. So I highly recommend that you give it a try.
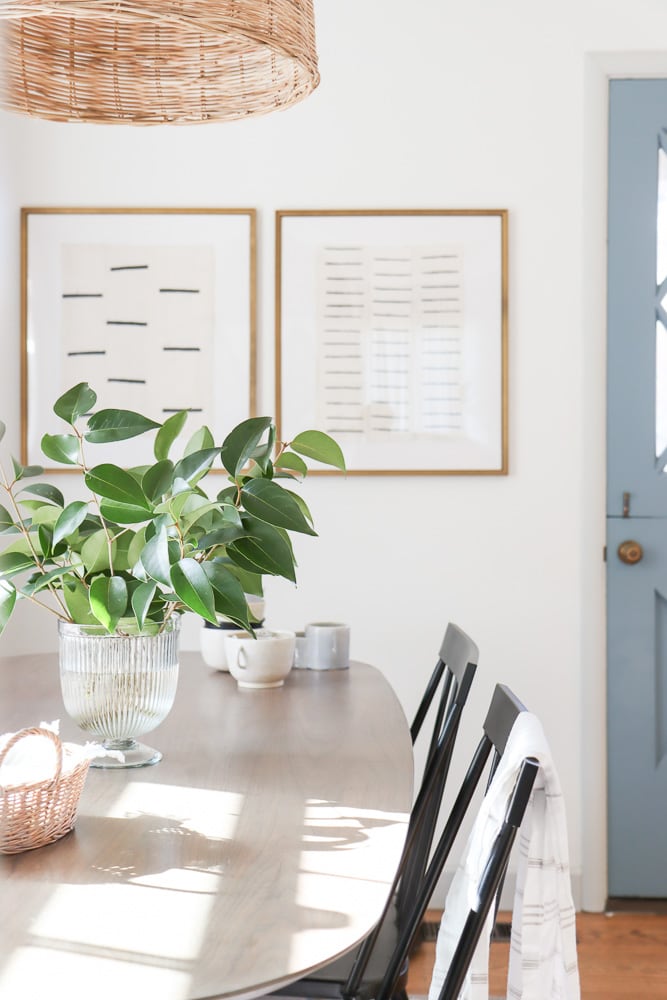
I made two of them and I hung them in my dining room as a pair. It’s a super affordable way to create large wall art, especially if you are looking to add more interest and dimension to a blank wall.
The primitive look adds a different texture to my dining space.
Choosing textiles/fabrics to frame
Before we start, let’s talk about choosing textiles or fabrics to frame for your wall arts.
For my case, I’m using this African mudcloth. African Mudcloth, also called Bògòlanfini, is a pretty trendy fabric material these days for home decors, such as tapestry or throw pillows.
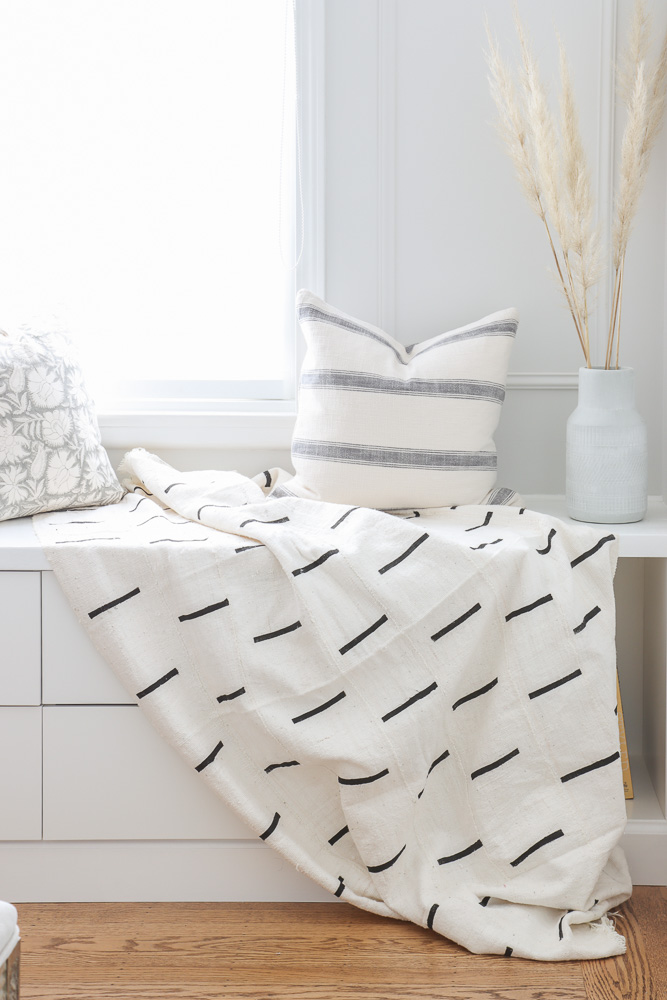
I really like it because it has a rough and organic texture which adds a new dimension to my home decor collections. I also love the black and white pattern because it can fit in with almost any color palette for your space.
I purchased two different patterns from this Etsy store.
Each fabric is quite large, so you can use the leftovers for other home decor projects. For example, I used them to make a few pillows.

Besides mud cloth, some other Fabrics you can try are vintage fabrics, quilts, scarfs, or any interesting fabric scraps.
Here are a few African mud cloth fabrics I like:
Mudcloth wall art materials and tools
picture frame
Screwdriver
Video
For DIY projects, it is always nice to follow a video to get a general idea of all the steps. So I created this video walking you through my DIY process, and highlighted a few key points to make this project successful.
You can click on the video below to watch it.
If you want to watch more videos like this, be sure to subscribe to my Youtube channel.
Framed textile art DIY process
Trim fabric to size
Before hanging fabric on a frame, I first need to get the mudcloth fabric to the correct size, so it will fit in my existing frame.
African mudcloth were from narrow panels stitched together by this wide zig-zag stitch. So For the width, instead of cutting them using scissors, I decided to break out part of the panels by ripping out those zig zag stitches.
This allows me to separate the panel, but keep its original edge which I think is very pretty.
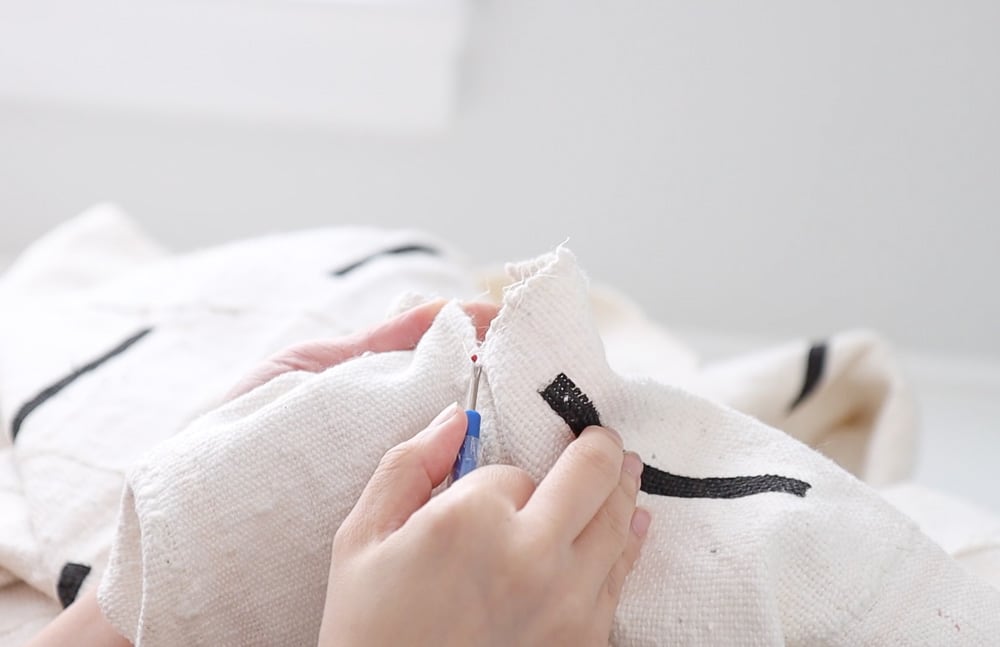
I’m using a seam ripper to remove the zig zag stitches. Seam ripper is my go to tool to remove stitches. Once you’re used to it, the process is really fast.
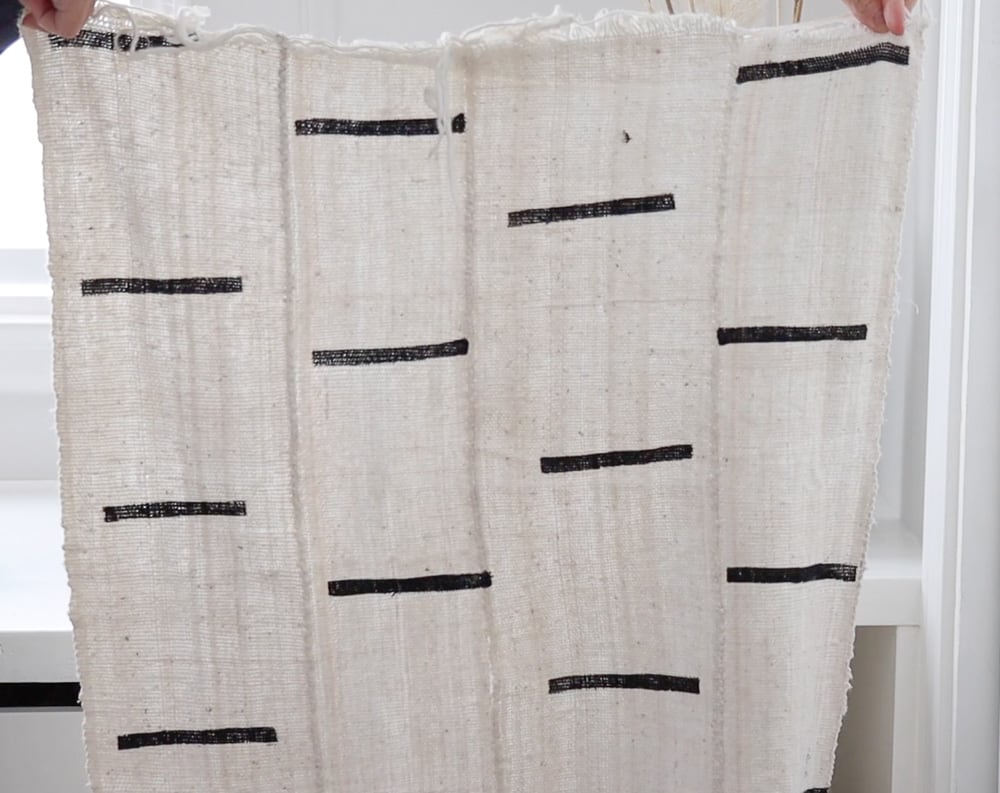
For the height, I cut it to the right height. I want the framed fabric to have a similar width and height ratio as my picture frame.
Since it is a framed textile art, I really want to make it look like a found vintage textile, instead of a random piece of fabric that I cut out.
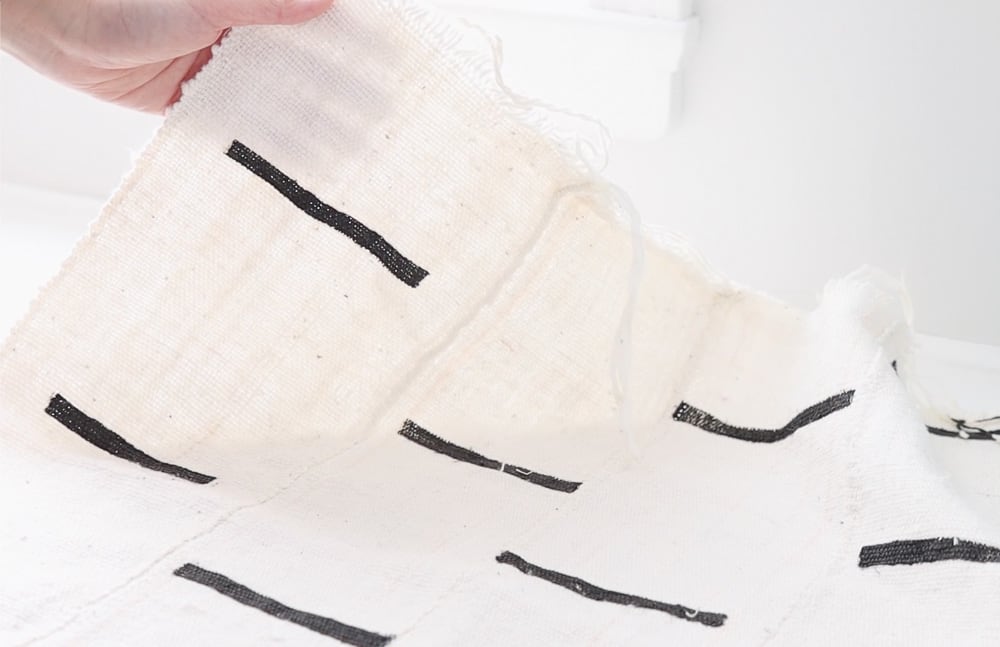
With that in mind, I decided to fray the edge of the top and bottom of this piece. This will make the mudcloth fabric look more rustic.
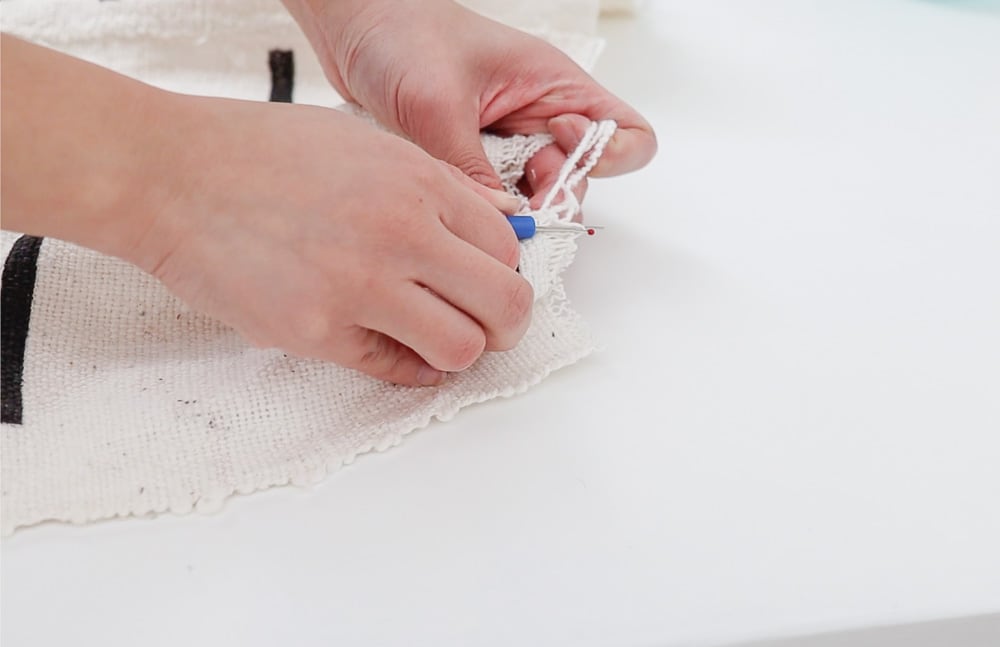
When I’m creating the frayed edge I make sure to vary the finish a little bit. Sometimes I just leave some loose thread hanging there to make it look like it was worn out by time.
Once they are my desired size, I need to hang the mudcloth fabric to a frame.
Hang fabric on a frame
Hanging fabric on a frame can be different than a paper art work. So here is how I do it.
First I attach the fabric to the frame backing board with double sided foam tape.
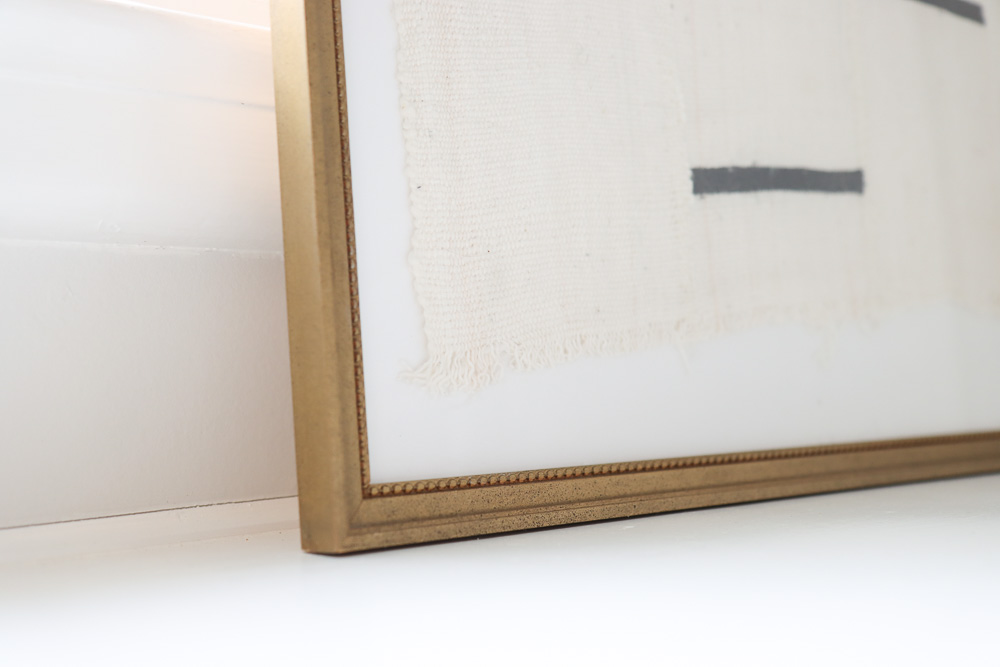
This foam tape is quite soft so when I press the fabric to the tape, it can fit into the nooks and crannies a little bit better than a normal tape. Also I like that it has a little added height so it can elevate the mudcloth fabric just by a little bit.
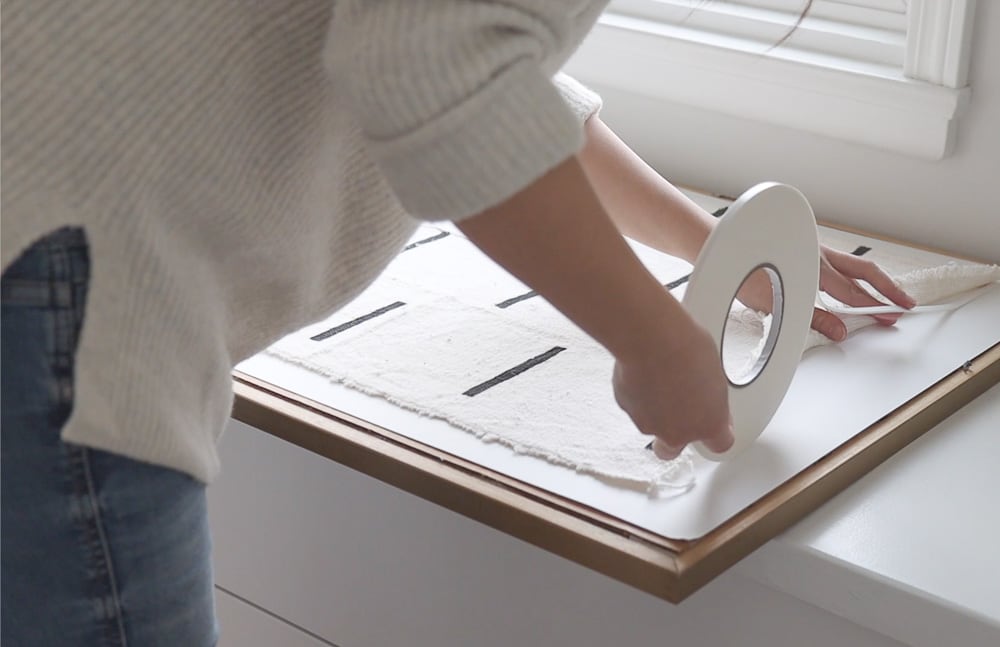
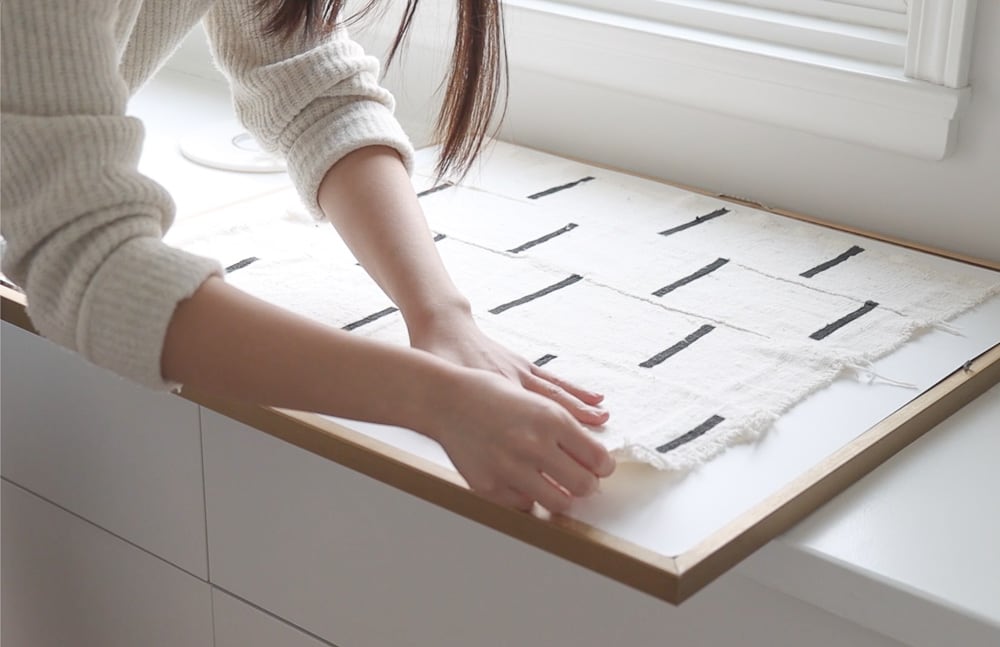
I didn’t cover the bag entirely with the tape if I’d rather only cut the 4 size of them and stick them closer to the edge of the fabric. When I’m pressing it down I make sure the fabric can lay flat without wrinkles.
Sometimes I need to remove the fabric a little bit and then re-press it to achieve my desired look. Then I place the backing board with fabric tape to it back to the frame.
Fixing old picture frame *optional
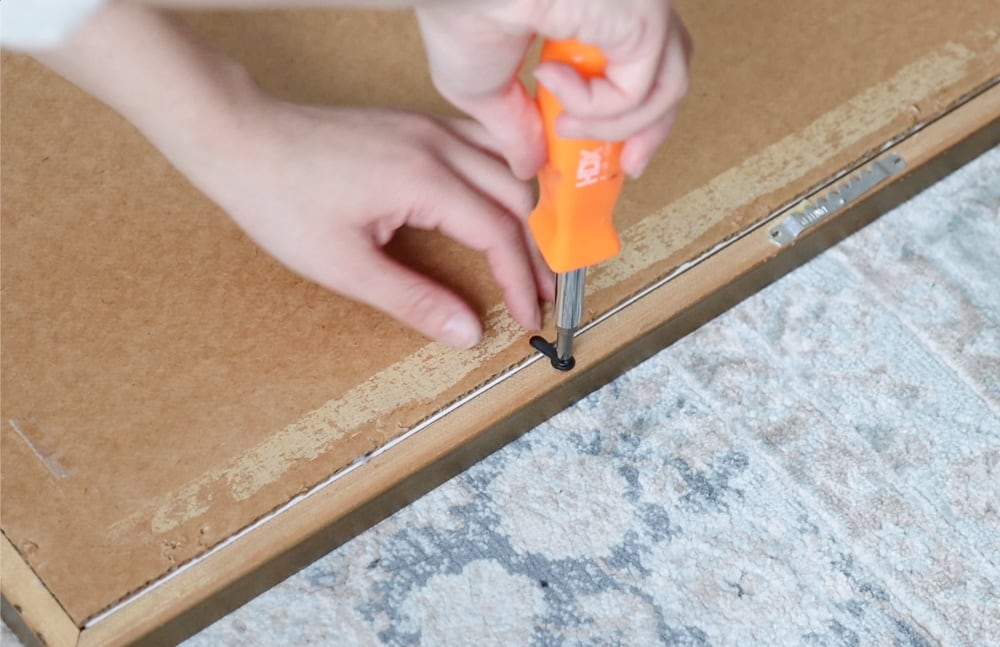
I have a lot of old picture frames. Most of them need a little bit of fixing up. For example I’m using this large gold frame that was pretty old. The back was previously attached by those picture frame backing tapes.
So I bought these turn button screws from Amazon and added it to the back of the frame so that I can replace art inside pretty easily in the future.
Finished mudcloth textile wall art
This is what the finished mudcloth wall art looks like. I placed it on my DIY window seat and really like how simple and clean it is.
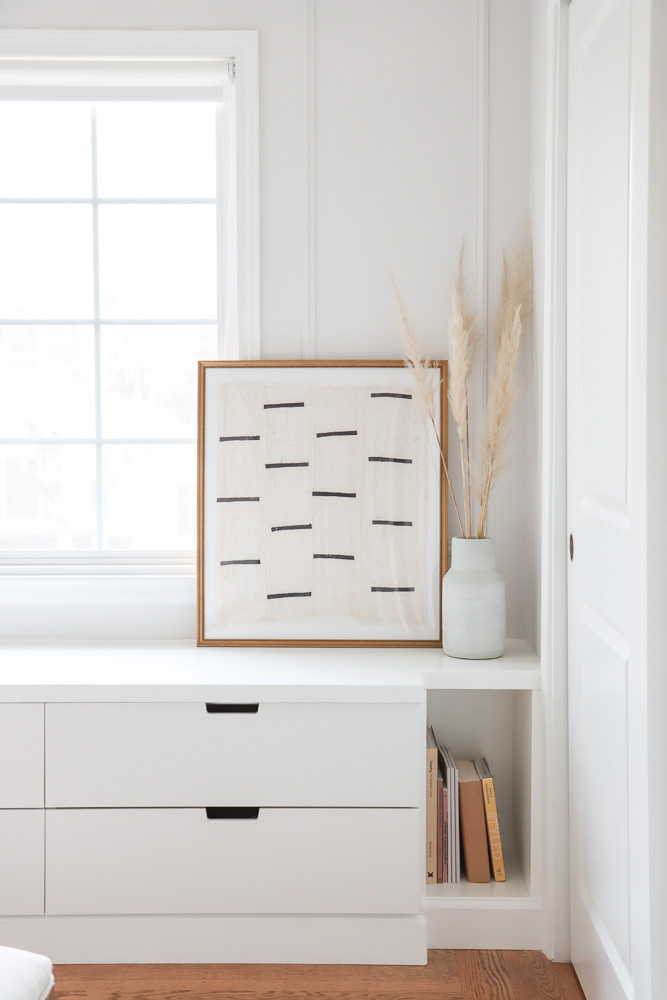
It is such an affordable way to add interesting large scale art.
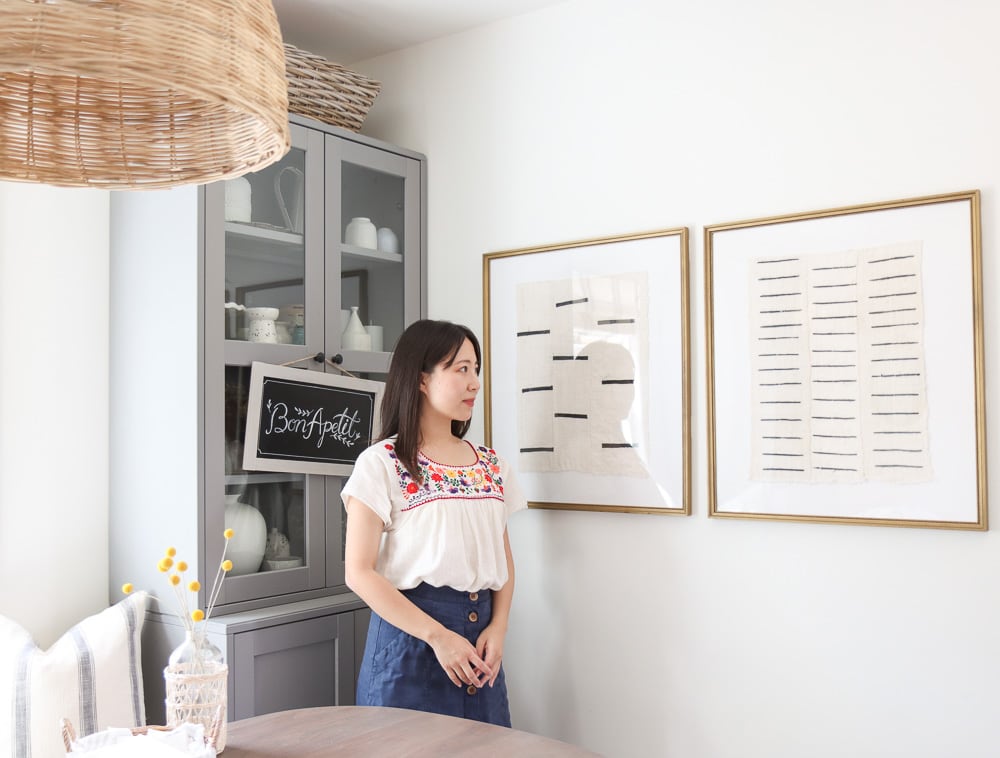
Later I bought another fabric that has a similar pattern. And I’m hanging both on my dining room wall as a pair. I really love how they turned out!
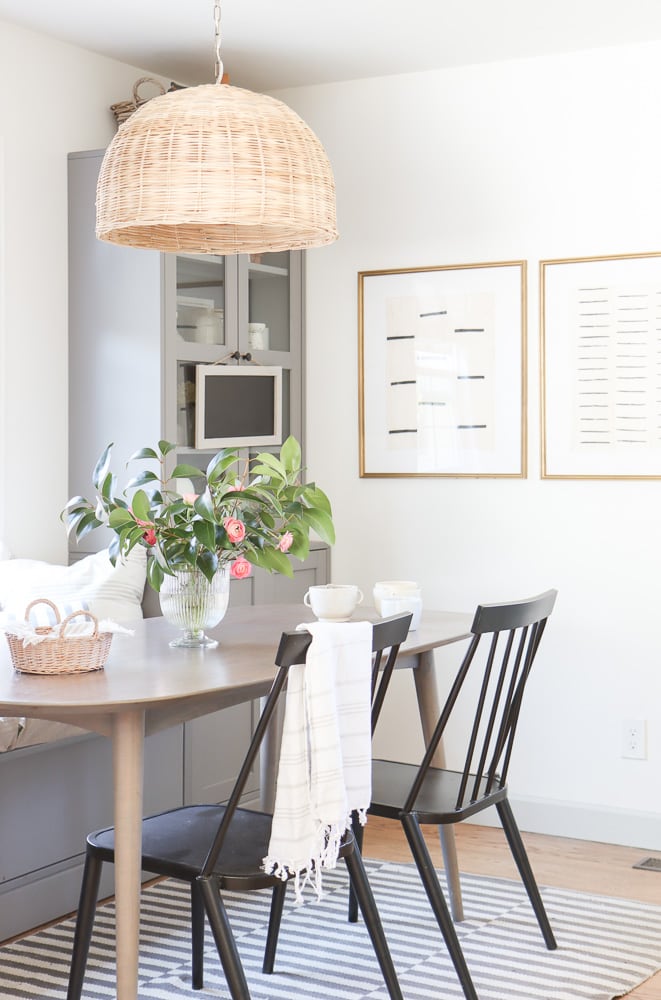
You might have noticed that I made the fabric smaller. That’s because I want to make both wall art to have a similar scale in terms of sizing. Plus I want to leave a bit more white space when these two mudcloth fabrics are paired together.
If you are curious about this type of fabric, you can read more in this article.
I hope you enjoy this tutorial and video like I did. I had so much fun making these framed textiles and will probably make more 🙂
Other DIY decor ideas
Pin it for later

Leave a Reply