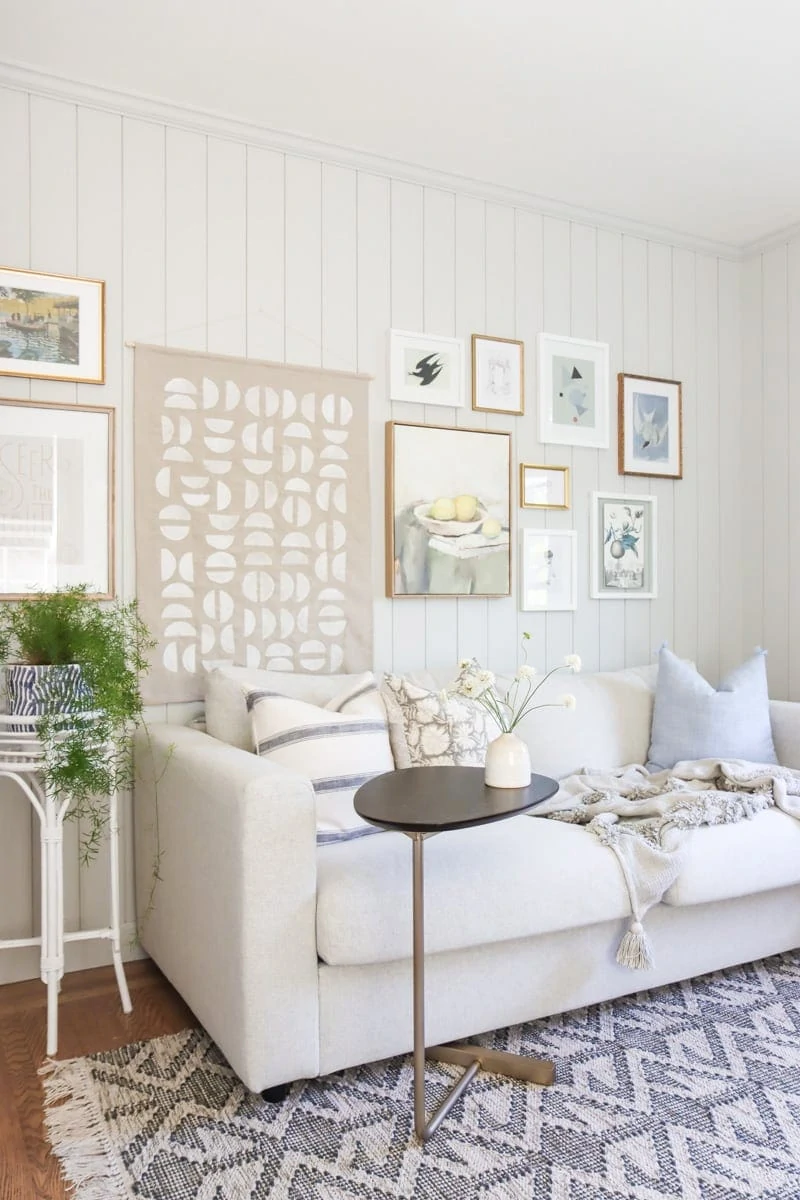
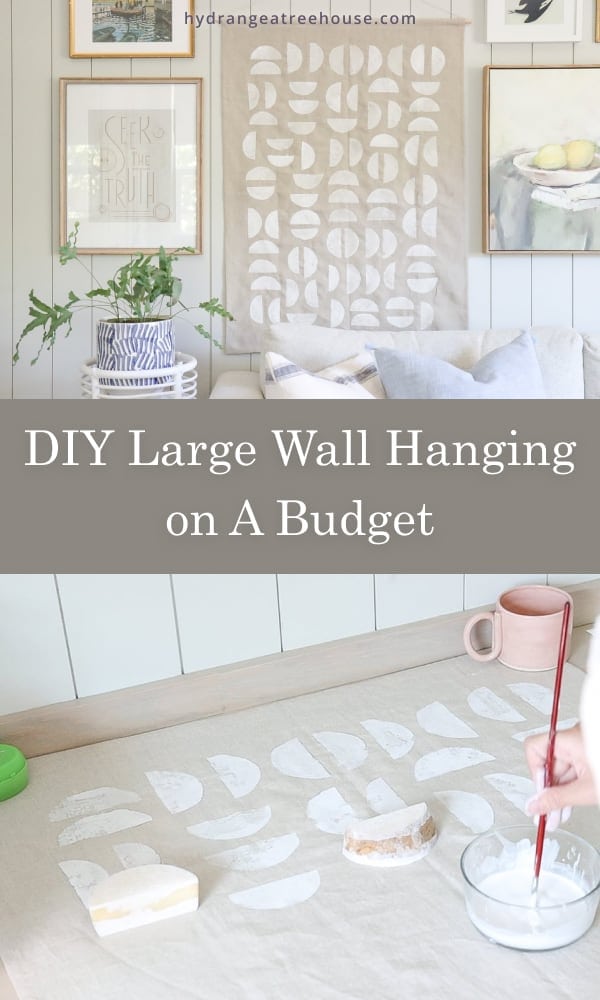
DIY large wall hanging for less. DIY large wall art is an affordable way to add personality and beautify to your space. This wall tapestry is a great home decor option not only for a boho or midcentury home, but works for almost any interior style – a great budget friendly DIY home decor idea!
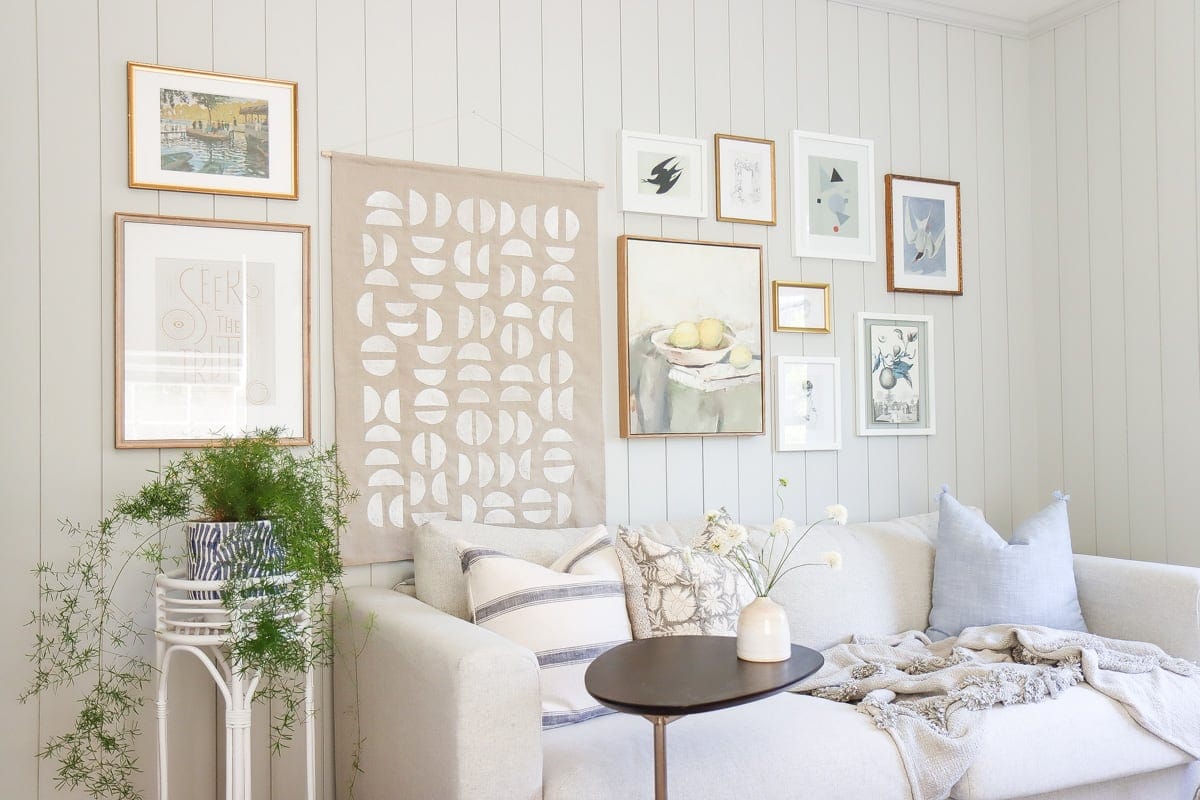
Budget friendly large scale wall art
Buying a large scale art piece can be really expensive. What’s better than creating your own large scale art to decorate your home? A large wall art can fill a big empty space on the wall and really creates a statement for your space.
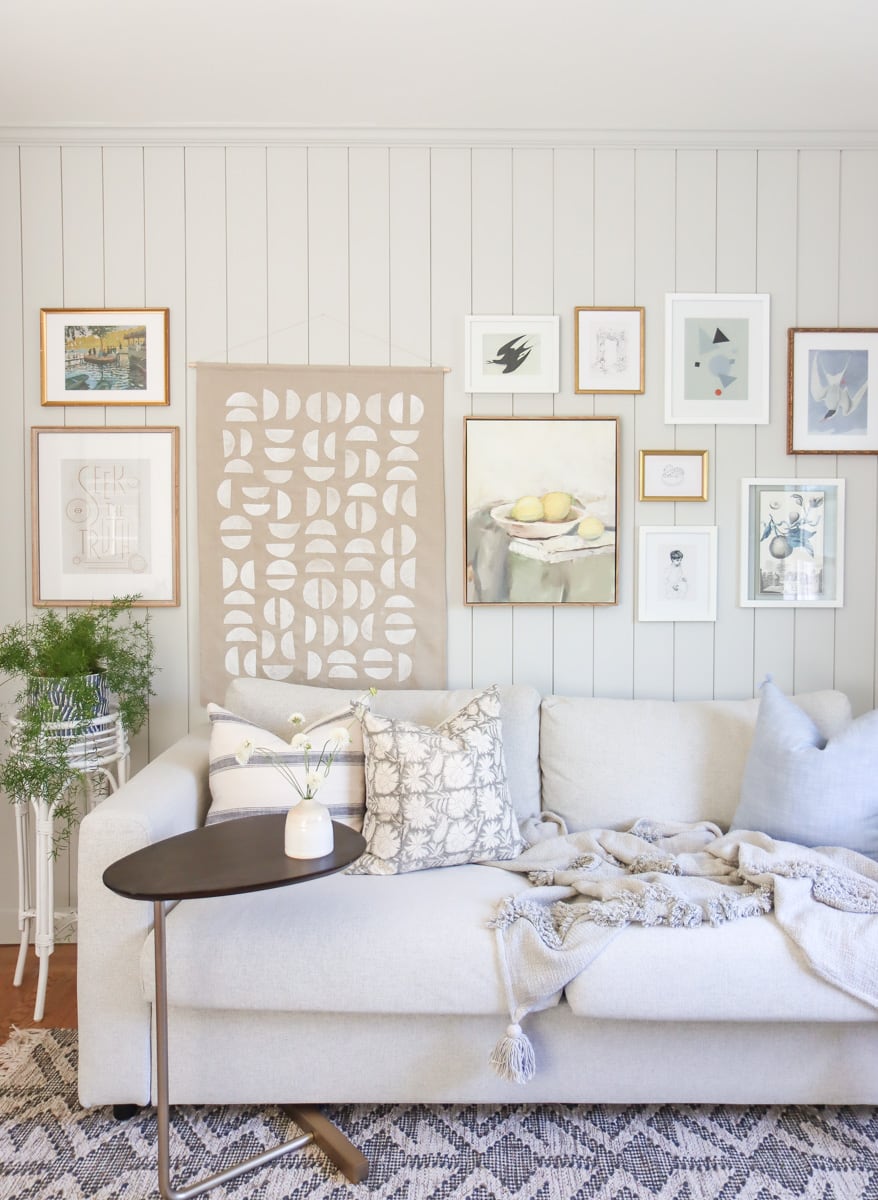
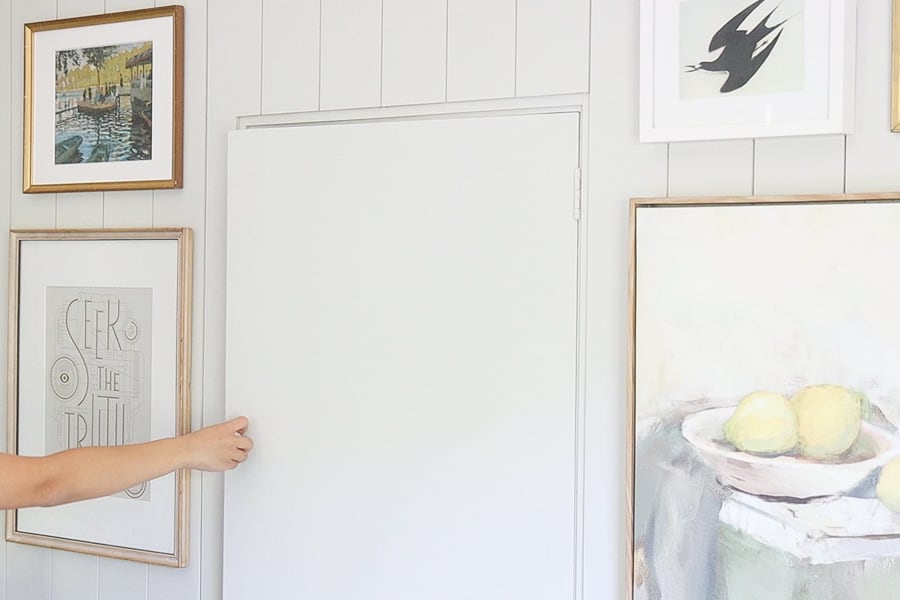
When I was decorating my home office, I really needed a large scale wall art: I have an awkward secret door to the attic from my home office. It is sort of in the center of an empty wall so I have been thinking about covering it up by hanging some large scale art pieces. However, buying a large wall art can be very expensive, and finding the exact size I need is very tricky. Besides the price, the weight for a traditional framed art can be quite a lot considering how heavy the frame and the glass are.
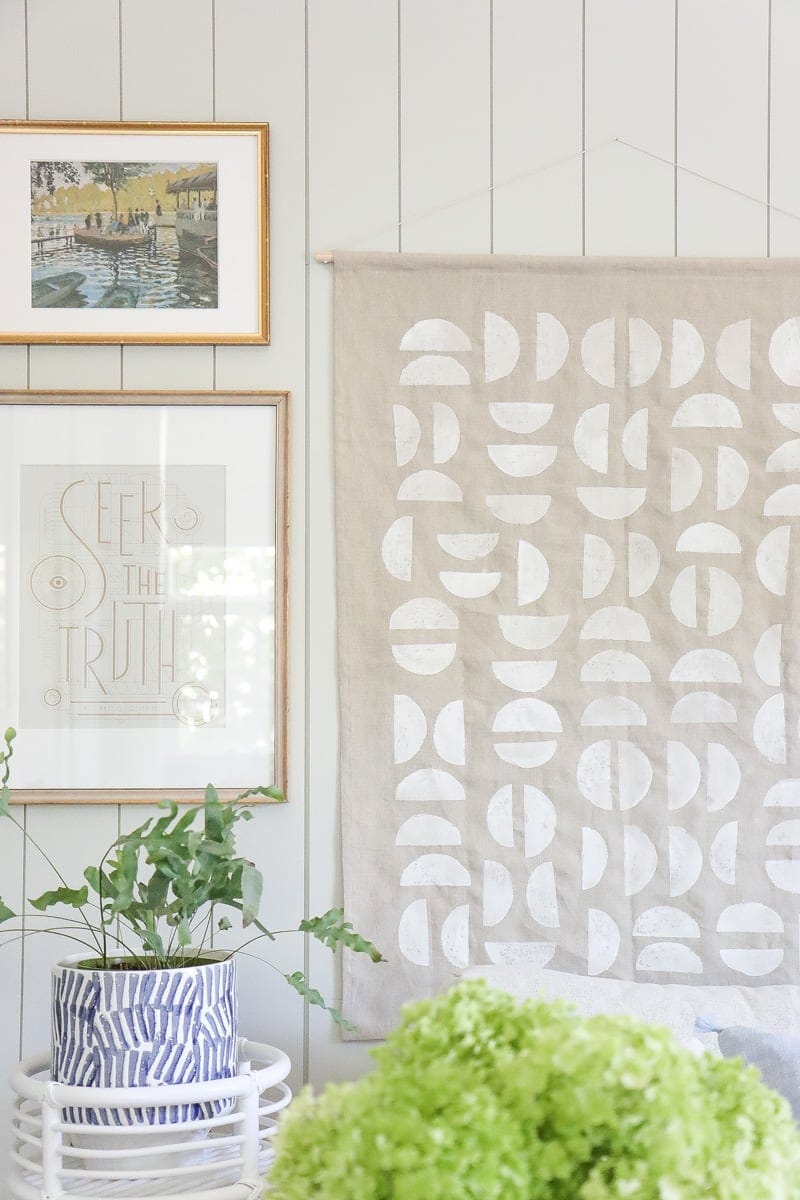
So instead, I DIY’ed this large scale wall hanging with all the materials I have on hand. The end result is so classic and versatile. This is such an affordable way to create a large wall art piece that actually cost close to nothing.
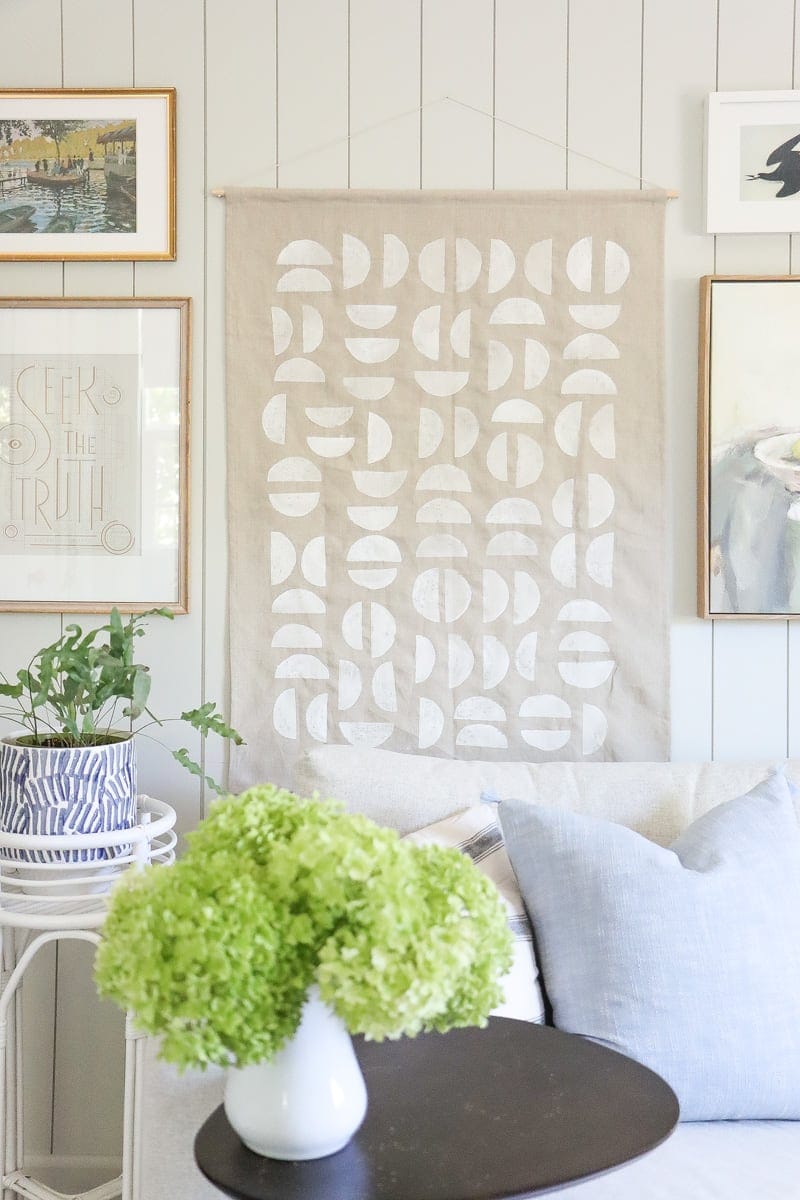
DIY large wall hanging materials
Stamps: Potatoes or anything you can make a stamp of.
Chalk paint. I have some leftover white chalk paint. You can use milk paint or latex based paint too.
Linen fabric. I used part of a linen tablecloth I got from Target. It has a natural linen texture and is very affordable.
Wooden dowel. I used a ½” inch diameter wooden dowel from Michaels.
DIY large wall hanging video
If you would like to see more budget friendly DIY decor ideas, be sure to subscribe to my Youtube channel.
DIY large wall hanging instructions
Prepare stamps and paint
The first step is to prepare the stamps so we can use them to create a pattern for the wall hanging. I used half of a potato and split it by half. Then I cut the end of each one created a wedge shape. My goal was to create a half circle shape. And this way each piece can create two variations on the shape I can use for stamping.
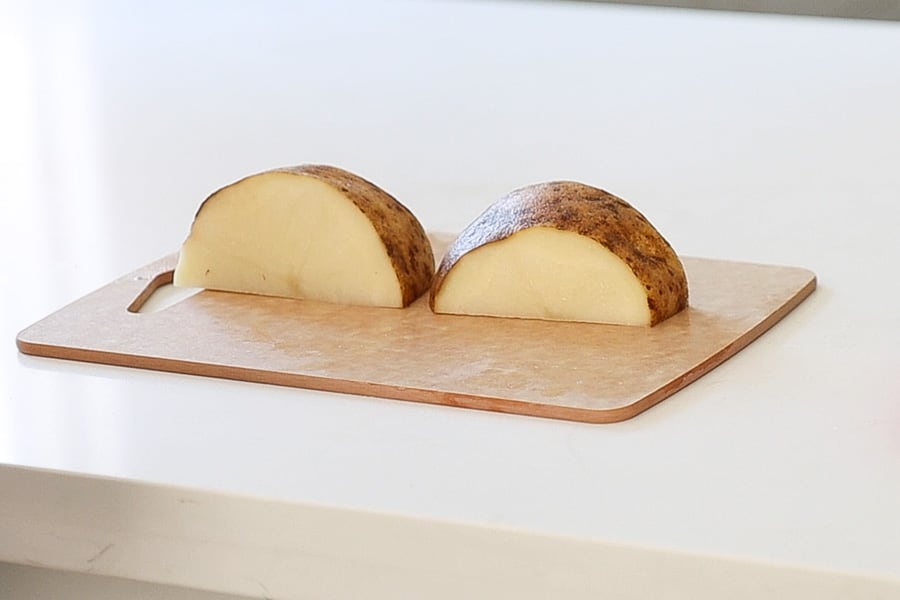
The reason I chose a half circle shape is I like the classic but it adds some dynamic too. I’m also able to rotate them to create some variations of the pattern.
To prepare the paint I used some leftover chalk paint I have on hand and mixed it with some water. The water and paint ratio will depend on how dense that you want the color to be on your wall hanging. I went with a 1:1 ratio.
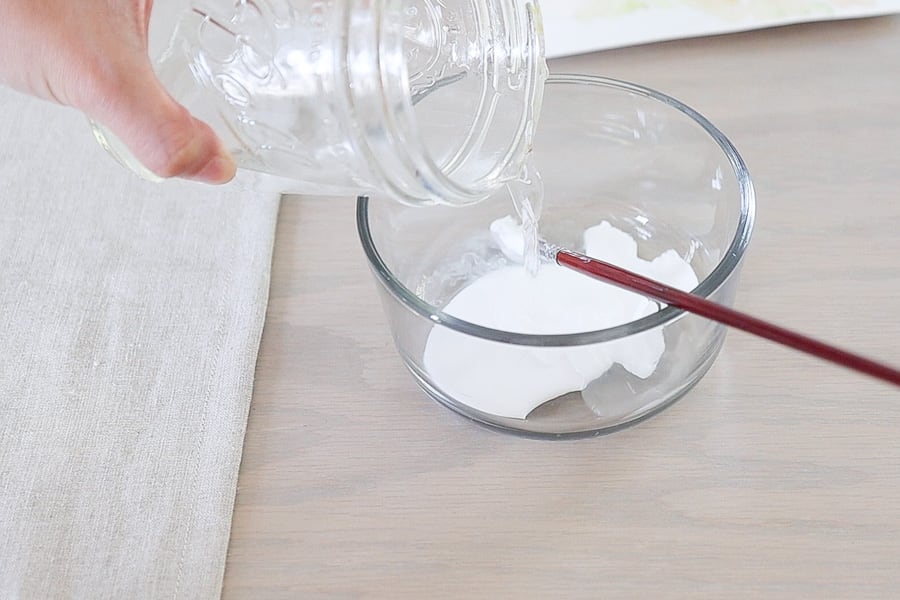
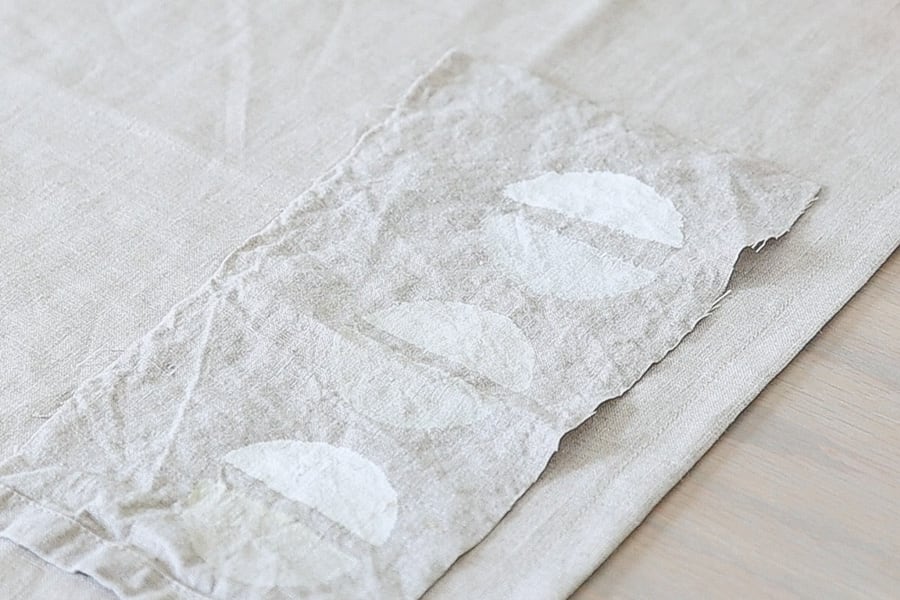
I highly recommend you test out the color on a scrap fabric (ideally the same fabric as your wall hanging) and see if you like it. At the beginning my solution was too thin, so the pattern looks too light to me. So I added some paint and it was perfect on the second try.
Build out a pattern on fabric
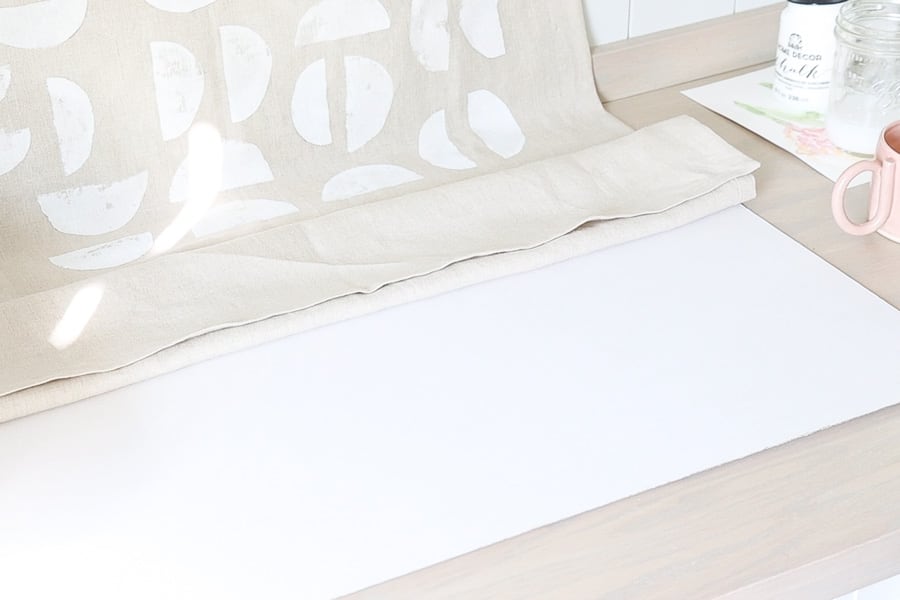
Before building out the pattern, I would recommend you to put some cardboard or newspaper under the fabric. In my case, the paint had a watery consistency, so some of the paint could get on your table. Having some protection underneath your working piece would make the cleanup easier.
Once the surface is protected, I just got right down to building the pattern. I dip the potato wedge inside the pain mixture and pressed it on top of the fabric. Sometimes it doesn’t create the full pattern because of the pressure or paint coverage, so I used a paint brush to touch up as I go.
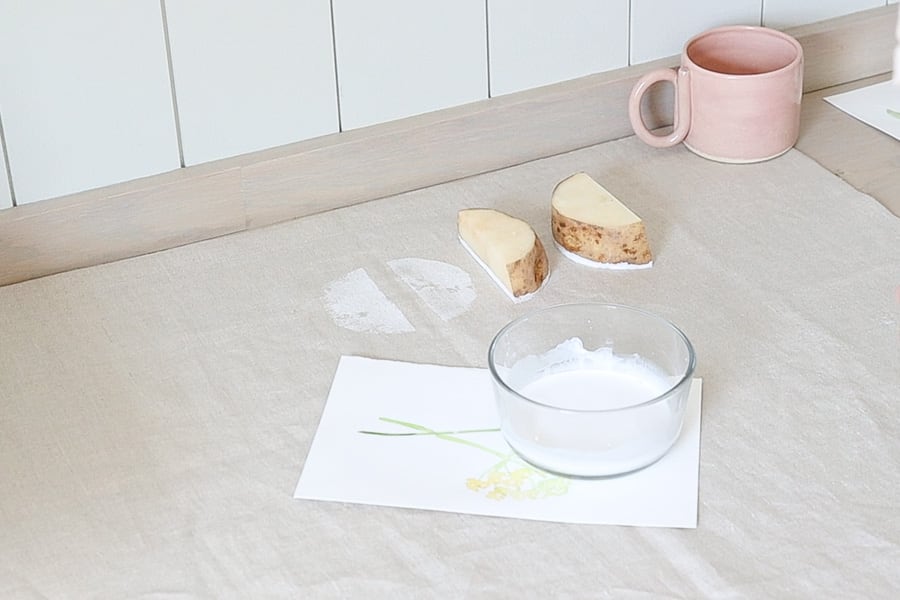
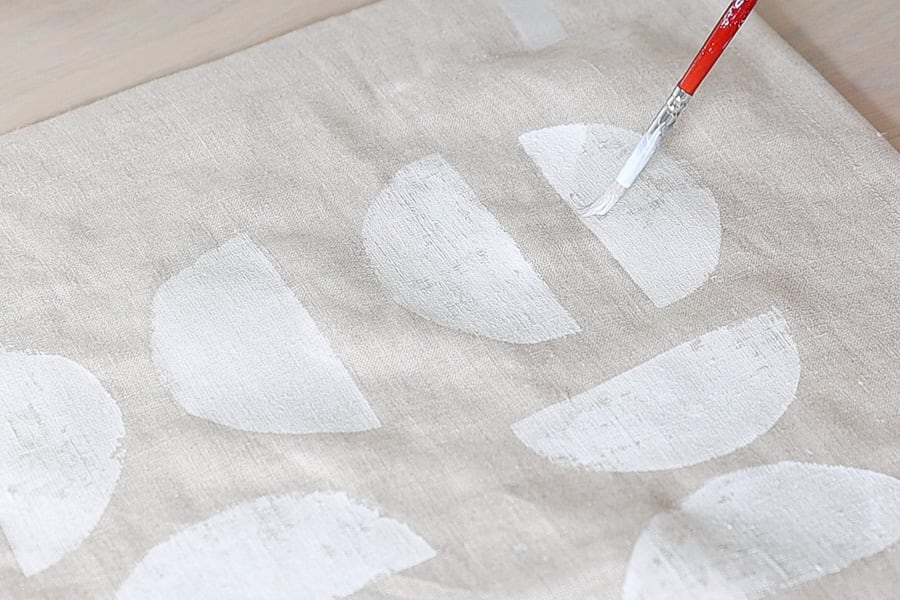
Also while I’m building out the pattern, I made sure to alternative the angle and the side of each potato wedge so I can create more variation of the same shape.
I would recommend you to spend a little bit time on designing the pattern first. Drawing something out on a sketch will do the trick. That way you will be able to move faster.
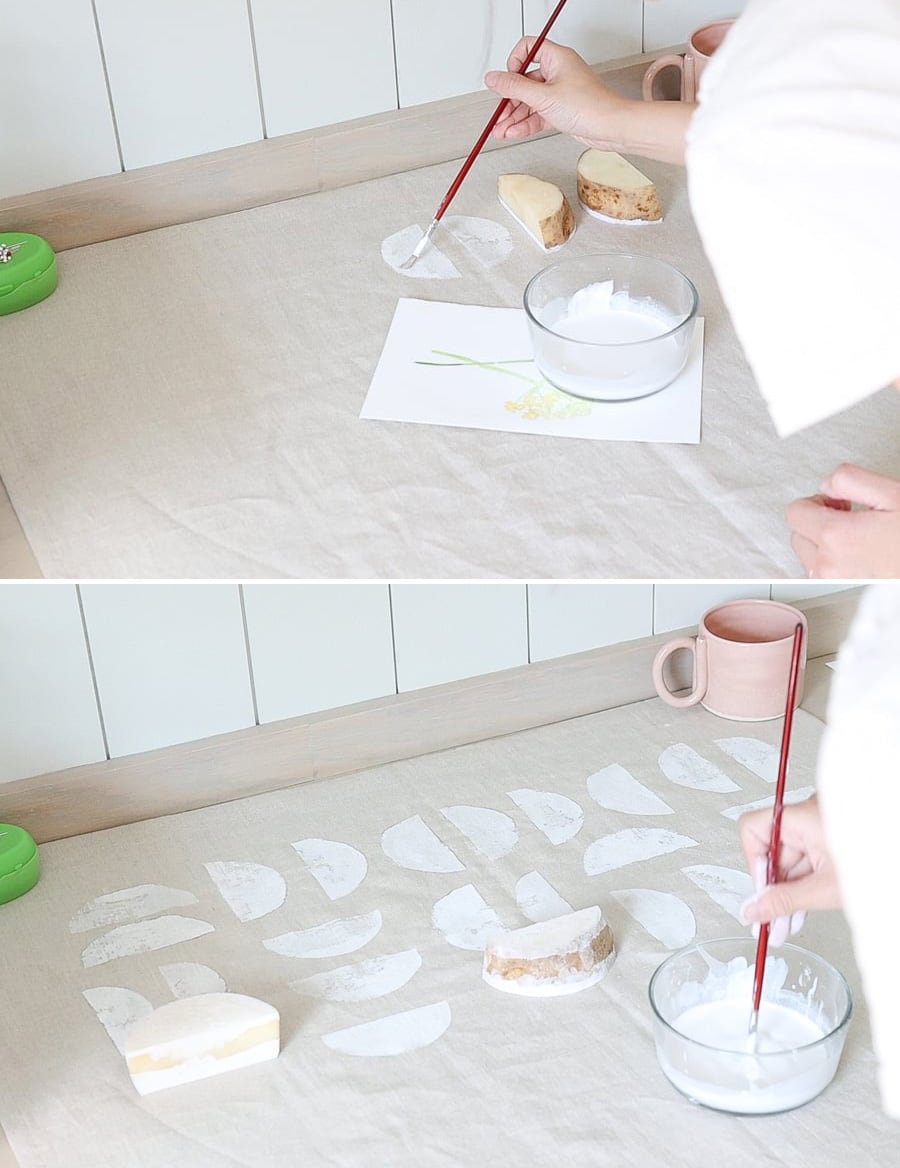
Once the pattern got all stamped and the fabric became dry, I started to do another pass of touch up. The paint will dry lighter than when it was wet. So if the color is too light for you or if it is missing some spot, you can use a paint brush to do some final touch up at the phase too.
How to hang large scale wall art to the wall
Before hanging this large wall art, finish the edges of the fabric. I have a sewing machine, so I went ahead and hemmed the edges. If you don’t have a sewing machine, you can just leave the edge raw, or pull out some thread to have a fringed edge. You can check out DIY no sew table runner tutorial on how to create a fringed edge that looks more finished.
Once everything is dry, I fold the fabric, and sew along the top for a nice presentation. This way I would have a pocket on the fabric so I can put a wooden dowel through and use it to hang the fabric on the wall.
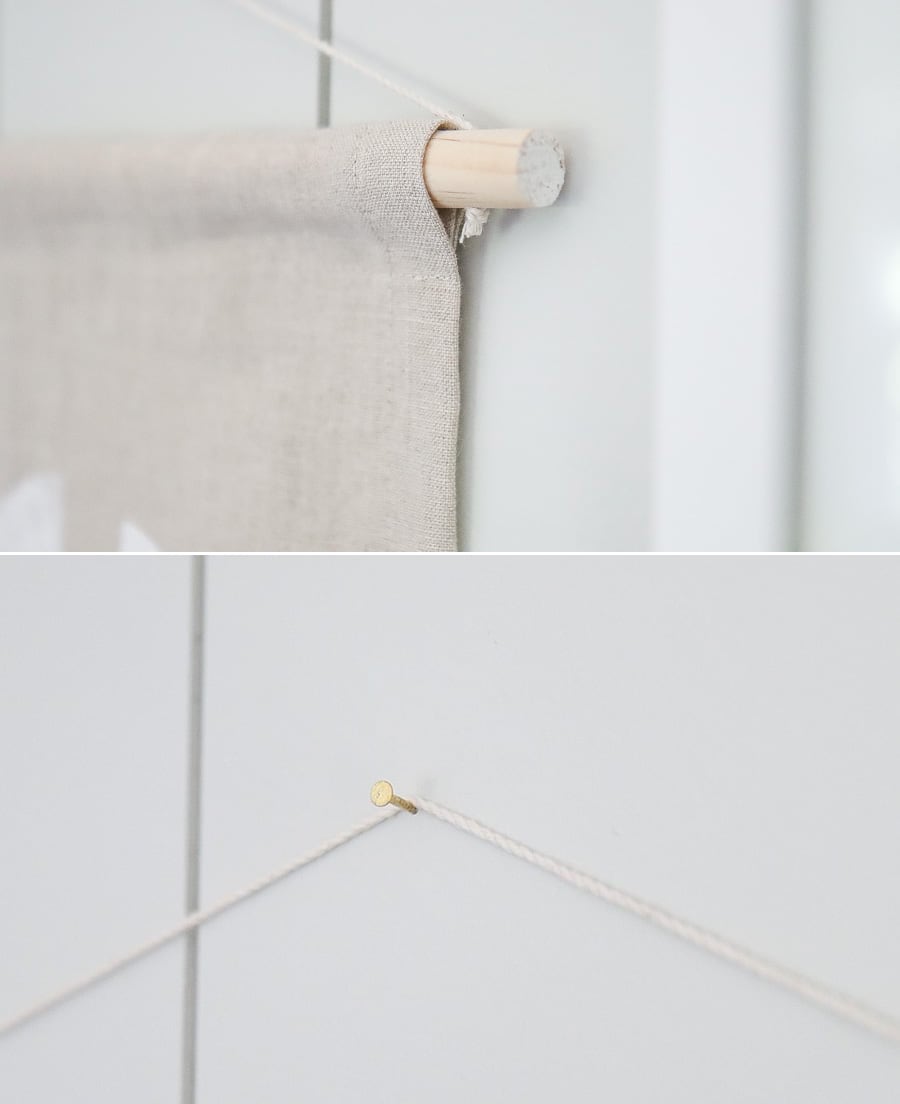
Alternatively you can also just attach this large wall hanging by nail two corners to the wall. That will create a more boho and casual look. Because I want the top to be straight, I decided to place a wooden dowel through the top to support the shape of this DIY wall hanging.
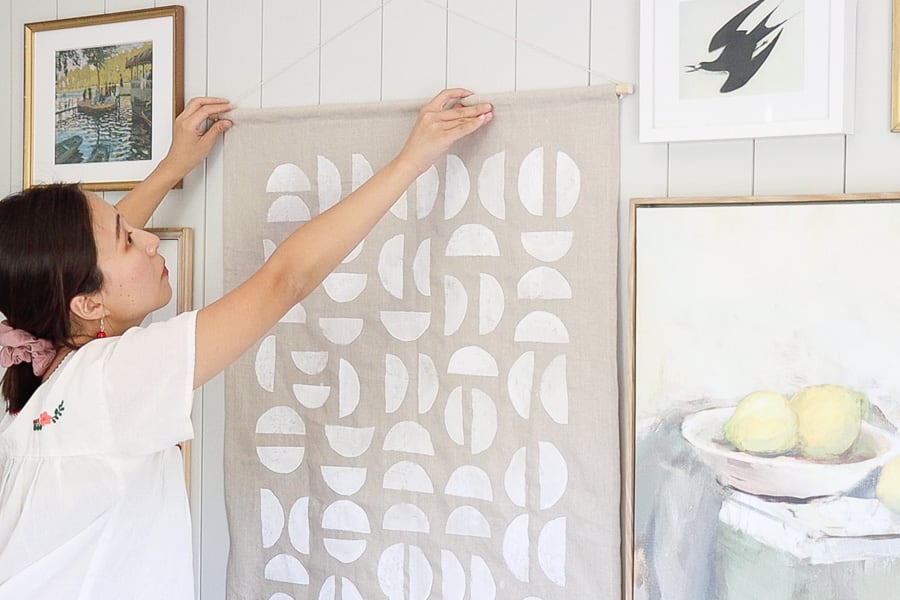
That is all the steps to create your own large scale wall hangings! I hope you enjoy this tutorial and give it a try!
Large scale art makes a big difference
Here’s before and after of my home office gallery wall, so you can see everything in scale. Without this DIY large wall hanging, it would be pretty difficult to over the mini door on the wall. I’m so happy with our this DIY decor project turned out.
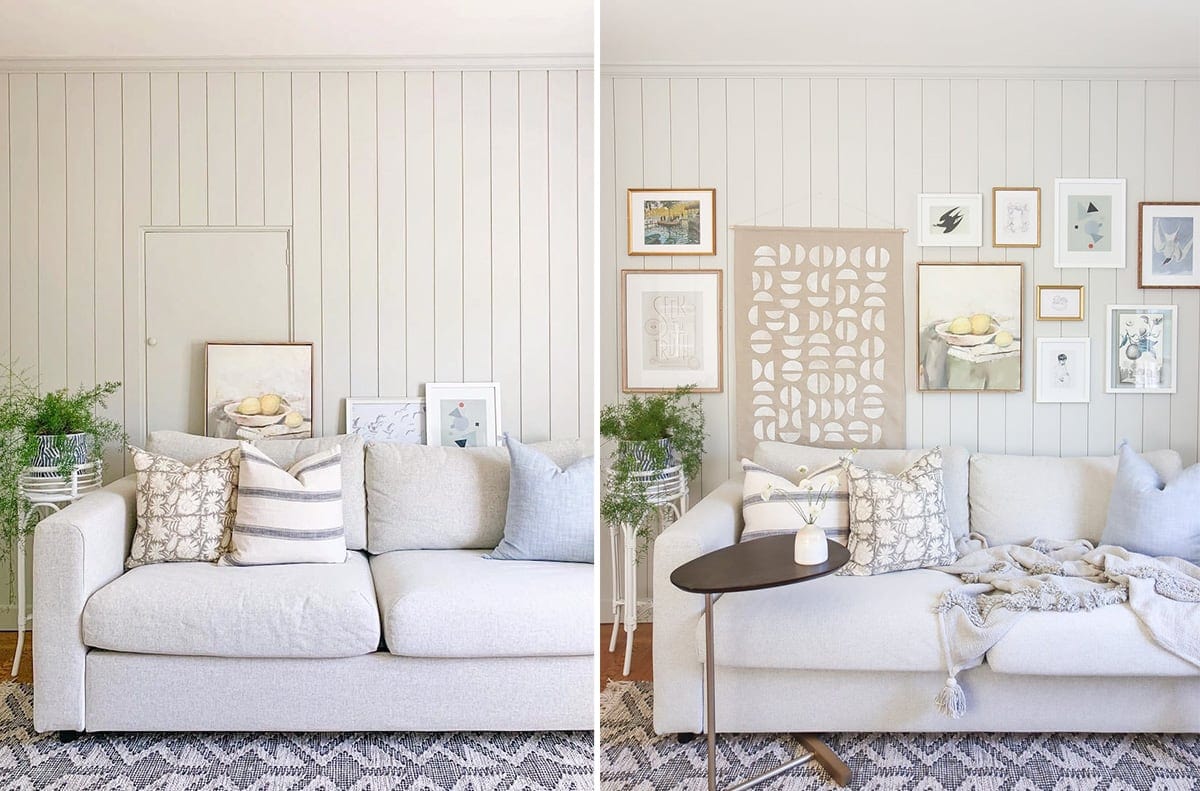
Of course there are other ways besides a large wall tapestry as a good wall art option. I’m hopping to share more tutorials to make getting large scale wall art more affordable. Emily Henderson has also shared some great tips on affordable large scale art ideas on her blog!
Pin it for later
I love how this wall art turned out. I have an empty wall in our kitchen where I would love to do something similar. I am having our kitchen cabinets painted so maybe once that project is done I can get started on that. Thanks so much for sharing!!!
Thank you Jackie 🙂
Thank you so much for sharing this incredible project. We just bought a house with a massive wall and we had no idea what to do with it before we found your art project. We finished it up last weekend and the wall looks soooo good. All that’s left to decorate is getting a professional to come in for an upholstery cleaning and putting the furniture in the right spot. Thanks again for sharing.
I love how you’ve designed your space! Can I please ask where the tiny table that goes over the couch is from?
Thanks 🙂
the side table with black top is from west elm!
did your dowel come with holes for the string or did you put the holes in the dowel? If so, how?
I drilled through two ends of the dowel using a thin drill bit.