I have a fun cigar box crafts tutorial for you! This repurposed cigar box is both pretty and functional – perfect for storing knick-knacks and used as a stylish home decor. The ideas and techniques in this DIY cigar box makeover can be applied to your other thrifted home decor objects as well.
Who doesn’t want to DIY expensive decor item?
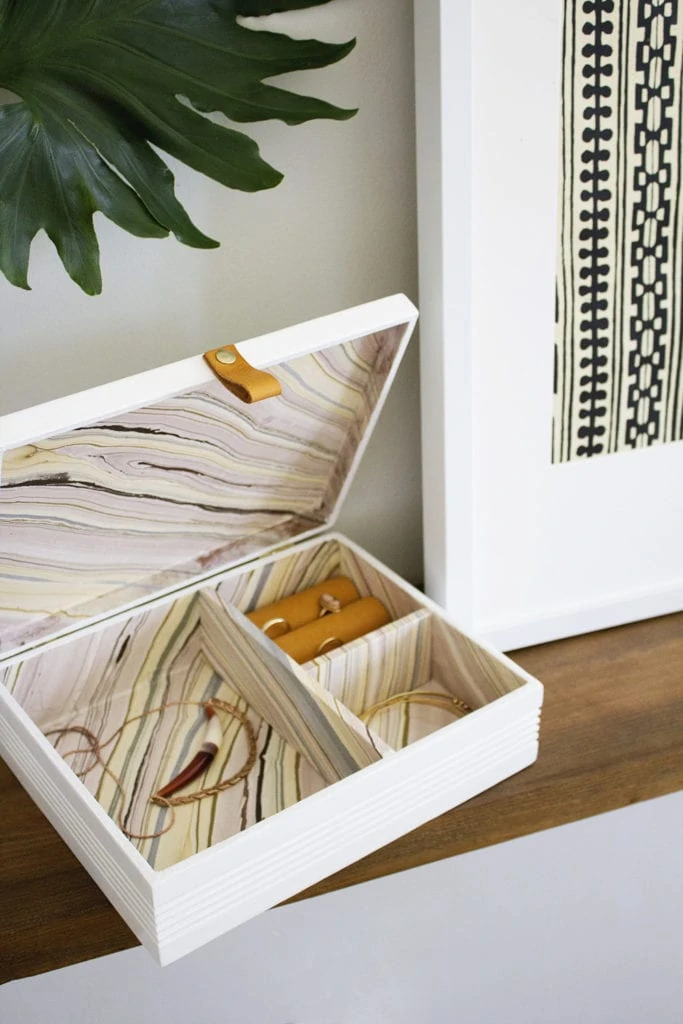
In the past couple years, beautiful small box has become quite trendy, especially those bone inlay ones. They are just so versatile: perfect for hiding and storing small knick-knacks while adding beauty and form to your coffee table or console. I am in love with this box on Mcgee and Co, but $108 for a box is just above my budget.
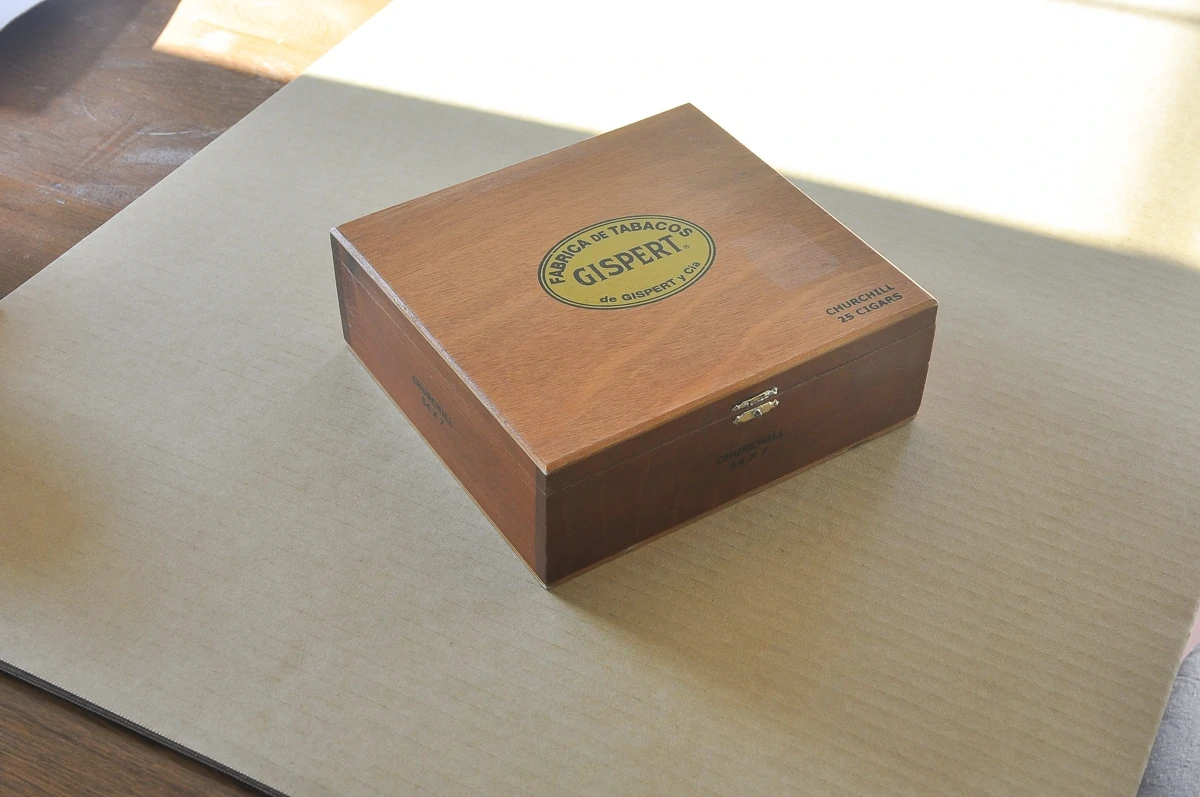
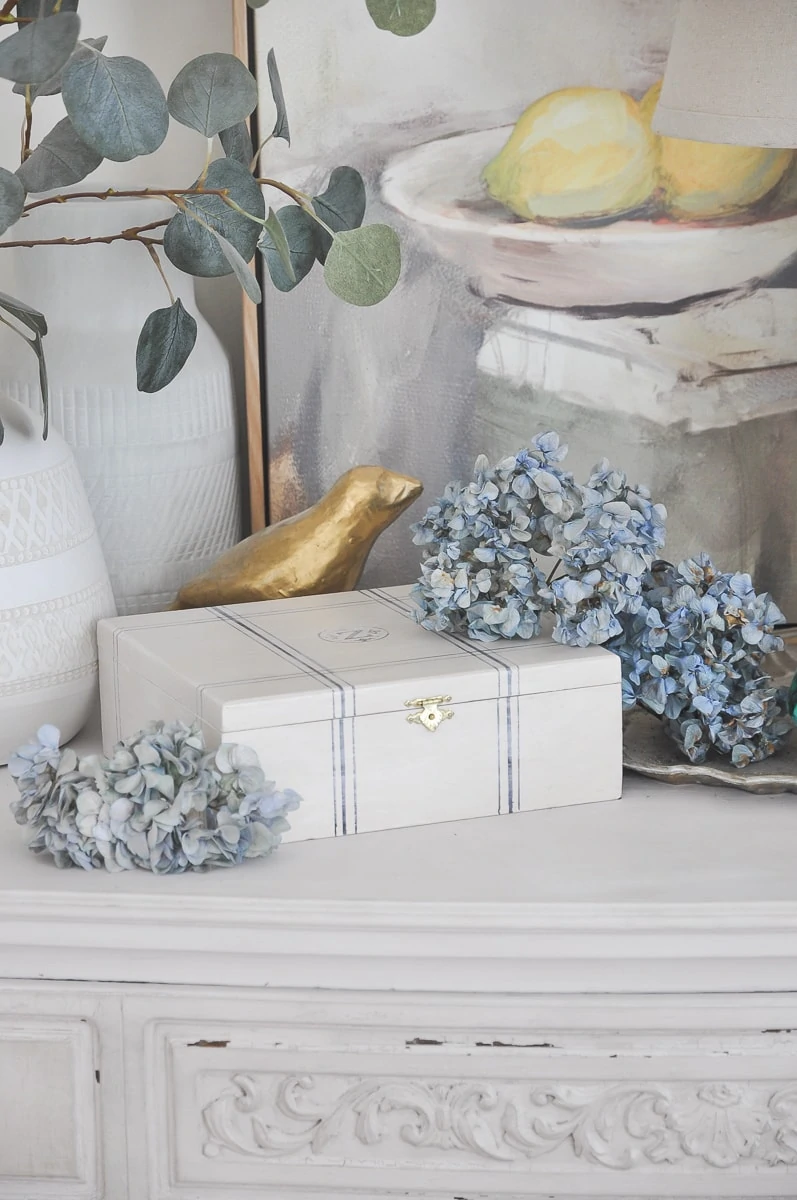
So when I ran into a brown cigar box at a local thrift store, I knew I had to get it and transform it! It costed me $4, a fraction of the retail price. I recently transformed it with the super common crafting tools I have on hand. If you enjoy crafting, I bet you already have all the supplies needed for this project. All you need to do is grab a cigar box from your local thrift store or online. I have to say that the end result is so transformational! If I see it in a store, I wouldn’t associate with a cigar box at all, although they share the exact same shape.
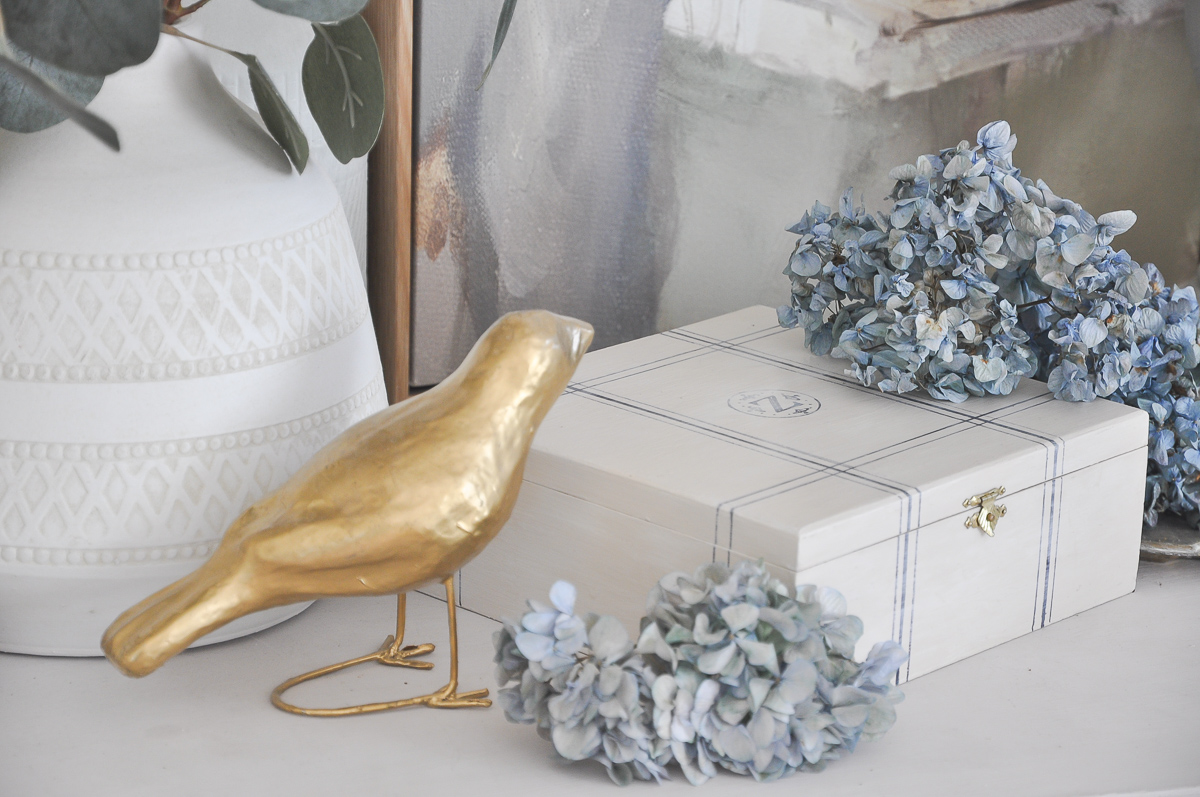
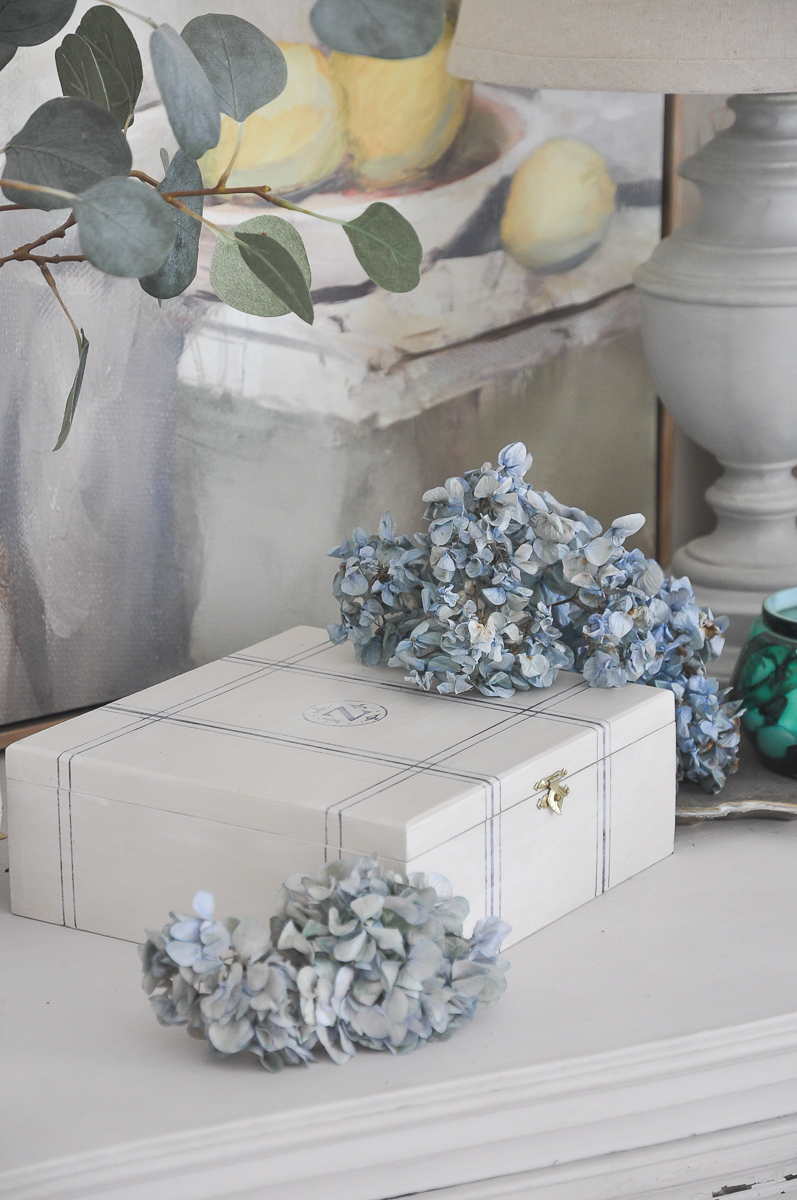
Below is the before and after of this cigar box transformation:
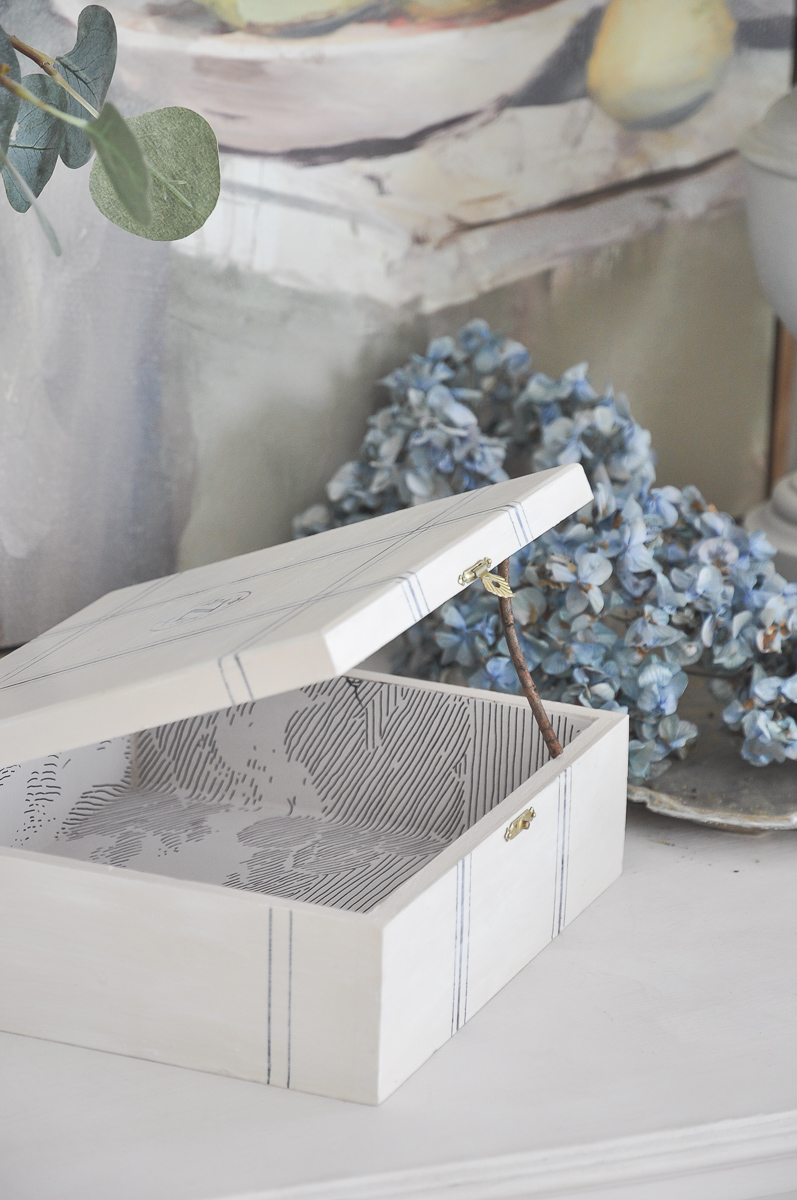
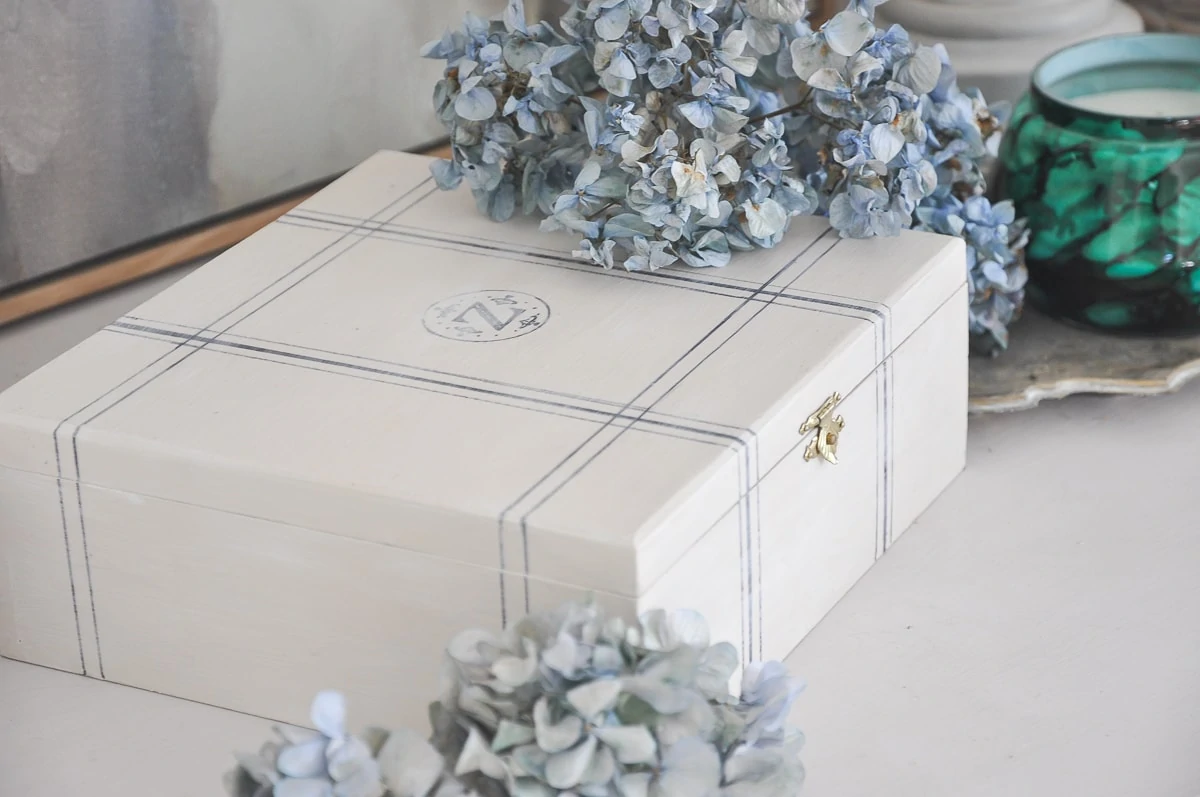
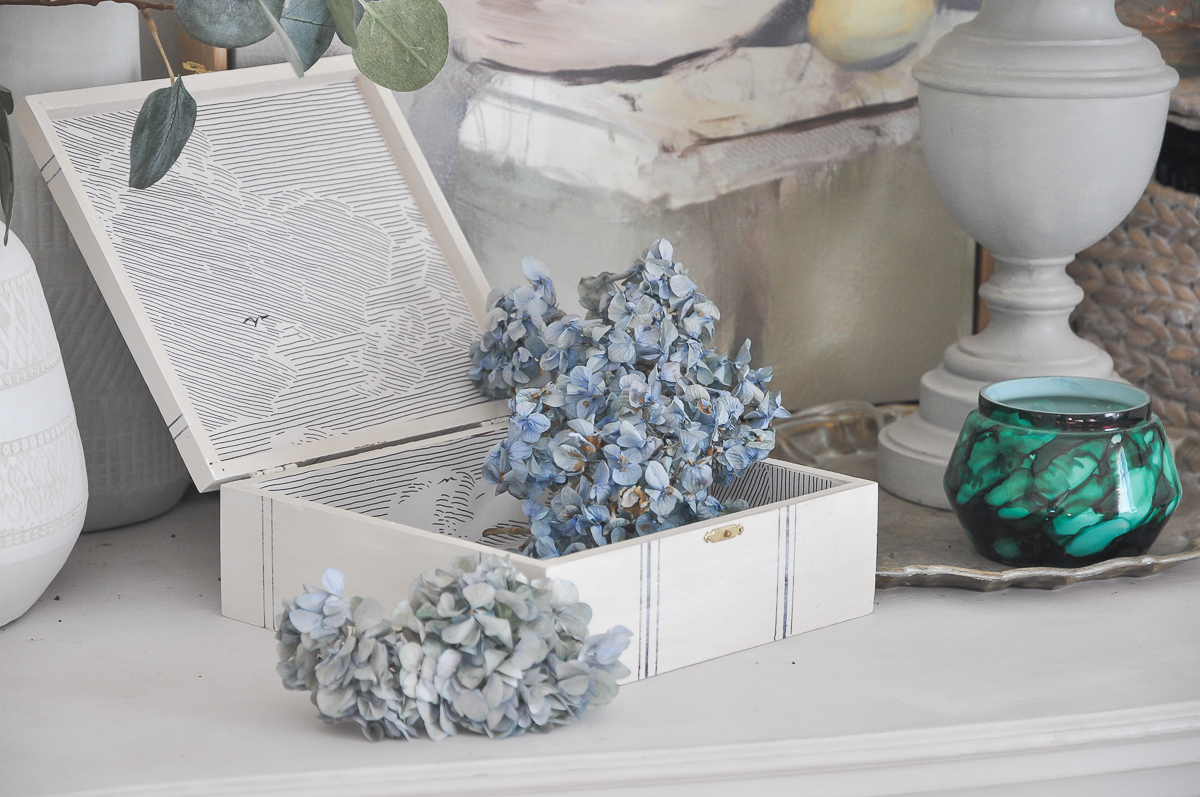
The color and style of this repurposed cigar box is so classic, and neutral, perfect for almost any home interior style. You can put it on coffee table, console table, bookshelf, etc. I personally use it to store my hairbands and other small things on my nightstand. It not only hide knick knacks but also add style to the bedside space I see everyday.
Video tutorial
I recored the whole process when I was doing this DIY cigar box makeover. I didn’t know exactly what I wanted it to be like, just planned as I go. But I have to say I’m pretty happy with the end result and I hope you get some inspirations too!
Tools
Cigar box. Either vintage or new. You can find them at a lower cost in thrift store. My local cigarette shop also sell empty cigar box for a pretty low price.
Paint. The exact paint I used is “Linen” from Amy Howard At Home, but honestly any beige, light gray color will do.
Sharpie to create stripes.
Mod podge in matte sheen.
Wallpaper or gift wrapping paper leftovers.
Step-by-step instructions
STEP 1. CLEAN THE CIGAR BOX
Remove the hardware (those little metal lock pieces) if possible to easier painting. Then give the box some basic cleaning, remove stickers if needed. I also sanded the inside a little bit as some part of it is a bit rough.
STEP 2. PAINT
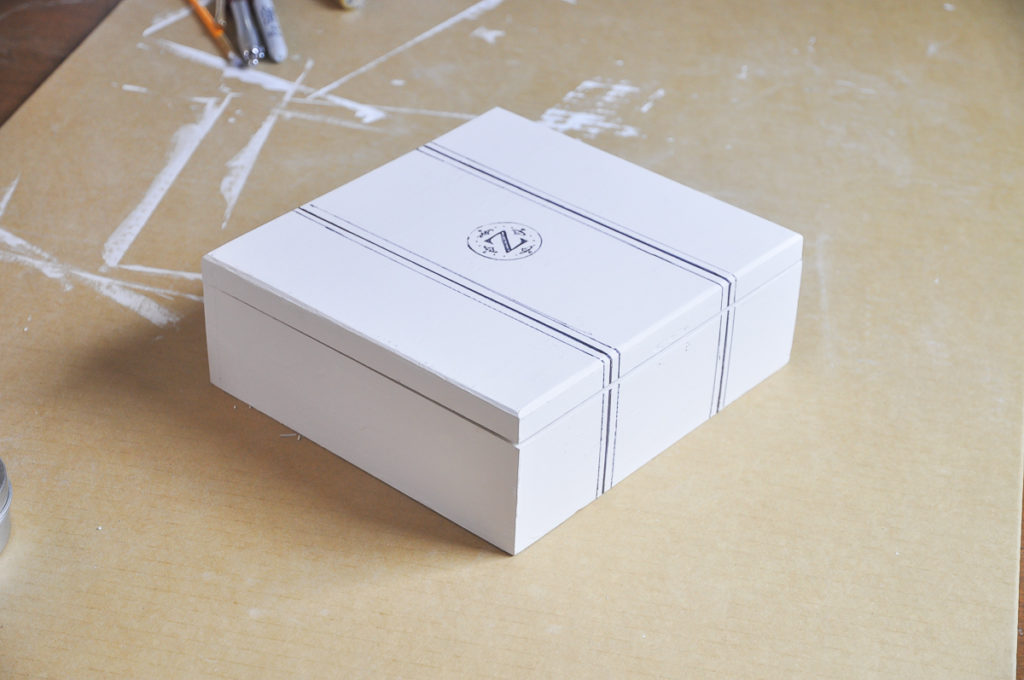
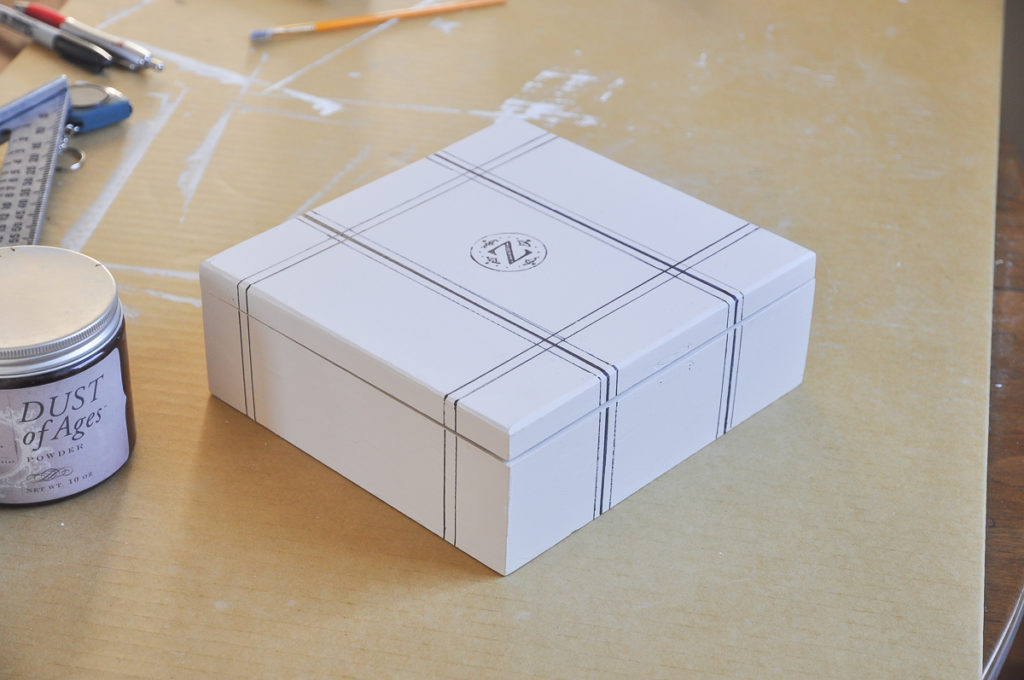
I gave it 2 coats of paint. The exact paint I used is “Linen” from Amy Howard At Home, but any beige, light gray color will do. I painted all the surfaces of this cigar box except part I will cover with lining.
STEP 3. ADD WALLPAPER LINING
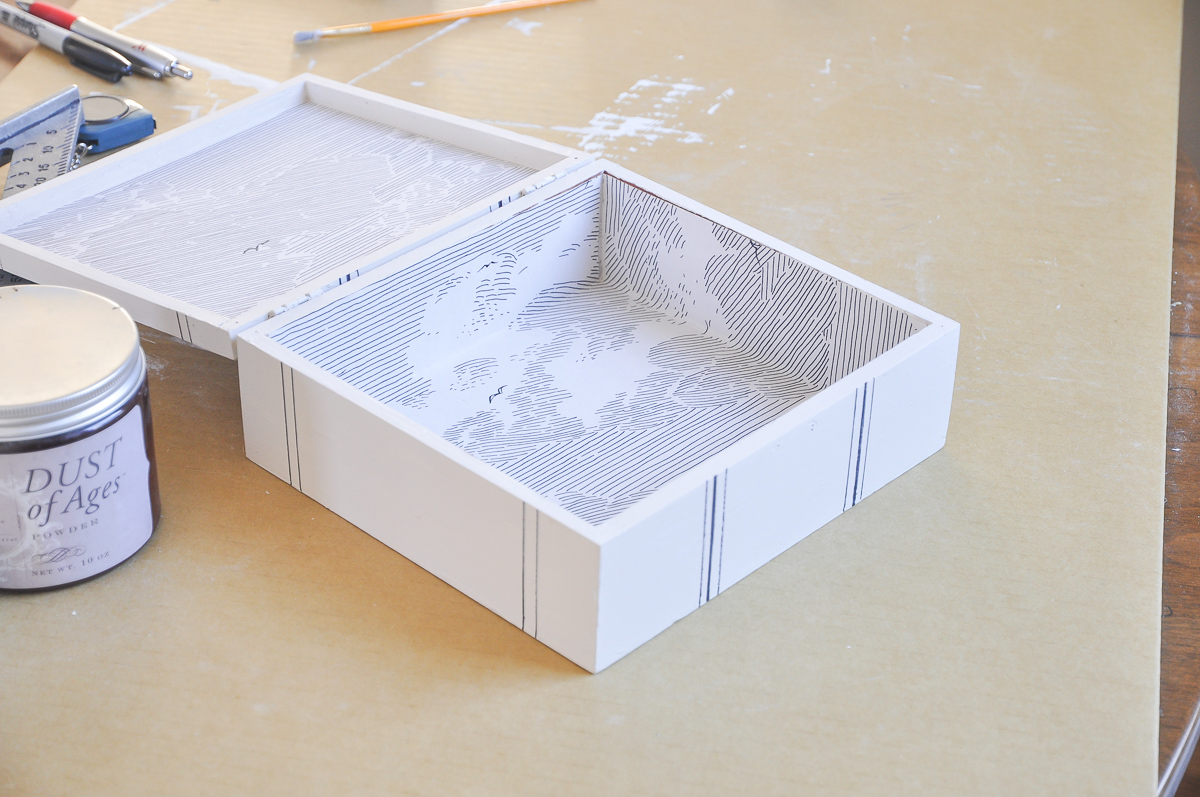
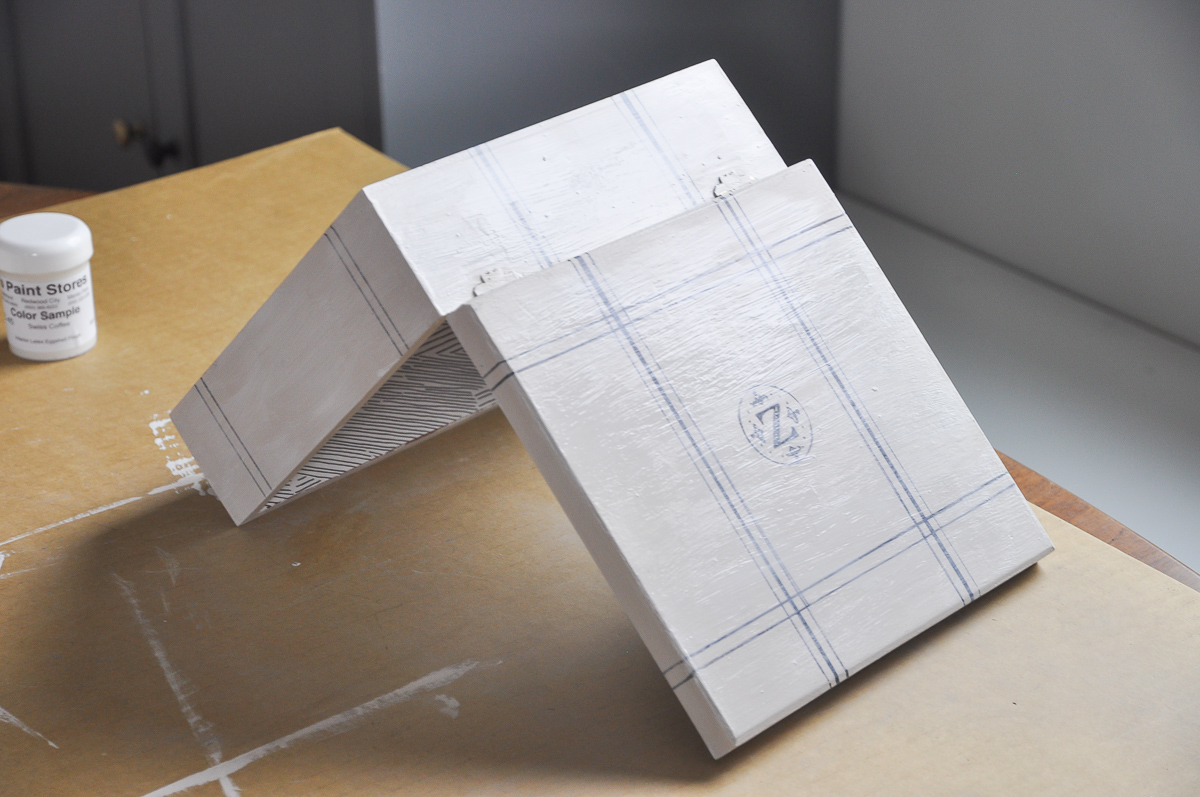
I have some wallpaper leftover from the bathroom project, so I was very happy to reuse that as lining for this cigar box makeover. I also love how the black and white pattern matches the stripe pattern of the box exteriors. You can use wallpaper, contact paper, wrapping papers, etc.
To make sure the lining will fit the cigar box well, there’s two ways: either measure the box and cut out the pieces according to the measurement; or put the lining in and work around it to crease all the corners and edges, then trim with scissor. You can refer to the video in this post to see how I did it in the second way. Once you have all the lining pieces ready, make sure to do a dry fit first before applying any adhesive to the cigar box.
Apply wallpaper glue (if your wallpaper is self adhesive, skip this part) to the box interiors where you would like to add linings. I used the leftover wallpaper glue and it worked great. If you don’t have wallpaper glue, don’t worry, Mod Podge would work great just as well.
Then place the wallpaper in, and use a wallpaper smoothing tool or plastic putty knife to smooth it and remove excess glue. Let it dry and cure based on package instruction.
OPTIONAL STEP: If you are using wrapping paper, it is recommended to seal the surface with Mod Podge to add a protective layer, due to the nature that wrapping paper is very papery hence easy to break. Because my wallpaper is waterproof, I didn’t add any protective layer.
STEP 4. ADD DETAILS ON EXTERIOR
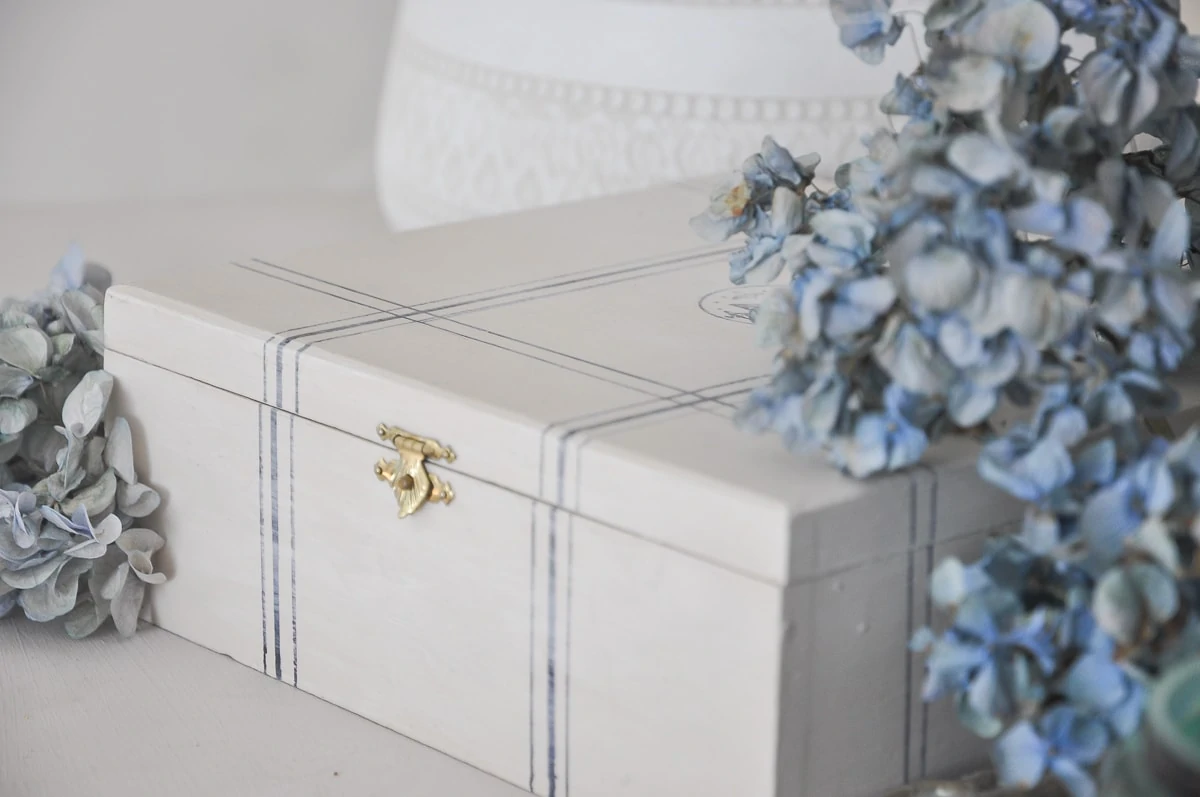
This is the step to express your artistic side! I did some stripes to mimic a bone-inlay style. Also I drew a monogram to add more personality. I used sharpie for that since the line will be kind of thin. If you are making bolder lines, you can using masking tape and black paint.
STEP 5. SEAL IT WITH MOD PODGE / “GLAZING”
I call this step “glazing”. This step serves 2 purposes: 1. it adds a protective layer on the surface, so cleaning it is fairly easy. 2. it adds a bone inlay effect with the translucent layer on the surface.
Mix Mod Podge with white paint in 5:1 ratio to create this semi-transparent layer – this is the key for the bone-inlay-ish effect. If it is too opaque, add more Mod Podge; If it is too transparent, either add more paint or brush on another layer of “glaze”.
Once the “glaze” is dry, simply the hardware back and you are ready to enjoy this beautiful storage box. I bet you will be so addicted to this project that you are going to run to thrift shop to get more vintage cigar boxes! And seriously the possibilities are endless – check out the below section to get some inspiration on more cigar box crafts ideas.
Cigar box crafts inspirations
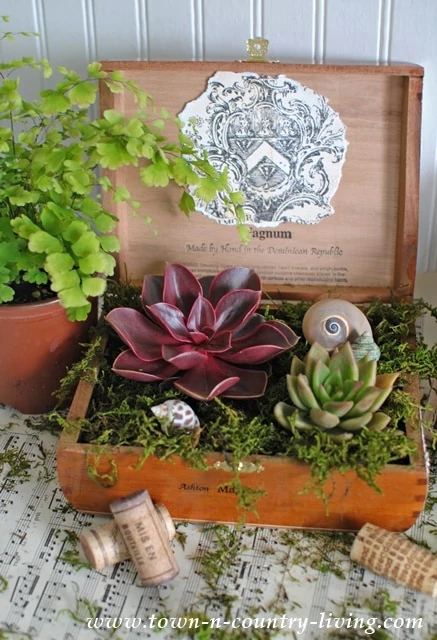
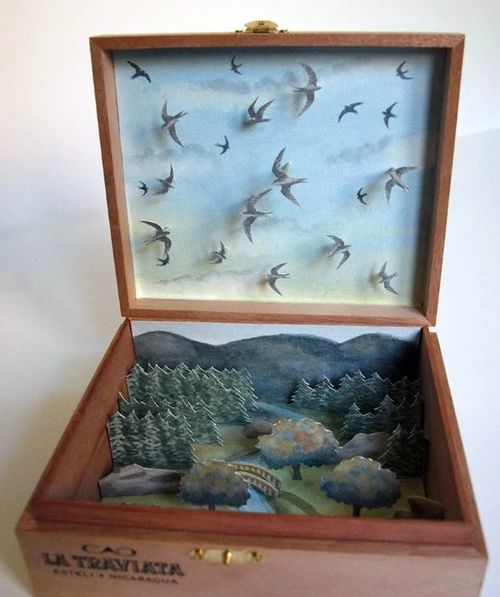
There’s so many great cigar box crafts ideas in the beautiful DIY community. Here’s a few of my favorites:
Other makeover tutorials
$1 Thrift Store Picture Frame Makeover (with Video) and FREE Downloadable Art
Nightstand Makeover | How to Update an Old-looking Furniture
How To Line Drawer With Contact Paper (with Video)
This is the prettiest cigar box makeover that I have seen. Thank you for sharing it.
So glad you enjoyed my DIY 😀
I have been collection cigar boxes for years. Maybe this will keep the remotes where they belong and not in someone’s pocket! lol Thanks for the instructions!
Thanks! Glad you like this Cigar box DIY project
THANK YOU FOR YOUR DEDICATION AND CREATIVITY.
This is so beautiful! I love how yours turned out… I finally have the inspiration I needed to turn my cigar box into something lovely, too! Thank you!
Hi Kathy,
Thanks for your sweet words! I’d so glad you liked this tutorial.
I hope you have fun with your upcoming cigar box project and cannot wait to see how it turns out 🙂
Your box is soooo pretty! I’ve been decorating cigar boxes for years and I especially love what you did with yours. Thanks for including my little succulent box as inspiration. I love the one by David Gothard too! It’s so unique. Isn’t it fun to turn cigar boxes into something pretty?
Yes It is so much fun 🙂 I just cannot wait to repurpose more cigar boxes.
Your cigar box planter is such a great idea and looking forward to seeing more of your decorated cigar box.