Related posts:
DIY IKEA Havsta Banquette Seating Built-in
DIY Small Dining Room Remodel Update
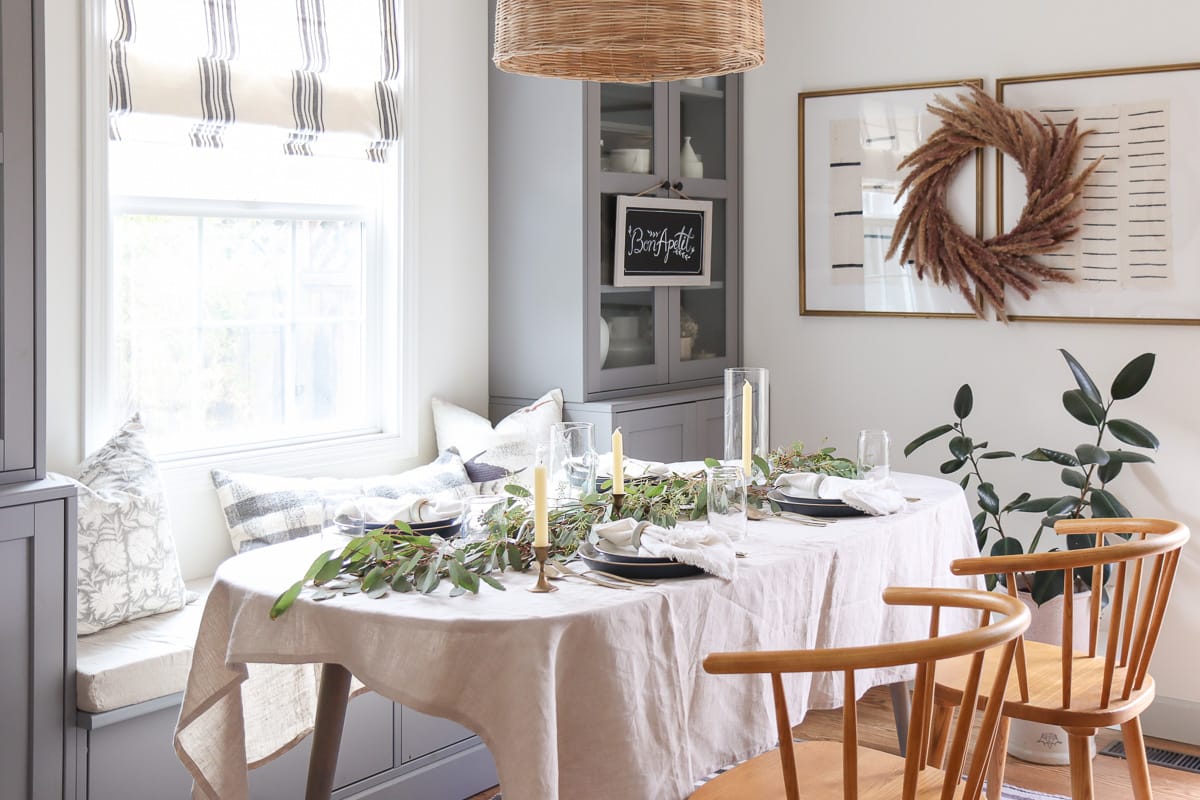
Wall color: Benjamin Moore Simply White
Dining Table (purchased second hand and refinished using minwax classic gray)

DIY IKEA Havsta Banquette Seating Built-in
DIY Small Dining Room Remodel Update
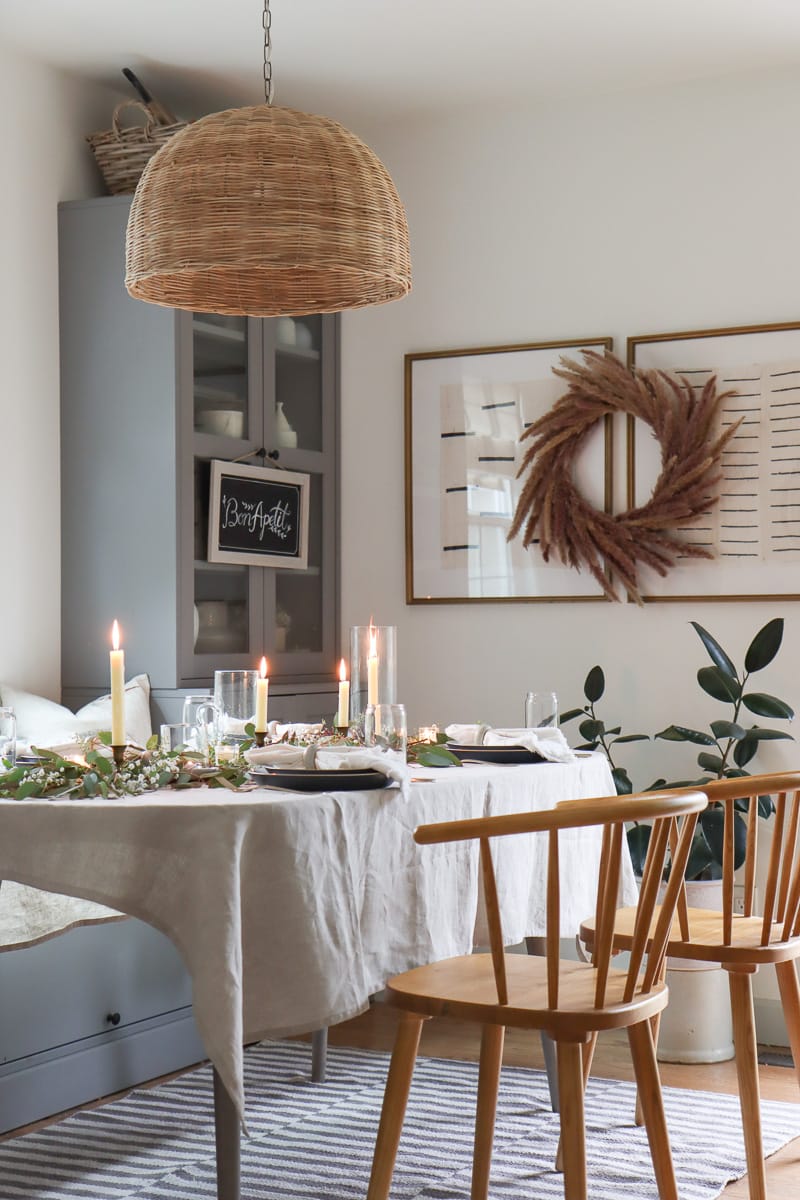
Wall color: Benjamin Moore Simply White
Dining Table (purchased second hand and refinished using minwax classic gray)