Are you tired of looking at your picture frames that seem so old and boring? Or don’t know what to do with those old picture frames from the thrift shop?
Picture frames are more than just a way to display cherished memories; they can also serve as stylish accents to complement your home decor. In fact, hanging framed art is one of the best ways to jazz up your home.
If you’ve been wondering how to update an old picture frame and give it a fresh, modern look, then you’ll surely catch some important tips in this post. In this blog post, I’ll be sharing three creative and budget-friendly ways to transform your dated frames into new and improved stunning pieces.

1. Paint
One of the simplest and most effective ways to update an old picture frame is by applying a fresh coat of paint or stain. This easy step can completely transform the frame’s appearance and give it a modern touch that matches your decor.
When choosing the right color, you can go about it in two ways. The first way is to go for a shade that already matches your existing color scheme. Or if you’re feeling fun, you can go for a bold and contrasting color instead, so that the frame stands out as a focal point.
If you have spare paint samples lying around, they can also be a great resource for your DIY picture frame makeover. I usually go with colors like white, gray, or black, since they are versatile and can work well with different themes.
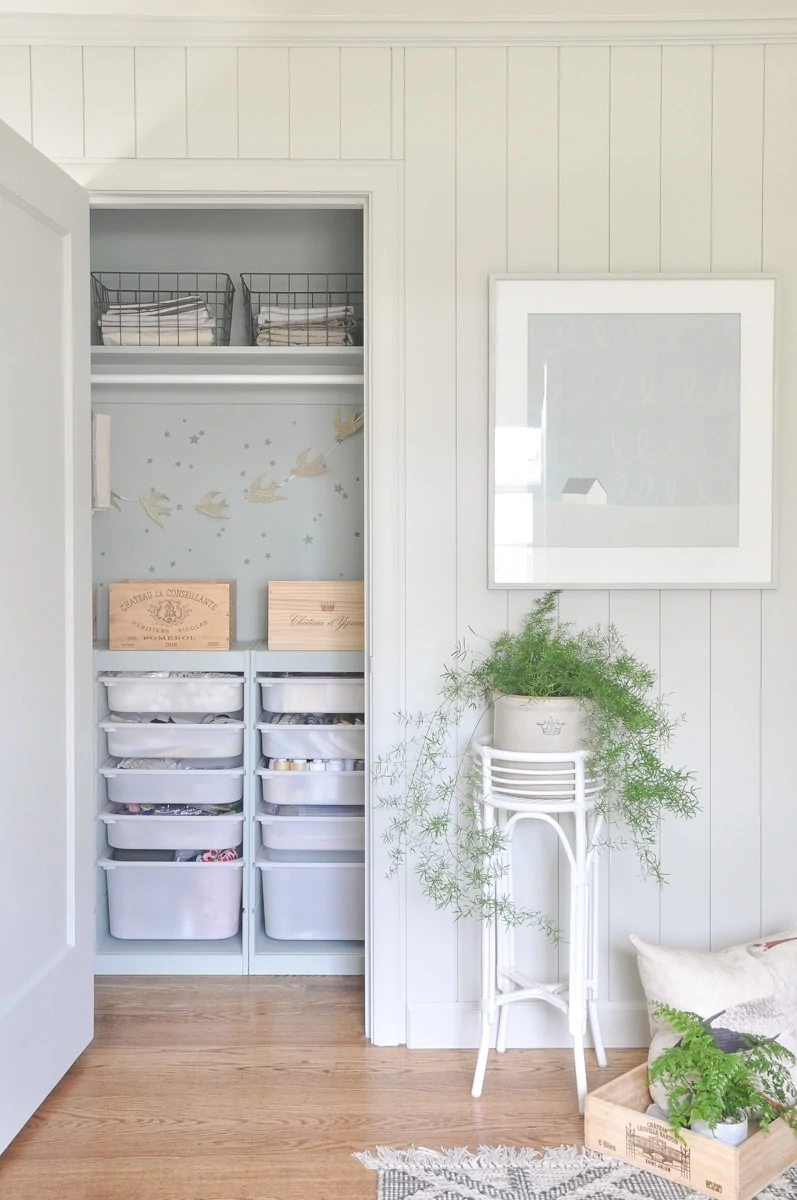
In this photo from my home office, I updated this old frame with a fresh coat of paint. I chose a light gray color so it flows really well with my office wall. Btw, I also painted the matte white – it was previously green.
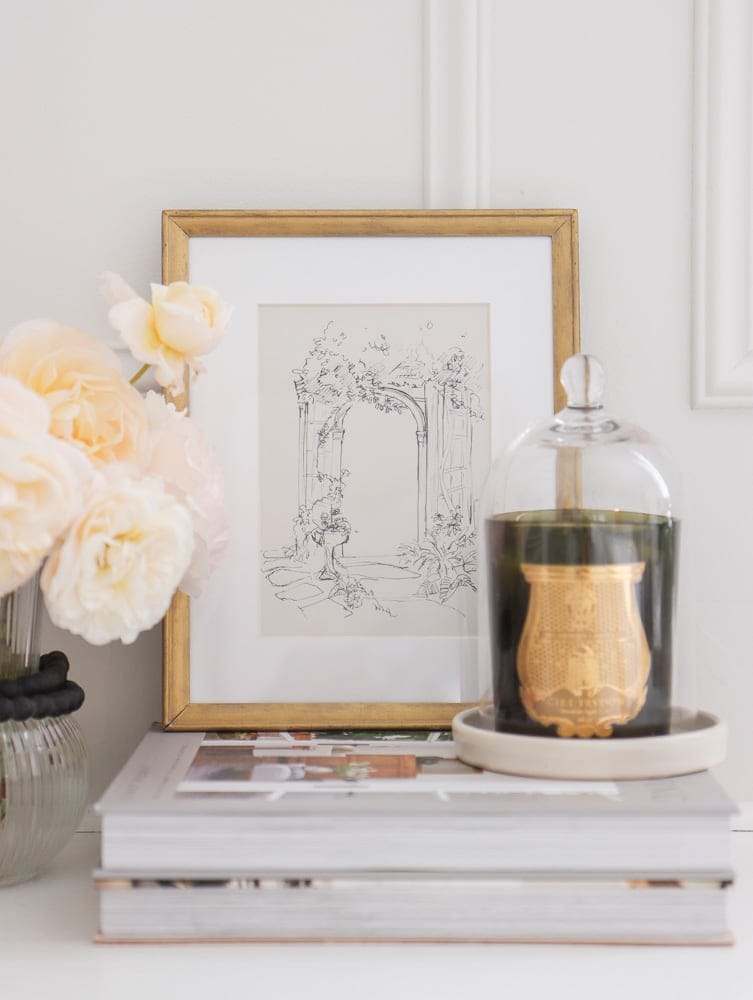
This is an old $1 metal frame I thrifted. It was in black but didn’t work well with the material and texture of this old frame. So I applied rub and buff gold wax and just transform the look.
As for metallic finishes, metallic spray paint is your best friend. It’s a quick and easy way to give your frame a beautiful transformation.
I personally like to use gold spray paint, because I really think it adds a touch of elegance and sophistication to my frame. If you’re not sure about which gold shade to use, you can check out my post 3 Gold Finishes Compared for a more detailed comparison of different options.
Another fun way to spice up your frame is to gold leaf the details.
In my $1 Picture Frame Makeover, I used black paint to cover its old red wood tone, and applied gold leaf only to the outer edge of the frame to add dimension and a look of luxury. I also think it created a subtle but eye-catching contrast against the rest of the frame.

2. Stain
A great way to update an old wooden picture frame and give it a modern touch is by changing its color. Sometimes, vintage or thrifted frames come with a stain that may look dated, like a deep red or a vibrant yellow. But don’t worry, you can easily transform them into something fresh and contemporary.
If the frame has a thick layer of varnish or a glossy finish, it’s best to start by sanding it down. This will help remove the existing stain and create a smooth surface for the new color. You can use sandpaper or a sanding block to gently rub the frame until the old finish is removed.
Once you’ve sanded the frame, you can then apply a new stain. For a modern look, I recommend choosing a lighter shade that would complement your decor. A whitewash or gray wash can also give the frame a more updated and sophisticated appearance.
However, if the frame has minimal varnish or you prefer a more muted and neutral look, what I would do is skip the sanding step. Instead, I go for a modern and trendy white wash effect by using white wax. It gives the frame a subtle and washed-out appearance, and it’s much easier to match with modern decor.
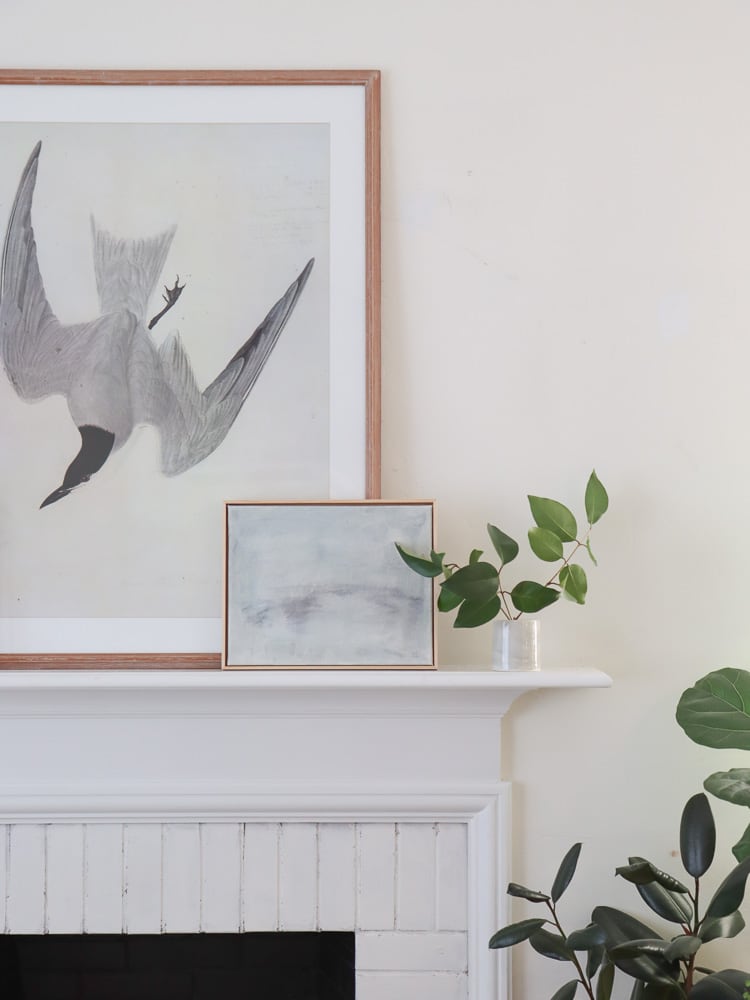
For example, I thrifted this large 36″ by 48″ frame, and used white wad to give this frame a light wash. By doing so, I was able to remove some orange hue from the wood, and make the old frame look more neutral and modern.
3. Update the Matte
Something that’s common with vintage frames is that they often come with colored mattes like green or yellow, which no longer align with current trends.
Such as this old frame I inherited from the previous owner of our home. The matte is a dated beige, which makes it hard to work with my home interiors.

A quick and easy way to update these frames is by painting the matte white. The white matte look can instantly modernize the frame’s appearance.
I just used some white paint samples I had on hand and it transformed it completely.

Here’s what it looks like now with a new art I collected.
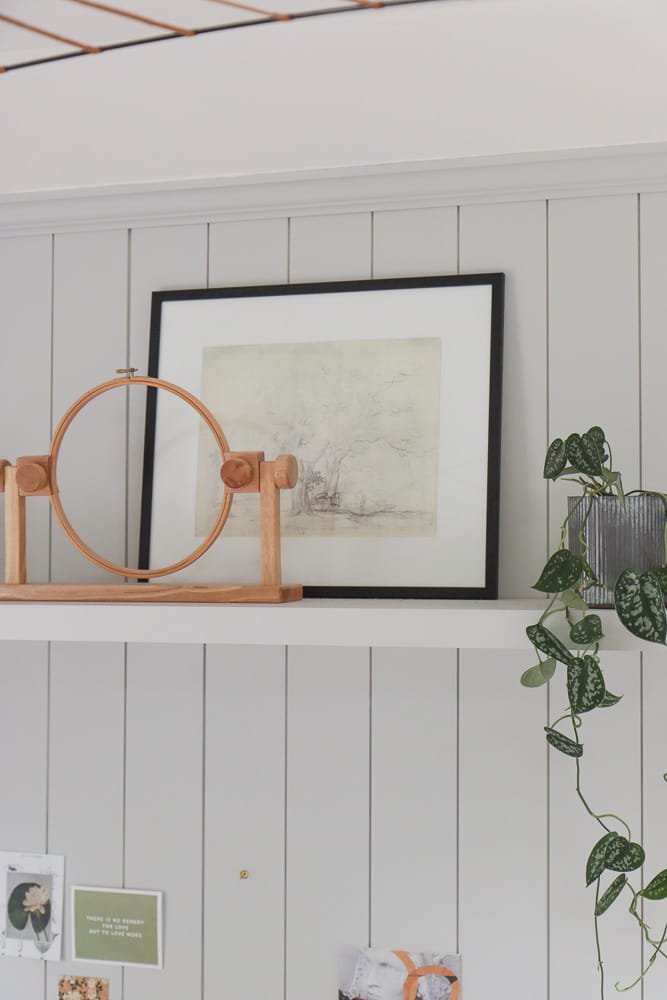
Alternatively, if painting isn’t your thing or you prefer a more dramatic change, you can replace the matte altogether. Mattes are usually affordable and can make a really big difference in the overall look of the frame. I often find great options at Michael’s stores for under $10.
One tip is to avoid black matte, unless it suits your home decor style perfectly. I made the mistake of buying a black matte once and found it challenging to match with the art inside the frame or the overall interior of my home.
It’s best to go for safer colors like neutral tones, or complementary colors that will blend seamlessly with your art and surroundings.
Try different ways to Mount the Pictures
It might not be the design of your frame that looks dated, but rather how it’s mounted. Changing how you mount your art can make a big impact. Here are two simple ways to mount frames that you can try:
Float Mount
Float mounting can add more depth and dimension to your framed art. To float mount a picture, you’ll need some foam board and adhesive.
Start by removing the back of the frame and cutting a piece of foam board to fit the artwork’s dimensions. Then, attach the artwork to the foam board using adhesive, making sure it is centered.

Finally, place the foam board with the art back into the frame, leaving a small gap between the artwork and the frame itself. This creates the illusion that the art is floating within the frame, which I think looks super intriguing and modern.
I recently tried this technique with a vintage art piece that I thrifted, and the result was amazing. The added depth gave the artwork a more dynamic appearance and instantly modernized my old picture frame.
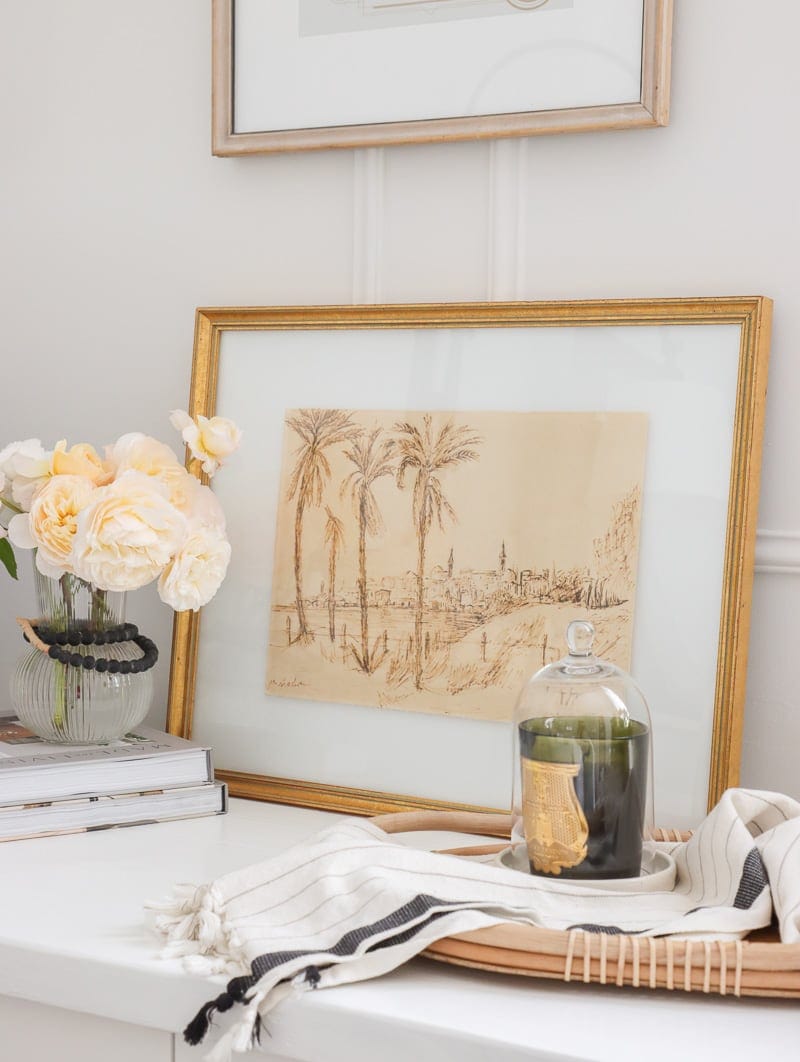
And here’s a closeup look that you can see the art looks like it is “floating” inside the picture frame. I really like this method which adds more dimension to an wall art.
I did the same floating technique for my DIY framed textile wall art.
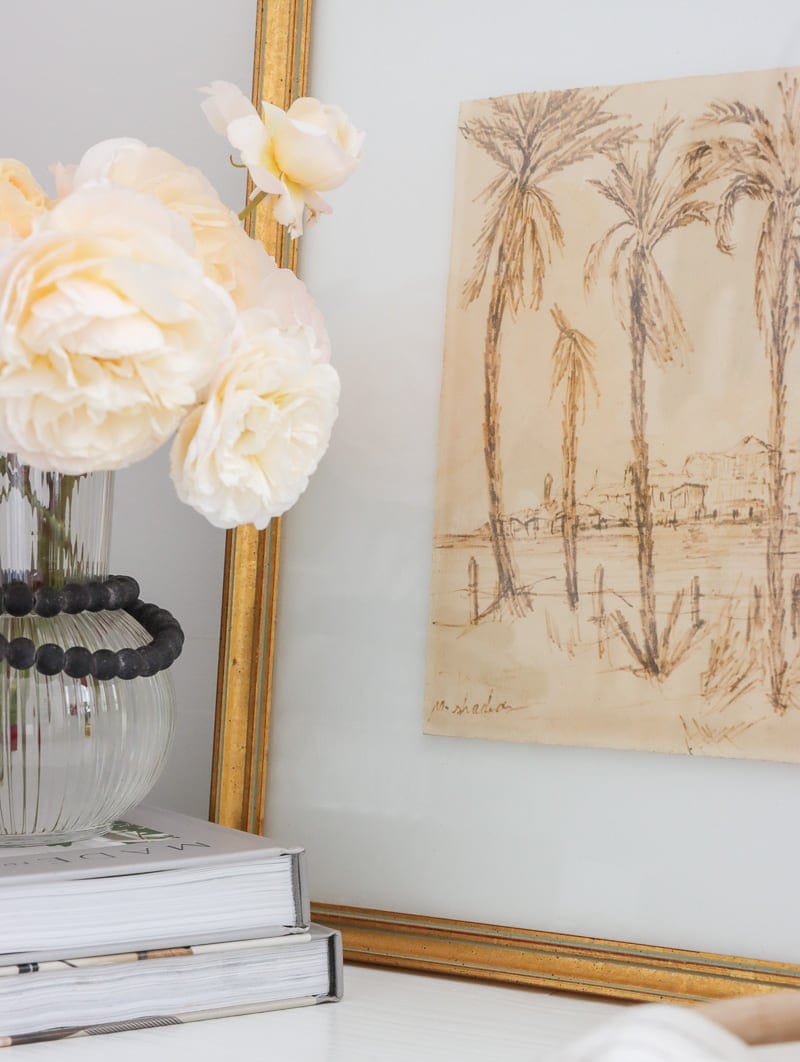
Direct Mounting
If you’re looking for an even more minimalist and contemporary approach, you can even remove the back of the frame altogether. You can stick the art directly on the glass or mount it directly on the wall in an open display. This method takes away the traditional frame matte and allows the artwork to become a focal point on its own.

To directly mount the art on glass, first clean the glass thoroughly to remove any smudges or dust. Then, carefully align the artwork on the glass, making sure it is centered and straight. You can use adhesive dots or double-sided tape to secure the art in place.
Or if you prefer mounting the art directly on the wall, you can use adhesive strips or hooks. Just make sure that they won’t damage the artwork or the wall surface.
Direct mounting gives off a sleek and modern vibe, and it can give your pictures a gallery-like feel. It’s a great option for showcasing contemporary art or creating a statement wall with several framed pieces.
Update the Hardware
When working with old or thrifted picture frames, you may come across hardware that feels outdated and difficult to handle. But don’t worry, I’ve got you covered with my favorite methods to update the hardware, so it’ll be easier to hang your frames on the wall and replace artwork in the future.
Turn Buttons
One of the key improvements I like to make is adding turn buttons to the back of the frame. These little devices can really simplify the process of changing pictures.

That’s because many vintage frames have their backs sealed with framer’s tape, which can be a real pain when you want to swap out the art. Or in worse cases, the backing board might have been secured with staples or small metal blades inserted into the wood frame itself.


In either case, after removing the old mechanisms used to secure the backing board, I highly recommend adding turn buttons. With these in place, updating the art in the future becomes much easier for me.
Sawtooth Hanger
Another hardware upgrade that I find super useful is adding hanging hardware, such as sawtooth hangers. Old picture frames often use metal wire for hanging, which I find bulky and difficult to figure out the exact “hanging point” on the wall.
But by attaching a sawtooth hanger, you can eliminate the guesswork. All you have to do is align the hanger with your desired hanging spot on the wall, and voila! Your frame will hang securely and effortlessly.
While we are on the topic of hanging picture frames, let’s talk about one popular way to hang picture frames without any hardware or nails – 3M command strips.
3M Command Strips Review for Hanging Pictures

3M command strips were designed to work for hanging pictures. However, they don’t work as well as sawtooth hangers and nails. Here’s why.
When you use 3M command strips, you can skip adding hanger hardware, which is exciting. But after using command strips for a few years, I’ve noticed that frames hanging on the wall by command strip tend to fall after a few years.
So in my experience, when using command picture hanging strips to keep picture frames on the wall, they don’t last very long due to the glue deteriorating. It makes it a bit luck-based. Out of over 10+ art I hung with command strips, about 30% of them have fallen.
Luckily, most of the picture frames I’m using are relatively lightweight so that no one got hurt when they fell, but I won’t use command picture hanging strips as a long-term solution, and will only use it for hanging pictures that are only supposed to be up on the wall for a few months.
Another thing not so great about using command strips to hang frames is that the strips are supposed to stick to the frame, which is the outer edge of a frame. When looking from the side, you can really see those white strips as they are ⅛”+ thick.
Can you spot the command strips in this photo?

3 Ways to Update Picture Frames Summary
Before throwing away your old picture frames and spending a few bucks on some new ones, it’s always best to look for fun and creative ways to update your old picture frames and instantly modernize them!
I hope you were able to collect some interesting ideas from this post and are feeling inspired to do some DIY makeovers on your old picture frames.
If you’ve done some of these, please share them with me! I’d love to see your work and maybe even get some new ideas for my own picture frames 🙂
More DIY Ideas
Pin it for later


Leave a Reply