Are you looking for a simple and practical way to add some extra storage to your bathroom without sacrificing any floor space? If so, you may want to consider building a floating shelf above the toilet in your toilet nook!
In this blog post, we will walk you through the steps of building your very own DIY wall to wall floating shelf.
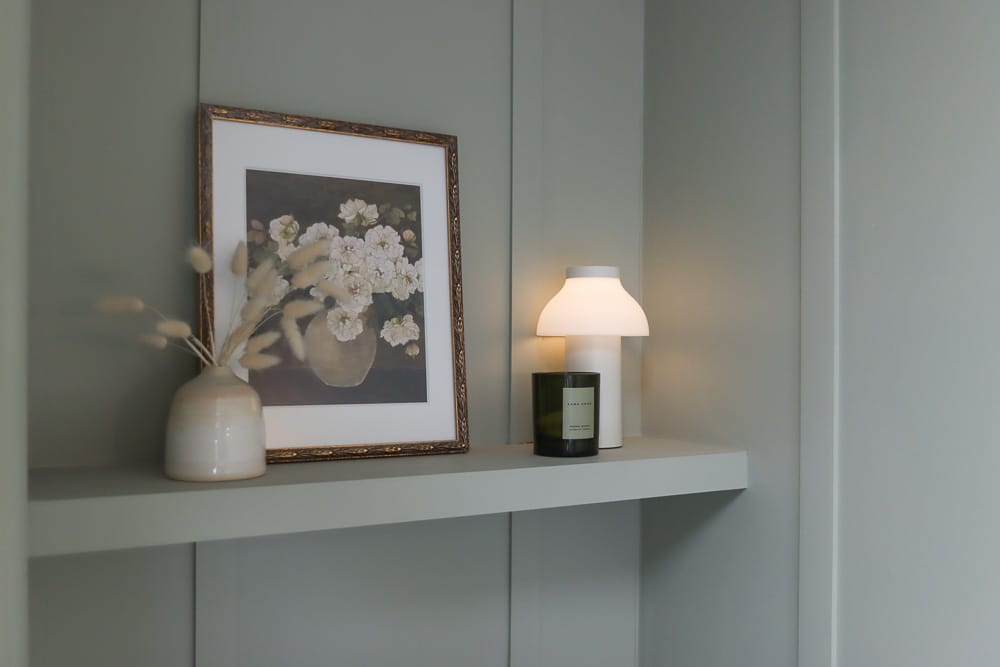
Adding storage to an often ignored area
If you’re like most people, you can never have enough storage space in your home. And when it comes to the bathroom, the need for storage can be especially pressing. That’s where a DIY wall to wall floating shelf can come in handy.
With this project, you can add valuable storage space over your toilet – and often wasted space, and you can do it all yourself.
I love how much beauty and style this floating shelf adds to an otherwise ordinary toilet nook. Plus, this DIY wall to wall shelf is very customizable. You can change the length, depth and also how thick your floating shelf is.
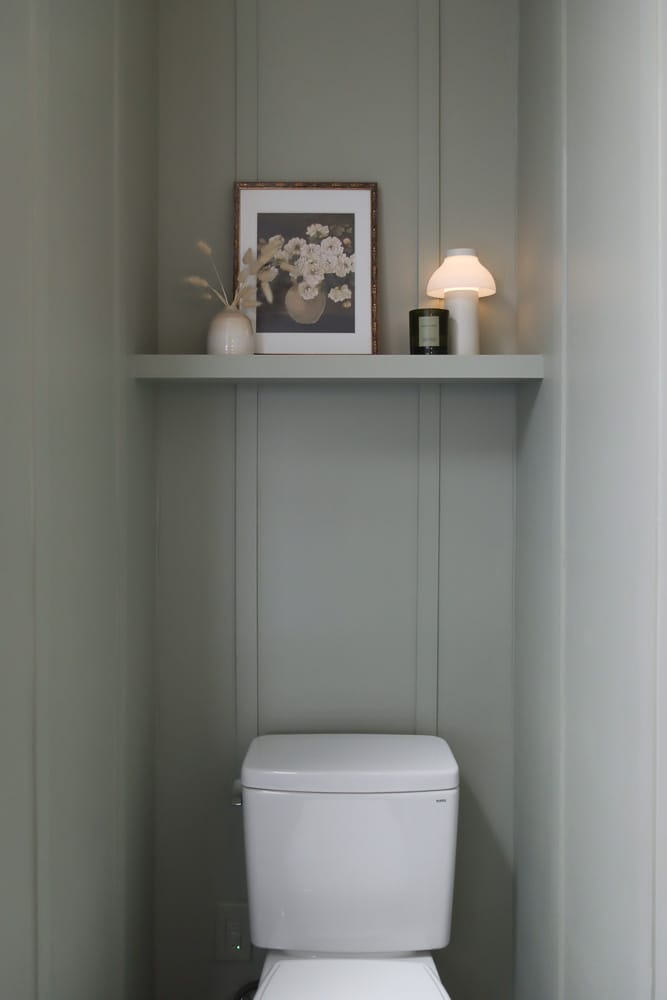
How to build an over toilet shelf video tutorial
In addition to my blog post, I’m also shared a video version of my project on my YouTube channel. Whether you’re a visual learner or just prefer to watch someone else do it first, this video will give you all the guidance you need to get started.
DIY over-toilet shelf tools and materials
Tools:
- Stud finder (such as StudBuddy)
- Level
- Drill
- Table saw
- Brad nailer
- Sanding sponge
- Paintbrush or roller
Materials:
- 3/4″ wood board (for support pieces)
- 1/2″ plywood (for top of shelf)
- 1/4″ plywood (for bottom of shelf)
- Wood blocks (to prevent bottom piece from curling)
- Wood glue
- 2″ screws
- Brad nails
- Wood filler
- Caulk
- All-purpose primer
- Paint (cabinet grade paint recommended)
How to build an over toilet shelf
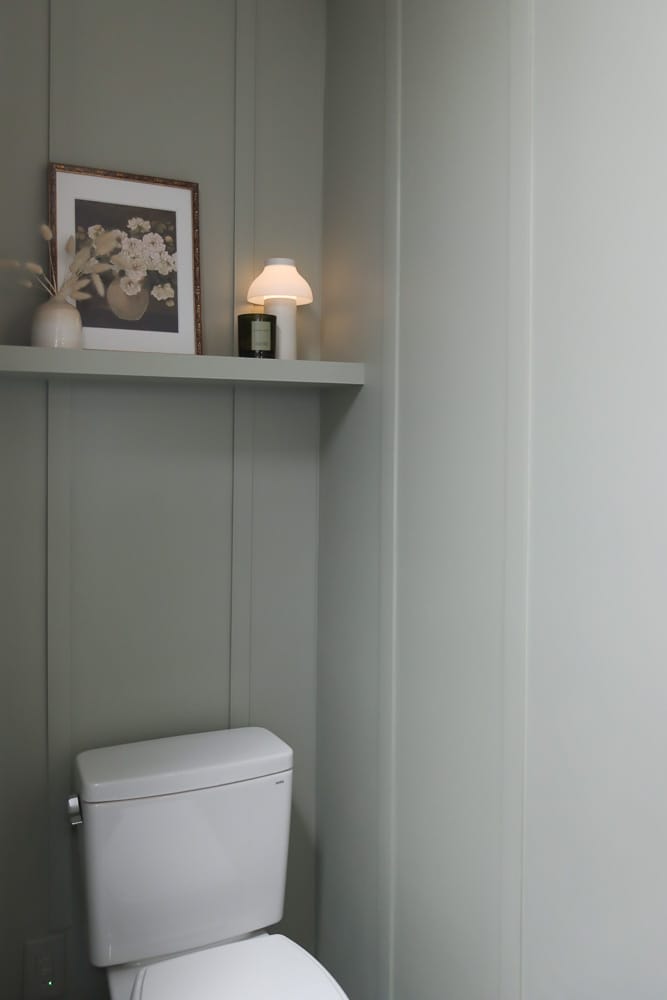
Step 1: Determine the height of your floating shelves
The first step in building your floating shelf is to determine the height you want it to be and measure that from the floor. In my case, I had the shelf positioned at 60 inches from the ground.
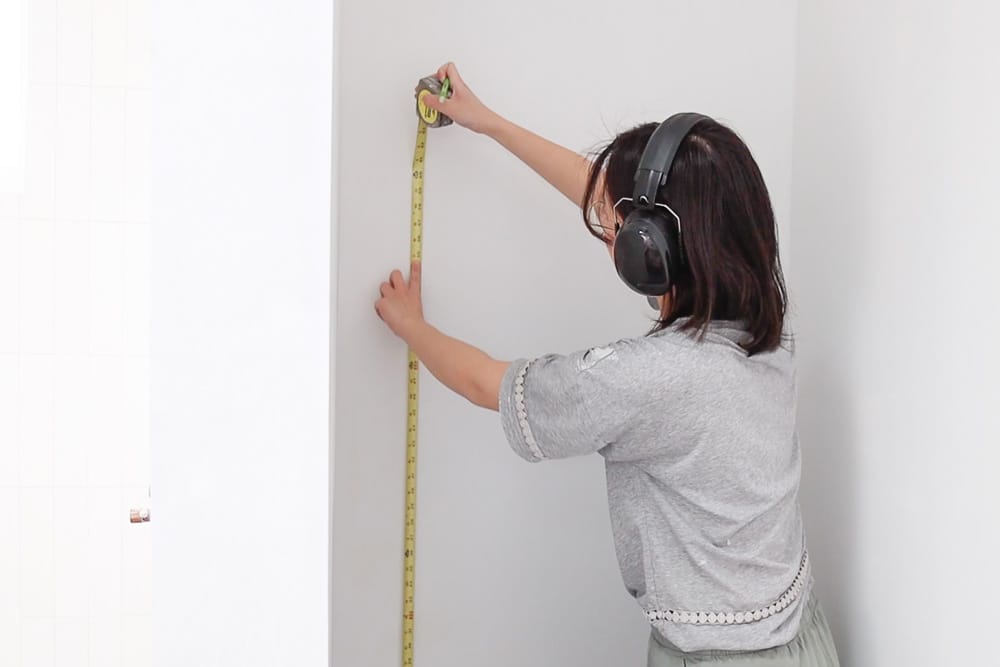
It should not be too low that it may touch your head while you sit on your toilet, but low enough to be reachable.
You’ll also want to measure the width of the space and use a level to draw a horizontal line as a baseline for the shelf.
Step 2: Create a wall anchor and attach the support piece
To provide the necessary support for your shelf, you’ll need to add support pieces to all three walls, which the shelving surface will sit on later.
I’m ripping 3/4” wood board to create those 1” strips as the supporting pieces. The 1” side will be touching the wall. So my finished shelf thickness will be 1 ¾”. You can adjust the height here to increase or decrease how thick the floating shelf is once finished.
Then I need to attach the center support piece to the wall studs. But before that I need to find the stud by using a stud finder.
One of my favorite stud finders is called StudBuddy. It has a magnetic piece on the back that snaps to drywall screws. I found that to be really easier to use than those battery operated ones. However, if your wall is plaster, it might not work so well.
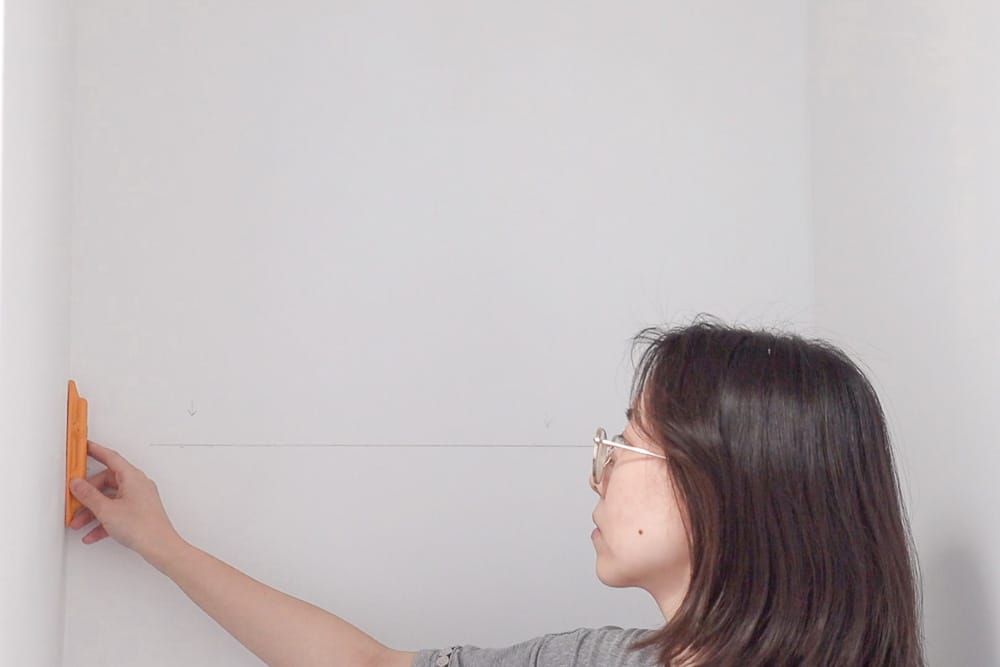
I then transferred the stud markings to the support piece so I can drill pilot holes. This is especially important because the wood board I’m using is hardwood.
I then drove 2 inch screws through those holes into the stud. You can place a level there to make sure it is leveled.
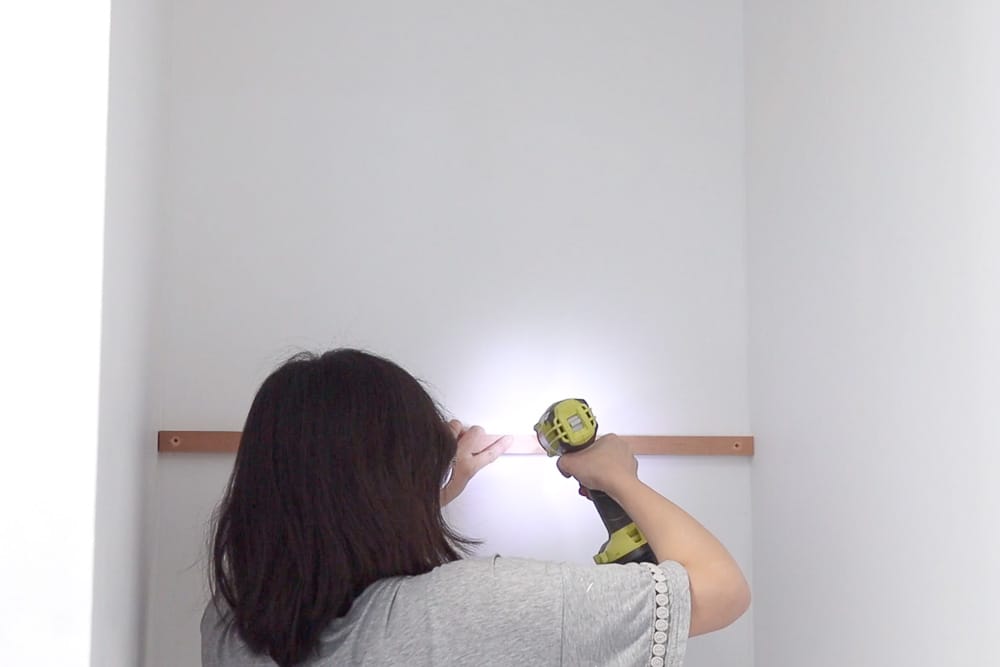
I repeat this process for the two side support pieces.
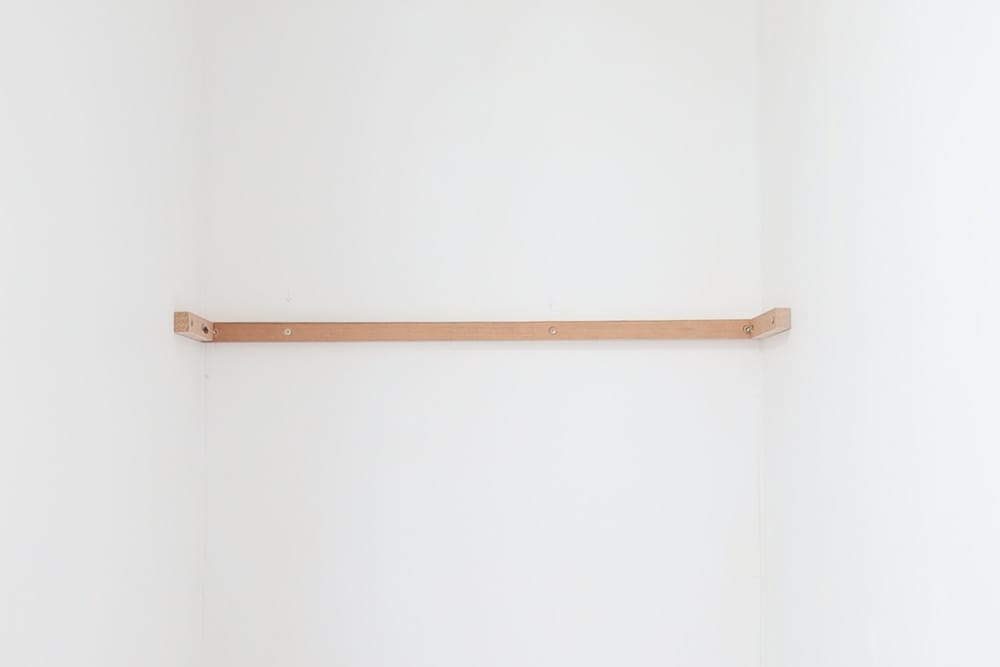
Step 3: Add the plywood top and bottom of the shelf
Once your support pieces are in place, you can add the plywood on the top and bottom, and it will begin to look like a real shelf!
For the top, I used ½” plywood and scribe it to my wall so that it fits well. If it doesn’t fit snugly or it is difficult to scribe, that’s okay – you can always patch it later with wood filler before painting.
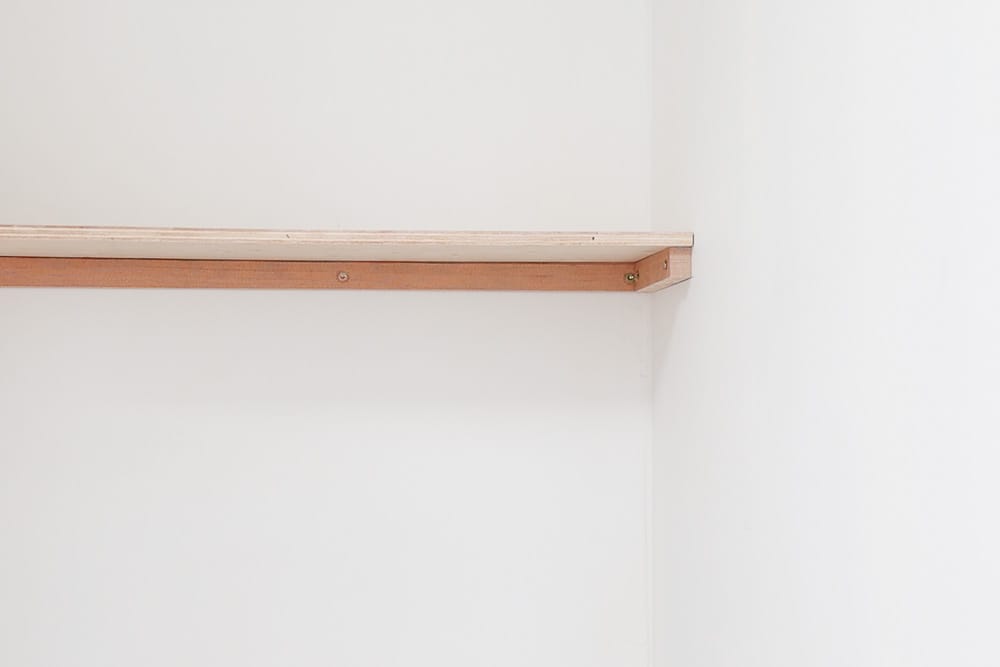
Note the width of my toilet nook is quite narrow (~30”), so ½” was sufficient to support what I want to put there. If you plan to put very heavy things on the shelf, or create a wider floating shelf, I’d recommend going with ¾” plywood on the top.
Then I used brad nails to tap the ½” plywood into the supporting pieces.
For the bottom piece, use a ¼” plywood instead. This is because the bottom piece is not holding any weight, plus that’s just what I have on hand. Did I mention this is a great project to use up woodworking remnants?
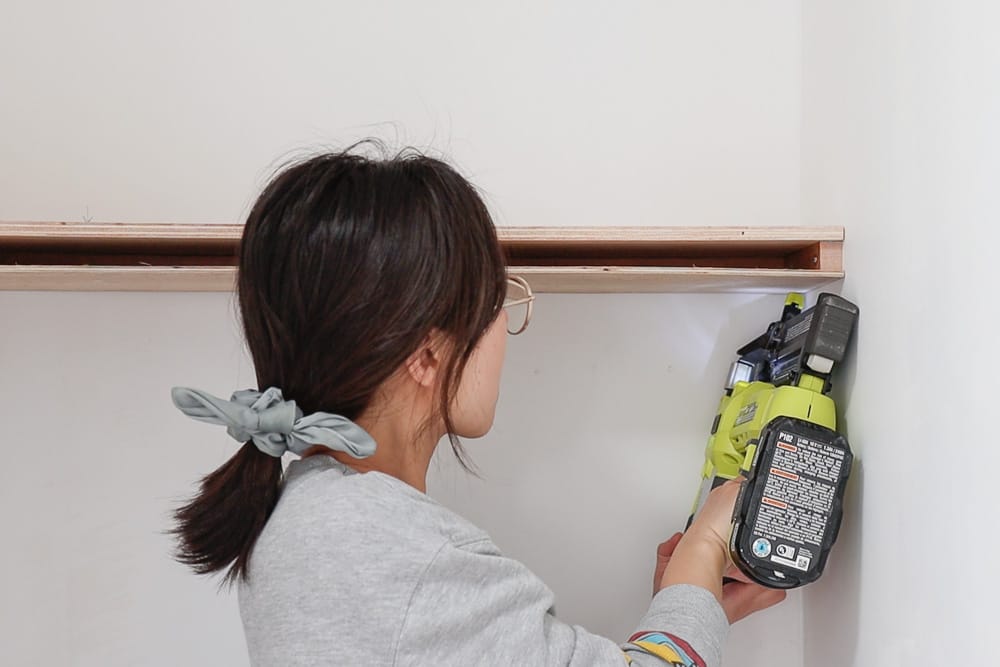
Because ¼ in plywood is more flexible, I added a couple blocks in the opening for a consistent thickness and to prevent it from curling in the middle. They were leftovers from cutting the support piece and have the same height which is perfect.
Then I tapped with brad nails to keep those wood blocks in place.
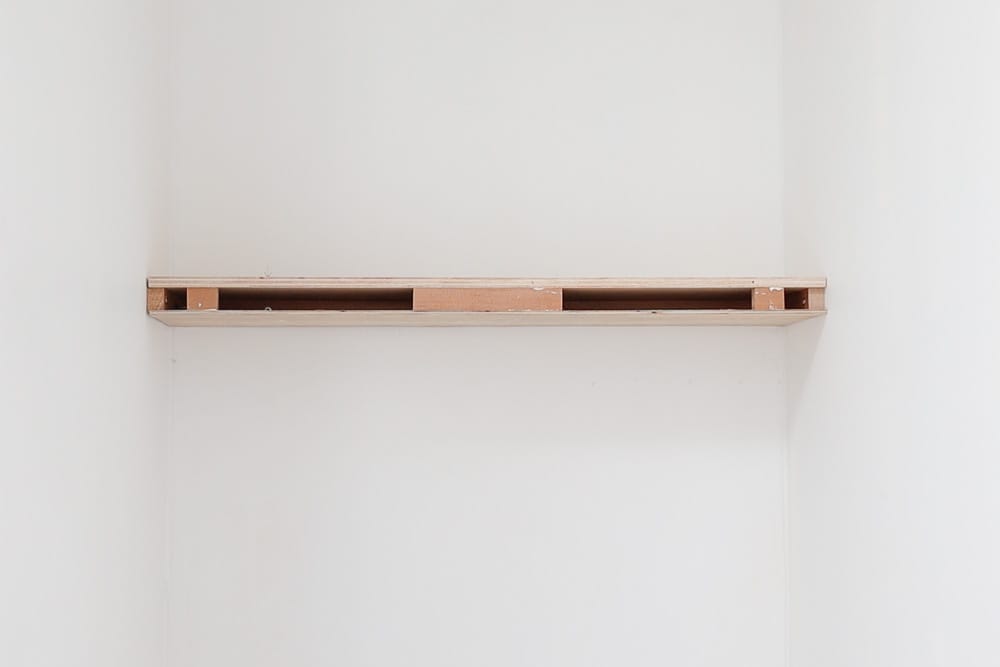
If you use ½” plywood for the bottom piece, there’s no need for adding those blocks – ½” is better at keeping itself straight and won’t curve much.
Step 4: Add the trim piece to the front
Next, I need to add a trim piece to the front to conceal all the plywood and cover the gap, so it will look like one solid piece!
To create the trim piece. I cut a wood board to the same width as the opening, and used a table saw to rip it to the right width.
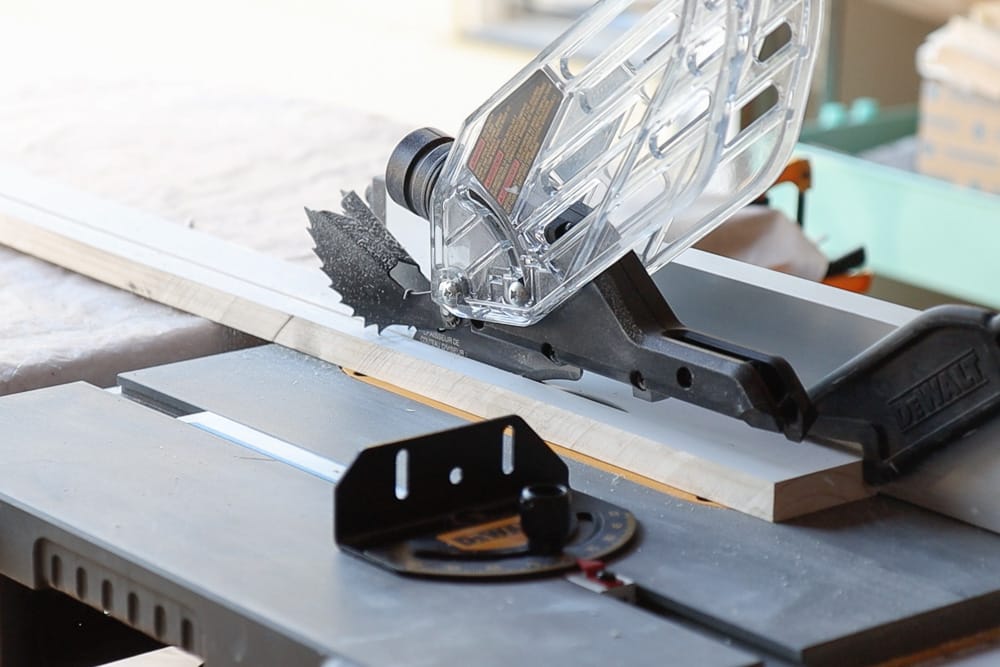
The width I ended up with is 1 ¾”: 1” support piece + ½” plywood + ¼” plywood. If you are using ½” for the top and bottom, it will be 2”.
I marked how wide it is with pencil, then used my table saw to rip it to that measurement.
To attach it to the floating shelf, I applied wood glue to the front side (where the trim piece will contact). Then I placed the trim piece in place and used clamps to hold it in place.
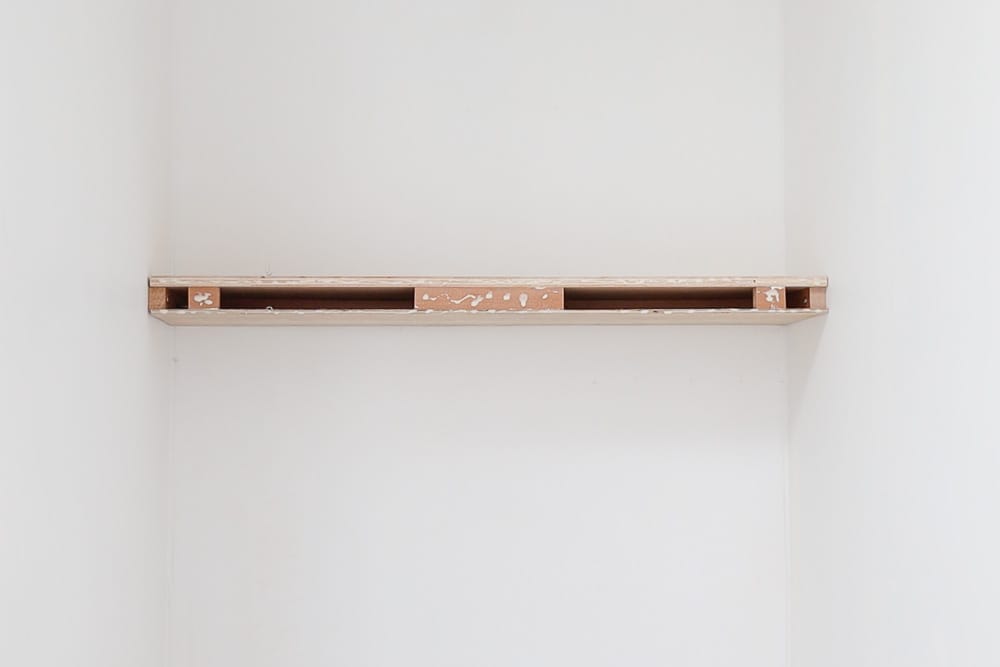
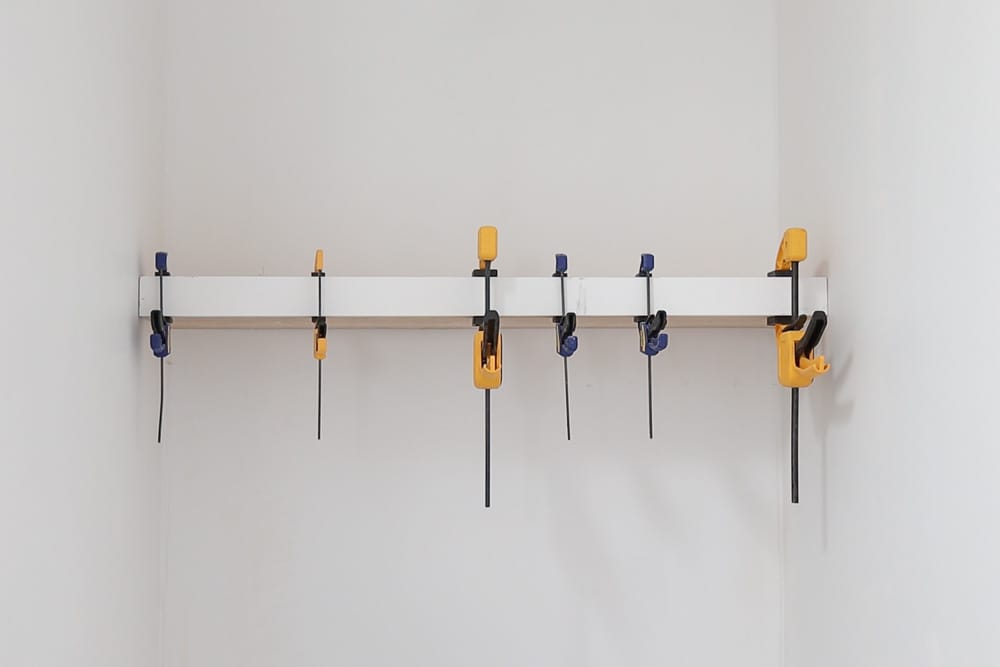
Next I tapped the trim piece in place with brad nails. Note I mainly tap nails at areas that’s in front of the ½” plywood, the wood blocks I added, and the side supporting pieces. The bottom piece is only ¼” so it’s too thin to nail right through without running the risk of nails sticking out.
But with the brad nails and wood glue, things will definitely stay in place after wood glue dries and cures.
Step 5: Patch nail holes and caulk gaps
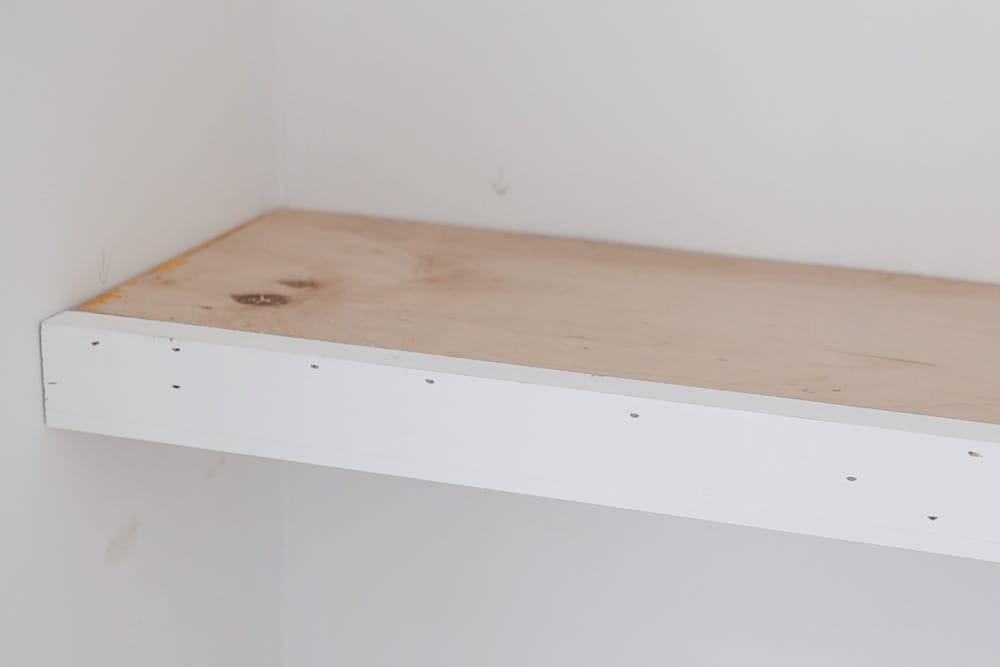
After the wood glue dried overnight, I patched all the small nail holes with wood filler and ran caulk to fill in any seams.
After that, use a sanding sponge to sand it smooth and do a second round if needed.
Step 6: Paint the shelf
After everything dried, I primed it with an all purpose primer, and gave the shelf a few coats of paint that match the color of my wall.
I recommend using cabinet grade paint for this floating shelf. However, I’m using an eggshell finish for the whole bathroom wall and the wall moldings, so I just used the same paint for this floating shelf to match the rest of the space.
Above toilet floating shelf styling recommendation
Once you’ve installed your DIY wall to wall floating shelf above your toilet, it’s time to think about how you want to style it. Here are a few recommendations to help you make the most of your new storage space:
- Use baskets and bins: Baskets and bins are a great way to store smaller items on your shelf while keeping them organized and out of sight. For example, you can store toilet paper or extra towels in them.
- Add greenery: Adding a plant or two to your shelf can help to bring some life and color into your bathroom. Consider adding a small potted plant(if you have good lighting there) or a vase of fresh flowers to your shelf.
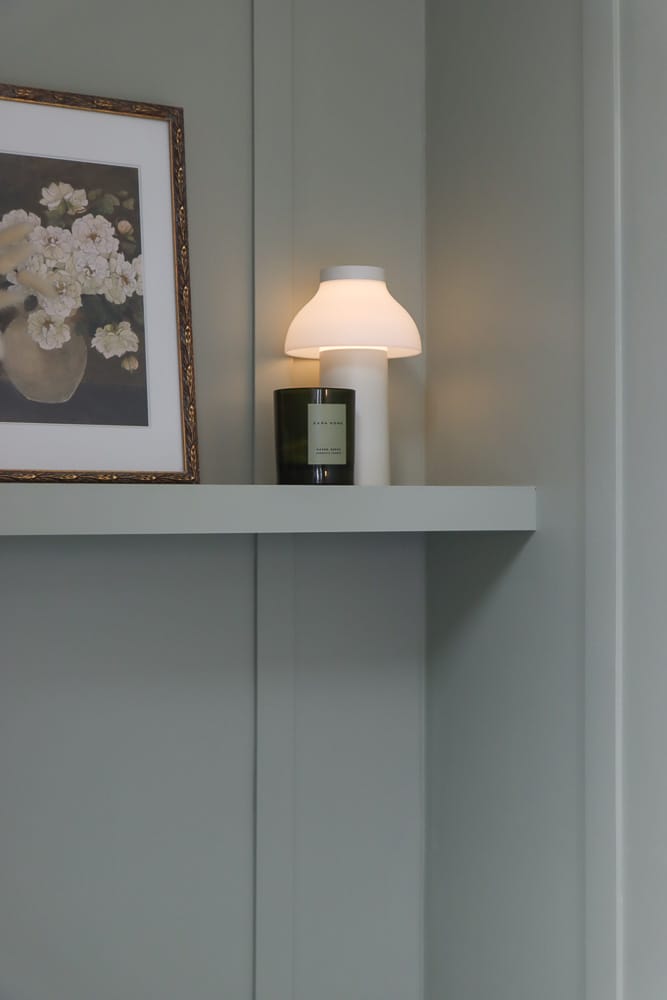
- Display decorative items: A floating shelf above your toilet is the perfect place to display decorative items like candles, vases, or framed art. Just make sure to keep these items organized and spaced out evenly on your shelf to avoid a cluttered look. I love adding a small lamp or a string of fairy lights to the shelf. This will help to brighten up my bathroom and create a cozy atmosphere.
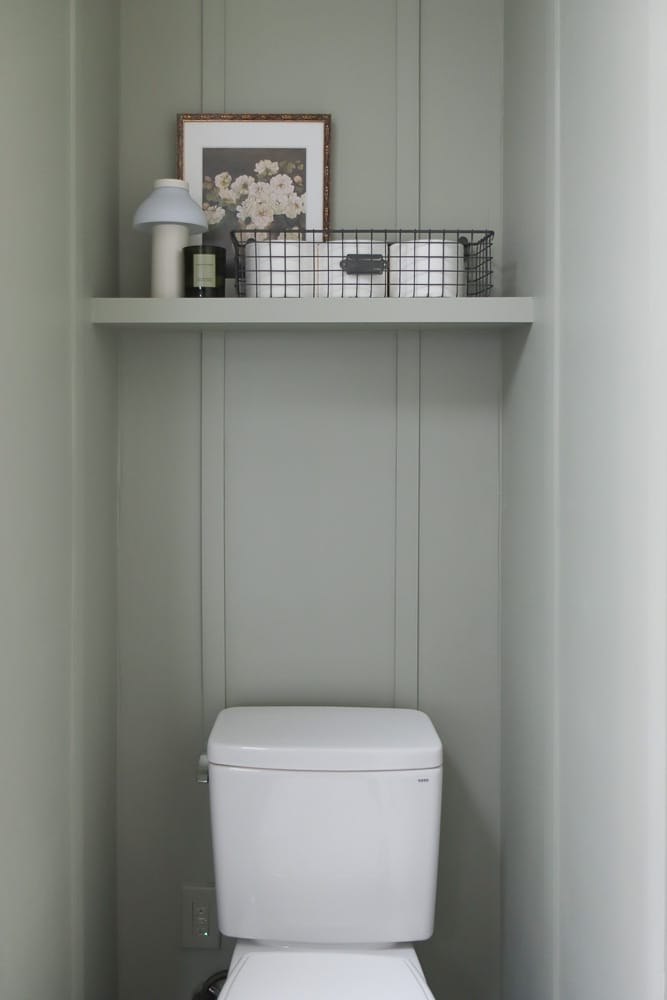
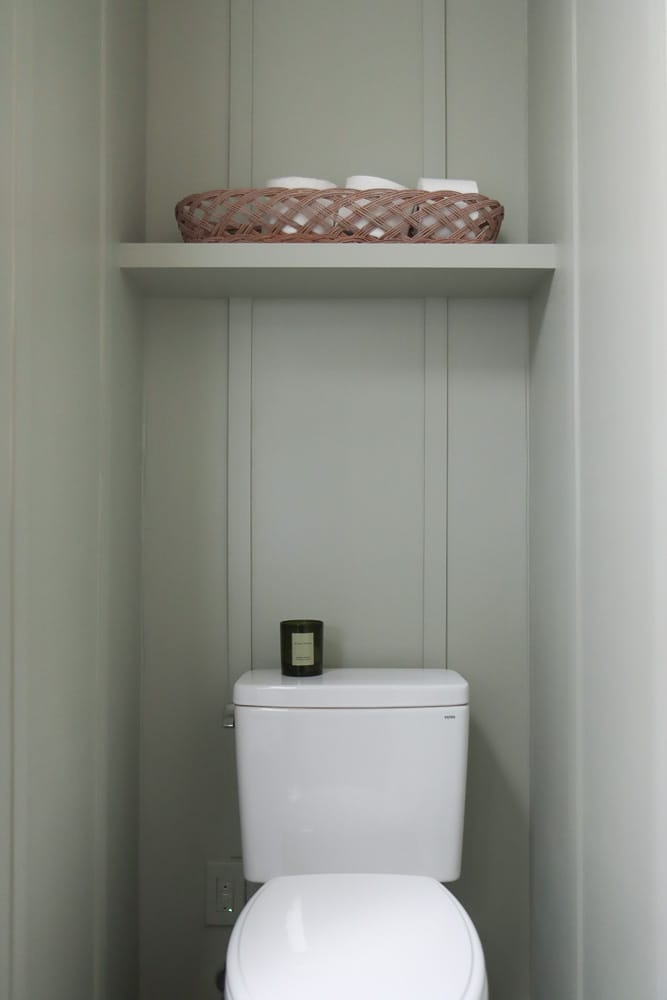
Hope these tips are helpful to create a beautiful and functional storage space above your toilet with your DIY wall to wall floating shelf.
So go ahead and get creative! With a little bit of effort, you can turn your bathroom nook into a stylish and organized oasis.
DIY floating shelf summary
And there you have it! A simple and practical way to add some extra storage to your bathroom without taking up any floor space.
Use your new floating bathroom shelf to store practical items like toilet paper or to display decorative pieces to add a touch of personality to your bathroom.
You can even build several of these shelves for maximum storage solutions.
More bathroom ideas
DIY bathroom floating vanity with drawers and tip out trays
Bathroom renovation cost breakdown
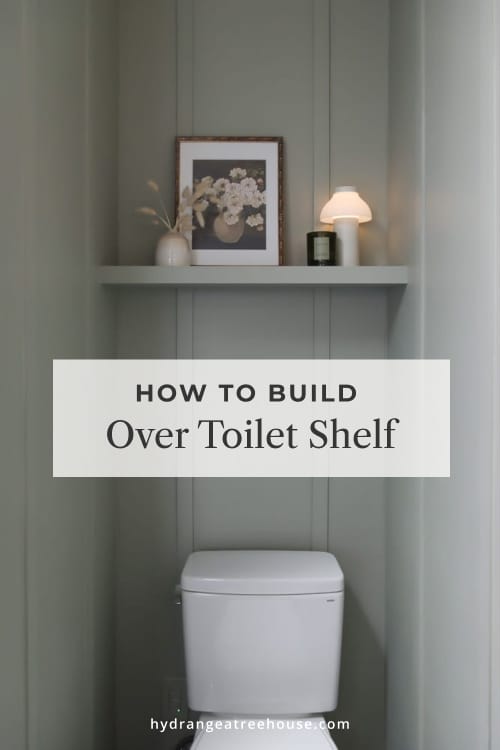
Pin it for later
Do you happen to have link to lamp? Very cute!!
If you search “hays portable lamp” you’ll find it!
I love this! What is your shelf width?
Mine is about 32″.
Can you help me with a layout for our 5′ x 7;’ wide bathroom. The door opens from the hallway into the bathroom on the 5′ width side. We are remodeling the bathroom and I need some help on the lay out.
Thank you
Hi Sally, I have an article on 5 x 7 bathroom layout. Maybe you can check it out and see if we can give you some inspirations or ideas for your space.
https://hydrangeatreehouse.com/5×7-bathroom-layout/