Old coffee table makeover. We thrifted a glass top coffee table and gave it a big makeover. I’m sharing how to refinish old coffee table and give it a brand new look! The same technique and makeover ideas can be applied to other wood furniture in your home too.
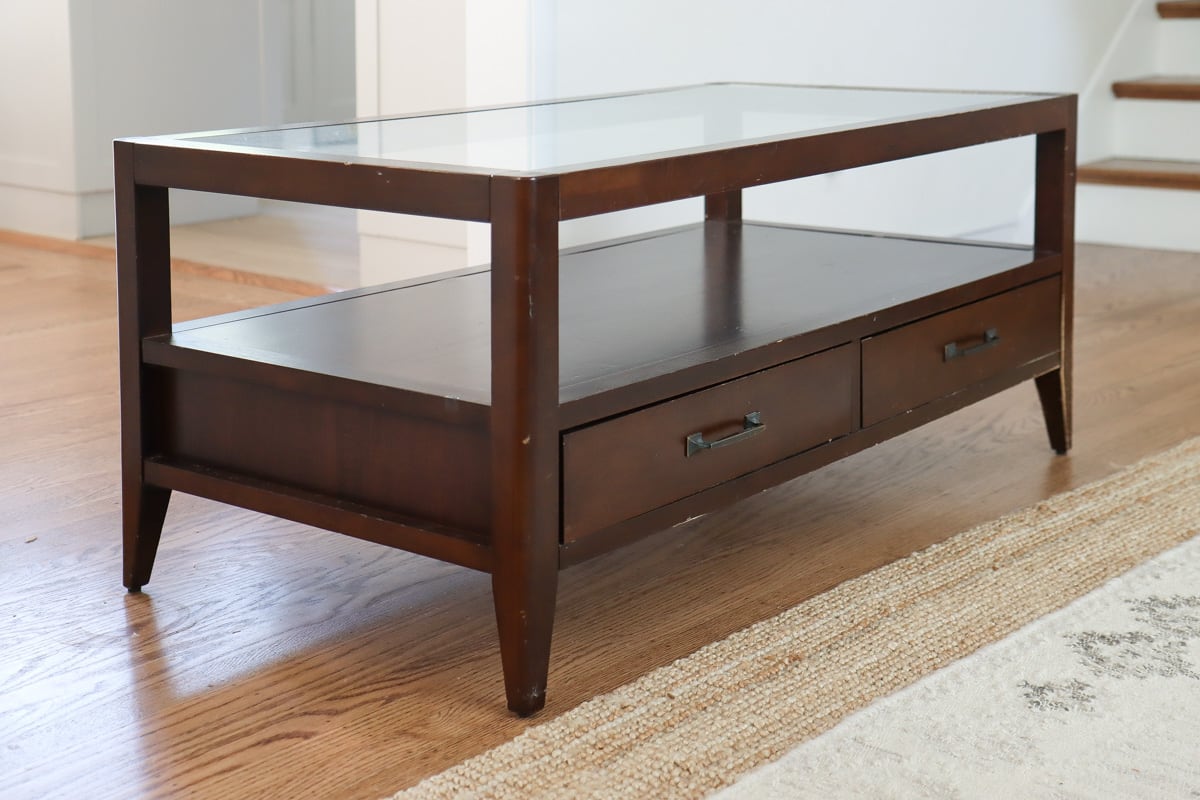
Old glass top coffee table that desperately needs a makeover
My living room has been desperately needing a coffee table for a very long time. In fact the only furniture that serves as a coffee table function is a small outdoor side table that is 18 by 22.
So after I found this glass top coffee table on Facebook Marketplace, I couldn’t miss this opportunity. And guess what? I got it for only $10 – definitely a steal!
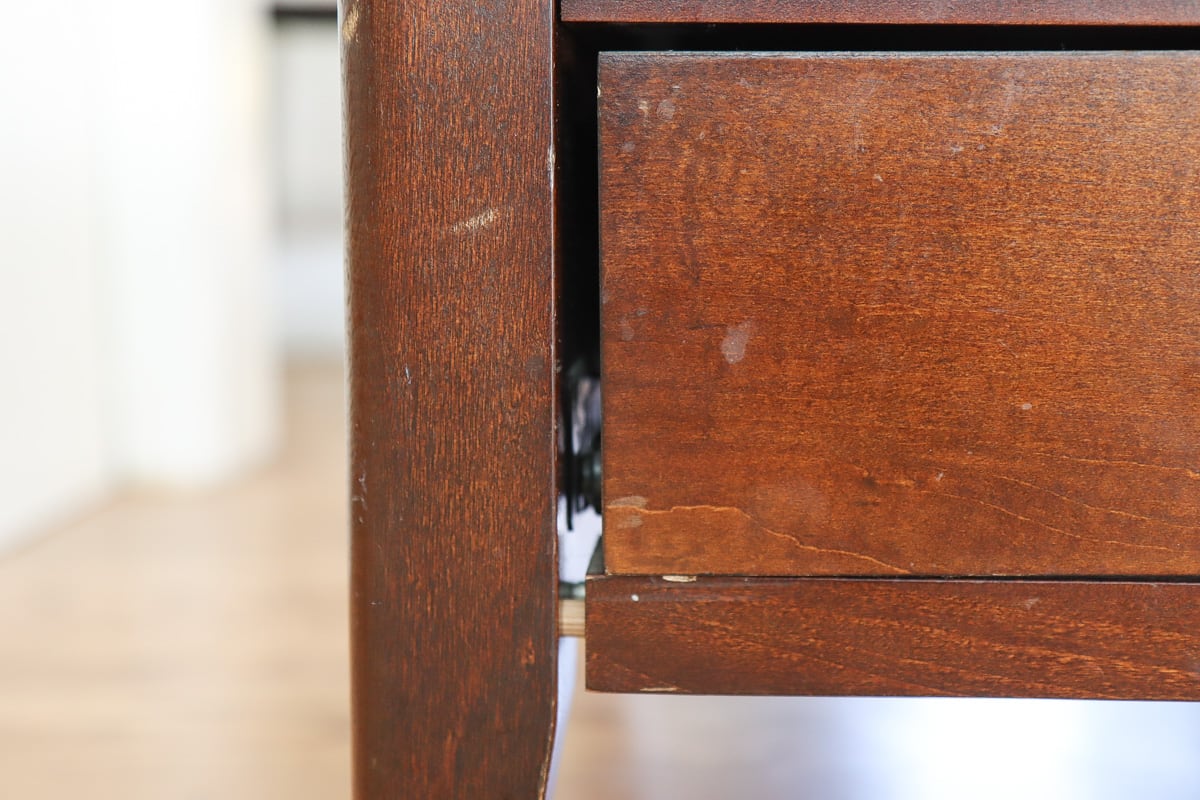
This coffee table looks pretty dated, and a little bit wobbly too, but it has great bones. Most of the parts are made of solid wood which makes it possible for me to refinish and keep the beautiful wood grains. Also I like that it has two drawers which add storage space.
So for this coffee table makeover project, I was clear at the beginning to refinish the wood instead of painting it over. Because of that, it does take some elbow grease, but the end result is so worth it!
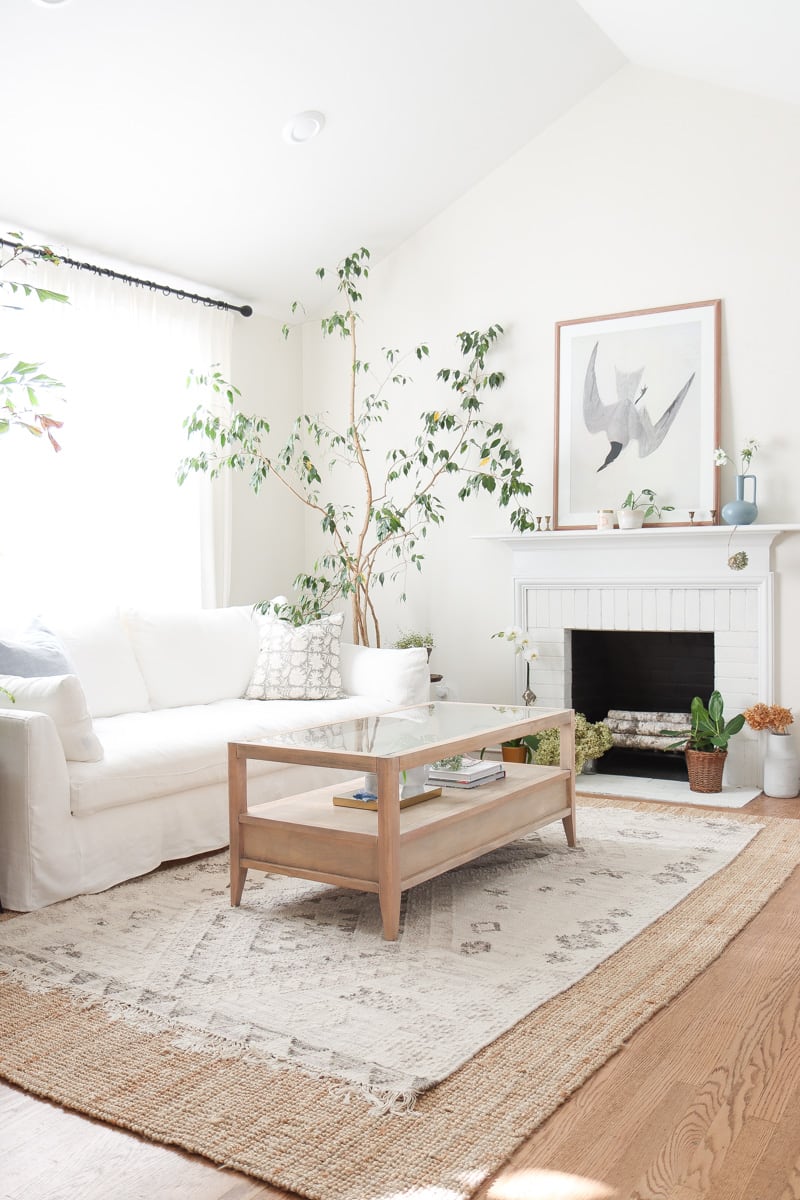
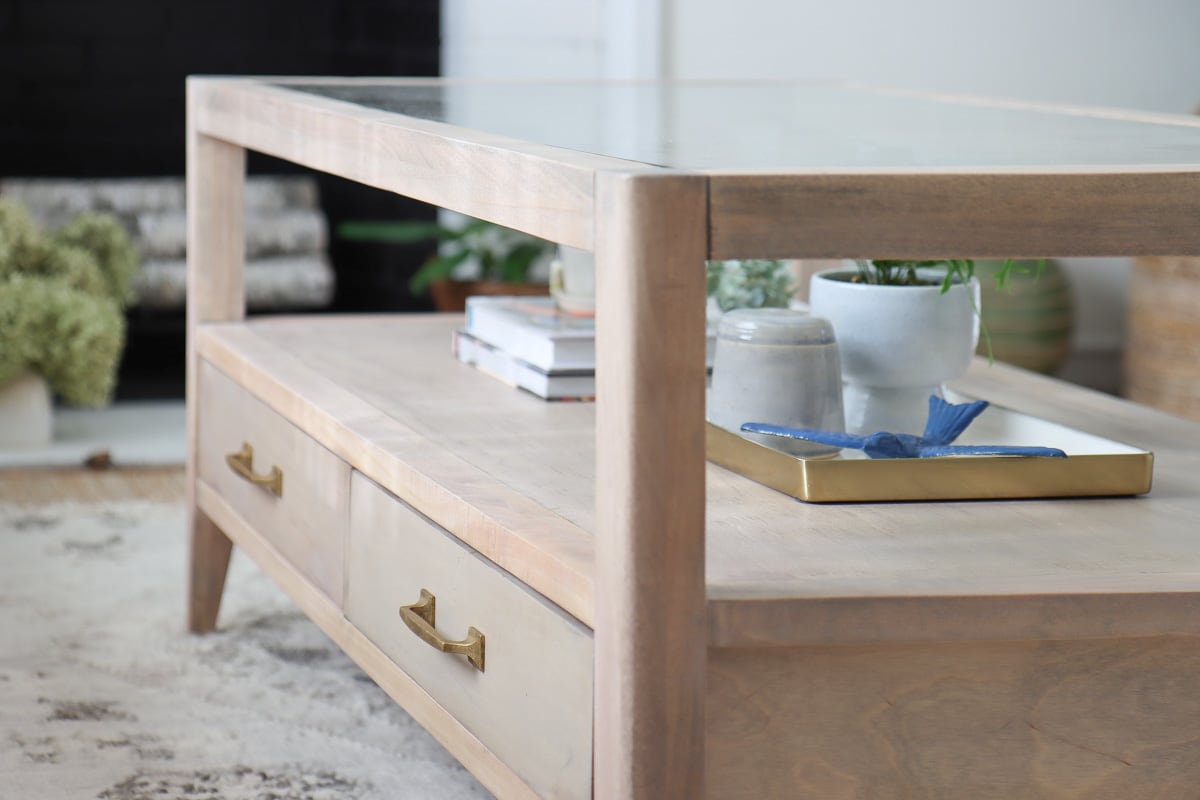
I just love how this refinish coffee table looks and the wood texture instantly adds warmth to our living room.
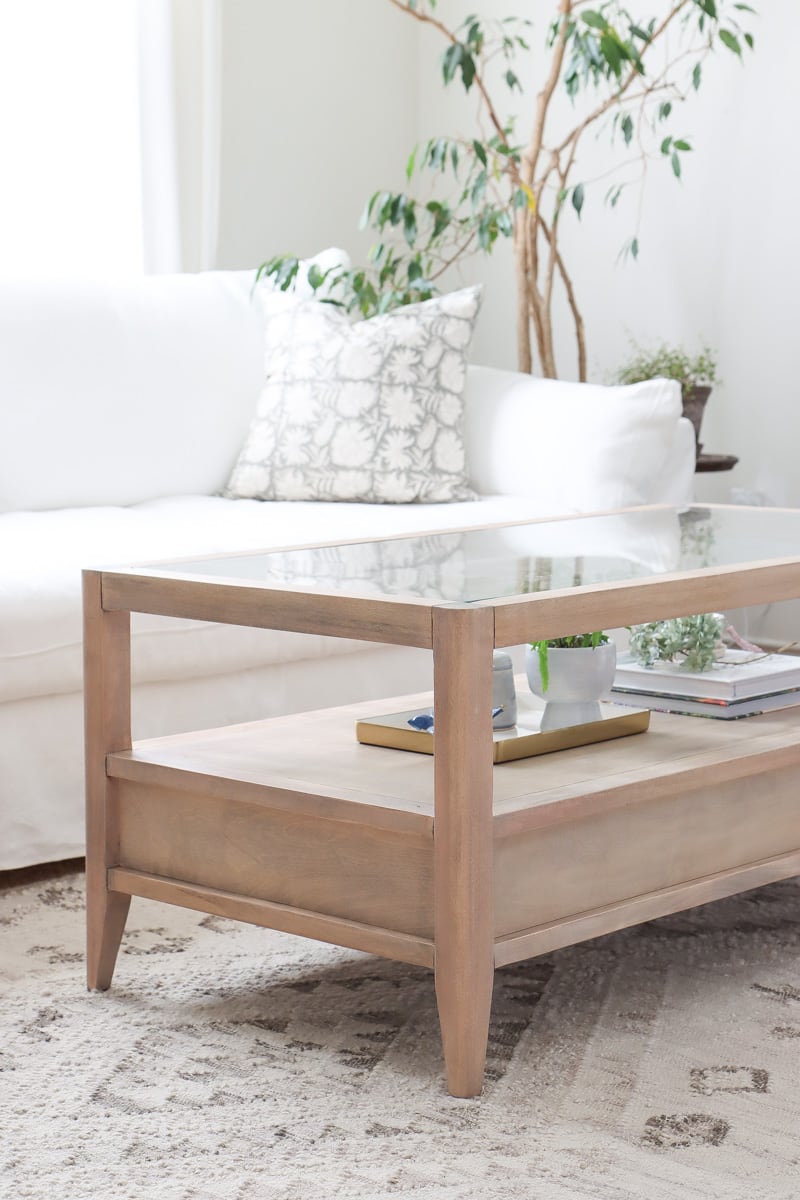
This DIY project is actually really affordable as well. For tools and materials, most of them are very basic that most DIYers already have on hand – which really brings the cost down.
Glass top coffee table makeover before and after
It’s always fun to see a before and after of wood furniture makeover because the difference can be huge! I think it certainly is for this glass top coffee table!
The before finish was very dark, but not in a good way as it has this red undertone and is super glossy too.
Also I usually try to keep my living room feel bright and airy, so having a big blob of black furniture will definitely make my room smaller (not something I would like as a small house owner!)
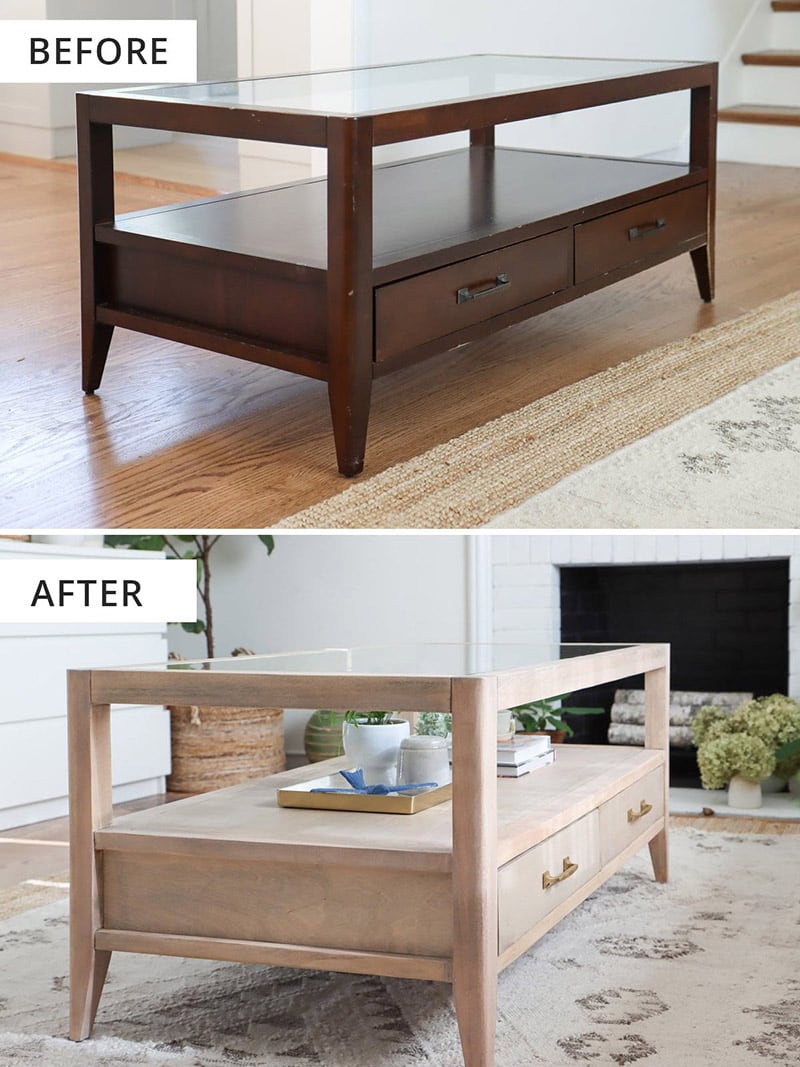
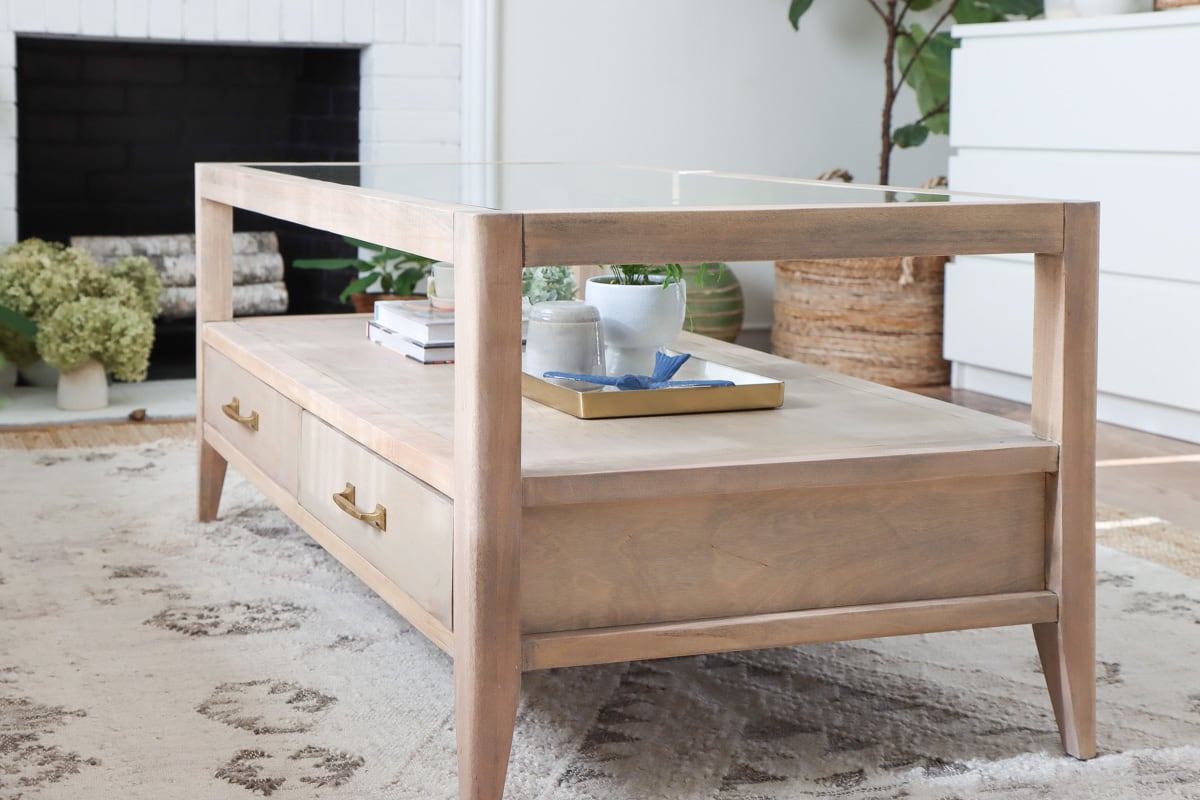
After this transformation, it turned from an old looking coffee table into something that looks super modern and stylish – can you tell I’m excited?! ?
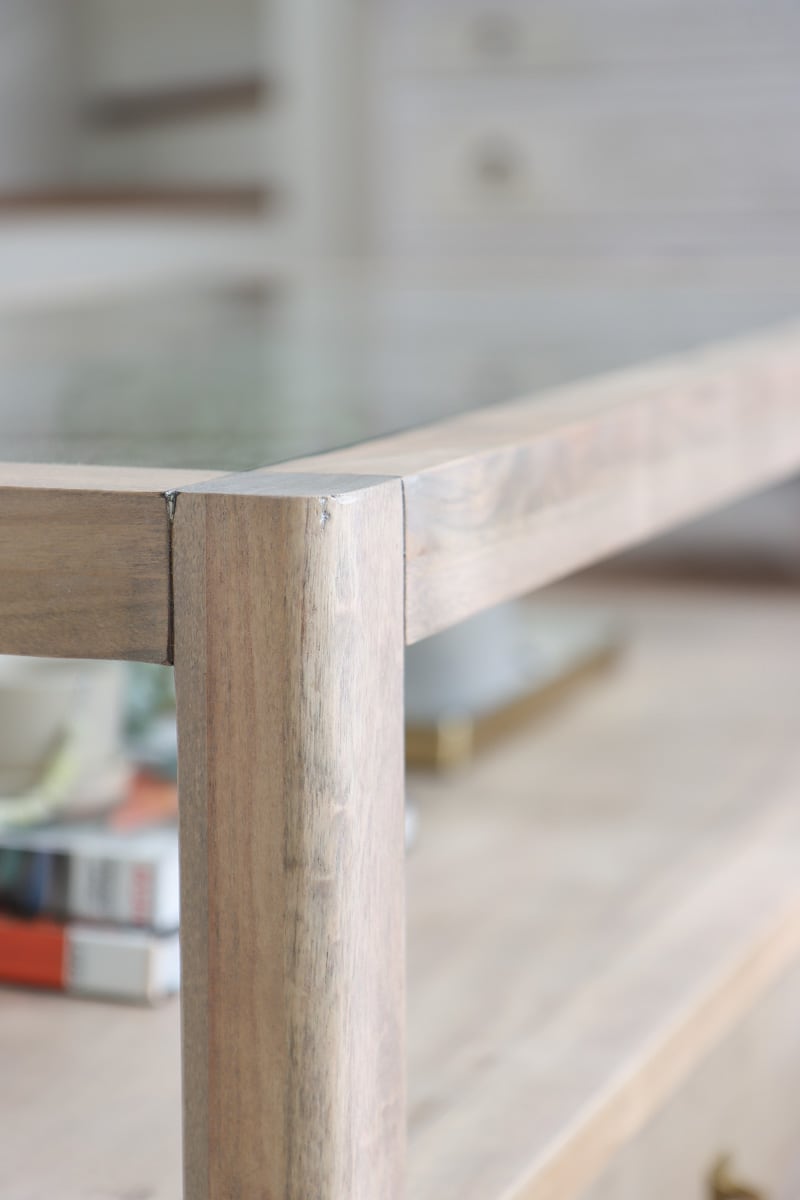
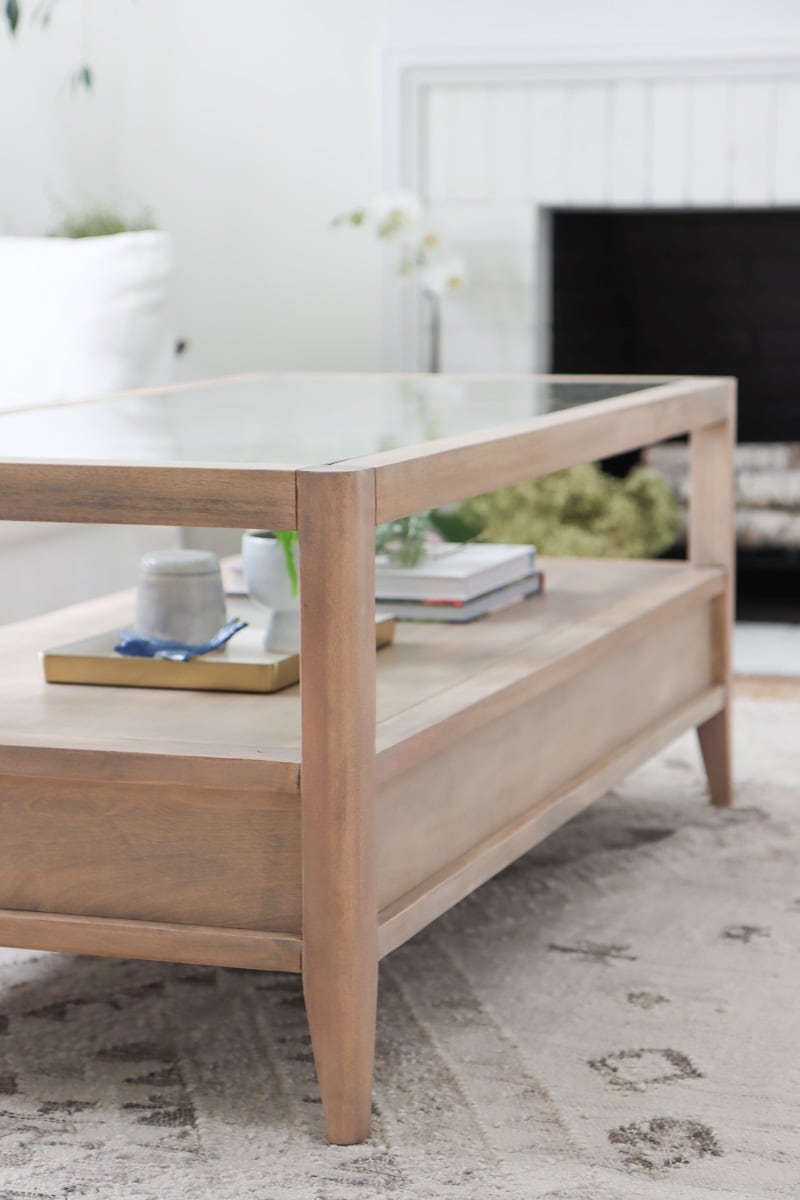
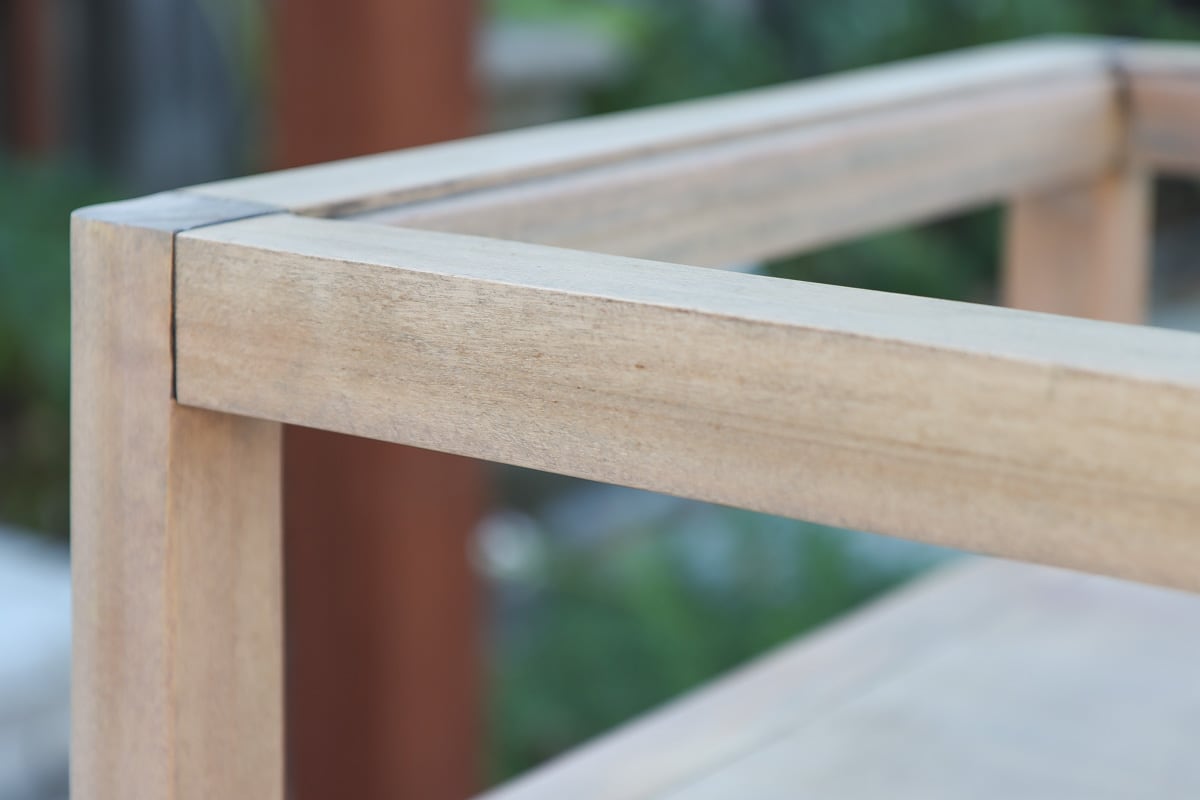
I just love this new wood finish. It looks light, but doesn’t look raw. I also think although wood finish is new, it looks like something that has a history, or patina I would say.
DIY coffee table makeover materials and tools
DIY coffee table makeover video
I recorded my DIY process of refinishing the coffee table into a video. Hope it can give you a general idea of what it takes to refinish wood furniture. I think the coffee table makeover before and after is absolutely transformational. Check out the video below and be sure to subscribe to my Youtube channel if you want to see more videos like this!
DIY glass top coffee table makeover DIY instructions
Clean and remove old varnish
The first step is to give it a good wipe to this coffee table. We also removed the hardwares and glass top. Because some parts were a bit flimsy we also tighten all the loosen screws.
Then we got right down to removing the old varnish with a varnish stripper.
We applied a layer of citristrip and let it sit for 30 mins. I have seen people using plastic tablecloth to cover it in order to keep it moist.
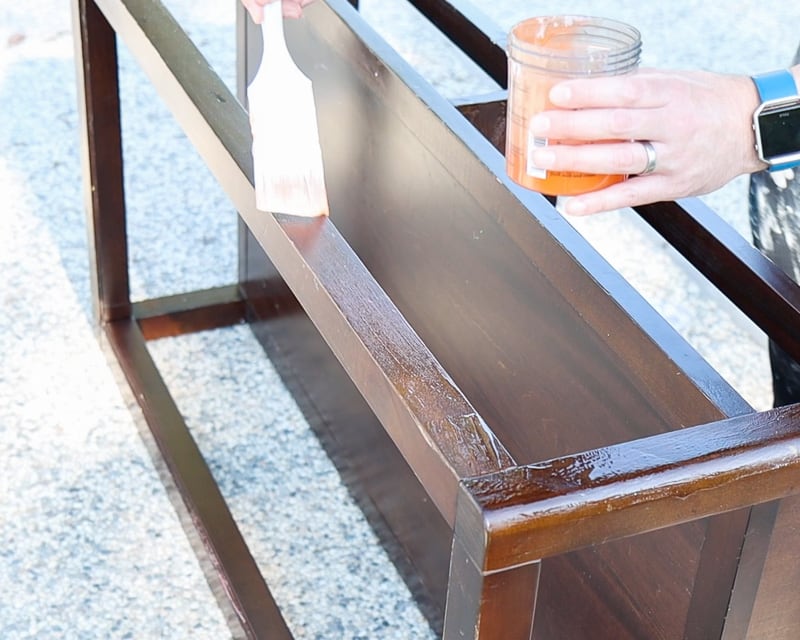
I was too lazy to do it, but if you have very stubborn varnish, it’s worth a try!
After 30 mins, you should be able to see the varnish is “peeling off”, and that’s a great indication that it is working!
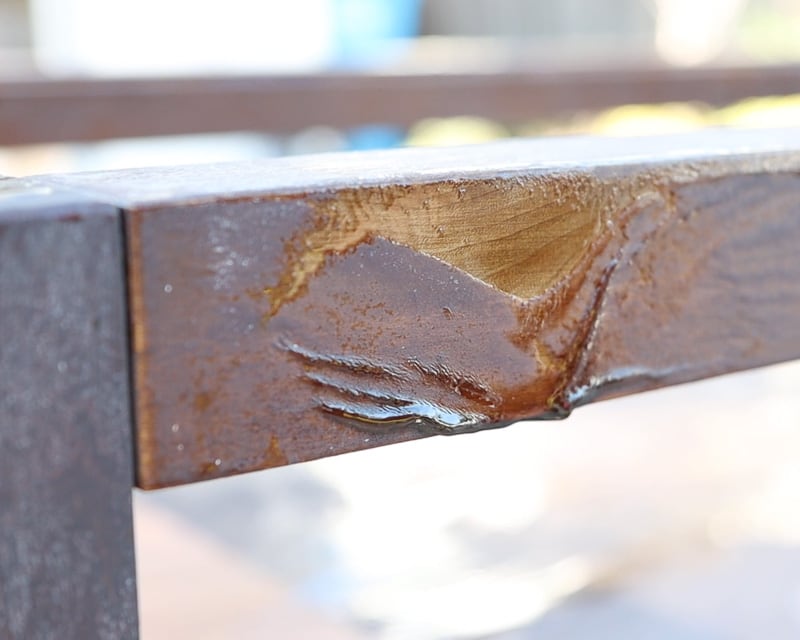
We used a putty knife to remove the old varnish. We were able to get most of the varnish out by this way, but not all of them. I think it is because for some parts we didn’t apply enough layer, and other parts are just hard to remove the varnish – such as non-solid wood parts!
But don’t worry, you can resolve those things in the next step.
Sand off the old stain
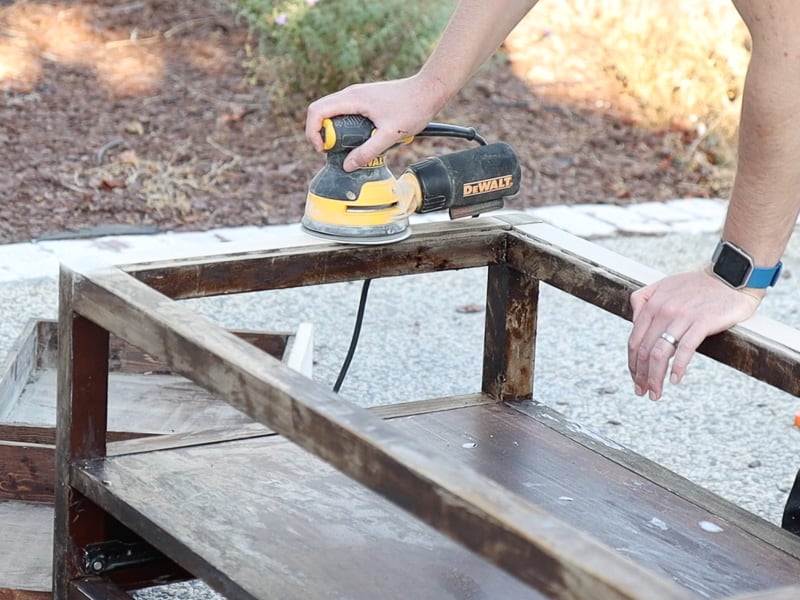
This step is about removing the old stain, and also getting rid of any remaining varnish.
We used orbital sander to fully expose the original wood grain. This is extra important if your ideal stain color is lighter than the current wood stain.
For the corners we used the Ryobi multi-tool that has the sander attachment that can go into corners.
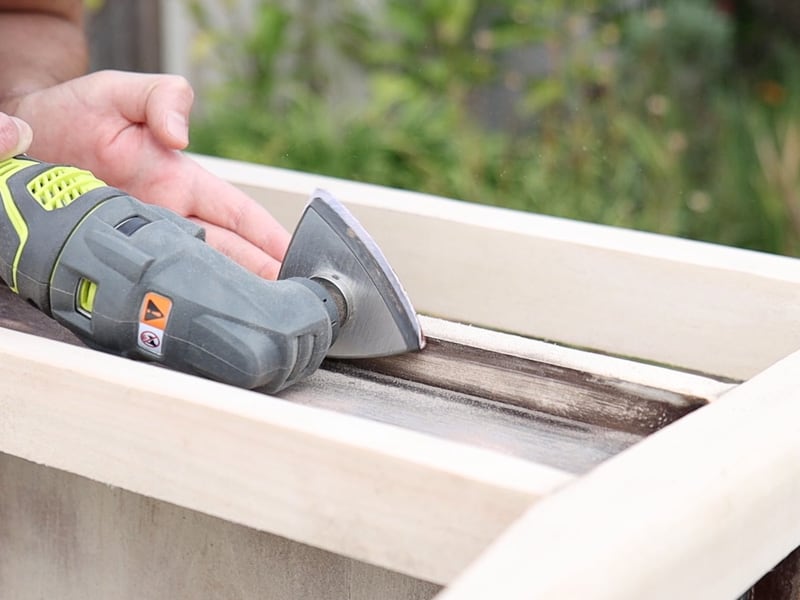
Another tip to save time on sanding is to cover old finish with thin wood board. So basically I cheated a little bit by attaching some thin plywood to the concave parts of this coffee table.
I specifically picked plywood that has a similar grain pattern and base color. Honestly, I cannot tell a difference after staining them all together. So great hack if you are looking to save time from stripping and sanding – if it works for your particular coffee table shape of course.
Removing the old finish is actually the part that takes the longest time but I garantee you it will be worth it if you would like to preserve the wood grain.
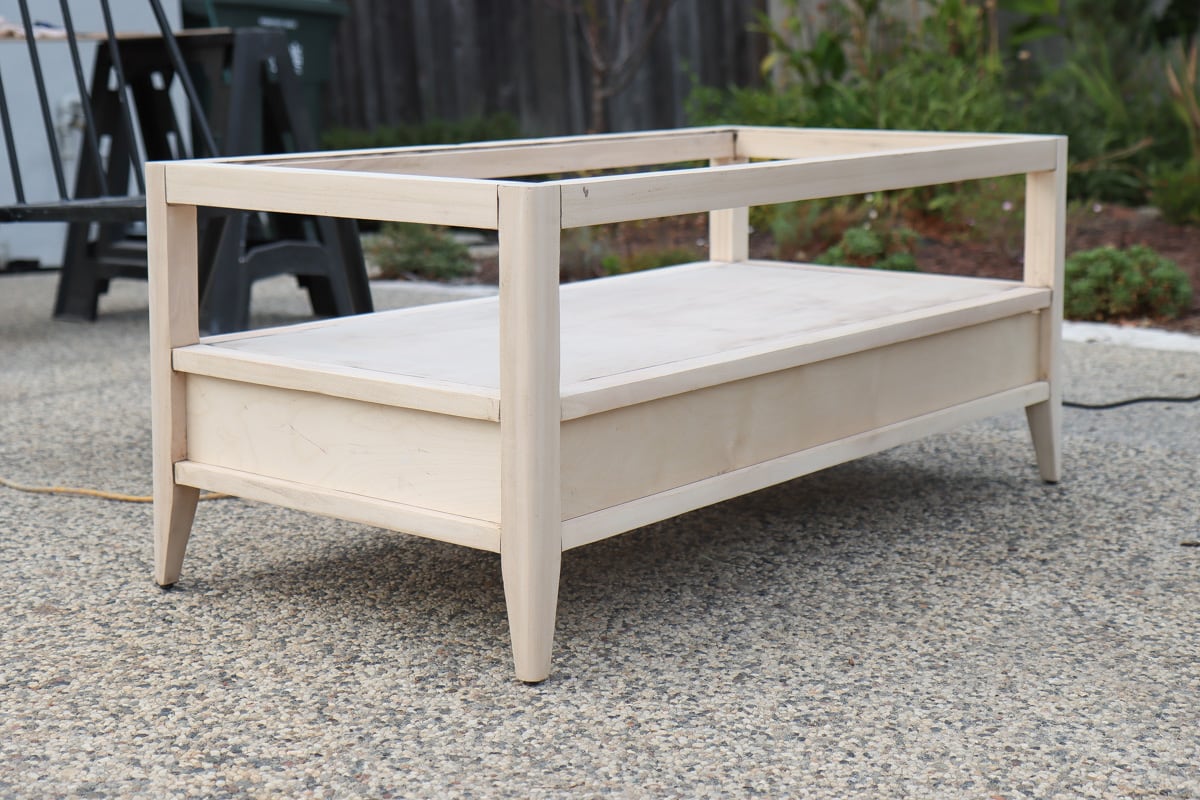
However, not every part of this coffee table is made of solid wood which caught us by surprise in the middle of this DIY transformation.
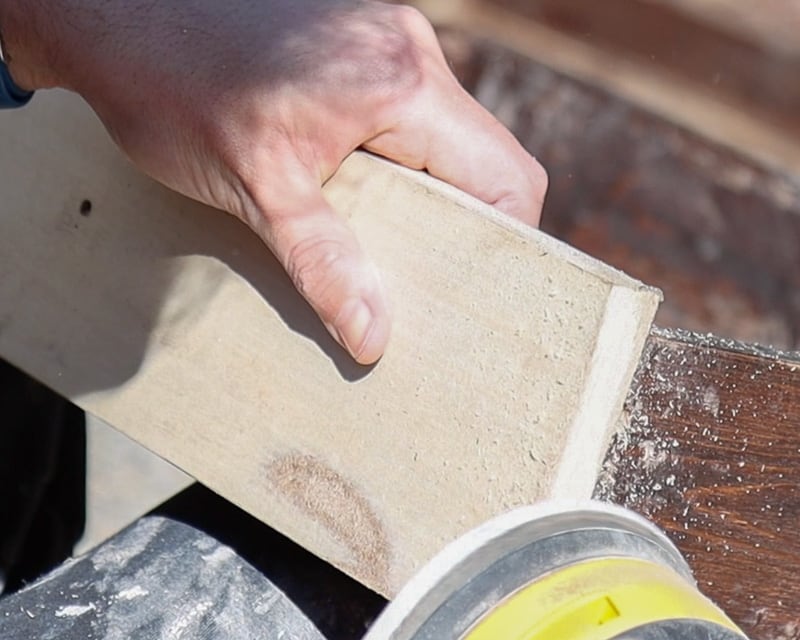
During the sanding step we have found out that the two drawers and table surface below the glass top were made of particle board but with a thin layer of wood.
We went a bit overboard with sanding without knowing it and ended up exposing some small areas of the particle board. Once we noticed that, we became a lot more careful with our sanding approach and the remaining parts were fine.
For the exposed part, I used some wood putty to patch it up. Wood putty usually comes with multiple colors that match different raw wood types, so you can probably find something close to your wood furniture material.
Restrain wood
With all the old finish removed, it is time to give this coffee table a brand new wood stain!
If you don’t want to go through the sanding step again, I highly recommend you to test the stain out on a scrap piece of wood, or maybe the hidden part of your coffee table.
I tested a few stain colors on a sheet of plywood that has a similar wood grain and base color – remember I used the same board to cover up the old stain?
I eventually landed on Weathered Oak finish by minwax – it is actually one of my favorite wood stain colors.
Before staining, we made sure that all the sanding dust was removed, so the stain can be fully absorbed to the wood. I personally find it easier to use a yard blower to remove all the dust. But don’t do it if you are indoors.
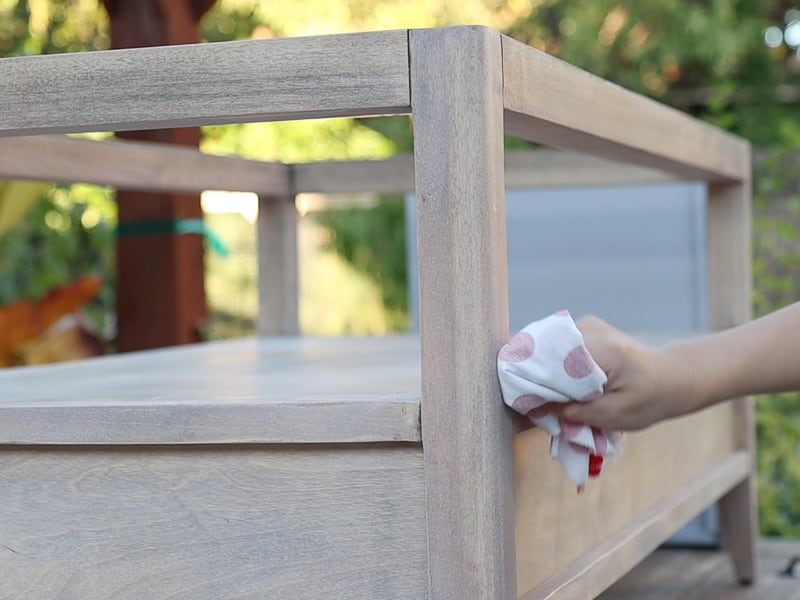
And then we got into the fun part – staining! I like to use a rag for staining wood because I can complete the applying and wiping stain in one action.
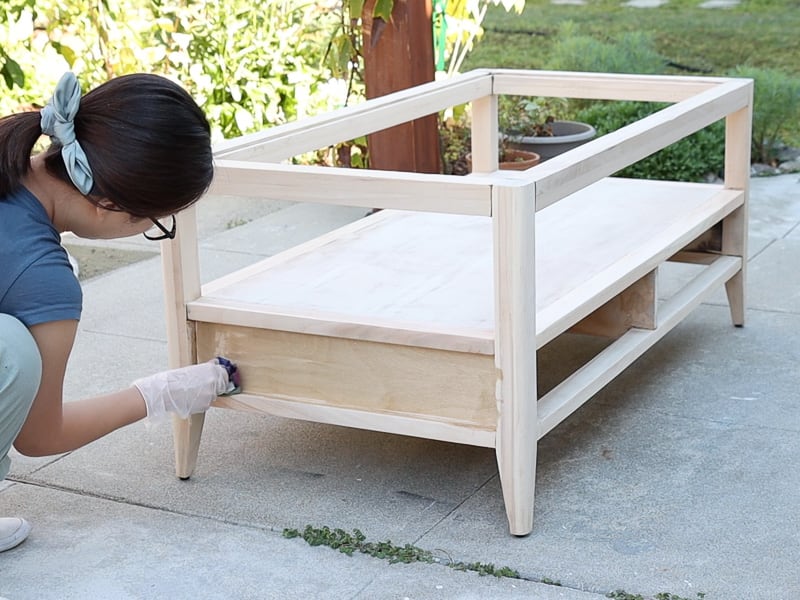
Also I’m generally very into subtle color, so I don’t let stain sit on the wood furniture for a long time (as in the instructions). Instead, I apply it, spread and wipe it evenly to the surrounding so there’s no excess. Then I move to the next region.
I’m doing this also because I know it is easier to add stains than to remove stains.
And this is what the stain looks like! It is subtle but I really like the personality it adds to the furniture piece compared to the pre-stained raw wood!
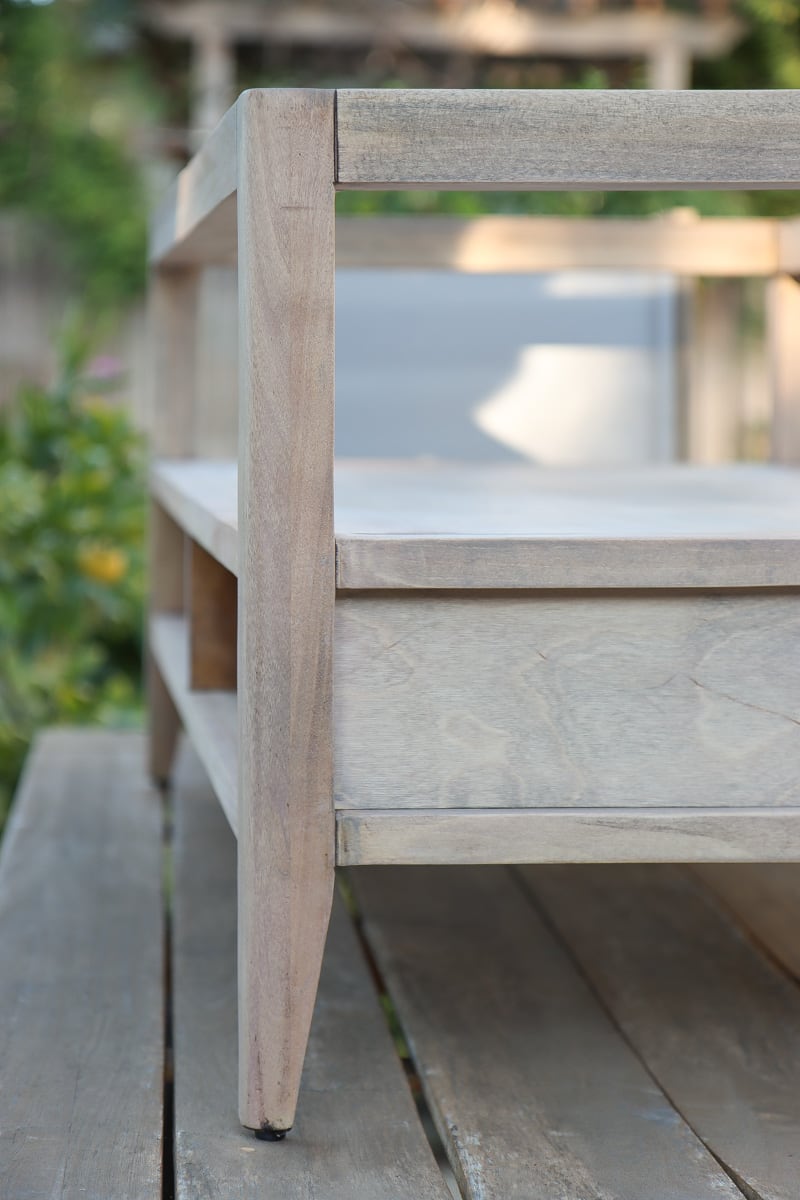
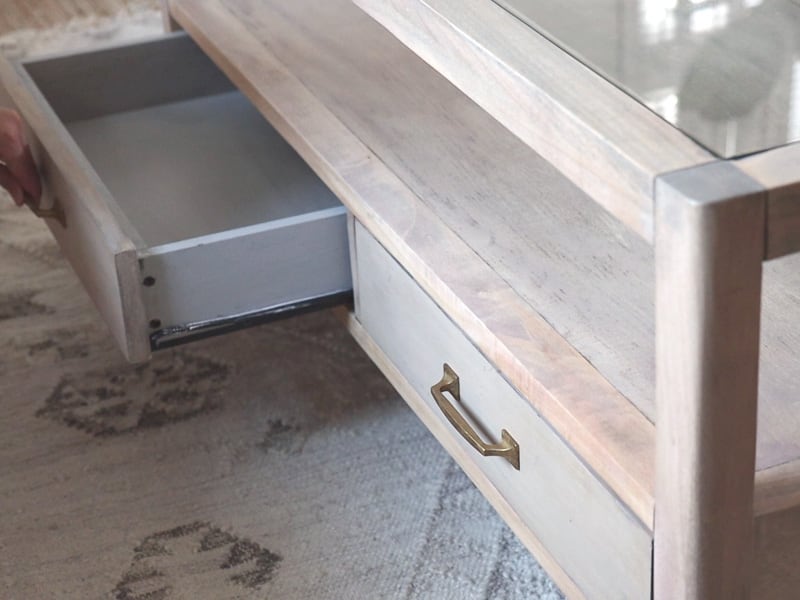
You can also see that I’ve painted the inside of the drawer because it’s not visible from outside. This way I was able to skip the stripping and staining process.
Waxing
I also added a waxing step but this step is totally optional.
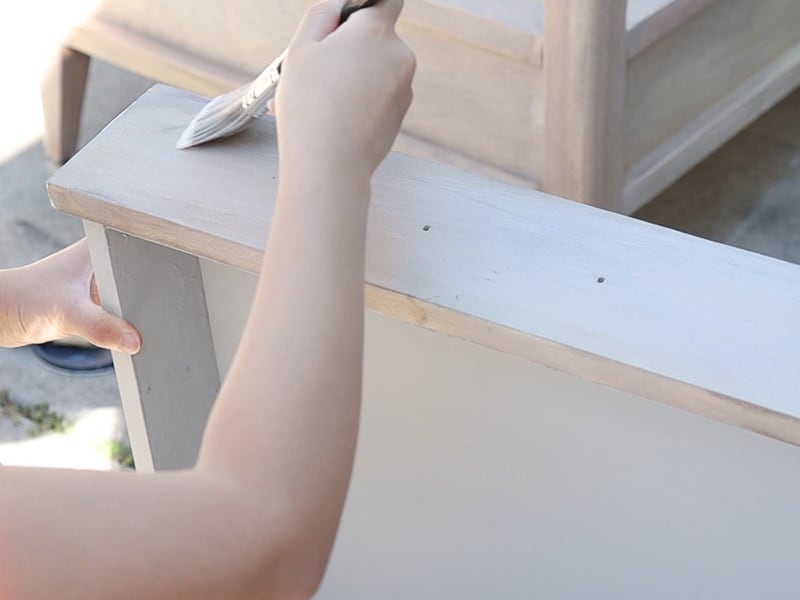
I use some white wax to give the wood finish a slight white washed look. I actually think it is the key if you want your furniture to look more aged with some patina.
I applied it with a chippy brush and then wiped it using a rag. It adds more depth and sophistication to the new wood finish which I love.
Finish it off with protective finish
To protect your hard work and this beautiful wood furniture, it is important to give it a protective finish. It will make my coffee table more water resistant and more durable in general.
I used a water-based polyurethane to seal everything. I chose their matte finish because I want the wood to look more raw than glossy. I gave this newly refinished coffee table a total of three coats.
Reinstall hardwares
Now the final step is to reinstall hardwares, and potentially makeover them too!
The original drawer pulls were in this bronze finish and looked dirty. So I decided to spray paint them to give them a new look.
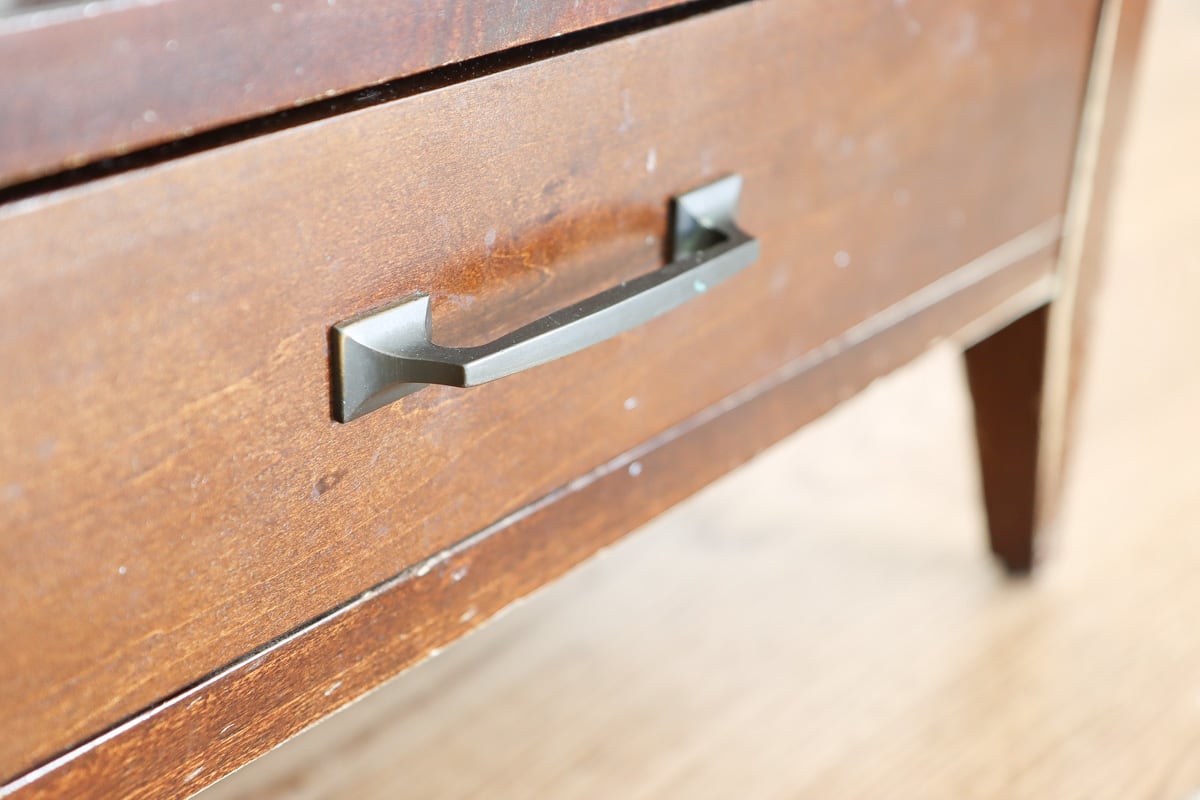
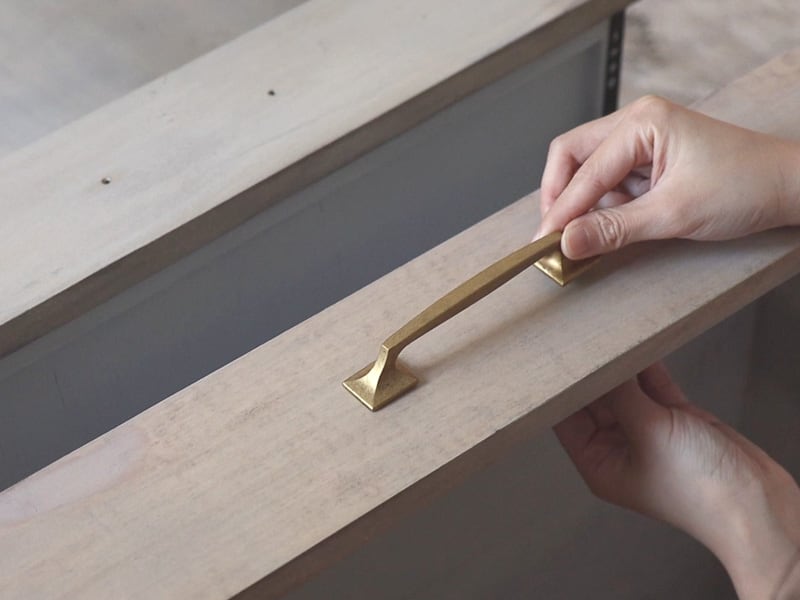
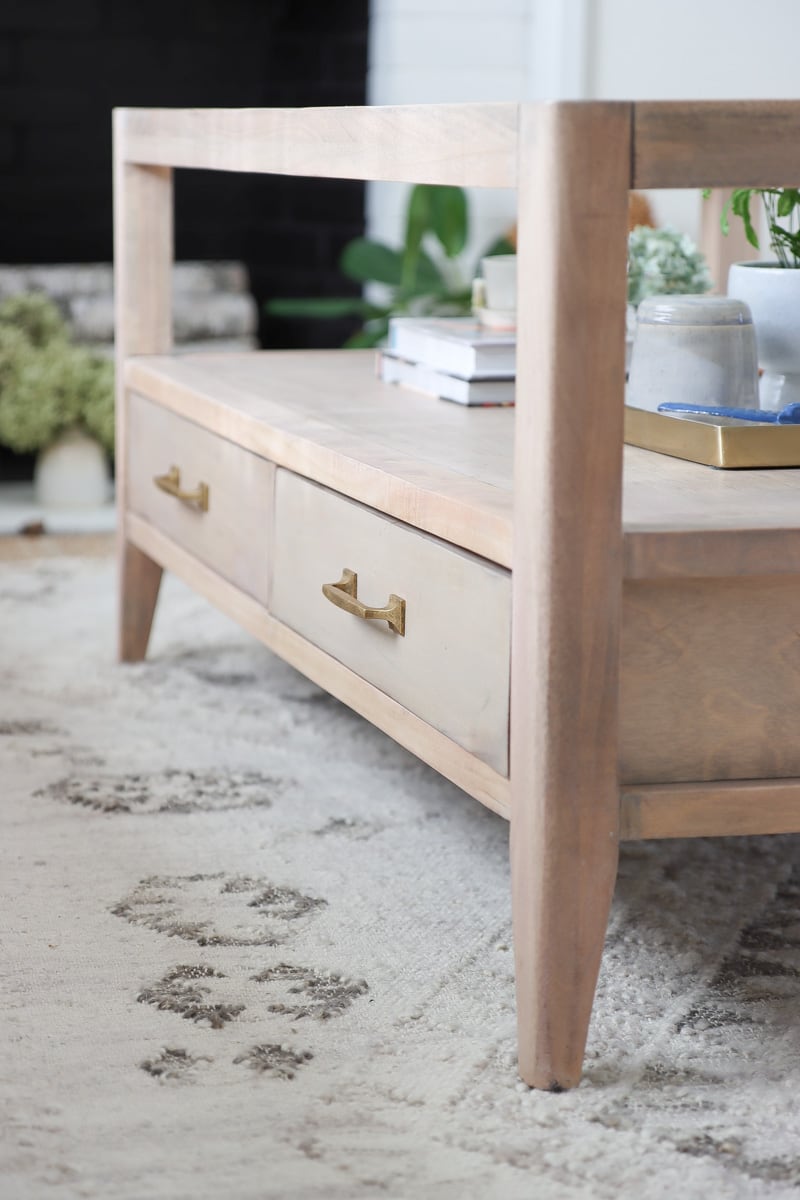
I was debating between brass and matte black finish but decided on brass finish. I wanted those coffee table drawer pulls to blend in with the wood color more and flow together instead of standing out. This is totally a personal choice though!
I used Rub n Buff in Gold Leaf to give it an aged gold finish. Rub n Buff is actually one of the easiest ways to apply gold finish because it is so easy. A good trick I like to use is using cling wrap to apply it so you can keep your finger clean.
DIY old coffee table makeover summary
So that is the process for this DIY old coffee makeover! I hope you enjoy seeing the dramatic before and after too! Making an old coffee table look new again is so satisfying.
Refinishing wood furniture sometimes can take time and effort depending on the size of your wood furniture, but I’m always pleasantly surprised with the makeover outcome.
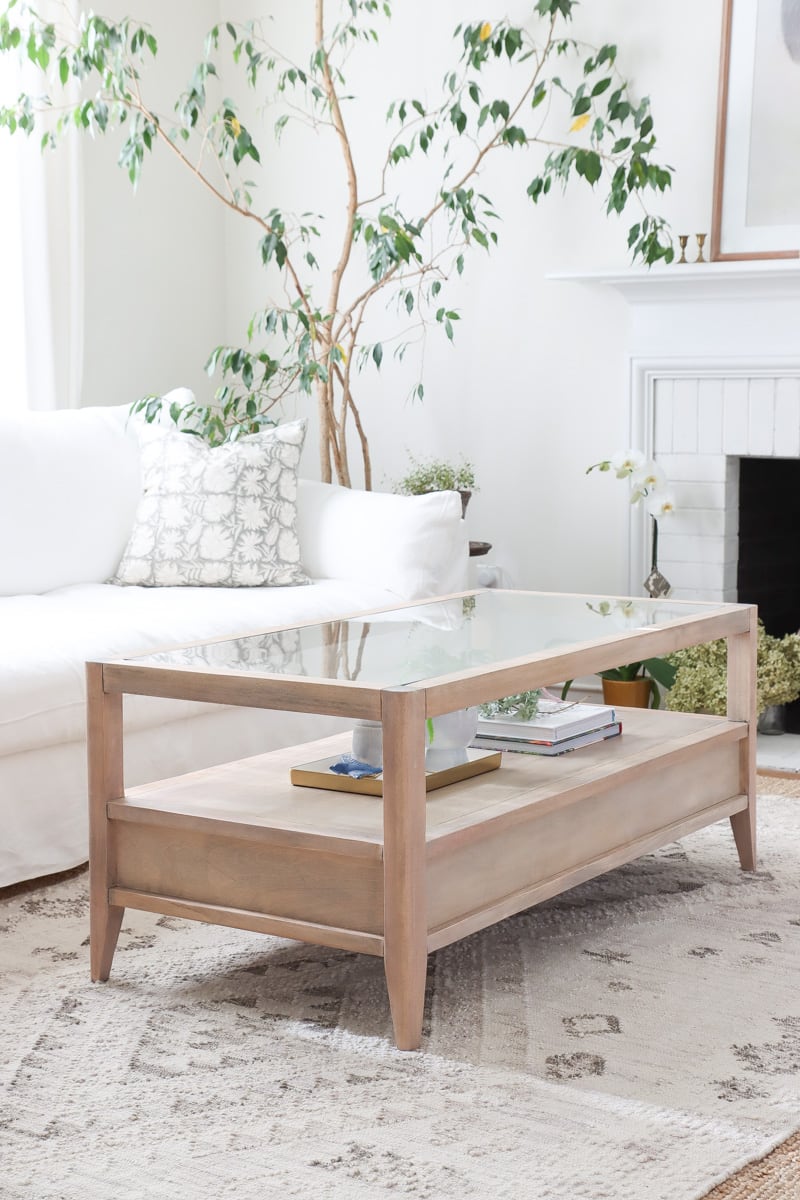
Hope you enjoy this coffee table makeover tutorial helpful and have gotten some great coffee table makeover ideas for your own DIY project.
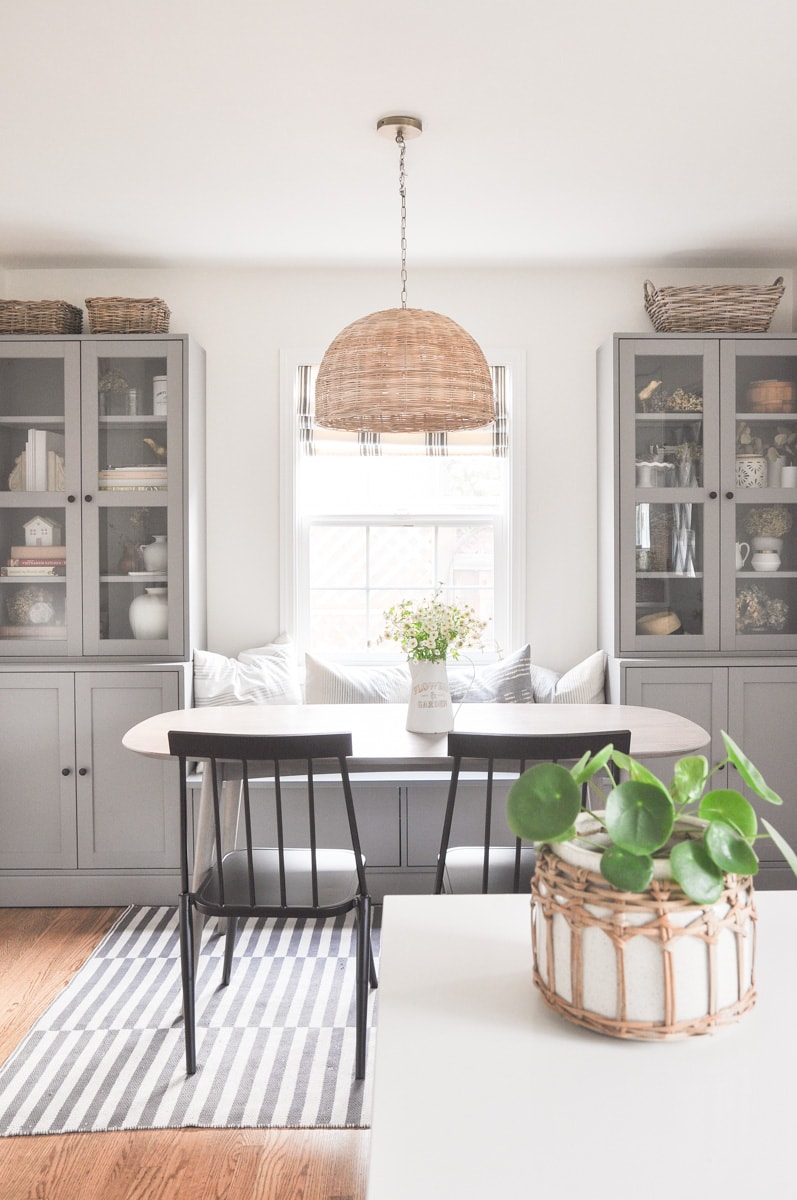
Refinishing old wood furniture is always the most rewarding project because the finished piece looks so much more expensive than the before! You can check out the $40 dining table that I have refinished in my dining room tour.
Other DIY makeover ideas
How to limewash brick fireplace
Pin it for later

Beautiful! I’m subscribing.
Thank you Robin 🙂